2D/3D serial and parallel triangular mesh generation and mesh improvement for seismology
Project description
SeismicMesh: Mesh generation for Seismology in Python
2D/3D triangular meshing for a slab of Earth based on modifications to the DistMesh algorithm. SeismicMesh is distributed under GPL3.
Installation
For installation, SeismicMesh needs CGAL and pybind11:
sudo apt install libcgal-dev python-pybind11
After that, SeismicMesh can be installed from the Python Package Index (pypi), so with:
pip install -U SeismicMesh
For more detailed information about installation and requirements see:
Install - How to install SeismicMesh.
Example
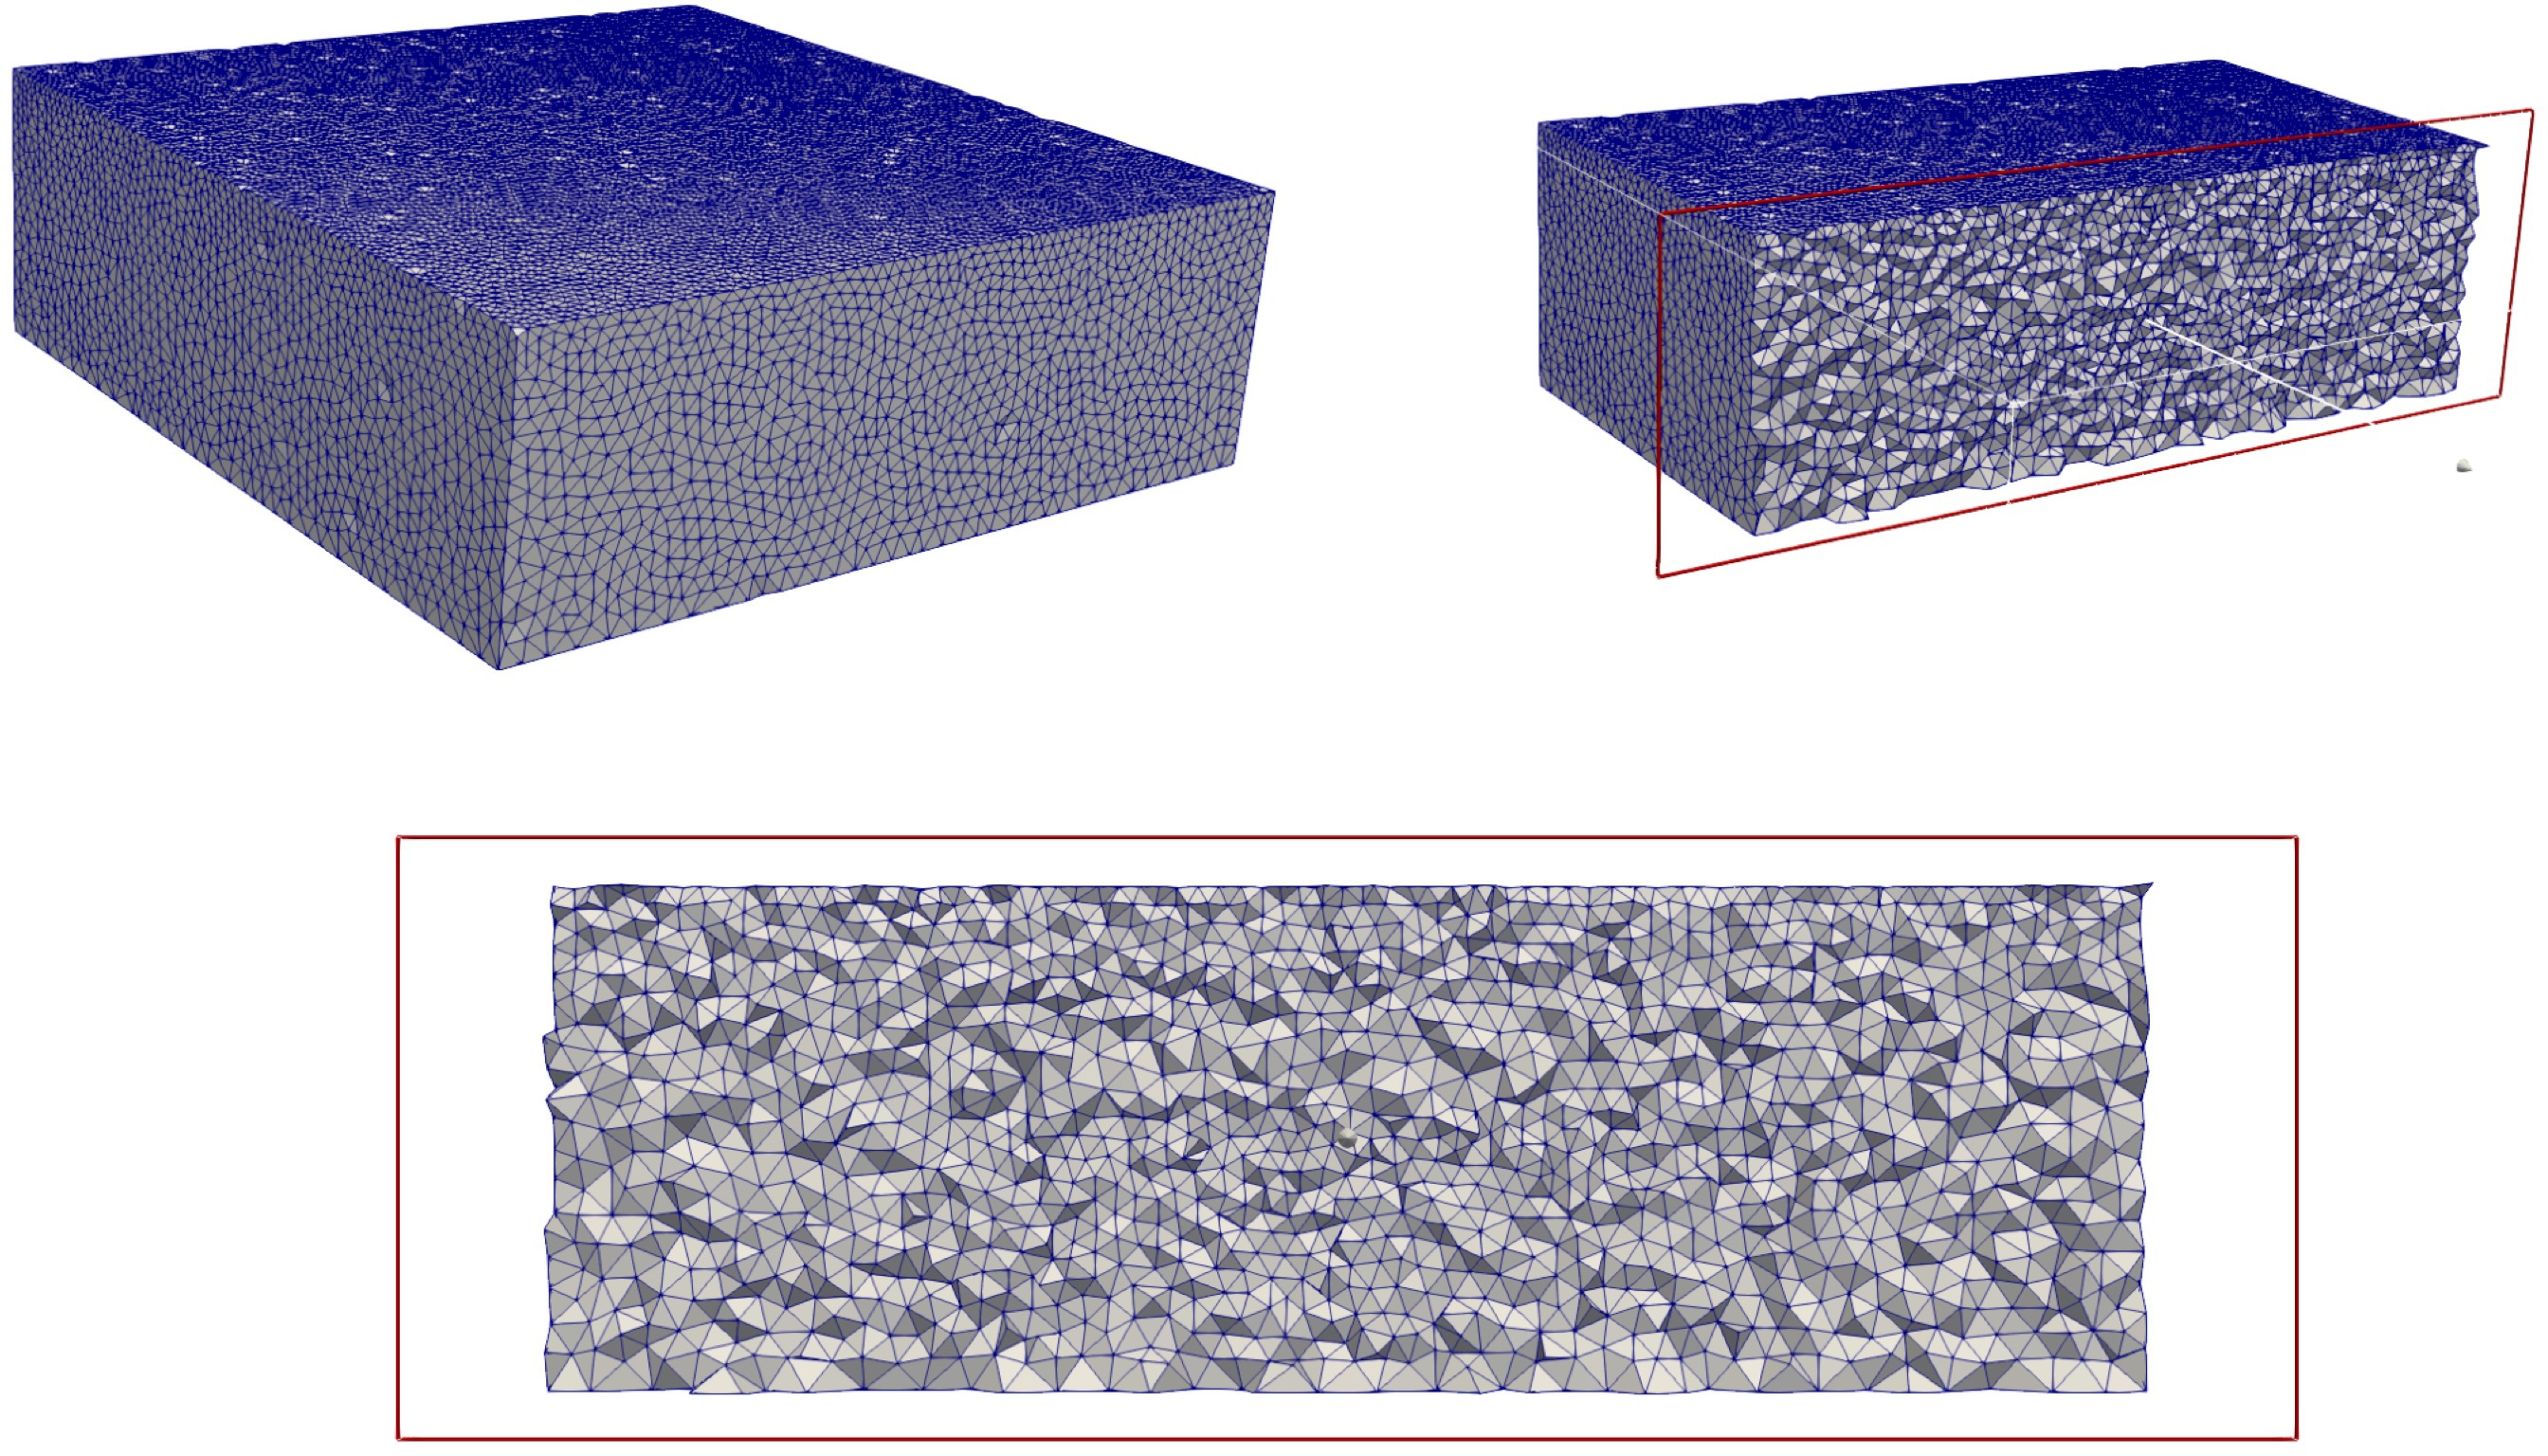
The user can quickly build quality 2D/3D meshes from seismic velocity models in serial/parallel.
WARNING: To run the code snippet below you must download the 2D BP2004 seismic velocity model and then you must uncompress it (e.g., gunzip). This file can be downloaded from here
from mpi4py import MPI
import meshio

import SeismicMesh

comm = MPI.COMM_WORLD
rank = comm.Get_rank()

"""
Build a mesh of the BP2004 benchmark velocity model in serial or parallel
Takes roughly 1 minute with 2 processors and less than 1 GB of RAM.
"""

# Name of SEG-Y file containg velocity model.
fname = "vel_z6.25m_x12.5m_exact.segy"
# Read in it
vp = SeismicMesh.ReadSegy(fname)

# Bounding box describing domain extents (corner coordinates)
bbox = (-12000, 0.0, 0.0, 67000.0)

# Construct mesh sizing object from velocity model
ef = SeismicMesh.MeshSizeFunction(
    bbox=bbox,
    velocity_grid=vp,
    freq=2,
    wl=10,
    dt=0.001,
    hmin=75.0,
    grade=0.15,
    domain_ext=1e3,
    padstyle="linear_ramp",
)

# Build mesh size function
ef = ef.build()

# Construct a mesh generator object
mshgen = SeismicMesh.MeshGenerator(ef)

# Build the mesh
points, facets = mshgen.build(axis=1)

if rank == 0:
    # Write the mesh in a vtk format for visualization in ParaView
    # NOTE: SeismicMesh outputs assumes the domain is (z,x) so for visualization
    # in ParaView, we swap the axes so it appears as in the (x,z) plane.
    meshio.write_points_cells(
        "BP2004.vtk",
        points[:,[1,0]]/ 1000,
        [("triangle", facets)],
        file_format="vtk",
    )
WARNING: To run the code snippet below you must download the 3D EAGE seismic velocity model from (WARNING: File is ~500 MB) here
WARNING: Computationaly demanding! Running this example takes around 5 minutes in serial and requires around 2 GB of RAM due to the 3D nature of the problem and the domain size.
import numpy as np
import zipfile

from mpi4py import MPI
import meshio

import SeismicMesh

comm = MPI.COMM_WORLD
size = comm.Get_size()
rank = comm.Get_rank()


if rank == 0:
    # Dimensions of model (number of grid points in z, x, and y)
    nx, ny, nz = 676, 676, 210

    path = "Salt_Model_3D/3-D_Salt_Model/VEL_GRIDS/"
    # Extract Saltf@@ from SALTF.ZIP
    zipfile.ZipFile(path + "SALTF.ZIP", "r").extract("Saltf@@", path=path)

    # Load data into a numpy array
    with open(path + "Saltf@@", "r") as file:
        vp = np.fromfile(file, dtype=np.dtype("float32").newbyteorder(">"))
        vp = vp.reshape(nx, ny, nz, order="F")
        vp = np.flipud(vp.transpose((2, 0, 1)))  # z, x and then y
else:
    vp = np.zeros(shape=(1, 1, 1))
    vp[:] = 1500.0

# The domain is defined (in this case) as a cube and domain extents are provided in meters

# Bounding box describing domain extents (corner coordinates)
bbox = (-4200, 0, 0, 13520, 0, 13520)

# A graded sizing function is created from the velocity model along with a signed distance function by passing
# the velocity grid that we created above. More details for the :class:`MeshSizeFunction` can be found here
# https://seismicmesh.readthedocs.io/en/par3d/api.html#seimsicmesh-meshsizefunction

ef = SeismicMesh.MeshSizeFunction(
    bbox=bbox,
    velocity_grid=vp,
    dt=0.001,
    freq=2,
    wl=5,
    grade=0.25,
    hmin=150,
    hmax=5e3,
    domain_ext=250,
    padstyle="linear_ramp",
)

ef = ef.build()

# The user then calls the mesh generator

# Construct a mesh generator object
mshgen = SeismicMesh.MeshGenerator(ef)

# Build the mesh
points, cells = mshgen.build(max_iter=75, axis=1)

# For 3D mesh generation, we provide an implementation to bound the minimum dihedral angle::

points, cells = mshgen.build(
    points=points,
    mesh_improvement=True,
    max_iter=50,
    min_dh_bound=5,
)

# Meshes can be written quickly to disk using meshio and visualized with ParaView::

if rank == 0:

    # NOTE: SeismicMesh outputs assumes the domain is (z,x,y) so for visualization
    # in ParaView, we swap the axes so it appears as in the (x,y,z) plane.
    meshio.write_points_cells(
        "EAGE_Salt.vtk",
        points[:, [1, 2, 0]] / 1000.0,
        [("tetra", cells)],
    )
More information
All other information is available at: https://seismicmesh.readthedocs.io
Getting started - Learn the basics about the program and the application domain.
Tutorials - Tutorials that will guide you through the main features.
Project details
Release history Release notifications | RSS feed
Download files
Download the file for your platform. If you're not sure which to choose, learn more about installing packages.
Source Distribution
Built Distribution
Hashes for SeismicMesh-2.0.1-cp37-cp37m-macosx_10_15_x86_64.whl
| Algorithm | Hash digest | |
|---|---|---|
| SHA256 | 800aab00eea355889ab7c4ac9716df3cee2059870a86154bb321f752e954fdab |
|
| MD5 | 193ab2dcf80ab67f8b1b677fefc5b461 |
|
| BLAKE2b-256 | 9a189db6488ba342cd05c69b331605dc6c188f91430012bc32abb708b0f7a210 |


