The quick and easy way to add versatile graphical interfaces and networking capabilities to your Python programs. Works even on your Android smartphone or tablet.
Project description
Python version of the Atlas toolkit
The Atlas toolkit is available for:
Language / Demo Repositories Popularity 


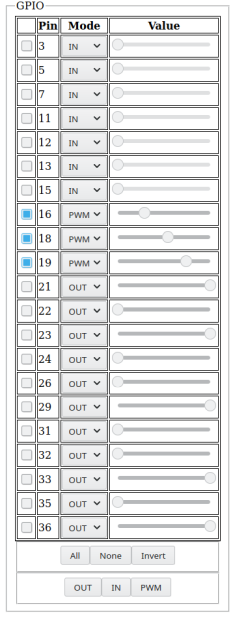
WebGPIO (Raspberry Pi/ODROID-C2): the WebGPIO application, with which you can control the Raspberry Pi/ODROID-C2 (and probably other similar devices) GPIOs with your smartphone, is described in the Raspberry Pi/ODROID-C2 below section.
A GUI with Python in a couple of minutes
Click the animation to see a screencast of programming this "Hello, World!" program with Python in a matter of minutes:
Same video on Peertube: https://q37.info/s/qfcng9j4.
Source code:
import atlastk

BODY = """
<fieldset>
 <input id="Input" xdh:onevent="Submit" value="World"/>
 <button xdh:onevent="Submit">Hello</button>
 <hr/>
 <fieldset>
  <output id="Output">Greetings displayed here!</output>
 </fieldset>
</fieldset>
"""

def acConnect(dom):
  dom.inner("", BODY)
  dom.focus("Input")

def acSubmit(dom):
  name = dom.getValue("Input")
  dom.begin("Output", f"<div>Hello, {name}!</div>")
  dom.setValue("Input", "")
  dom.focus("Input")

CALLBACKS = {
  "": acConnect,
  "Submit": acSubmit
}

atlastk.launch(CALLBACKS)
See for yourself right now - it's quick and easy!
Online, with nothing to install
To run above "Hello, World!" program directly in your browser, as seen in corresponding video, follow this link: https://replit.com/@AtlasTK/hello-python.
Thanks to Replit, an online IDE, you can write and run programs using the Atlas toolkit directly in your web browser, without having to install Python on your computer 
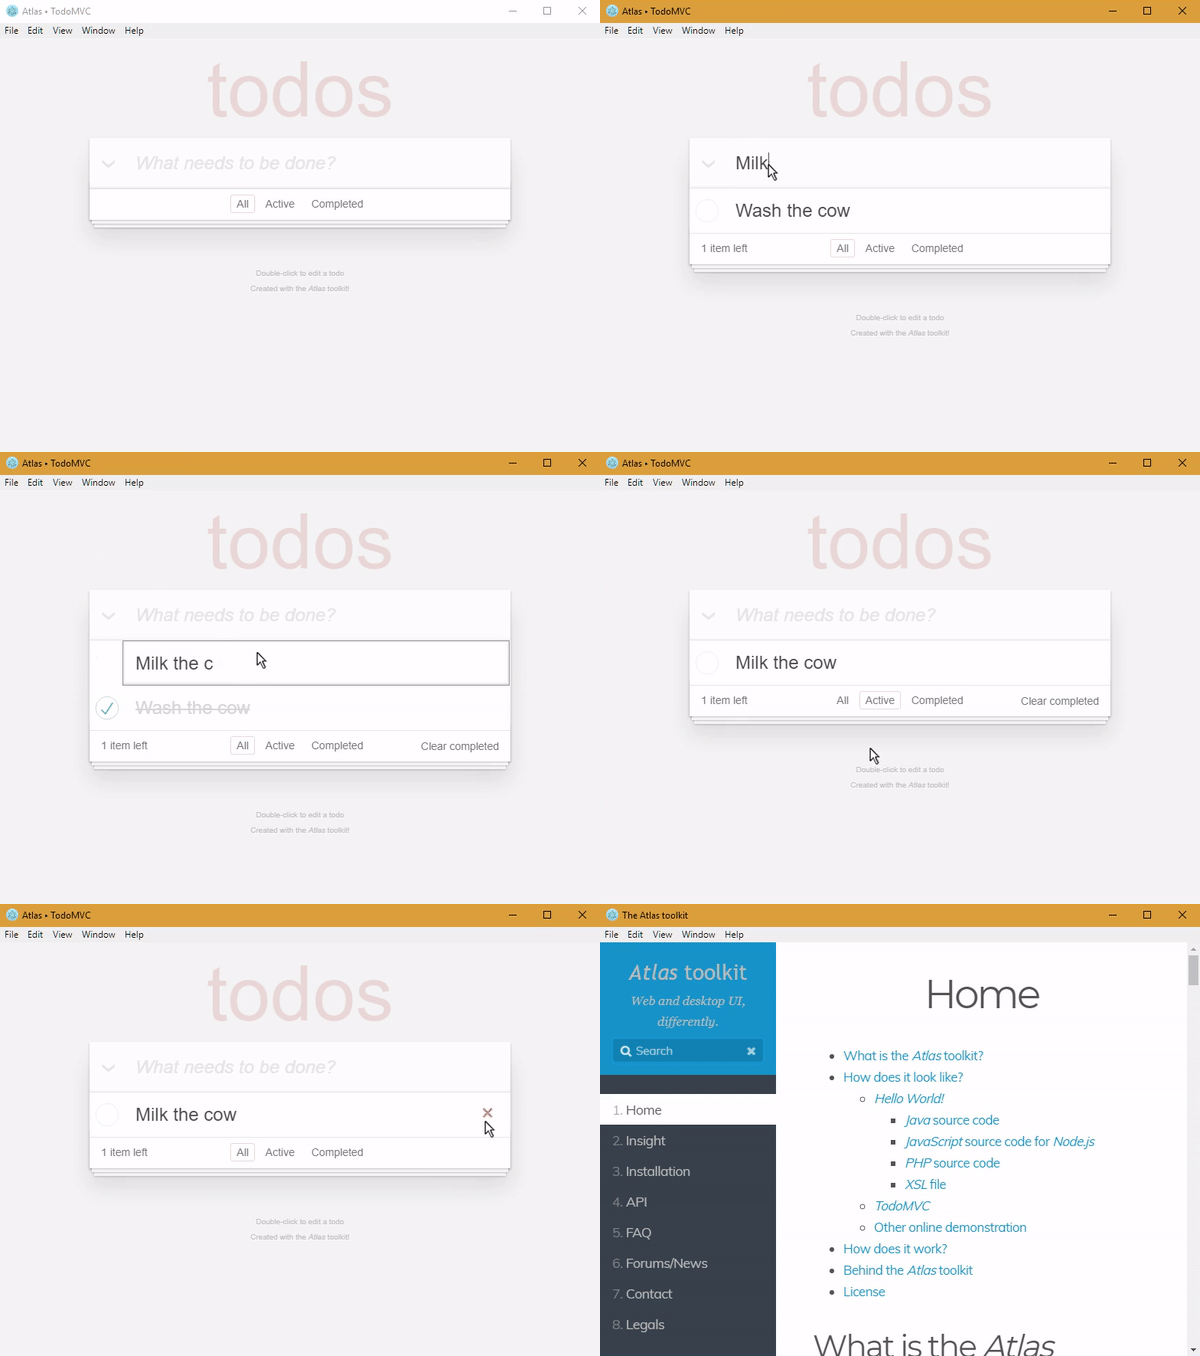
To see more examples, like the following TodoMVC, simply:
- go here (also accessible with the
button at the top of this page),
- click on the green
runbutton, - choose the demonstration to launch,
- open the then displayed URL in a browser (should be clickable),
- … and, as you wish, run your own tests directly in your browser, by modifying the code of the examples or by writing your own code.
With Python on your computer
# You can replace 'github.com' with 'framagit.org' or 'gitlab.com'.
# DON'T copy/paste this and above line!
git clone http://github.com/epeios-q37/atlas-python
cd atlas-python/examples
python Hello/
Android devices
Programs made with the Atlas toolkit work perfectly on your Android devices (smartphone or tablet) using the Termux application. Simply install (pkg intall …) the git and python packages. That's all!
Jupyter notebooks
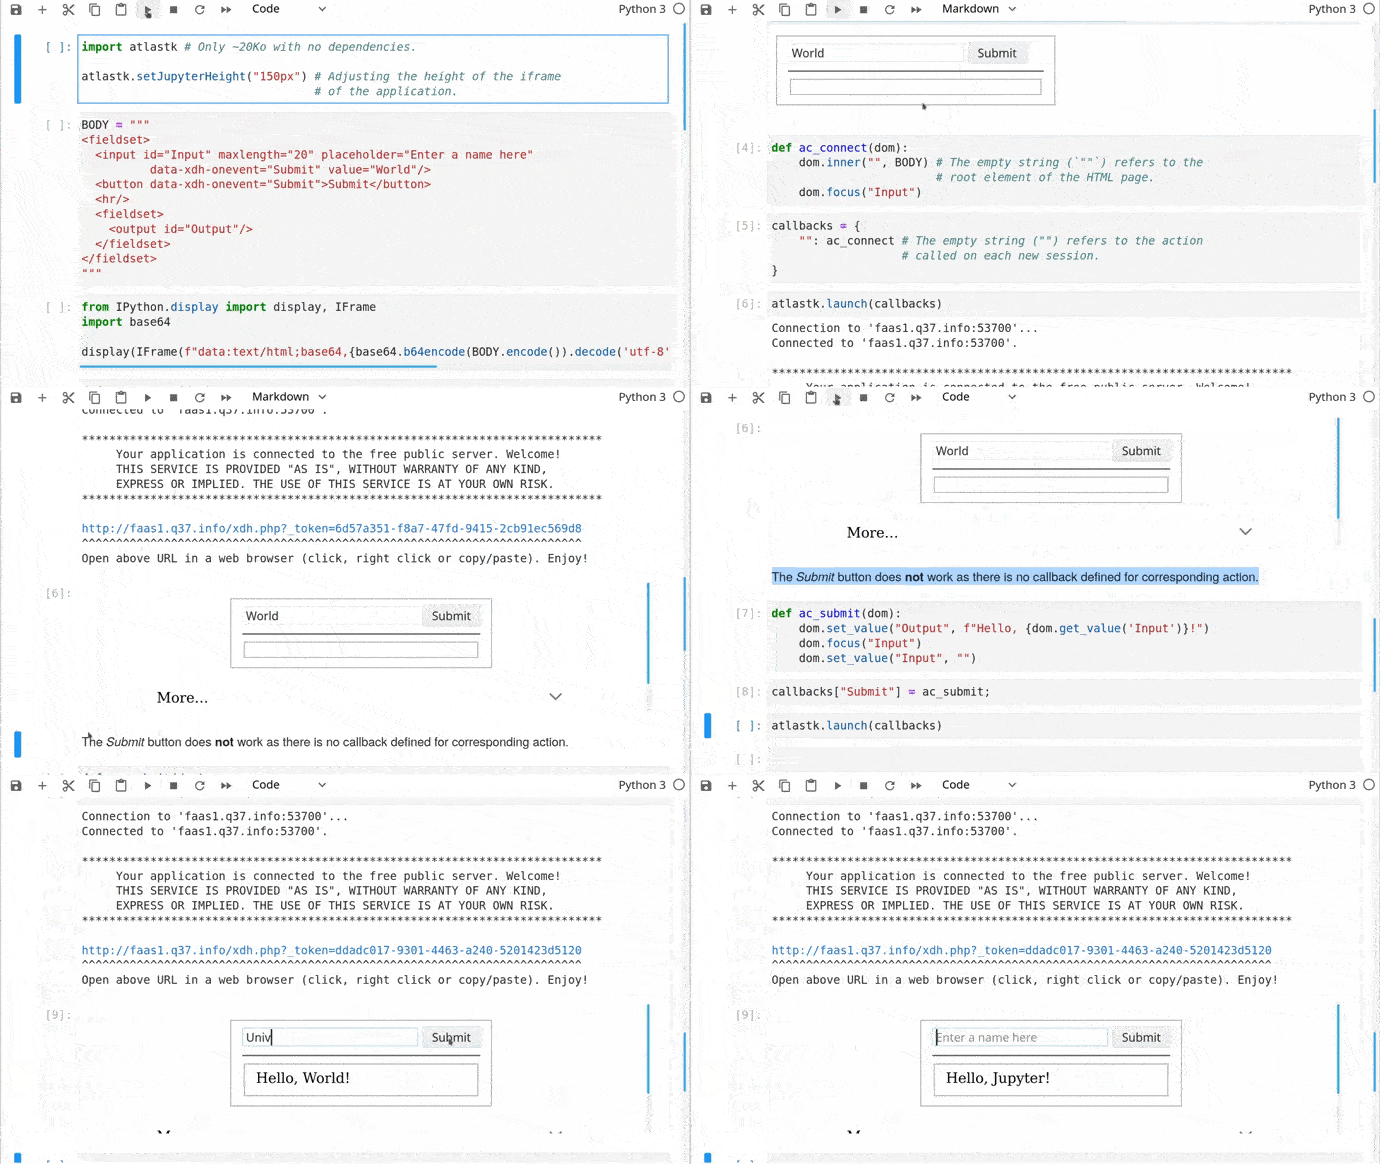
When using the Atlas toolkit in a Jupyter notebook, the GUI is embedded in the notebook, as shown here:
Jupyter notebook examples can be found in the tutorials directory.
Your turn
If you want to take your code to the next level, from CLI to GUI, then you found the right toolkit.
With the Atlas toolkit, you transform your programs in modern web applications (SPA) without the usual hassles:
- no JavaScript to write; only HTML(/CSS) and Python,
- no front and back end architecture to bother with,
- no web server (Apache, Nginx…) to install,
- no need to deploy your application on a remote server,
- no incoming port to open on your internet box or routeur.
The Atlas toolkit is written in pure Python, with no native code and no dependencies, allowing the Atlas toolkit to be used on all environments where Python is available.
And simply by running them on a local computer connected to internet, applications using the Atlas toolkit will be accessible from the entire internet on laptops, smartphones, tablets…
The Atlas toolkit is particularly well suited for educational purposes, to write modern programming exercises, i.e. with a true graphical interface instead of the usual outdated textual one. More about this can be found here.
Python is much more powerful then Excel macros to automate (boring) tasks, and you can also work with PDF, Word, Google files…. And with the Atlas toolkit, you have much more possibilities then with VBA forms. There are some examples here.
There is also a stub to for this library at address https://q37.info/s/zzcn3wnx.
You will also find programs from The Big Book of Small Python Projects by Al Sweigart to which a graphical user interface using the Atlas toolkit were added in this repository: epeios-q37/AlSweigartTheBigBookPython.
Content of the repository
The atlastk directory contains the Python source code of the Atlas toolkit, which is the directory you have to reference in PYTHONPATH in order to use the Atlas toolkit in your own program, unless you have installed the atlastk package with pip install atlastk.
In the examples directory, you will found following examples:
Blank: very basic example,Hello: "Hello, World!",Chatroom: multi-user chatroom,Notes: note taking program,TodoMVC: TodoMVC,Hangman: Hangman game,15-puzzle: 15-puzzle game,Contacts: a basic address book,Widgets: some widgets handled with the Atlas toolkit,Chatrooms: same as aboveChatroom, but with several rooms,PigGame: Pig game for one or two players,Reversi: Reversi game for one or two players,MatPlotLib: the Atlas toolkit displaying some graphics made with matplotlib; this example needs, of course, the matplotlib package to be installed…
Other examples are detailed in the next section.
Except for the ErgoJr, GPIO and RGB applications, which are detailed in the next section, to run an example, launch, from within the repository, python main.py, and select the example you want to run.
You can also directly launch, from within the examples directory, python <Name>/ (don't forget the final /), where <Name> is the name of the example (Blank, Chatroom…).
The Stars application is an example where the Atlas toolkit is used to control a Pygame based application. Of course, Pygame needs to be installed.
The tutorials directory contains some Jupyter notebooks about the Atlas toolkit.
Raspberry Pi/ODROID-C2
If the applications does not work on your Raspberry Pi, please see this issue: https://github.com/epeios-q37/atlas-python/issues/1
The GPIO and RGB applications are designed to be used on a Raspberry Pi or a ODROID-C2.
Here is how the WebGPIO application looks like:
For the Raspberry Pi, the RPi.GPIO Python module have to be installed (this is probably already the case).
For the ODROID-C2, The Python version of WiringPi must be installed, and the application has to be launched, from within the examples directory, with sudo (sudo python GPIO/ or sudo python RGB/).
The ErgoJr application is experimental and to control a Poppy Ergo Jr robot.
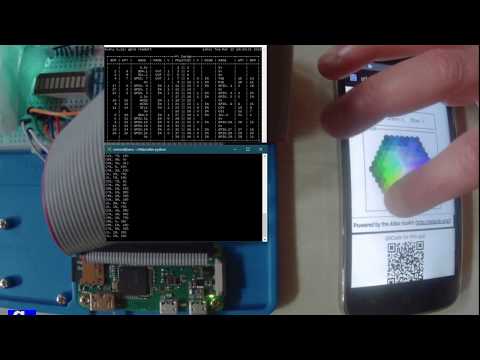
The RGB application is dedicated to the control of a RGB led, and the GPIO (aka WebGPIO) application allows to control the basic pins. Click below picture to see a YouTube video on how they work (same video on PeerTube: https://q37.info/s/49pbmwv9):
Project details
Release history Release notifications | RSS feed
Download files
Download the file for your platform. If you're not sure which to choose, learn more about installing packages.


