A library for controlling an Arduino from Python over Serial

Project description
Camino
Camino enables blazing fast, non-intrusive communication between Python and
one or more Arduinos over a serial connection. Besides built in functions
(digital_write, pin_mode, etc.), Camino can call user-defined functions
to send and recieve arbitrary data.
Table of Contents
Installation
Python
To install the latest Python release of camino, simply run pip install camino. The
library requires pyserial. This should be installed automatically, but additional
configuration may be required for some setups. See the
pyserial docs
for details.
To install the latest development version (for testing or contributing), clone this
repository and run pip install -e . from inside the root directory.
Arduino
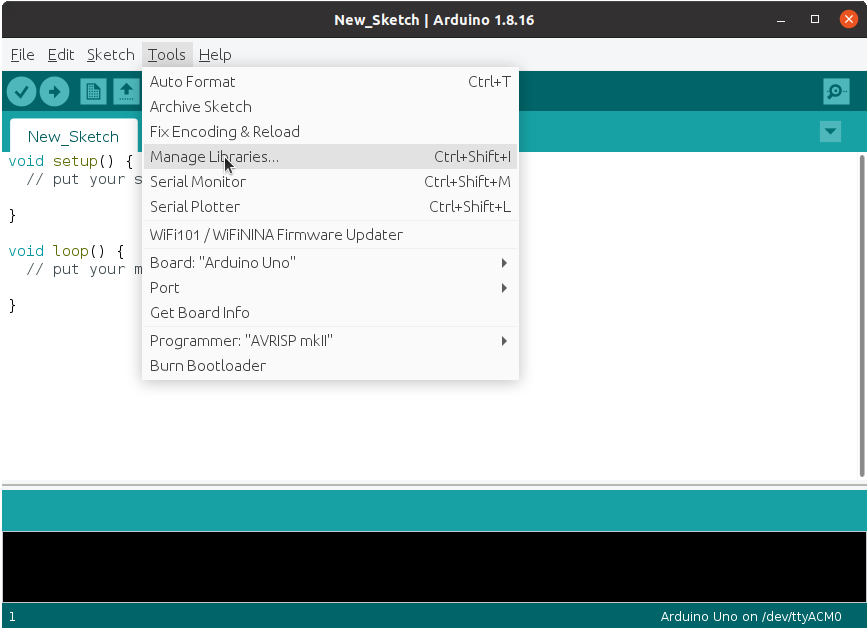
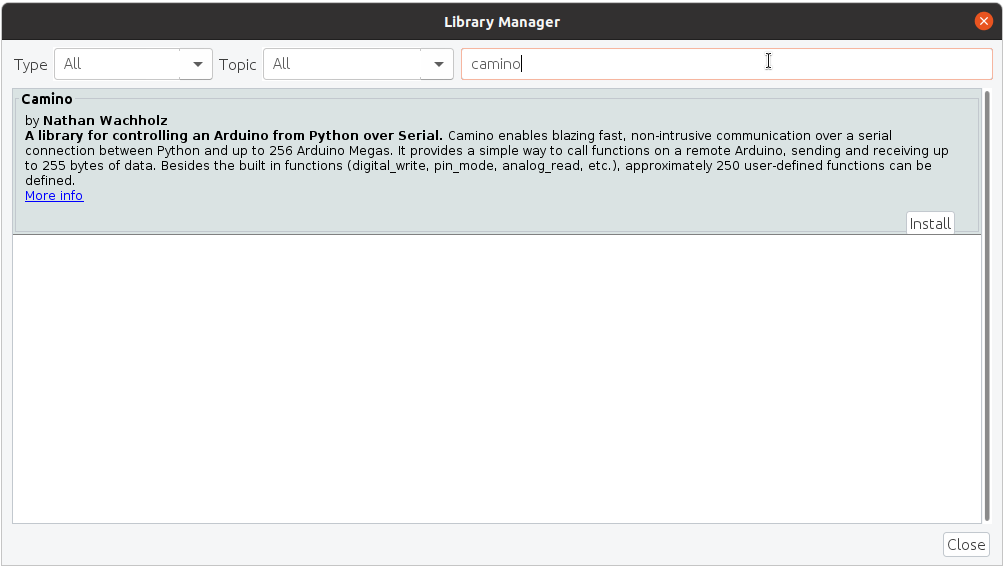
Camino is available through the Arduino IDE Library Manager:
This version is shipped with the default options, and should work for most users.
If you need to change options (see the Features and Options section),
you'll need to manually include the library. Download this repository. Then copy
src/Camino.cpp and src/Camino.h into your sketch. If using the Arduino IDE,
you can use the "Add File" option. To avoid conflicts, make sure you
uninstall
the library if you installed it via the IDE.
Installing manually also means you won't have the example sketches mentioned below. It's recommended to use the defaults options (and install normally) to get familiar with the library before changing them.
Example
Once the Python and Arduino libraries are installed, you should be able to run the examples.
Arduino
Install examples/CaminoExample to your Arduino. It is copied below:
#include "Camino.h"

void setup() {
  camino.begin(9600);
}

void loop() {}

// Example that returns the sum of some data
void add(byte dataLength, byte *dataArray) {
  int sum = 0;
  for(byte i = 0; i < dataLength; i++){
    sum += dataArray[i];
  }
  returns(sum);
}

// Example that returns a string
void sayHi(byte dataLength, byte *dataArray) {
  returns("I can say hi!");
}

BEGIN_CALLABLES {
  {"say_hi", sayHi},
  {"add", add},
} END_CALLABLES;
When uploading the sketch, take note of which serial port the Arduino is connected to. Be sure to keep it plugged in.
Python
Open a Python shell.
>>> import camino
Create a SerialConnection for the Arduino's port. On Linux these look like
/dev/ttyS0, /dev/ttyACM0, etc. On Windows they look like COM1, COM2, etc.
Make sure the baud rate matches what is in the sketch.
>>> connection = camino.SerialConnection(port='/dev/ttyACM0', baud=9600)
Connect to an Arduino.
>>> arduino = camino.Arduino(connection)
This will begin communicating with the Arduino to discover which functions are available. This should take less than a second. Now you can use the built in methods:
>>> arduino.pin_mode(12, 0) # set pin 12 to INPUT
>>> arduino.pin_mode(16, 1) # set pin 16 to OUTPUT
>>> value = arduino.digital_read(12, out=int)
>>> arduino.digital_write(16, value)
As well as the custom functions defined:
>>> print(arduino.say_hi(out=str))
I can say hi!
>>> print(arduino.add(1, 2, 3, out=int))
6
Adding Custom Functions
The following functions are defined for all Arduinos:
pin_mode
digital_write
digital_read
analog_read
analog_write
As demonstrated in the example, if you want to do something else, you can define functions specific to your application.
A callable is a function that can be called by Camino from Python.
In order to be callable, a function must have return type void and accept
exactly byte dataLength, byte *data as arguments.
Then, you must include the callable in an entry of the CALLABLES section.
In this entry, you specify the Python name for the callable, and a
reference to the function. The Python name should be no longer than
MAX_DATA_LENGTH - 1 characters, because it is sent in a packet.
Assume you have a single callable called triggerPiston, and want to be able
to call it from python as arduino.trigger_piston(). At the bottom of your
Arduino code, you'll write the following:
BEGIN_CALLABLES {
  {"trigger_piston", triggerPiston},
} END_CALLABLES;
Returning Data
To allow all callables to have the same type, data is returned using one
of the available returns(...) methods, rather than return statements.
To return a scalar (byte, char, unsigned short, short, unsigned int,
int, unsigned long, or long), you can pass it directly. For instance returns((int) -1067);.
Be sure that your signedness in Python matches what you send in C.
To return strings, you can pass a const char*, like returns("hello");.
For anything else, you can pass a length and byte *. For instance returns(dataLength, data);,
which is how the builtin echo callable works.
You do not need to call returns(...). If a function does not call returns(...),
the Arduino simply responds with no data (None in Python). Calling returns(...)
multiple times overwrites the return value.
Limitations to Callable Functions
Callables have limitations.
They are executed within an interrupt. This means they should be fast, and
they can't use delay, millis, Serial, or other interrupt-dependent
functions. For a good overview of the limitations to interrupts on Arduino,
see Nick Gammon's notes. If you want to use
interrupt-dependent functions or expect the call to take a long time, you can
have code running in loop dependent on some global variables. You can, of course,
change global variables from inside a Callable.
When a problem occurs with a transmission, a command packet may be resent up
to 3 times. Therefore, you should design your callables to be
idempotent.
Repeat calls with the same arguments should have the same effect as a single call.
For instance, instead of creating a toggle_led callable, you should create
set_led and keep track of the state in Python. Of course, if you are getting
any failed function calls, something is probably amiss with your serial connection.
Using Custom Functions from Python
Callables act as a link between an Arduino function and the corresponding Python
function. The Python names are sent from the Arduino when they establish a connection,
and automatically added to the Arduino python object.
You can call these functions as you would call any other function. Note that Camino is not thread safe--only call one function at a time.
Callables automatically convert input arguments to a bytes object. For instance,
a single str is converted using ord on each character, or a bunch of ints are
appended into a bytes object. If the automatic conversion doesn't work as expected,
you can pass a bytes object directly.
If the callable returns no data, Python returns None. Otherwise, the return type
defaults to bytes. You can have Camino automatically convert the bytes to
another type by passing the out keyword argument. The options are:
bytes- rawbytesreturned by the Callableint- convert the bytes to a single Pythonintusing little endian. You should also specify if the number is signed by passingsigned=True(default) orsigned=False.str- convert the bytes to a Pythonstr
Features and Limitations
One Python host can control up to 256 individually addressable Arduinos. Pass
the desired address of the Arduino as the second parameter to camino.open. In
Python, pass the address as the second argument to the Arduino constructor.
Each packet may contain between 0 and 255 bytes of data. It is a known issue that packets with more than around 100 bytes of data are unreliable in some setups.
Camino operates entirely through interrupts, so does not require any code in
loop. For instance, you can easily collect data from sensors in loop (using
delays, serial writes, etc.), and still be able to quickly report aggregate data
when polled using a callable.
Lastly, Camino is incredibly fast, with low overhead. Even at low baud-rates, it is
possible to PWM digital pins using only digital_write from within Python.
Options
A few options are listed in options.h for more advanced use cases,
such as changing the ports/pins used.
If you want to use values other than the defaults, place #define calls before
#include "Camino.h".
Protocol
No Arduino may transmit unless it is in response to a command from Python, and only one response per command is allowed.
A command packet always takes the same format. It specifies which Arduino is being addressed, which command should be run, and what data to pass to the command.
The Ardunio can respond in one of three ways:
- Response with data, for instance with
digital_read - Response with no data, for instance with
digital_write - Resend request, if there is a problem understanding the command.
Single Command Communication Flow
- Python sends a command packet containing an address, command, and data.
- All Arduinos connected to the serial port read the entire packet.
- If the checksum is invalid, Arduino transmits a Resend Request.
- Otherwise, check if the address matches the Arduino. If it doesn't, ignore the command.
- Otherwise, if the checksum is valid, and the address matches the Arduino, run the specified command with the given data. Then, respond with either data or no data.
Python will attempt to send a command packet up to 3 times before giving up
and raising a CaminoError.
Packet Structure
Command packet
| 1 byte | 1 byte | 1 byte | 1 byte | 1 byte | data length bytes |
1 byte |
|---|---|---|---|---|---|---|
| 0xAA | 0x55 | address | command | data length | data | checksum |
Checksum is the sum of address, command, data length, and all bytes of data, mod 256.
Response with data
| 1 byte | 1 byte | 1 byte | data length bytes |
1 byte |
|---|---|---|---|---|
| 0xAC | 0xAC | data length | data | checksum* |
Checksum is the sum of data length and all bytes of data, mod 256.
Response with no data
| 1 byte | 1 byte |
|---|---|
| 0xA9 | 0xA9 |
Resend request
| 1 byte | 1 byte |
|---|---|
| 0xB8 | 0xB8 |
Contributing
Please visit the Issues Page for a list of known issues. Feel free to add issues, or contribute comments to issues that affect you.
Contributions in the form of PRs are also welcome, either adding new features or solving existing issues.
This project was originally developed in the Dos Pueblos Engineering Academy. Specifically, it was used to communicate between an Arduino Mega and a Raspberry Pi in the Air Guitar project. We used RS-485, with some voltage steppers and other custom circuits. For a more detailed description of that, see this page.
Release history Release notifications | RSS feed


Download files
Download the file for your platform. If you're not sure which to choose, learn more about installing packages.
Source Distribution
Built Distribution
Filter files by name, interpreter, ABI, and platform.
If you're not sure about the file name format, learn more about wheel file names.
Copy a direct link to the current filters
File details
Details for the file camino-1.7.0.tar.gz.
File metadata
- Download URL: camino-1.7.0.tar.gz
- Upload date:
- Size: 15.6 kB
- Tags: Source
- Uploaded using Trusted Publishing? No
- Uploaded via: twine/4.0.2 CPython/3.10.12
File hashes
| Algorithm | Hash digest | |
|---|---|---|
| SHA256 |
5fd89c307737dfb85a67f784357e46b3acd137b80f35baba82816d64c133fc0d
|
|
| MD5 |
856732720345ac65f219364ac61dbcba
|
|
| BLAKE2b-256 |
bdaefd24eb7d6359a4df3dee68221a0e109597750ef41843797fd89e5db68c6c
|
File details
Details for the file camino-1.7.0-py3-none-any.whl.
File metadata
- Download URL: camino-1.7.0-py3-none-any.whl
- Upload date:
- Size: 8.6 kB
- Tags: Python 3
- Uploaded using Trusted Publishing? No
- Uploaded via: twine/4.0.2 CPython/3.10.12
File hashes
| Algorithm | Hash digest | |
|---|---|---|
| SHA256 |
2a6a70398ccb8716ab659cd9812661d225dca447a0efa489282849f886848098
|
|
| MD5 |
9020e585e4fdbeedec8f3a71c5d84ce6
|
|
| BLAKE2b-256 |
a2249ddcc6c3a91c71b9ec126e59b97c8da2cb02487ff1250fe8a9a600494acb
|


