PyGAD: A Python library for implementing the genetic algorithm.
Project description
PyGAD
PyGAD is an open-source Python 3 library for implementing the genetic algorithm and optimizing machine learning algorithms.
PyGAD supports different types of crossover, mutation, and parent selection. PyGAD allows different types of problems to be optimized using the genetic algorithm by customizing the fitness function.
Besides building the genetic algorithm, it builds and optimizes machine learning algorithms. Currently, PyGAD supports building and training (using genetic algorithm) artificial neural networks for classification problems.
The library is under active development and more features in the genetic algorithm will be added like working with binary problems. This is in addition to supporting more machine learning algorithms.
Installation
To install PyGAD, simply use pip to download and install the library from PyPI (Python Package Index). The library lives a PyPI at this page https://pypi.org/project/pygad.
For Windows, issue the following command:
pip install pygad
For Linux and Mac, replace pip by use pip3 because the library only supports Python 3.
pip3 install pygad
PyGAD is developed in Python 3.7.3 and depends on NumPy for creating and manipulating arrays and Matplotlib for creating figures. The exact NumPy version used in developing PyGAD is 1.16.4. For Matplotlib, the version is 3.1.0.
Quick Start
To get started with PyGAD, simply import it.
import pygad
Using PyGAD, a wide range of problems can be optimized. A quick and simple problem to be optimized using the PyGAD is finding the best set of weights that satisfy the following function:
y = f(w1:w6) = w1x1 + w2x2 + w3x3 + w4x4 + w5x5 + 6wx6
where (x1,x2,x3,x4,x5,x6)=(4,-2,3.5,5,-11,-4.7) and y=44
The first step is to prepare the inputs and the outputs of this equation.
function_inputs = [4,-2,3.5,5,-11,-4.7]
desired_output = 44
A very important step is to implement the fitness function that will be used for calculating the fitness value for each solution. Here is one.
def fitness_func(solution, solution_idx):
    output = numpy.sum(solution*function_inputs)
    fitness = 1.0 / numpy.abs(output - desired_output)
    return fitness
Next is to prepare the parameters of PyGAD. Here is an example for a set of parameters.
fitness_function = fitness_func

num_generations = 50
num_parents_mating = 4

sol_per_pop = 8
num_genes = len(function_inputs)

init_range_low = -2
init_range_high = 5

parent_selection_type = "sss"
keep_parents = 1

crossover_type = "single_point"

mutation_type = "random"
mutation_percent_genes = 10
After the parameters are prepared, an instance of the pygad.GA class is created.
ga_instance = pygad.GA(num_generations=num_generations,
                       num_parents_mating=num_parents_mating,
                       fitness_func=fitness_function,
                       sol_per_pop=sol_per_pop,
                       num_genes=num_genes,
                       init_range_low=init_range_low,
                       init_range_high=init_range_high,
                       parent_selection_type=parent_selection_type,
                       keep_parents=keep_parents,
                       crossover_type=crossover_type,
                       mutation_type=mutation_type,
                       mutation_percent_genes=mutation_percent_genes)
After creating the instance, the run() method is called to start the optimization.
ga_instance.run()
After the run() method completes, information about the best solution found by PyGAD can be accessed.
solution, solution_fitness, solution_idx = ga_instance.best_solution()
print("Parameters of the best solution : {solution}".format(solution=solution))
print("Fitness value of the best solution = {solution_fitness}".format(solution_fitness=solution_fitness))

prediction = numpy.sum(numpy.array(function_inputs)*solution)
print("Predicted output based on the best solution : {prediction}".format(prediction=prediction))
Parameters of the best solution : [3.92692328 -0.11554946 2.39873381 3.29579039 -0.74091476 1.05468517]
Fitness value of the best solution = 157.37320042925006
Predicted output based on the best solution : 44.00635432206546
There is more to do using PyGAD. Read its documentation to explore the features of PyGAD.
PyGAD's Modules
PyGAD has the following modules:
- The main module has the same name as the library which is
pygadthat builds the genetic algorithm. - The second module is
nnwhich builds artificial neural networks. - The third module is
gannfor optimizing neural networks using the genetic algorithm. - The
cnnmodule builds convolutional neural networks. - The
gacnnmodule optimizes convolutional neural networks using the genetic algorithm.
The PyGAD's documentation discusses each of these modules.
PyGAD Documentation
The documentation of the PyGAD library is available at Read The Docs at this link: https://pygad.readthedocs.io. It discusses the modules supported by PyGAD, all its classes, methods, attribute, and functions. For each module, a number of examples are given.
If there is an issue using PyGAD, feel free to post at issue in this GitHub repository https://github.com/ahmedfgad/GeneticAlgorithmPython or by sending an e-mail to ahmed.f.gad@gmail.com.
If you built a project that uses PyGAD, then please drop an e-mail to ahmed.f.gad@gmail.com with the following information so that your project is included in the documentation.
- Project title
- Brief description
- Preferably, a link that directs the readers to your project
Please check the Contact Us section for more contact details.
For More Information
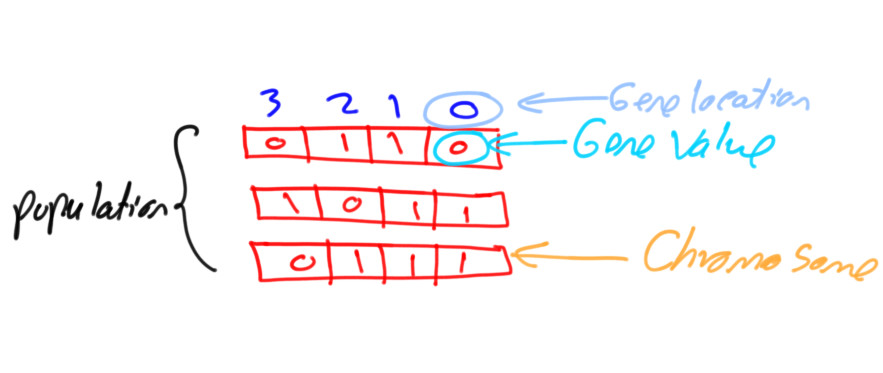
There are different resources that can be used to get started with the genetic algorithm and building it in Python.
Tutorial: Implementing Genetic Algorithm in Python
To start with coding the genetic algorithm, you can check the tutorial titled Genetic Algorithm Implementation in Python available at these links:
This tutorial is prepared based on a previous version of the project but it still a good resource to start with coding the genetic algorithm.
Tutorial: Introduction to Genetic Algorithm
Get started with the genetic algorithm by reading the tutorial titled Introduction to Optimization with Genetic Algorithm which is available at these links:
Tutorial: Build Neural Networks in Python
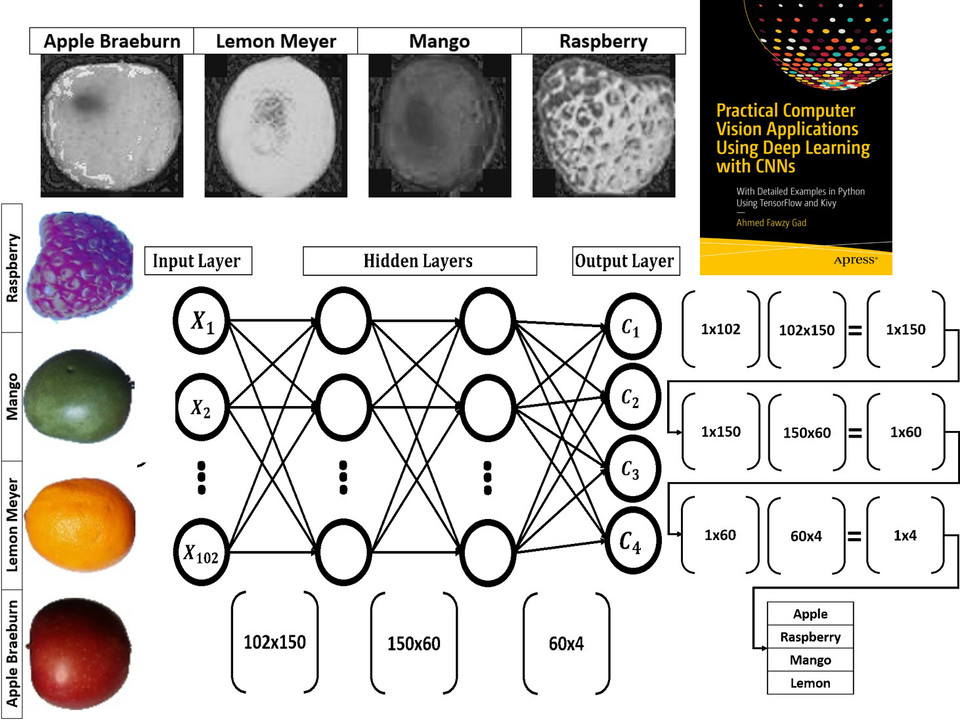
Read about building neural networks in Python through the tutorial titled Artificial Neural Network Implementation using NumPy and Classification of the Fruits360 Image Dataset available at these links:
Tutorial: Optimize Neural Networks with Genetic Algorithm
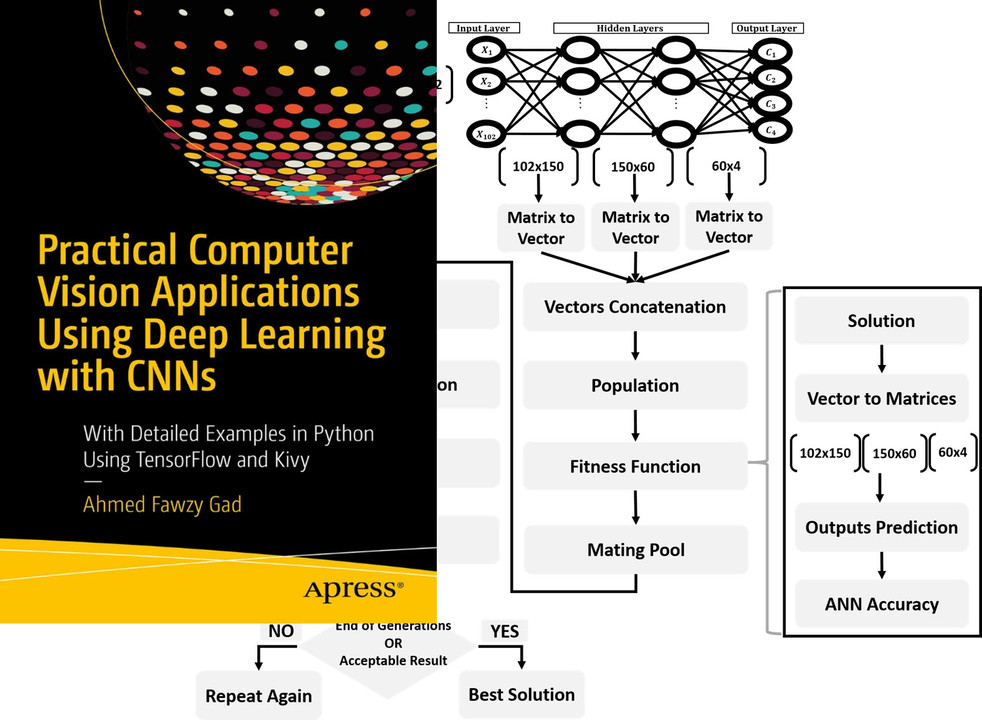
Read about training neural networks using the genetic algorithm through the tutorial titled Artificial Neural Networks Optimization using Genetic Algorithm with Python available at these links:
Tutorial: Building CNN in Python
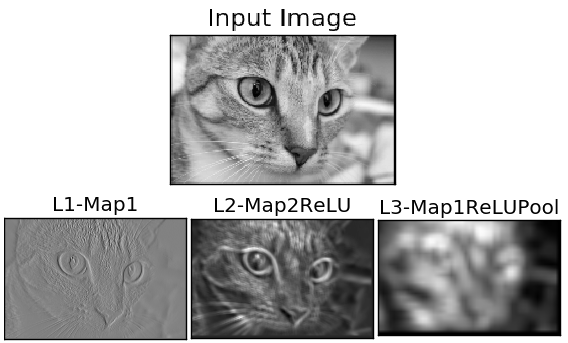
To start with coding the genetic algorithm, you can check the tutorial titled Building Convolutional Neural Network using NumPy from Scratch available at these links:
This tutorial) is prepared based on a previous version of the project but it still a good resource to start with coding CNNs.
Tutorial: Derivation of CNN from FCNN
Get started with the genetic algorithm by reading the tutorial titled Derivation of Convolutional Neural Network from Fully Connected Network Step-By-Step which is available at these links:
Book: Practical Computer Vision Applications Using Deep Learning with CNNs
You can also check my book cited as Ahmed Fawzy Gad 'Practical Computer Vision Applications Using Deep Learning with CNNs'. Dec. 2018, Apress, 978-1-4842-4167-7 which discusses neural networks, convolutional neural networks, deep learning, genetic algorithm, and more.
Find the book at these links:
Contact Us
Project details
Release history Release notifications | RSS feed
Download files
Download the file for your platform. If you're not sure which to choose, learn more about installing packages.


