A Python module for controlling power and brightness of the official Raspberry Pi 7" touch display.
Project description
rpi-backlight
A Python module for controlling power and brightness of the official Raspberry Pi 7" touch display.
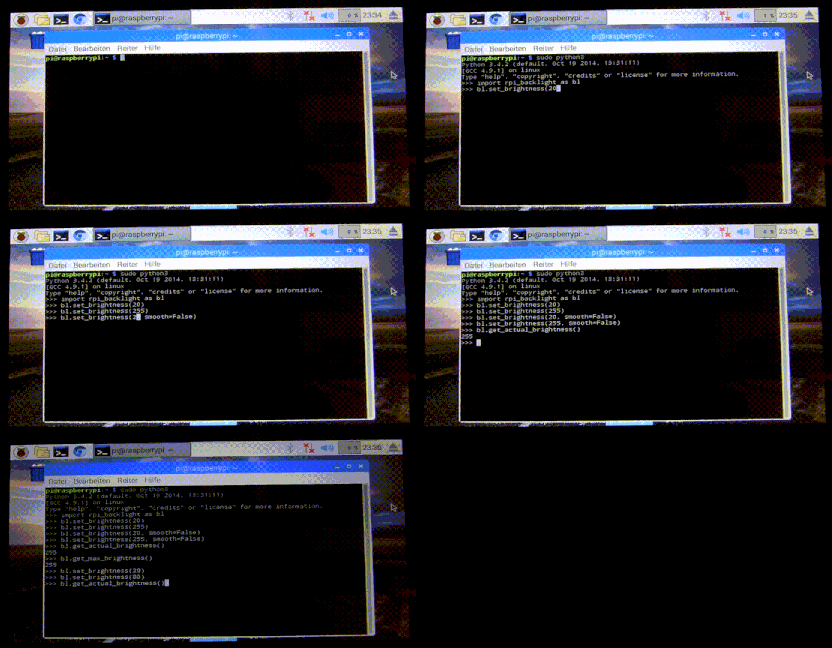
Note: This GIF was created using the old v1 API, so please don't use it as API reference 🙂
Features
- Set the display brightness smoothly or abrupt
- Set the display power on or off
- Get the current brightness
- Get the display power state (on/off)
- Command line interface
- Graphical user interface
Requirements
- A Raspberry Pi or ASUS Tinker Board including a correctly assembled 7" touch display v1.1 or higher (look on the display's circuit board to see its version) running a Linux-based OS
- Python 3.5+
- Optional: Raspberry Pi:
pygobjectfor the GUI, already installed on a recent Raspbian - Optional: Tinker Board:
gir1.2-gtk-3.0for the GUI install
Installation
Install from PyPI:
$ pip3 install rpi-backlight
Note: Create this udev rule to update permissions, otherwise you'll have to run Python code, the GUI and CLI as root when changing the power or brightness:
$ echo 'SUBSYSTEM=="backlight",RUN+="/bin/chmod 666 /sys/class/backlight/%k/brightness /sys/class/backlight/%k/bl_power"' | sudo tee -a /etc/udev/rules.d/backlight-permissions.rules
Emulator
For testing without a physical display (e.g. on your main Linux/macOS/Windows machine)
you can use linusg/rpi-backlight-emulator.
Usage
API
Example in a Python shell:
>>> from rpi_backlight import Backlight
>>>
>>> backlight = Backlight()
>>> backlight.brightness
100
>>> backlight.brightness = 50
>>> backlight.brightness
50
>>>
>>> with backlight.fade(duration=1):
...     backlight.brightness = 0
...
>>> backlight.fade_duration = 0.5
>>> # subsequent `backlight.brightness = x` will fade 500ms
>>>
>>> backlight.power
True
>>> backlight.power = False
>>> backlight.power
False
>>>
To use with ASUS Tinker Board:
>>> from rpi_backlight import Backlight, BoardType
>>>
>>> backlight = Backlight(board_type=BoardType.TINKER_BOARD)
>>> # continue like above
For more details see docs.
CLI
Open a terminal and run rpi-backlight.
$ rpi-backlight -b 100
$ rpi-backlight --set-brightness 20 --duration 1.5
$ rpi-backlight --get-brightness
20
$ rpi-backlight --get-power
on
$ rpi-backlight -p off
$ rpi-backlight --get-power
off
$ rpi-backlight --set-power off :emulator:
$ rpi-backlight -p toggle
$ rpi-backlight -p toggle -d 1.5
$
To use with ASUS Tinker Board:
$ rpi-backlight --board-type tinker-board ...
For all available options see docs.
GUI
Open a terminal and run rpi-backlight-gui.

Adding a shortcut to the LXDE panel
See docs.
Tests
Tests use pytest, install with pip3 install pytest.
Now, run from the repository root directory:
$ python3 -m pytest
Contributing
Please free to open an issue for bug reports and to discuss new features - pull requests for new features or bug fixes are welcome as well!
License
The source code and all other files in this repository are licensed under the MIT
license, so you can easily use it in your own projects. See LICENSE for
more information.
Project details
Release history Release notifications | RSS feed
Download files
Download the file for your platform. If you're not sure which to choose, learn more about installing packages.
Source Distribution
Built Distribution
Hashes for rpi_backlight-2.2.0-py3-none-any.whl
| Algorithm | Hash digest | |
|---|---|---|
| SHA256 | 378f6b4e88ea90c274fcf104d43d2a30653a1aea92296abf4863968fd51aeb48 |
|
| MD5 | 6e1231418ed787199b0f52d208babb23 |
|
| BLAKE2b-256 | 06e7478bb6761cfca82ee1c1c50a8db092a53a6eee068748f03c6c9e55591c6c |


