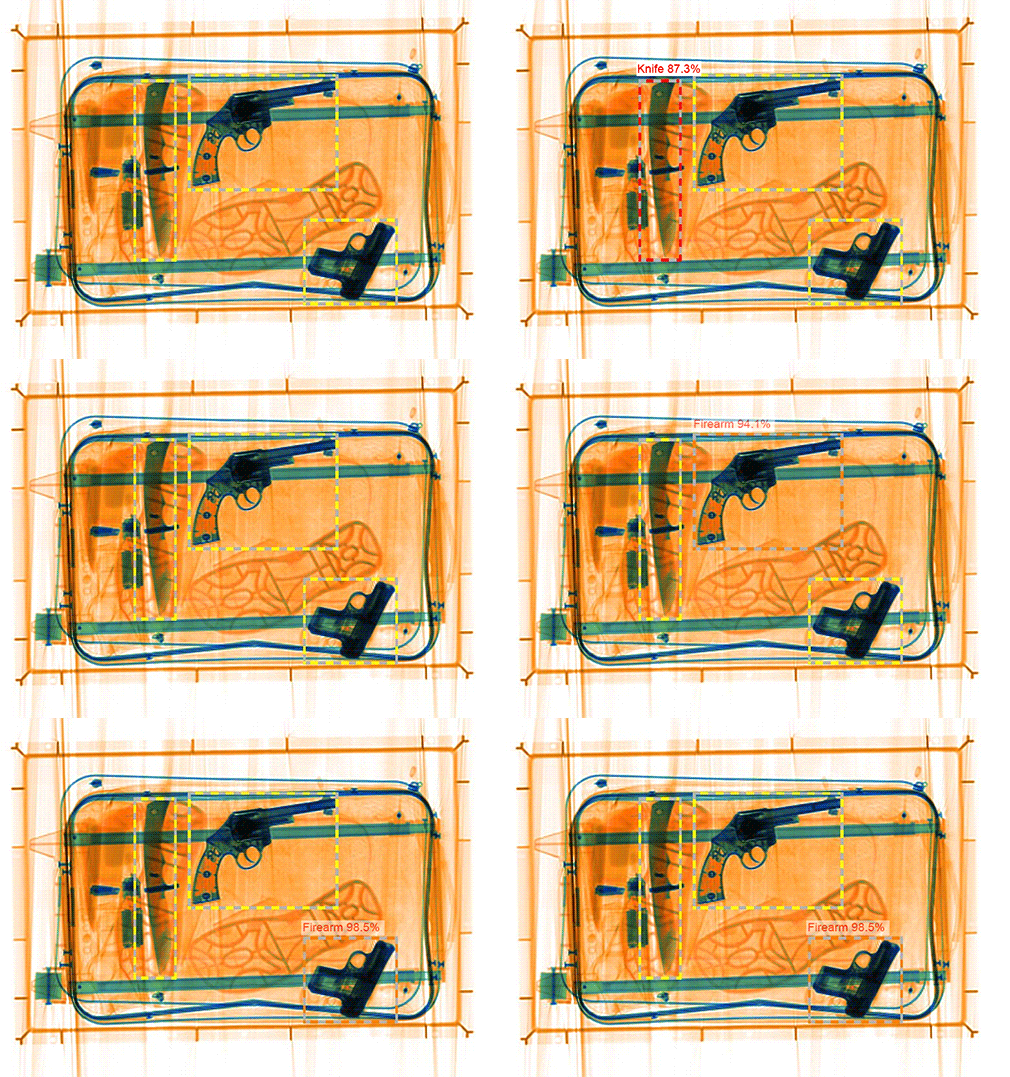
This python package is meant to provide a high level interface to facilitate the evaluation of object detection and segmentation algorithms that operate on 3D volumetric data.
Project description
UVal - Unified eValuation framework for 3D X-ray data
This python package is meant to provide a high level interface to facilitate the evaluation of object detection and segmentation algorithms that operate on 3D volumetric data.
- There is a growing need for high performance detection algorithms using 3D data, and it is very important to be able to compare them. By far, there has not been a trivial solution for a straightforward comparison between different 3D detection algorithms.
- This framework seeks a way to address the aforementioned problem by introducing a simple and standard layout of the popular HDF5 data format as input.
- Each detection algorithm can export the results and groundtruth data according to the defined layout principles. Then, UVal can evaluate the performance and come up with common comparison metrics.
 |
 |
|---|
Installation (non-development)
If you are not developing and only using UVal, you can simply install it as a pypi package (requires Python 3.8 or higher); simply run:
pip install uval
If you would like to have UVal installation to be independant of a specific python environment, simply use pipx instead of pip.
To run the code you can type:
uval --config-file ${workspaceFolder}/output/example/config.yaml
For an example of the outputs see here and the report here.
For the details of each entry in the config file please see here.
Development setup
-
First, please clone the UVal's git repository by executing the following command:
git clone https://gitlab.com/smithsdetection/uval.git -
You will need a
python >= 3.8environment to develop Uval.
We recommend using Anaconda due to its ease of use:curl -L -O "https://github.com/conda-forge/miniforge/releases/latest/download/Miniforge3-$(uname)-$(uname -m).sh" bash Miniforge3-$(uname)-$(uname -m).sh
For x86_64(amd64) use "Miniforge3-Linux-x86_64". For other operating systems see here.
-
Close and reopen your terminal session.
-
Setting up a
conda virtual environmentwithpoetryusing the following commands:mamba env create -f environment.yml mamba activate UVALENV poetry install pre-commit install
Alternatively, you can create your own conda environment from scratch. and follow with
poetryandpre-commitinstallations.
Example code
- A step-by-step walkthrough for reading and evaluating data with the UVal is available as a jupyter document:
-
Hint: Prior to running the demo jupyter notebook walkthrough, the following steps must be performed:
- The
ipykernelconda package must be installedconda install -c anaconda ipykernel
- The
uvalenvenvironment must be added as an ipykernel:python3 -m ipykernel install --user --name uvalenv --display-name "uvalenv Python38"
- The
uvalenv Python38kernel, which includes all the required python packages must be selected injupyterenvironment to run the code.
- The
Documentations
Read the docs: https://uval.readthedocs.io/
Release History
- 0.1.x
- The first ready-to-use version of UVal releases publicly
Meta
Smiths Detection – @Twitter – uval@smithsdetection.com
UVal is released under the GPL V3.0 license.
Contributing
- Fork it (https://gitlab.com/smithsdetection/uval/fork)
- Create your feature branch (
git checkout -b feature/fooBar) - Commit your changes (
git commit -am 'Add some fooBar') - Push to the branch (
git push origin feature/fooBar) - Create a new merge Request
Citing UVal
If you use UVal in your research or wish to refer to the results, please use the following BibTeX entry.
@misc{smithsdetection2022uval,
  author =       {Philipp Fischer, Geert Heilmann, Mohammad Razavi, Faraz Saeedan},
  title =        {UVal},
  howpublished = {\url{https://gitlab.com/smithsdetection/uval}},
  year =         {2022}
}
Project details
Download files
Download the file for your platform. If you're not sure which to choose, learn more about installing packages.
Source Distribution
Built Distribution
Filter files by name, interpreter, ABI, and platform.
If you're not sure about the file name format, learn more about wheel file names.
Copy a direct link to the current filters
File details
Details for the file uval-0.2.2.tar.gz.
File metadata
- Download URL: uval-0.2.2.tar.gz
- Upload date:
- Size: 77.6 kB
- Tags: Source
- Uploaded using Trusted Publishing? No
- Uploaded via: poetry/1.8.2 CPython/3.8.19 Linux/4.18.0-553.22.1.el8_10.x86_64
File hashes
| Algorithm | Hash digest | |
|---|---|---|
| SHA256 |
c0cf635315830d57c1f0308098b9bcddf076e449c493472550459440ffc06383
|
|
| MD5 |
be9b645dd1eee735f06e8cb8594564b5
|
|
| BLAKE2b-256 |
e9c7dcd2385d05b79fc954461e02fcfb542d2ae7b419797545ec3f8cc9fbec58
|
File details
Details for the file uval-0.2.2-py3-none-any.whl.
File metadata
- Download URL: uval-0.2.2-py3-none-any.whl
- Upload date:
- Size: 99.5 kB
- Tags: Python 3
- Uploaded using Trusted Publishing? No
- Uploaded via: poetry/1.8.2 CPython/3.8.19 Linux/4.18.0-553.22.1.el8_10.x86_64
File hashes
| Algorithm | Hash digest | |
|---|---|---|
| SHA256 |
48a1f143f7c0d30d2b6700d2b4048e8ed5ce3168c3e0ed1454ec6e27e2ba8c88
|
|
| MD5 |
d4a0274085991e66049125521e9e0ddd
|
|
| BLAKE2b-256 |
91fc54c124a56383493a8920474079359c41faff730bc04bb0ab3a96921326f2
|


