
Getting started
This is the new API for weather forecasting.
How to Build
You must have Python 2 >=2.7.9 or Python 3 >=3.4 installed on your system to install and run this SDK. This SDK package depends on other Python packages like nose, jsonpickle etc.
These dependencies are defined in the requirements.txt file that comes with the SDK.
To resolve these dependencies, you can use the PIP Dependency manager. Install it by following steps at https://pip.pypa.io/en/stable/installing/.
Python and PIP executables should be defined in your PATH. Open command prompt and type pip --version.
This should display the version of the PIP Dependency Manager installed if your installation was successful and the paths are properly defined.
- Using command line, navigate to the directory containing the generated files (including
requirements.txt) for the SDK. - Run the command
pip install -r requirements.txt. This should install all the required dependencies.
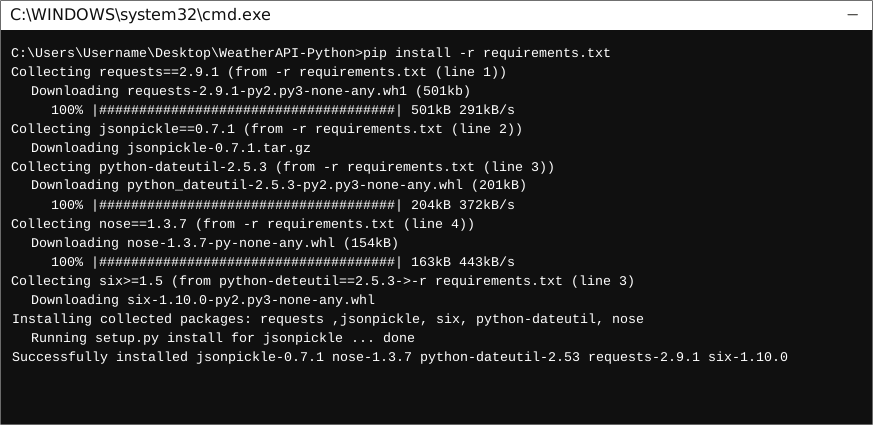
How to Use
The following section explains how to use the WeatherApi SDK package in a new project.
1. Open Project in an IDE
Open up a Python IDE like PyCharm. The basic workflow presented here is also applicable if you prefer using a different editor or IDE.
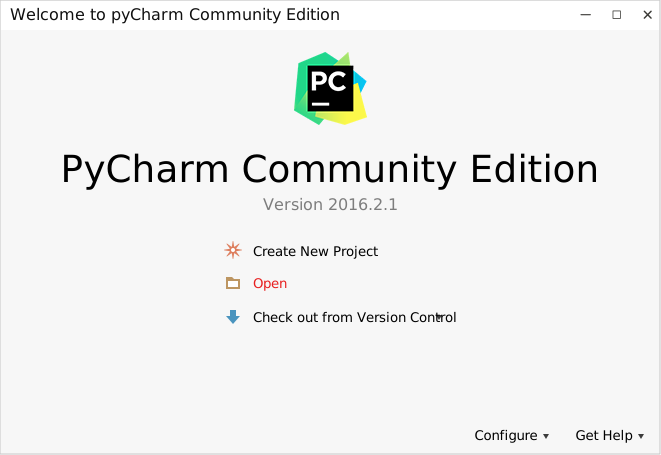
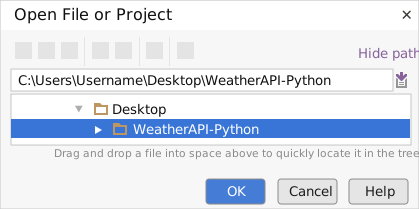
Click on Open in PyCharm to browse to your generated SDK directory and then click OK.
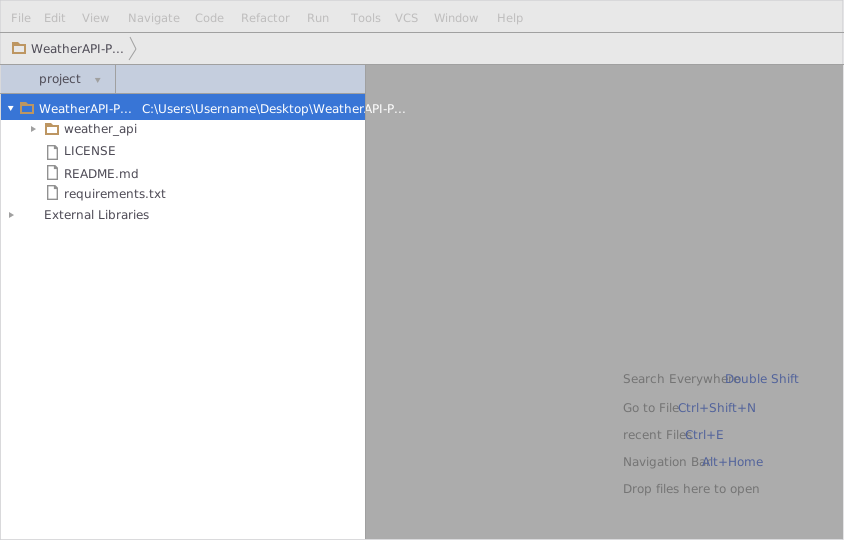
The project files will be displayed in the side bar as follows:
2. Add a new Test Project
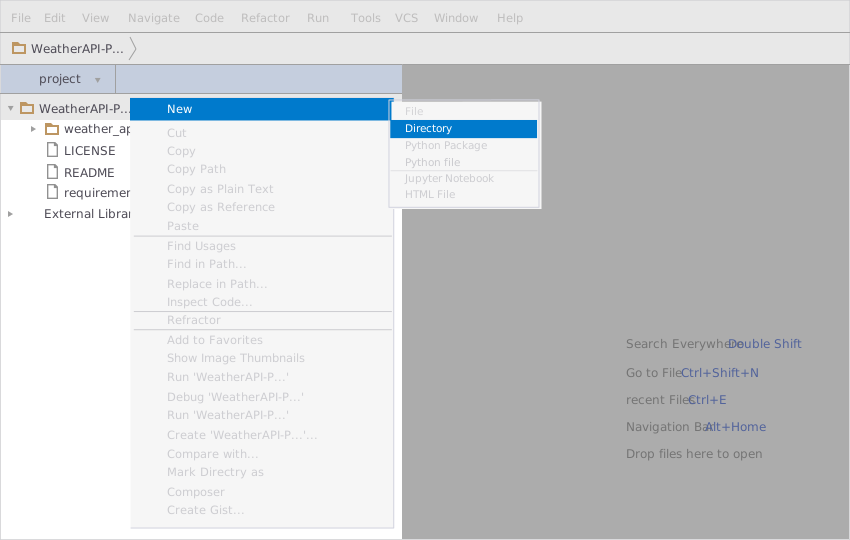
Create a new directory by right clicking on the solution name as shown below:
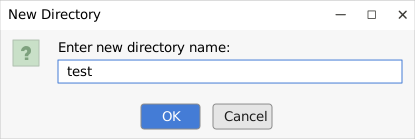
Name the directory as "test"
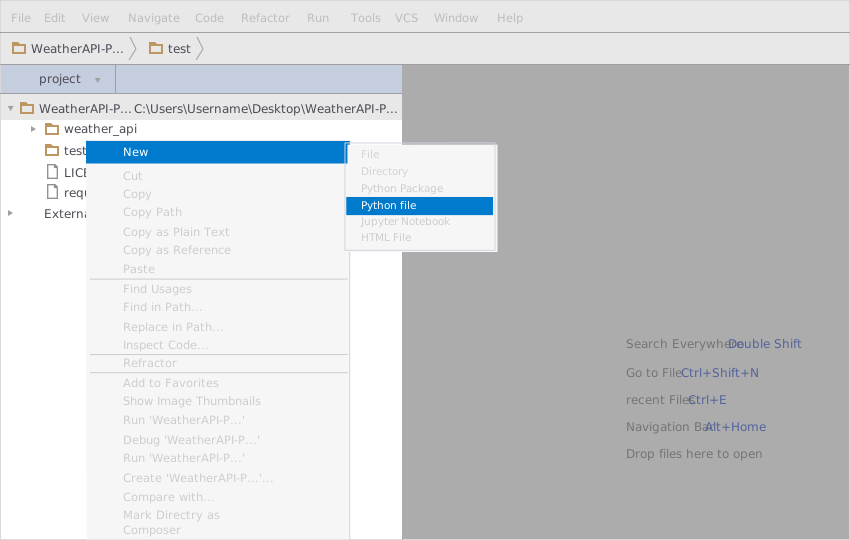
Add a python file to this project with the name "testsdk"
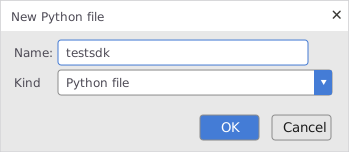
Name it "testsdk"
In your python file you will be required to import the generated python library using the following code lines
from weather_api.weather_api_client import WeatherApiClient
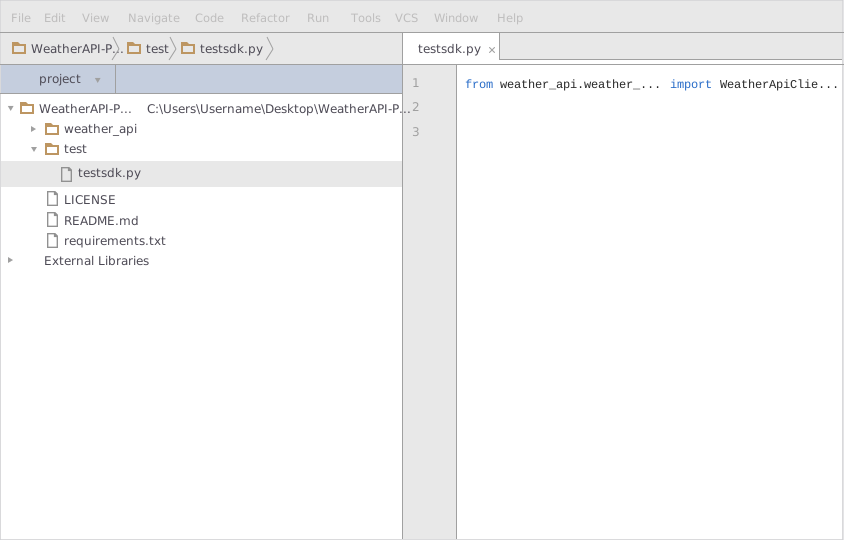
After this you can write code to instantiate an API client object, get a controller object and make API calls. Sample code is given in the subsequent sections.
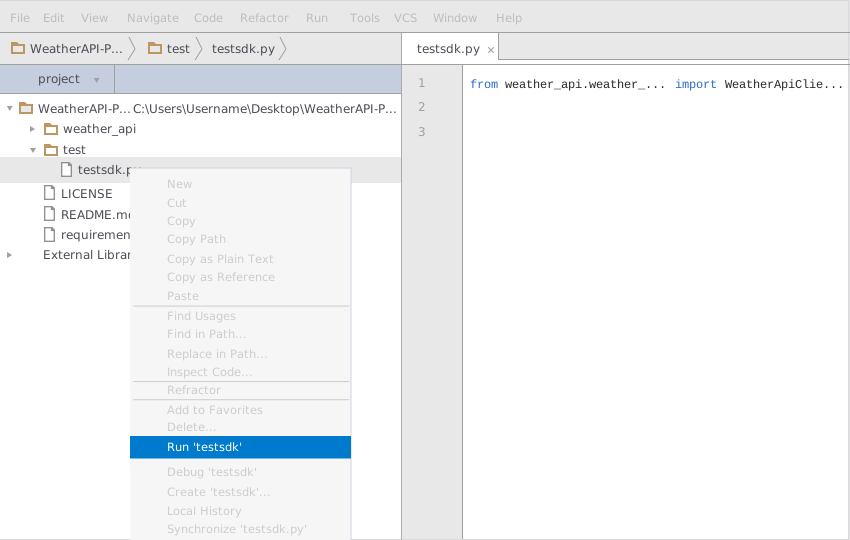
3. Run the Test Project
To run the file within your test project, right click on your Python file inside your Test project and click on Run
How to Test
You can test the generated SDK and the server with automatically generated test cases. unittest is used as the testing framework and nose is used as the test runner. You can run the tests as follows:
- From terminal/cmd navigate to the root directory of the SDK.
- Invoke
pip install -r test-requirements.txt - Invoke
nosetests
Initialization
Authentication
In order to setup authentication and initialization of the API client, you need the following information.
| Parameter | Description |
|---|---|
| appid | app key |
API client can be initialized as following.
# Configuration parameters and credentials
appid = 'e7b16ebe3fbe47e6b97f6821cff80e5d' # app key

client = WeatherApiClient(appid)
Class Reference
List of Controllers
 FindWeatherController
Get controller instance
An instance of the FindWeatherController class can be accessed from the API Client.
find_weather_controller = client.find_weather
 find
find
The endpoint to get data of a specific city.
def find(self,
                q)
Parameters
| Parameter | Tags | Description |
|---|---|---|
| q | Required DefaultValue |
City Name |
Example Usage
q = 'Islamabad'

result = find_weather_controller.find(q)
1 maintainer

Metadata
1 maintainer
Release files for weather-api 1.0
For a detailed explanation of source distributions (sdists) and built distributions (wheels), please see the package formats documentation.
Source distribution (sdist)
| File | Size | Uploaded | |
|---|---|---|---|
| weather_api-1.0.tar.gz | 14.9 kB | Details |
Built distribution (wheel)
| File | Interpreter | ABI | Platform | Reset |
|---|---|---|---|---|
| weather_api-1.0-py3-none-any.whl | Python 3 | none | any | Details |
Total release size: 42.5 kB
Release files / weather_api-1.0.tar.gz
| Download URL | weather_api-1.0.tar.gz |
|---|---|
| Size | 14.9 kB |
| Tags | Source |
|
SHA-256 checksum How to use checksums |
9134fd5c98556b7230145487e172df441c80d7e6c700e0627b3971426a284fc5
|
|
BLAKE2b-256 checksum How to use checksums |
82a0303aa794143fe0445f53884d3d9db08d7833319183ed482fe96b56bd2d2f
|
| Upload date | |
|
Uploaded using Trusted Publishing? What is trusted publishing? |
No |
| Uploaded via |
twine/1.13.0 pkginfo/1.5.0.1 requests/2.22.0 setuptools/41.2.0 requests-toolbelt/0.9.1 tqdm/4.34.0 CPython/3.6.8
|
Release files / weather_api-1.0-py3-none-any.whl
| Download URL | weather_api-1.0-py3-none-any.whl |
|---|---|
| Size | 27.6 kB |
| Tags | Python 3 |
|
SHA-256 checksum How to use checksums |
0afb994e5c0e320e1d1ddfc31c2b0deabeb4dc5064e58cd2023fd94ec2a08427
|
|
BLAKE2b-256 checksum How to use checksums |
8d592fbcb5e81199022a8ce5bebadb99f8a221e35b820362b24579757d768bfa
|
| Upload date | |
|
Uploaded using Trusted Publishing? What is trusted publishing? |
No |
| Uploaded via |
twine/1.13.0 pkginfo/1.5.0.1 requests/2.22.0 setuptools/41.2.0 requests-toolbelt/0.9.1 tqdm/4.34.0 CPython/3.6.8
|













