Single Molecule Simulations and Microscopy Simulations developed for the Weber Lab by Baljyot Singh Parmar
Project description
This is a short doc for the Track Simulations along with cluster simulations.
- Author: Baljyot Singh Parmar
- Affiliation at the time of writing: McGill University, Canada. Weber Lab
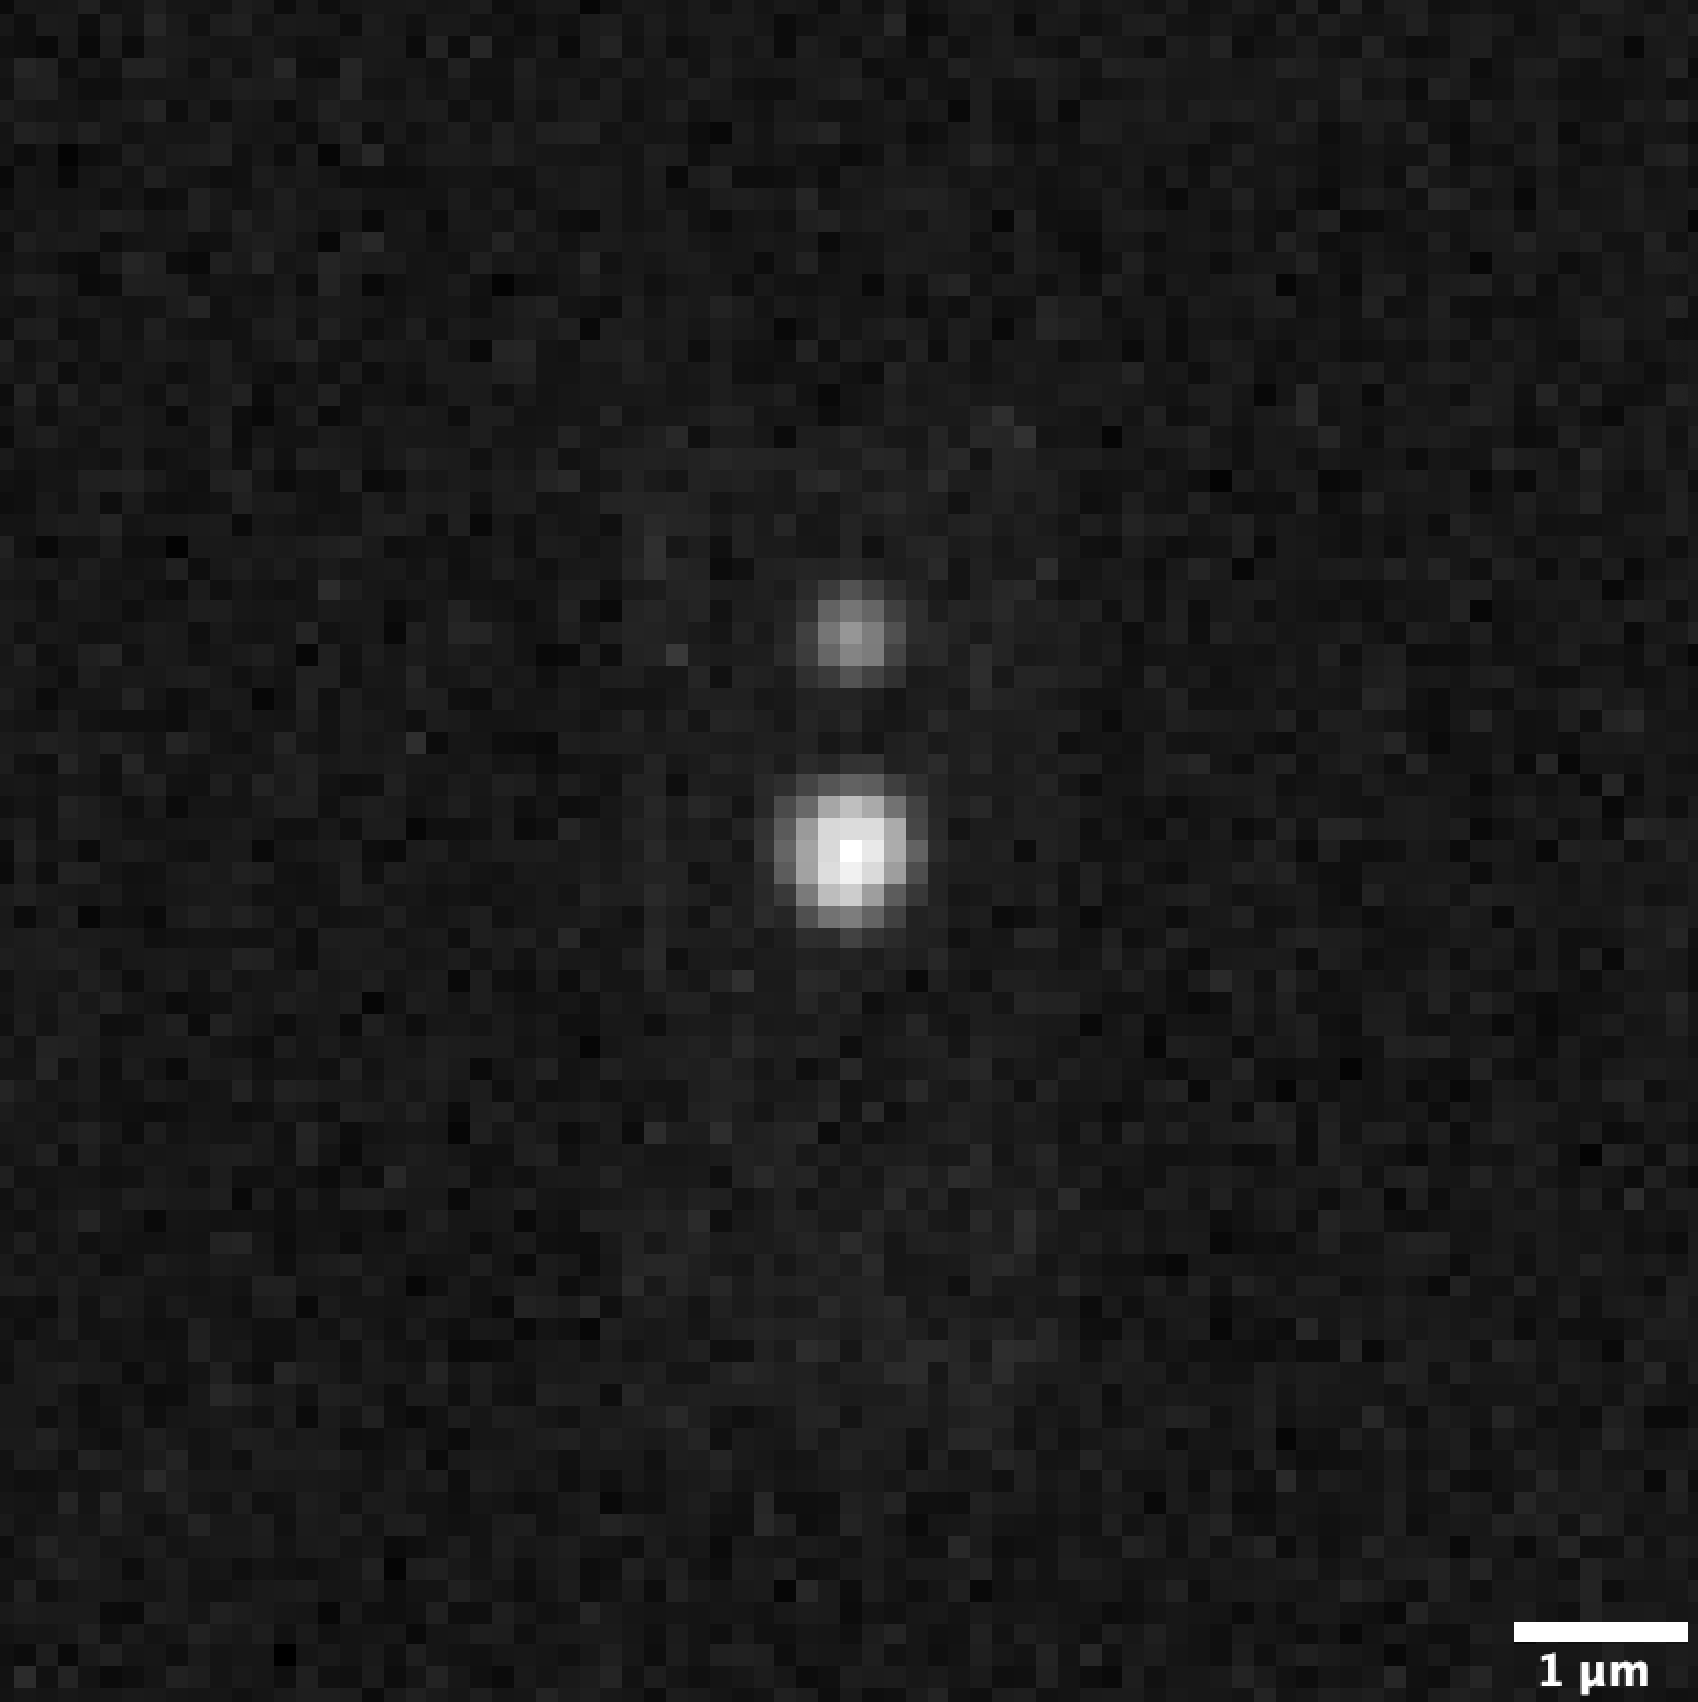
Following is an example of a single molecule simulated with motion blur.
https://github.com/user-attachments/assets/58268a2e-27d7-4486-ae29-a56f7e08ec0c
The following is an example of a single molecule simulation with the movement switching between two modes. (60 fps, 1 frame = 100 ms)
https://github.com/user-attachments/assets/984d8158-968f-435e-97ae-d81205e219a2
The following is a single molecule localization microscopy simulation (SMLM) (1 PSF per molecule here), with two dense regions in the cell.
https://github.com/user-attachments/assets/244d0a2d-4541-4ff2-a926-40e444d36789
The following is a sum-time projection of the above simulation showing the density of the molecules over the duration of the simulation (2 dense regions in a box-like cell).

1. Installation
Please note, all these are for macOS/linux. I need to test on windows (I don't remember the commands, but will set up a VM to test this). But these commands should have windows equivalents. If you run into any issues please create a Github issue on the repository as it will help me manage different issues with different people and also create a resource for people encountering a solved issue.
Anaconda
- Make sure you have anaconda installed: https://www.anaconda.com/download
- Download or clone this repository.
- In the conda prompt, navigate to the folder where you downloaded this repository using :
cd "path_to_folder"
- Using the SMS_BP.yml file, create a new environment using:
conda env create -f SMS_BP.yml
- If you get an environment resolve error but you have anaconda installed just skip to step 6. The .yml file is for people who are using miniconda and might not have the packages already installed with the full anaconda install.
- You may want to still have a conda environment so just create a generic one if you want with the name SMS_BP or whatever you want with python>=3.10. Explicitly,
conda create -n [my_env_name] python=3.10.13
- Activate the environment using:
conda activate SMS_BP
- Now we will install this package in edit mode.
- Run the command:
pip install -e . --config-settings editable_mode=compat
Pip
- Make sure you have pip installed: https://pip.pypa.io/en/stable/installing/
- Make sure you have python 3.10.13 as the active interpreter (through venv or conda or whatever you want).
- Make sure pip is also installed.
- Install from pypi using:
pip install SMS-BP
Installing the CLI tool using UV
- Install UV (https://docs.astral.sh/uv/getting-started/installation/).
- Run the command:
uv tool install SMS_BP
- You will have access to two CLI commands (using the uv interface):
run_SMS_BP runsim: This is the main entry point for the simulation. (seerun_SMS_BP runsim --helpfor more details)run_SMS_BP config: This is a helper tool to generate a template config file for the simulation. (seerun_SMS_BP config --helpfor more details)- Note: using
run_SMS_BP --helpwill show you all the available commands.
- You can now use these tools (they are isolated in their own env created by uv, which is cool):
run_SMS_BP config [PATH_TO_CONFIG_FILE]
run_SMS_BP runsim [PATH_TO_SAVED_CONFIG_FILE]
2. Running the Simulation
Having installed the package, make sure the CLI commands are working:
run_SMS_BP --help
If this does not work submit an issue on the github repository. TODO: convert this into tests.
- This is a note on using the CLI tool properly. In the install (step 6) we also installed a CLI tool to interface with the program from anywhere. The only condition is that you are in the SMS_BP conda environment or similar venv you created and installed to (unless you used uv).
- Create a template of the config file with default parameters using
run_SMS_BP config [PATH_TO_CONFIG_FILE]
This will create a sim_config.json file in the current directory. You can add a optional argument (path) to be a [PATH] to save the file elsewhere.- To run the CLI tool after the install we can type
run_SMS_BP runsim [PATH_TO_SAVED_CONFIG_FILE]
- If you used 1) then this is just:
run_SMS_BP runsim sim_config.json
from anywhere assuming the path you provide is absolute.- In the background all this is doing is running:
from SMS_BP.run_cell_simulation import typer_app_sms_bp; typer_app_sms_bp()
This is the entry point.- Do note that the config checker is not robust so if you have prodived the wrong types or excluded some parameters which are required alongside other ones you will get an error. Read the src/SMS_BP/sim_config.md for details into the config file parameters. TODO: create CI tests for this.
- If you run into any issues please create a Github issue on the repository as it will help me manage different issues with different people and also create a resource for people encountering a solved issue.
Project details
Release history Release notifications | RSS feed
Download files
Download the file for your platform. If you're not sure which to choose, learn more about installing packages.


