This project provides a 2D simulation environment designed for the development and testing of path planning algorithms. It offers a flexible and interactive platform for researchers, developers, and hobbyists to experiment with various path planning strategies in a controlled virtual space.
Project description
AutoNavSim2D
This project provides a 2D simulation environment designed for the development and testing of path planning algorithms. It offers a flexible and interactive platform for researchers, developers, and hobbyists to experiment with various path planning strategies in a controlled virtual space.
This project is being maintained by Clinton Anani.
Table of Contents
- Installation
- Requirements
- Features
- Usage
- Configuration
- Demo
- Custom Planner
- Map Generation
- Map Usage
- Self-driving Vehicle Simulation
- Testing your Own Controller
- Contributing
- License
- Acknowledgments
- Contact
Installation
Follow these steps to install and set up the simulation environment on your system:
pip install autonavsim2D
Requirements
AutoNavSim2D is designed to be lightweight and memory efficient, so no dedicated hardware is required to run it. It is built on the pygame python package. To install pygame:
pip install pygame
Features
Currently, AutoNavSim2D has the following features:
- 2D path planning
- Reactive autonomous navigation
- Dynamic map generation
- Support for custom graph-based path planning algorithms such as
A*,DjiktraorD* - Self-driving vehicle simulation
Usage
To use the simulation environment for basic path planning and navigation with the default Djikstra algorithm path planner, create a main.py file, and import the package:
from autonavsim2d.autonavsim2d import AutoNavSim2D

# parameter configuration
config = {
    "show_frame": True,
    "show_grid": False,
    "map": None
}

nav = AutoNavSim2D(
    custom_planner='default',
    custom_motion_planner='default',
    window='amr',
    config=config
)

nav.run()
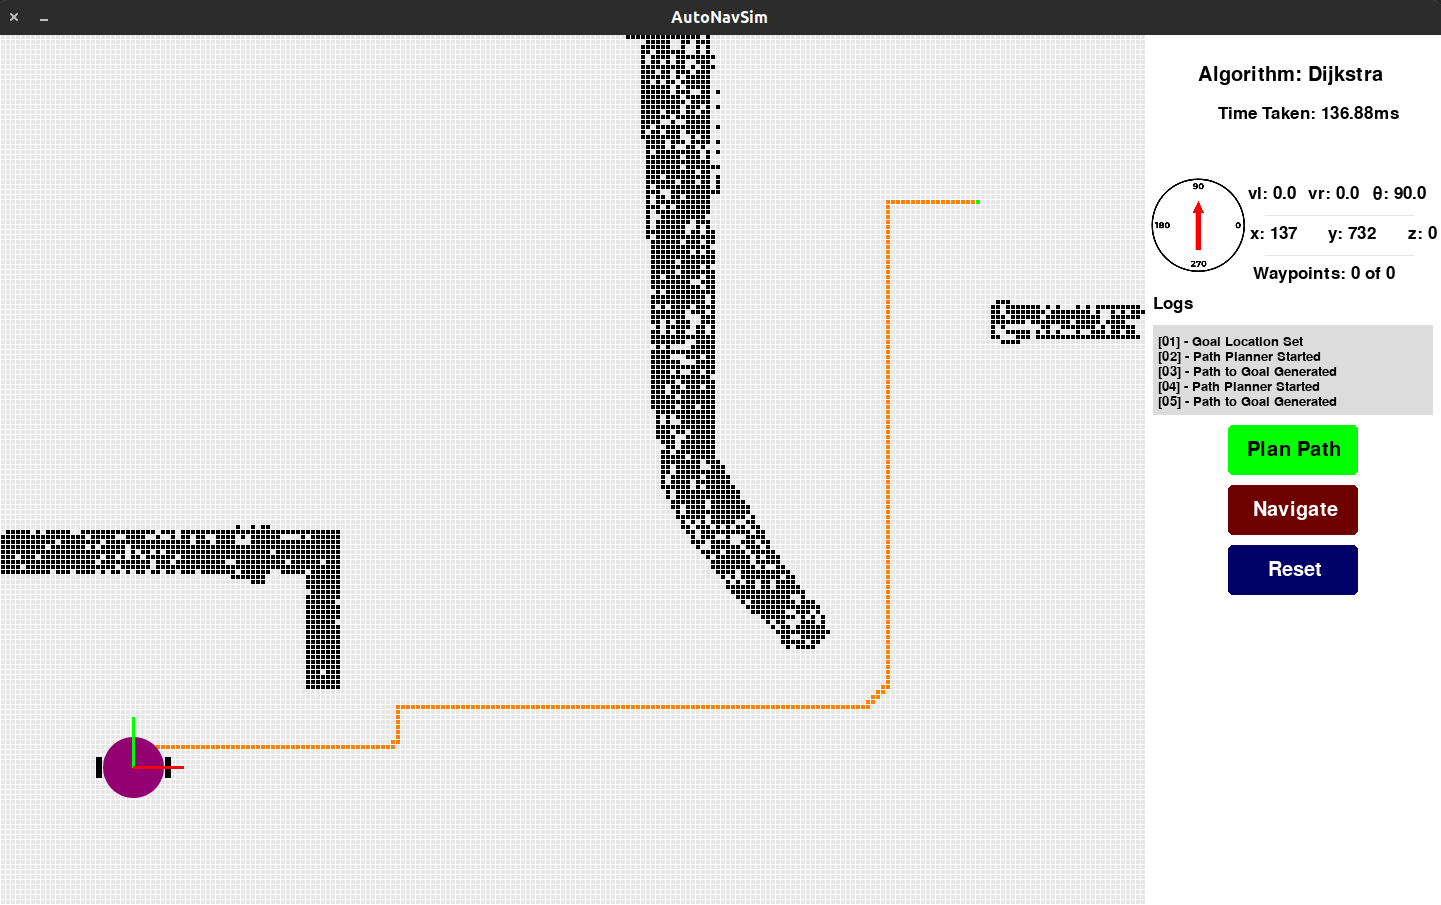
To use the GUI, there are three steps involved to set the robot up, set a goal location, and generate obstacles:
- The first left-click is to place the robot in any location of your choosing. You can click
resetto clear the map. - The second left-click sets your goal location. The cell you left-click on as your goal location will be green. To remove that location, right-click on the cell.
- And lastly, to create obstacles (colored black), left-click on anywhere on the map and drag, after setting the robot and choosing your goal location. To remove an obstacle from the map, simply right-click on it.
These steps must be followed one after the other in order to set the robot, set your goal location, and create obstacles. Check out the video below for a demo:
https://github.com/yendiDev/autonavsim2d/assets/57093800/6d96191d-1a85-4c3a-a542-0d29c1232b96
Configuration
AutoNavSim2D can be customized in numerous ways. To launch the simulation environment with a starting page, set the window parameter to default:
nav = AutoNavSim2D(
    custom_planner='default',
    custom_motion_planner='default',
    window='default',
    config=config
)
To launch the simulation environment in map mode where you can begin visualization, set the window parameter to amr:
nav = AutoNavSim2D(
    custom_planner='default',
    custom_motion_planner='default',
    window='amr',
    config=config
)
Demo
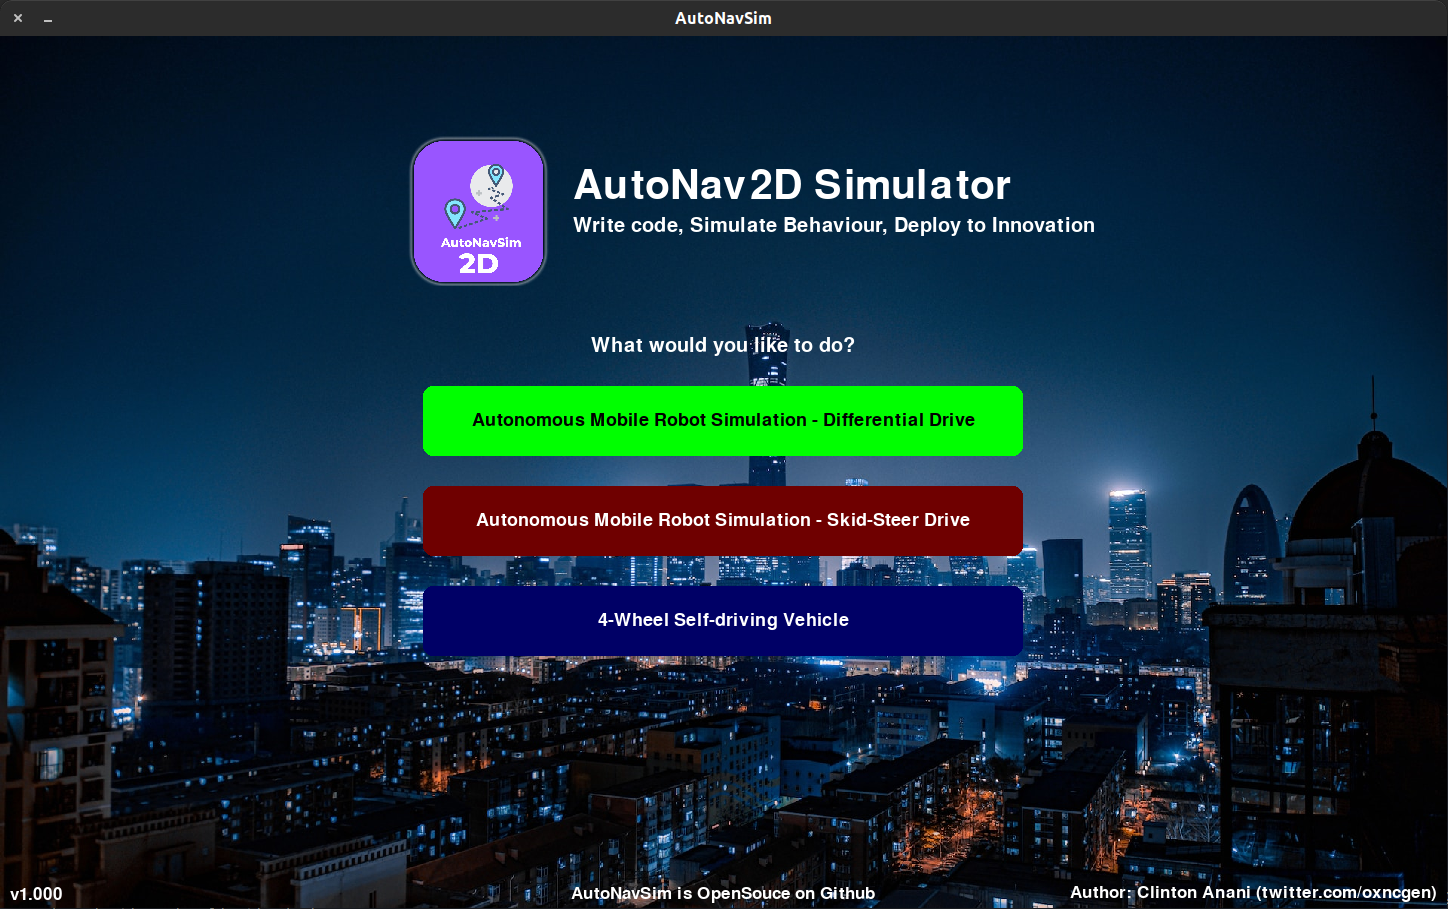
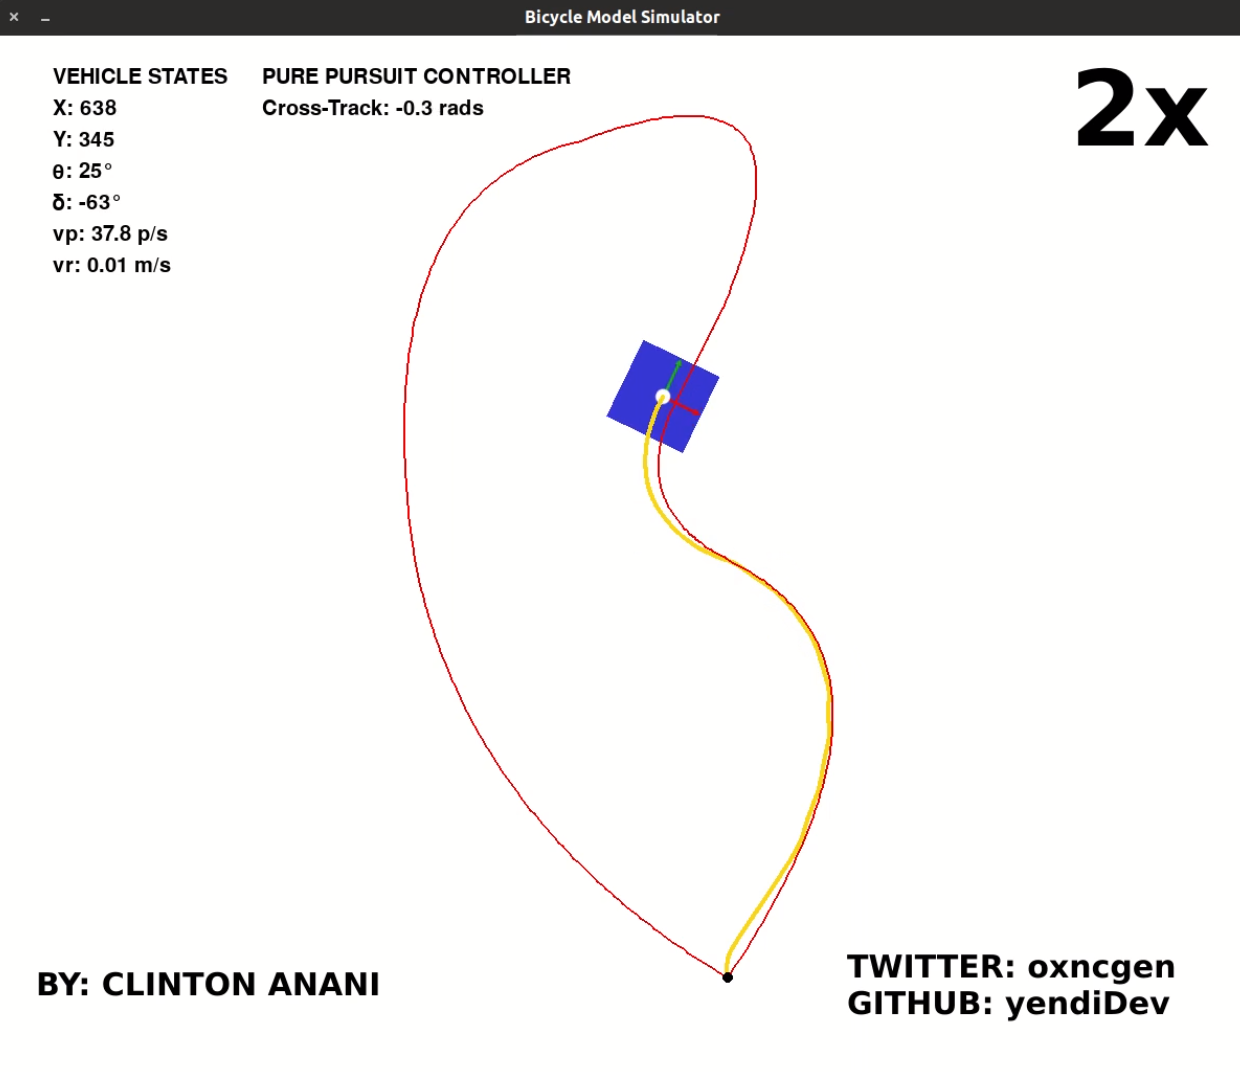
See a video demo of the simulation environment in action here or check out the screenshots below:

Custom Planner
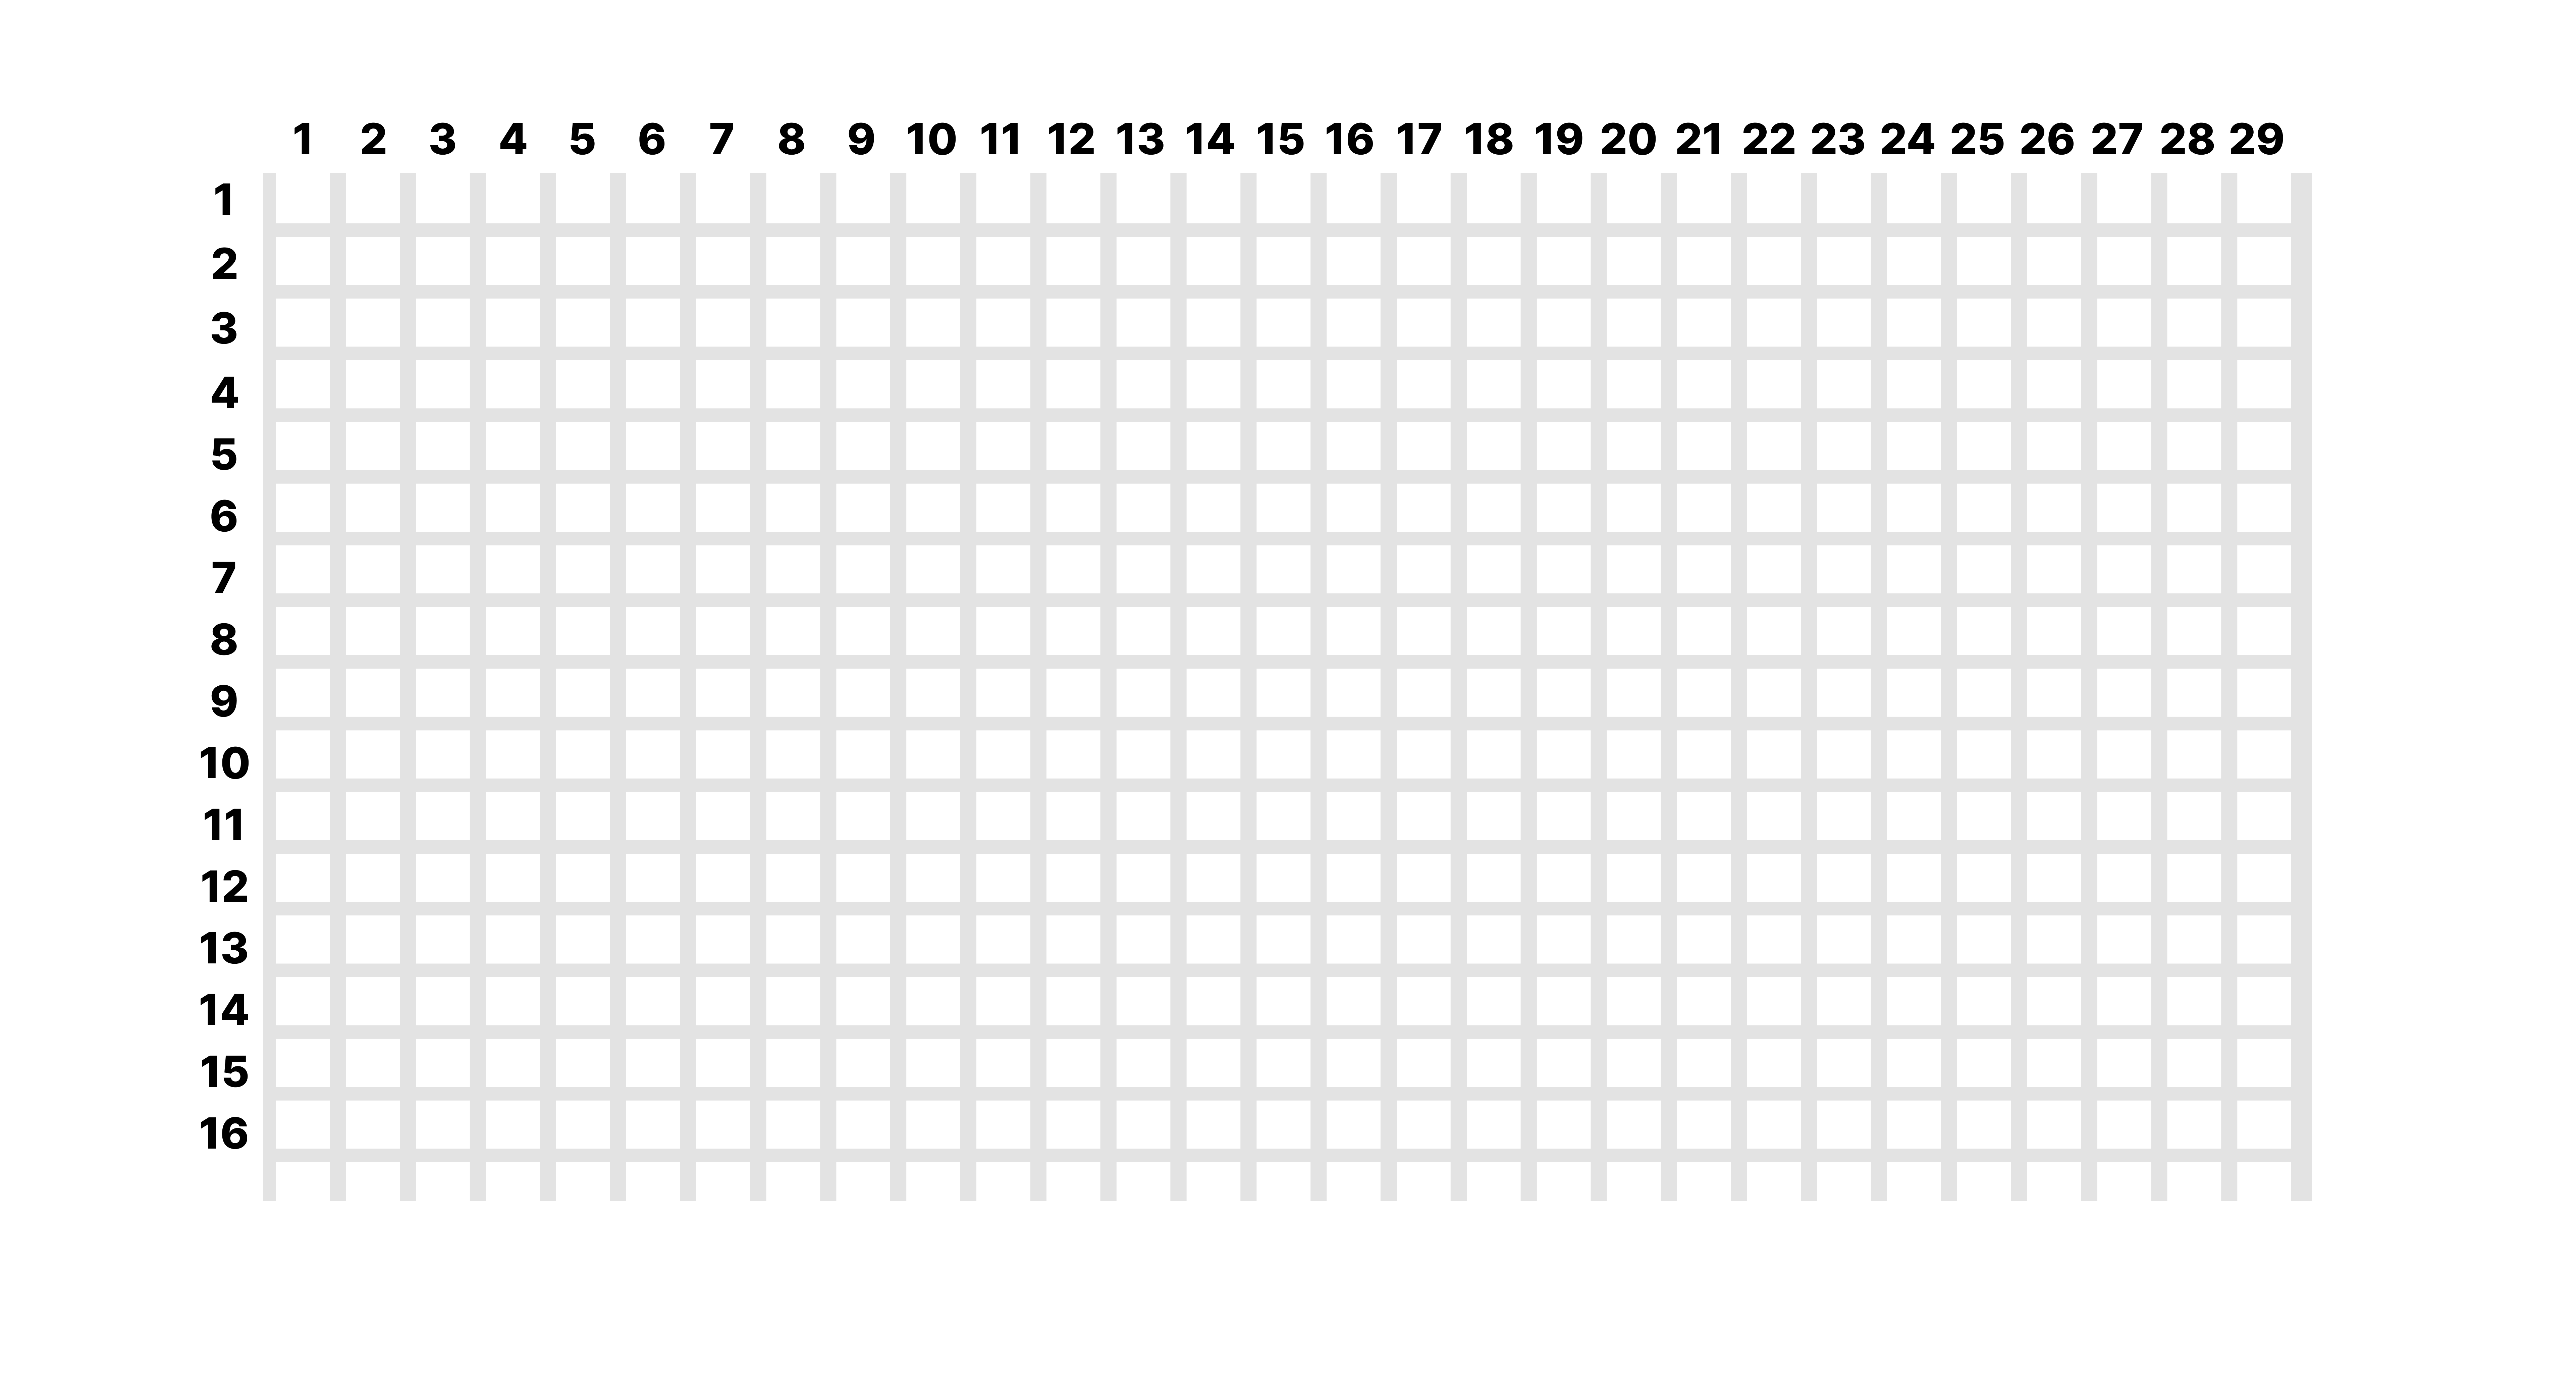
Writing your own path planning algorithm to be used in AutoNavSim2D is really simple. First, the map (1147x872) is represented as shown below:
Next the 2D matrix representation of the map, where 1 represents a free path and 0 represents an obstable is shown below. You will receive this matrix when writing your custom planner:
[
    [1,1,1,1,1,1,1,1,1,1,1,1,1,1,1,1,1,1,1,1,1,1,1,1,1,1,1,1,1,1,1,1,1,1,1,1],
    [1,1,1,1,1,1,0,1,1,1,1,1,1,1,1,1,1,1,1,1,1,1,1,1,1,1,1,1,1,1,1,1,1,1,1,1],
    [1,1,1,1,1,1,1,1,1,1,1,1,1,1,1,1,1,1,1,0,1,1,1,1,1,1,1,1,1,1,1,1,1,1,1,1],
    [1,1,1,1,1,1,1,1,1,1,1,1,1,1,1,1,1,1,1,1,1,1,1,1,1,1,1,1,1,1,1,1,1,1,1,1],
    [1,1,1,1,1,1,1,1,1,1,1,1,1,1,1,1,1,1,1,1,1,1,1,0,1,1,1,1,1,1,1,1,1,1,1,1],
    [1,1,1,1,1,1,1,1,1,1,1,1,1,1,1,1,1,1,1,1,1,1,1,1,1,1,1,1,1,1,1,1,1,1,1,1],
    ...
    [1,1,1,1,1,1,1,1,1,1,1,1,1,1,1,1,1,1,1,1,1,1,1,1,1,1,1,1,1,1,1,1,1,1,1,1]
]
To use your custom path planner in AutoNavSim2D, write it in a function or class, return the optimal path as well as the time taken to calculate the path, and set it to the custom_planner parameter as seen below:
from autonavsim2d import AutoNavSim2D

def my_planner(grid, matrix, start_loc, goal_loc):
    # your own custom path planning algorithm here
    path = []
    runtime = ''

    return (path, runtime)


# parameter configuration
config = {
    "show_frame": True,
    "show_grid": False,
    "map": None
}
nav = AutoNavSim2D(
    custom_planner=my_planner,
    custom_motion_planner='default',
    window='amr',
    config=config
)

nav.run()
Also, to use your custom motion planner or waypoint generator in AutoNavSim2D, write it in a function or class, return the appropriate set of waypoints in a list, and set it to the custom_motion_planner parameter as seen below:
from autonavsim2d import AutoNavSim2D
from utils.pose import Pose, Point, Orientation
from utils.pose_stamped import PoseStamped, Header

def custom_motion_planner(grid, path, start, end):
    # write your custom algorithm to generate waypoints here
    robot_pose = None
    waypoints = []

   # 1. ROBOT POSE
    # Robot pose must be a PoseStamp containing the robot's current location:
    # start_cell = start[0]
    # rect_x = start_cell.x
    # rect_y = start_cell.y

    # rect_center_x = rect_x + start_cell.width // 2
    # rect_center_y = rect_y + start_cell.height // 2

    # robot_position = Point(x=rect_center_x, y=rect_center_y, z=0)
    # robot_orientation = Orientation(0, 0, 0, math.pi/2)
    # robot_pose = Pose(position=robot_position, orientation=robot_orientation)

    # 2. NAVIGATION WAYPOINTS
    # Each element inside the waypoints list must return a PoseStamp:
    # waypoint = PoseStamp(header=Header(...), pose=Pose(...))

    # Where the elements of the PoseStamp include:
    # Point(x, y, z=0)
    # Orientation(x=0, y=0, z=0, w=theta)
    # Pose(position=Point(...), orientation=Orientation(...))
    # Header(stamp='0', frame_id='')

    return(robot_pose, waypoints)


# parameter configuration
config = {
    "show_frame": True,
    "show_grid": False,
    "map": None
}

nav = AutoNavSim2D(
    custom_planner='default',
    custom_motion_planner=custom_motion_planner,
    window='amr',
    config=config
)

nav.run()
Map Generation
Now, you can generate custom maps to be used inside simulations to test different edge cases. To launch the map generator, set the window paramter to map_gen:
from autonavsim2d.autonavsim2d import AutoNavSim2D

# parameter configuration
config = {
    "show_frame": True,
    "show_grid": False,
    "map": None
}

nav = AutoNavSim2D(
    custom_planner='default',
    custom_motion_planner='default',
    window='map_gen',
    config=config
)

nav.run()
This will open up the map generation window. To generate a sample map, see the demo video below:
https://github.com/user-attachments/assets/572bc8a8-1653-48d0-aeeb-0b4a55193cf9
Map Usage
To use a generated map in your simulation, set the map parameter in the config dict to have the location of your generated map file, then set the window paramter back to amr for simulation and autonomous navigation:
from autonavsim2d.autonavsim2d import AutoNavSim2D

# parameter configuration
config = {
    "show_frame": True,
    "show_grid": False,
    "map": "custom_maps/office_map.pkl"
}

nav = AutoNavSim2D(
    custom_planner='default',
    custom_motion_planner='default',
    window='amr',
    config=config
)

nav.run()
Generate maps are stored as pickle files in a generated directory called custom_maps, making them easily readable by the simulation environment for visualisation. See demo below for how to use a generated map:
https://github.com/user-attachments/assets/572bc8a8-1653-48d0-aeeb-0b4a55193cf9
Self-driving Vehicle Simulation
This is the newest addition to the range of simulation possibilities on AutoNavSim2D. Under this simulation, one will be able to write geometric lateral control algorithms and test them using the in-built self-driving vehicle that uses the bicycle model for navigation.
To use this simulation in it's default configuration:
from autonavsim2d.autonavsim2d import AutoNavSim2D

AutoNavSim2D.sdv(
    ctrl=None,
    la_distance=None
)
ctrl and la_distance are the parameters one will be able to tweak to get desired results. ctrl refers to the custom controller one intends to use. Setting it to None means the default controller, which is the Pure Pursuit controller, will be used.
la_distance refers to the look-ahead distance, which is a key paramter used by geometric lateral controllers for calculating steering angles along a path.
See a demo of the simulation here:
https://github.com/user-attachments/assets/d1638ee6-a281-438d-aaa8-ef290a88ca93
Testing your own controller
To use your own controller in this simulation, it's really simple:
import numpy as np
from autonavsim2d.autonavsim2d import AutoNavSim2D

class YourLateralController:

    def __init__(self, lookahead_distance):
        self.lookahead_distance = lookahead_distance

    def compute_steering_angle(self, current_position, path):
        """
        In here, write your lateral control algorithm that
        returns the appropriate steering angle required
        to make the vehicle follow its intended trajectory
        """

        steering_angle = 0

        return steering_angle

AutoNavSim2D.sdv(
    ctrl=YourLateralController(lookahead_distance=2),
    la_distance=None
)
It is important to note that you MUST use the class template provided above for writing your own controller. The init() and compute_steering_angle() functions must be implement with the same names.
Contributing
To contribute, please email me at kceequan01@gmail.com. We welcome contributions from the community!
License
This project is licensed under the MIT License - see the LICENSE file for details.
Acknowledgments
AutoNavSim was built on Pygame. Thank you to the Pygame community for making this available :)
Contact
For inquiries or feedback, feel free to reach out:
- Email: kceequan01@gmail.com
- Twitter: https://twitter.com/oxncgen
- Linkedin: https://www.linkedin.com/in/clinton-anani-56a125196/
Project details
Download files
Download the file for your platform. If you're not sure which to choose, learn more about installing packages.
Source Distribution
Built Distribution
Hashes for autonavsim2D-2.0.0-py3-none-any.whl
| Algorithm | Hash digest | |
|---|---|---|
| SHA256 | d9130f1cd136cc835b33bad48cd0df1177b11ef07bded0923b51573e4ca977e9 |
|
| MD5 | 8812ce41ed478931528ff1af29436120 |
|
| BLAKE2b-256 | 38384da967e1e42e902c7e037fee47941b9c581ce7d2136b5a65bc6e03ecf2d0 |


