
NeuroRuler 




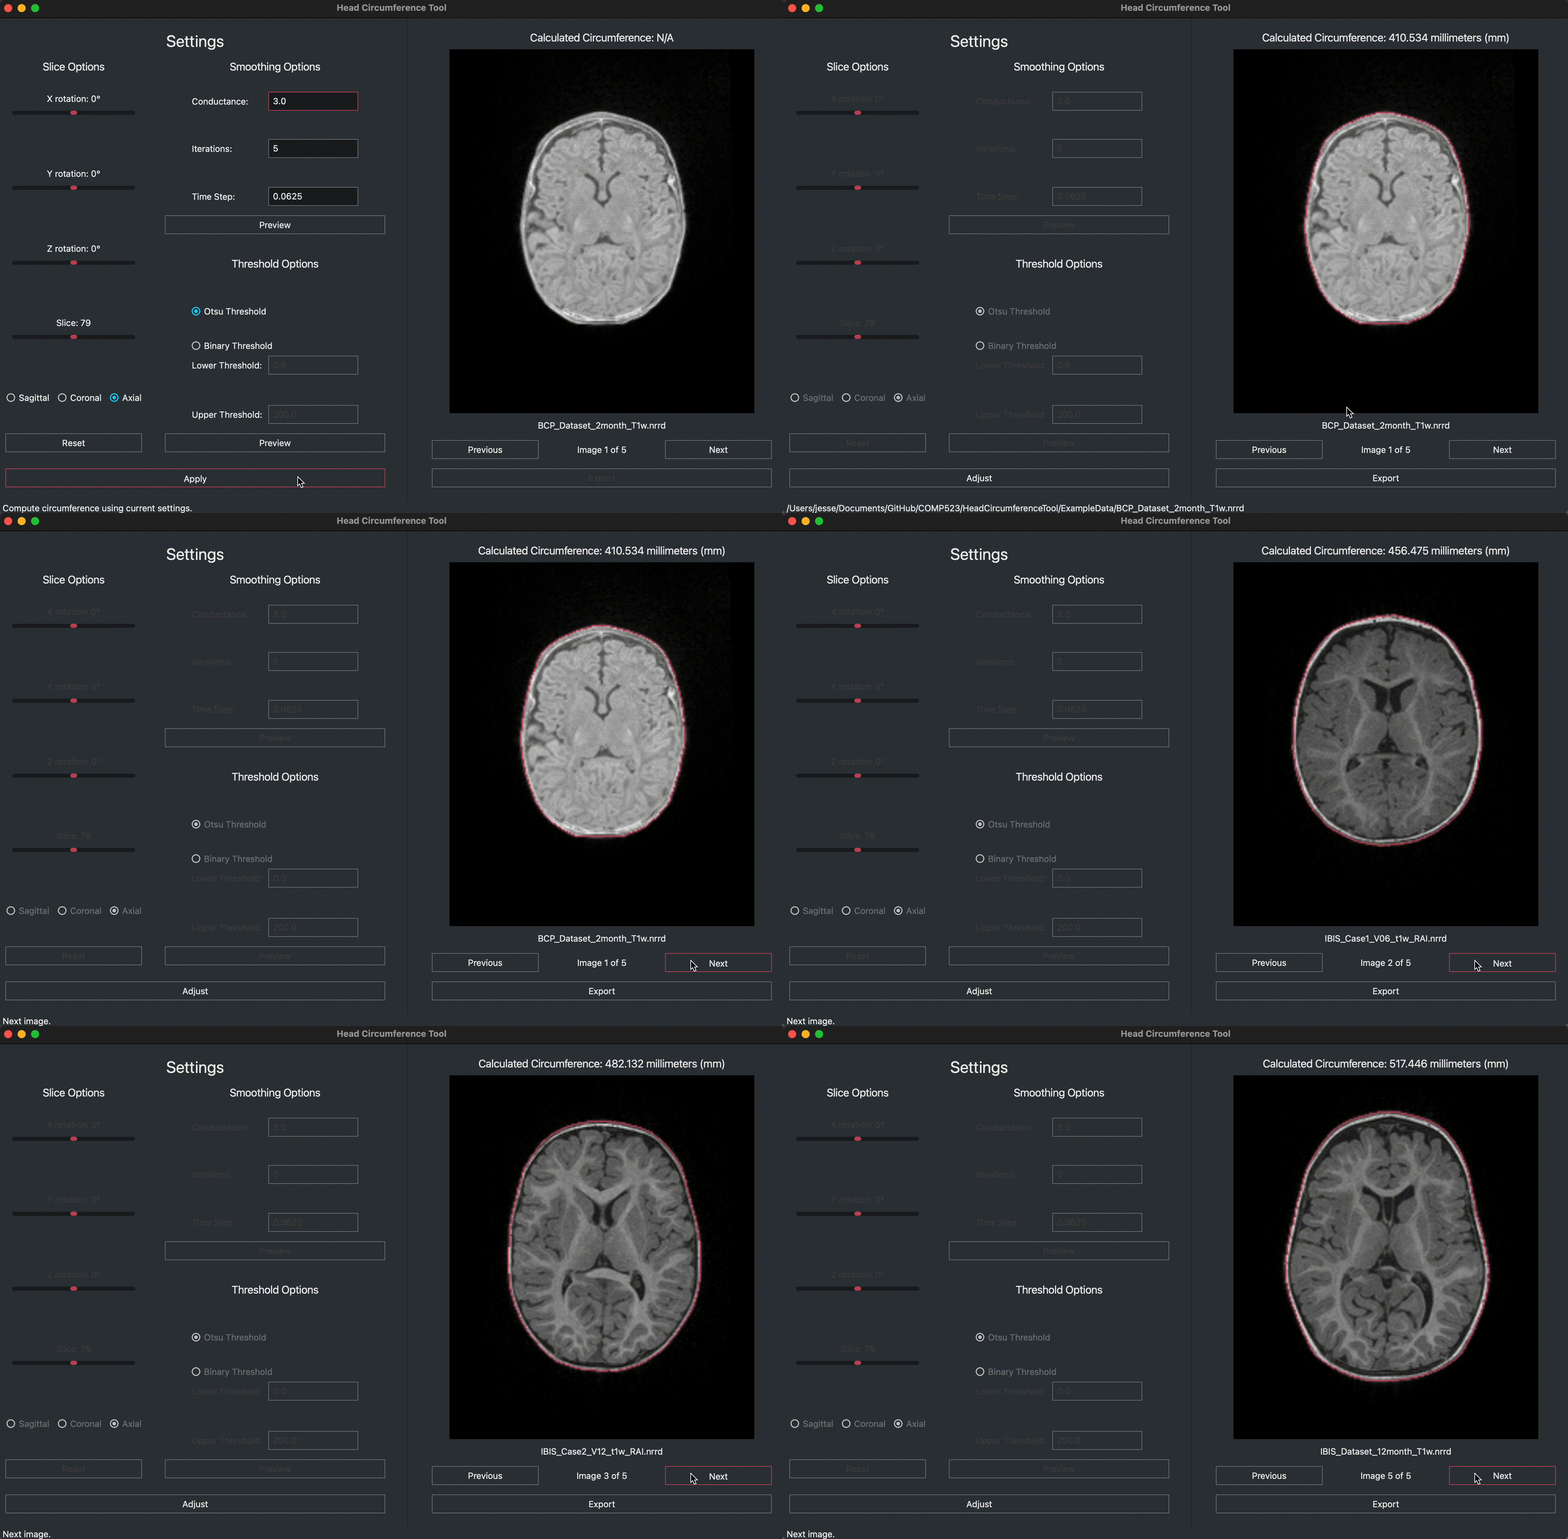
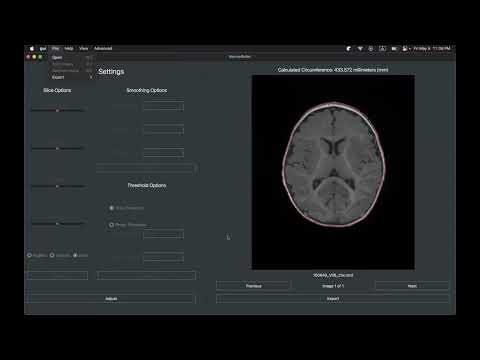
NeuroRuler is a program that calculates head circumference from MRI data (.nii, .nii.gz, .nrrd).
Cite this tool
If you want 😉 format is bibtex.
@misc{neuroruler,
  title={NeuroRuler},
  author={Wei, Jesse and Lester, Madison and He, Peifeng and Schneider, Eric and Styner, Martin},
  howpublished={\url{https://github.com/NIRALUser/NeuroRuler}},
  year={2023}
}
Install
Your Python version needs to be 3.8+. Check with python --version. Install with pip.
pip install NeuroRuler
If python or pip don't work, try python3 and pip3.
Usage
Download the latest release.
The gui.py and cli.py scripts, further described below, are entry points for NeuroRuler's GUI and CLI.
gui_config.json and cli_config.json set default settings for the GUI and CLI. gui.py and cli.py will create gui_config.json and cli_config.json if they don't exist. For more information, see Configure default settings.
For developers
Developers contributing to the repository should clone the repository. gui.py and cli.py will then import from the local repository and reflect changes made to the codebase.
Developers should also run pip install -r requirements.txt to install additional development dependencies and pre-commit install to install pre-commit git hooks.
Run GUI
python gui.py
Run python gui.py -h to see command-line options.
The GUI can also be run from any directory from a Python terminal. After opening a Python terminal, run these commands:
from NeuroRuler.GUI import gui
gui()
Same as the code in gui.py
Run CLI
python cli.py <file>
See test_cli.py for example usages.
usage: cli.py [-h] [-d] [-r] [-x X] [-y Y] [-z Z] [-s SLICE] [-c CONDUCTANCE] [-i ITERATIONS] [-t STEP] [-f FILTER] [-l LOWER]
              [-u UPPER]
              file

A program that calculates head circumference from MRI data (``.nii``, ``.nii.gz``, ``.nrrd``).

positional arguments:
  file                  file to compute circumference from, file format must be *.nii.gz, *.nii, or *.nrrd

options:
  -h, --help            show this help message and exit
  -d, --debug           print debug info
  -r, --raw             print just the "raw" circumference
  -x X, --x X           x rotation (in degrees)
  -y Y, --y Y           y rotation (in degrees)
  -z Z, --z Z           z rotation (in degrees)
  -s SLICE, --slice SLICE
                        slice (Z slice, 0-indexed)
  -c CONDUCTANCE, --conductance CONDUCTANCE
                        conductance smoothing parameter
  -i ITERATIONS, --iterations ITERATIONS
                        smoothing iterations
  -t STEP, --step STEP  time step (smoothing parameter)
  -f FILTER, --filter FILTER
                        which filter to use (Otsu or binary), default is Otsu
  -l LOWER, --lower LOWER
                        lower threshold for binary threshold
  -u UPPER, --upper UPPER
                        upper threshold for binary threshold
Output of python cli.py -h (could be outdated)
Import/export image settings JSON
In the GUI's "circumference mode" (after clicking Apply), click the large Export button under the image to export image settings JSON file(s) containing the circumferences of all loaded images and the settings applied to each image.
You can then use File > Import Image Settings to import an image settings JSON to load the same image with the same settings.
Here is an example:
{
    "input_image_path": "/Users/jesse/Documents/GitHub/COMP523/NeuroRuler/data/MicroBiome_1month_T1w.nii.gz",
    "output_contoured_slice_path": "/Users/jesse/Documents/GitHub/COMP523/NeuroRuler/output/MicroBiome_1month_T1w/MicroBiome_1month_T1w_contoured.png",
    "circumference": 285.04478394448125,
    "x_rotation": -17,
    "y_rotation": -18,
    "z_rotation": 24,
    "slice": 131,
    "smoothing_conductance": 4.0,
    "smoothing_iterations": 10,
    "smoothing_time_step": 0.08,
    "threshold_filter": "Otsu"
}
When multiple images are exported, the output directory structure looks like this:
output
├── 150649_V06_t1w
│   ├── 150649_V06_t1w_contoured.png
│   └── 150649_V06_t1w_settings.json
└── MicroBiome_1month_T1w
    ├── MicroBiome_1month_T1w_contoured.png
    └── MicroBiome_1month_T1w_settings.json
Configure default settings
Edit the JSON configuration files gui_config.json and cli_config.json. gui.py and cli.py will create these files if they don't exist.
Command-line arguments supplied to the gui.py or cli.py scripts override settings in the JSON configuration files. JSON settings are default values for the GUI and CLI: If a setting in the JSON file is not overriden by a CLI argument, the JSON file setting will be used.
Run tests
To test locally, run pytest.
Our algorithm tests assert that our GUI calculations have at least a 0.98 R2 value with ground truth data from the old Head Circumference Tool. We use a similar R2 test to verify that our circumference result is correct for images with non-(1.0, 1.0, 1.0) pixel spacing. We verified manually (no unit test) that the GUI computes similar circumferences for (a, b, c) pixel spacing images generated from (1.0, 1.0, 1.0) pixel spacing images.
To test CLI, we test that our CLI produces the same results as the GUI.
Our tests run on GitHub Actions on push and PR via tox (tests.yml). If the image below says "passing," then the tests are passing.
Documentation
https://NeuroRuler.readthedocs.io
See .readthedocs.yaml and docs/ to contribute.
Release
To test the package locally before releasing on PyPI, use the testdist script. If using macOS, run with . ./testdist. If using Windows, you may need to modify the script slightly.
You must test from a directory that isn't NeuroRuler/. If your directory is NeuroRuler/, then imports will import from the source code, not the package.
To publish to PyPI, edit the version number in setup.py. Then push to a branch called release-pypi (create it if it doesn't exist). This will trigger pypi.yml, which will run tests and publish to PyPI if the tests pass.
To publish to Test PyPI, do the same as above, but push to a branch called release-testpypi.
If any of these files changes, they should be re-released on our GitHub release page: gui.py, cli.py, gui_config.json, cli_config.json.
1 maintainer

Metadata
1 maintainer
Release files for NeuroRuler 1.0.1
For a detailed explanation of source distributions (sdists) and built distributions (wheels), please see the package formats documentation.
Source distribution (sdist)
| File | Size | Uploaded | |
|---|---|---|---|
| NeuroRuler-1.0.1.tar.gz | 531.6 kB | Details |
Built distribution (wheel)
| File | Interpreter | ABI | Platform | Reset |
|---|---|---|---|---|
| NeuroRuler-1.0.1-py3-none-any.whl | Python 3 | none | any | Details |
Total release size: 1.1 MB
Release files / NeuroRuler-1.0.1.tar.gz
| Download URL | NeuroRuler-1.0.1.tar.gz |
|---|---|
| Size | 531.6 kB |
| Tags | Source |
|
SHA-256 checksum How to use checksums |
a06d3c46abc7c6eb4165f744e36f61209e184352670eac5b6b2851b00c8e44e5
|
|
BLAKE2b-256 checksum How to use checksums |
cb4fd68842970c791e062e8d6e51e995334913361db591f1d047e3b972186f7a
|
| Upload date | |
|
Uploaded using Trusted Publishing? What is trusted publishing? |
No |
| Uploaded via |
twine/4.0.1 CPython/3.11.3
|
Release files / NeuroRuler-1.0.1-py3-none-any.whl
| Download URL | NeuroRuler-1.0.1-py3-none-any.whl |
|---|---|
| Size | 570.8 kB |
| Tags | Python 3 |
|
SHA-256 checksum How to use checksums |
03ba4d6667ddcbc8ba71c867ae1dff45f24db7c2fd9e393b061133eebcb96b05
|
|
BLAKE2b-256 checksum How to use checksums |
96a7887e7a806c72cc655fc6d1d609e044daf3dd4e331a3113974235d7bff102
|
| Upload date | |
|
Uploaded using Trusted Publishing? What is trusted publishing? |
No |
| Uploaded via |
twine/4.0.1 CPython/3.11.3
|














