
PtyRAD: Ptychographic Reconstruction with Automatic Differentiation







Docs | Install Guide | Quickstart | Paper | Youtube

PtyRAD performs ptychographic reconstruction using an automatic differention (AD) framework powered by PyTorch, enabling flexible and efficient implementation of gradient descent optimization. See our Microscopy and Microanalysis paper and the Zenodo record for more information and demo datasets.
Features
- Automatic Differentiation (AD) based optimization
- Gradient descent algorithms (Adam, SGD, LBFGS, etc.)
- Mixed-state probe and object
- Position correction
- Position-dependent object tilt correction
- Interoperability with PtychoShelves (fold_slice) and py4DSTEM
- Streamlined preprocessing of cropping, padding, resampling, adding noises, and many more
- Hyperparameter tuning
- Multi-GPU reconstructions
- JIT compilation with
torch.compile
Recommended Tools
We recommend using Miniforge for Python environment management, and
Visual Studio Code for code editing and execution.
Major dependencies
- Recommend Python 3.12 or above
- PyTorch 2.4 or above
- While PtyRAD can run on CPU, GPU is strongly suggested for high-speed ptychographic reconstructions.
- PtyRAD supports both NVIDIA GPUs with CUDA and Apple Silicon (MPS)
- PtyRAD was tested on Windows, MacOS, and Linux
Installation
We recommend installing PtyRAD using pip inside a fresh conda environment.
1. Create and Activate the Python Environment
First, create and activate a new conda environment (ptyrad) with Python >= 3.12:
conda create -n ptyrad python=3.12
conda activate ptyrad
💡 Note: After activating the environment, your terminal prompt should show (ptyrad) at the beginning, indicating that the environment is active.
2. Install PtyRAD in the Python Environment
Then install PtyRAD in the activated (ptyrad) environment using:
pip install ptyrad
If you're using Windows with NVIDIA CUDA GPU, you will also need to install the GPU version of PyTorch with:
pip install torch torchvision --index-url https://download.pytorch.org/whl/cu128 --force-reinstall
PtyRAD can also be installed via conda. For detailed instructions on installing PtyRAD on different machines or pinning specific CUDA versions, see the installation guide.
How do I check if my installed PtyRAD has the GPU support?
CUDA version, GPU support, and PyTorch build across platforms can be extremely confusing, so PtyRAD provides handy CLI tools to help check these information for you!
Once you activated (ptyrad) environment and installed PtyRAD via pip install ptyrad, you'll have access to the following command:
# You can run this command anywhere, as long as (ptyrad) environment is activated
ptyrad check-gpu
This command will print your CUDA information and GPU availability if available.
How do I update my existing PtyRAD installation to a newer release?
Assuming you've activated the (ptyrad) environment, and you've installed PtyRAD via pip, you can simply update your PtyRAD installation with:
pip install -U ptyrad
Get Started with the Demo
💡 Note: PtyRAD now includes a starter kit that sets up the folder structure, tutorial notebooks, scripts, and example params files for you, with just one line of code!
1. Initialize a Workspace
Run the following command to create a new folder (e.g., ptyrad/) containing all necessary templates and scripts:
# Activate your (ptyrad) python environment
conda activate ptyrad

# This creates a workspace folder 'ptyrad/' in your current location
ptyrad init # or `ptyrad init <FOLDER_NAME> to use custom folder name

# Enter the directory
cd ptyrad/
The initialize workspace folder structure will look like this:
ptyrad/
├── data/             # Default directory for storing your 4D-STEM datasets
├── notebooks/        # Jupyter notebooks for common workflows and interactive analyses
├── output/           # Default directory where reconstruction results are saved
├── params/
│   ├── examples/     # Ready-to-run parameter files for included demo datasets (e.g., tBL_WSe2, PSO)
│   ├── templates/    # Templates ranging from minimal setups to full API reference
│   └── walkthrough/  # Tutorial-driven parameter files designed to guide you through specific features (e.g., multislice, advanced constraints, and hyperparameter tuning)
└── scripts/          # Utility scripts for fetching demo data and submitting batch jobs on computing clusters
2. Download the Demo Data
We provide a helper script to automatically fetch the example datasets, and place it in the correct ptyrad/data/ folder:
# Download and extract zip files (tBL-WSe2 and PSO, 1.3 GB), should be done in 1-2 mins.
python ./scripts/download_demo_data.py
After downloading and unzipping, the folder structure should look like this:
# Folder structure

ptyrad/
├── data/
│   ├── PSO/
│   └── tBL_WSe2/
├── notebooks/
├── output/
├── params/
└── scripts/
3. Run the Demo Reconstructions
Please check the following before running the demo:
- Demo datasets are downloaded and placed to the correct location under
ptyrad/data/ (ptyrad)environment is created and activated (in VS Code it's the "Select Kernel")
Now you're ready to run a quick demo using one of two interfaces:
-
Interactive Jupyter interface (Recommended)
Run the
ptyrad/notebooks/run_ptyrad.ipynbin VS code, or run the following command in terminal:jupyter notebook ./notebooks/run_ptyrad.ipynb # Or direcly open it in VS code
-
Command-line interface (like your Miniforge Prompt terminal)
# Assume working directory is at `ptyrad/` and (ptyrad) environment is activated
ptyrad run "params/examples/tBL_WSe2.yaml"
Documentation
PtyRAD documentation is available at https://ptyrad.readthedocs.io/en/latest/index.html.
Author
Chia-Hao Lee (cl2696@cornell.edu)
Developed at the Muller Group, Cornell University.
Citing PtyRAD
If you use PtyRAD in your research, we kindly ask that you cite our main paper:
Lee, C. H., Zeltmann, S. E., Yoon, D., Ma, D., & Muller, D. A. (2025). PtyRAD: A high-performance and flexible ptychographic reconstruction framework with automatic differentiation. Microscopy and Microanalysis, 31(4), ozaf070.
You can also use the following .bib for BibTex.
@article{lee2025ptyrad,
  title={PtyRAD: A high-performance and flexible ptychographic reconstruction framework with automatic differentiation},
  author={Lee, Chia-Hao and Zeltmann, Steven E and Yoon, Dasol and Ma, Desheng and Muller, David A},
  journal={Microscopy and Microanalysis},
  volume={31},
  number={4},
  pages={ozaf070},
  year={2025},
  publisher={Oxford University Press US}
}
Acknowledgments
Besides great support from the entire Muller group, this package gets inspiration from lots of community efforts, and specifically from the following packages. Some of the functions in PtyRAD are directly translated or modified from these packages as noted in their docstrings/comments to give explicit acknowledgment.
Other resources
- ptycho-packages lists many available ptychography packages
- Cornell Box folder compiled by myself that keeps demo data, tutorial recordings, and slides for PtyRAD
- Argonne Box folder compiled by Dr. Yi Jiang that holds tutorial slides of
fold_slice - Blog post written by myself that details the algorithms and code structure of
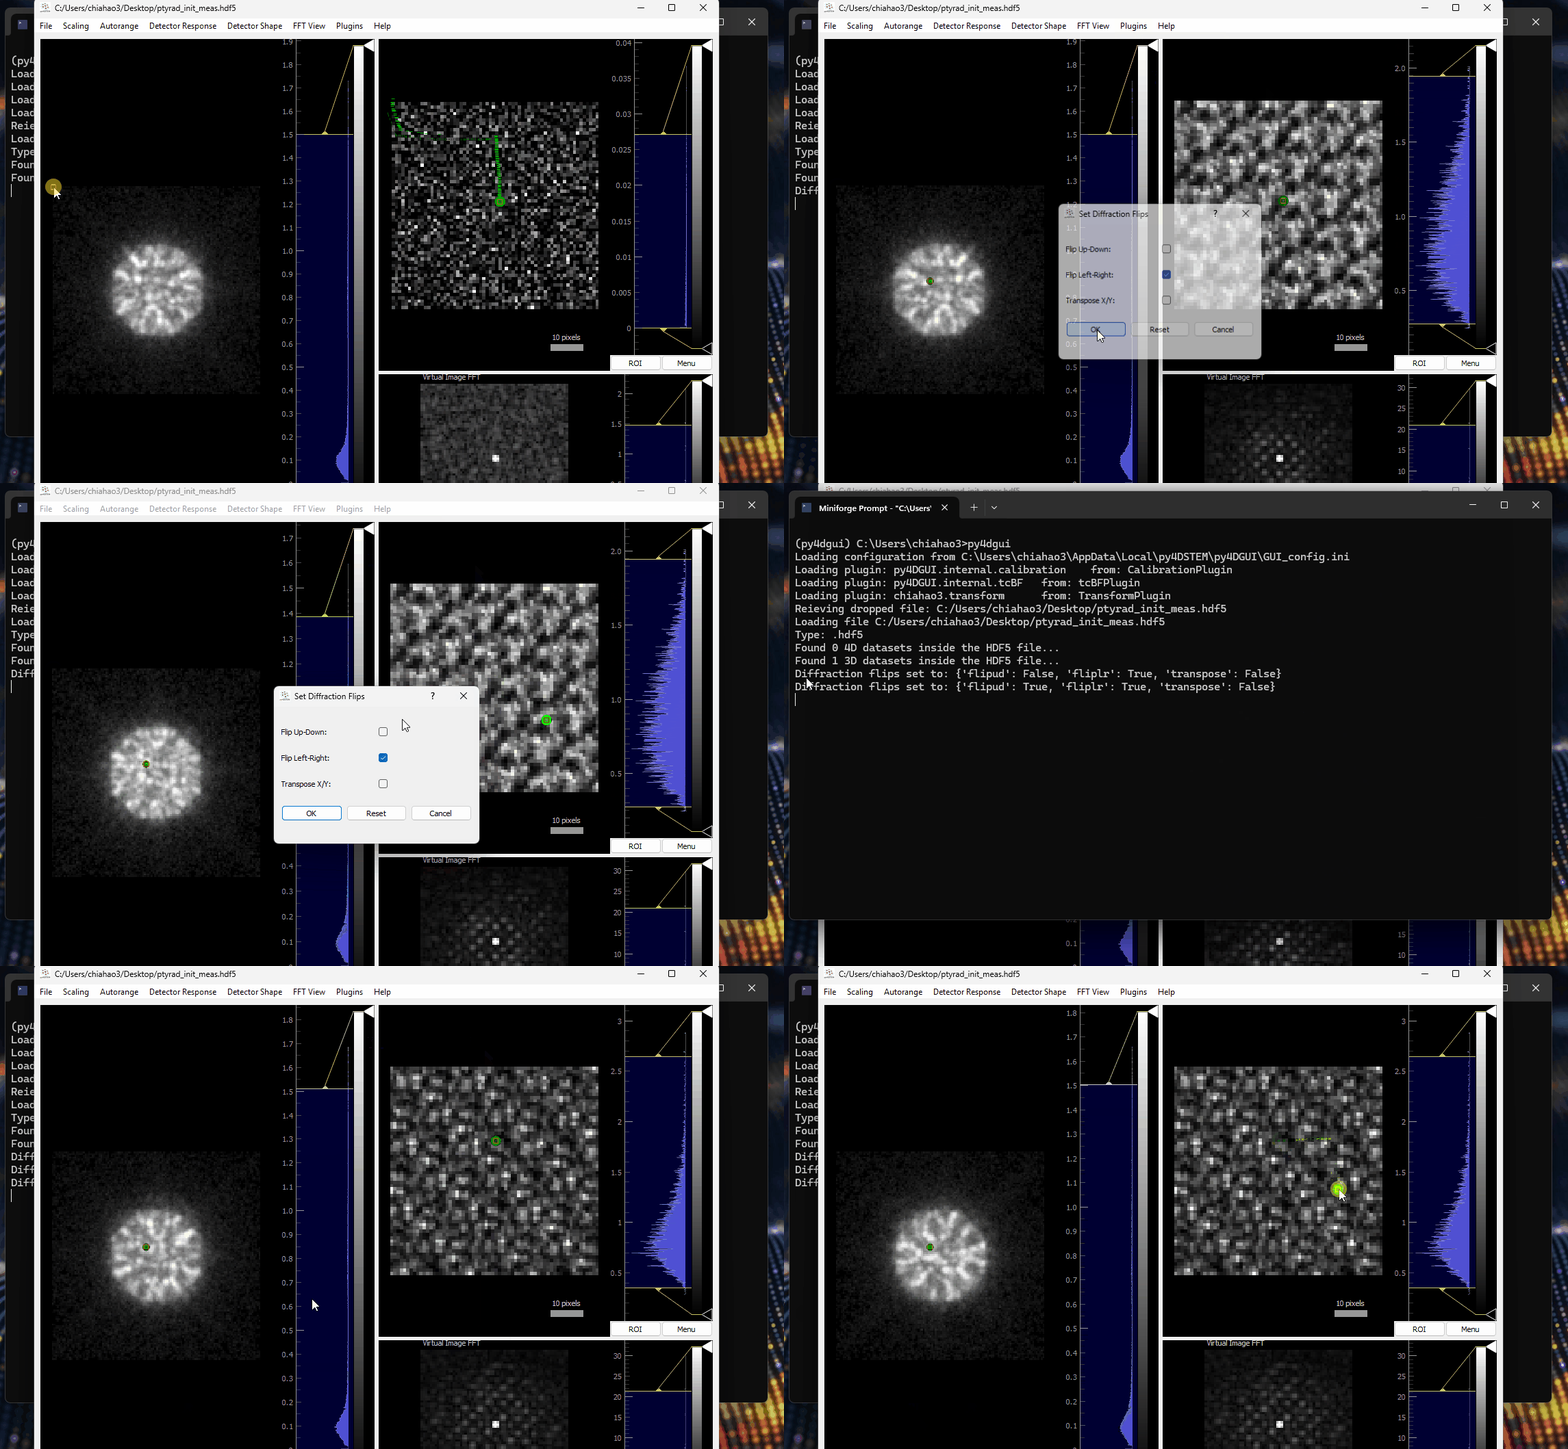
PtychoShelves/fold_slice - py4D-browser-transform: A plugin for py4D-browser that provides utility functions for transforming the datacube, currently including flipping, transposing, permuting axes.
1 maintainer

Metadata
1 maintainer
Release files for ptyrad 1.0.0
For a detailed explanation of source distributions (sdists) and built distributions (wheels), please see the package formats documentation.
Source distribution (sdist)
| File | Size | Uploaded | |
|---|---|---|---|
| ptyrad-1.0.0.tar.gz | 299.8 kB | Details |
Built distribution (wheel)
| File | Interpreter | ABI | Platform | Reset |
|---|---|---|---|---|
| ptyrad-1.0.0-py3-none-any.whl | Python 3 | none | any | Details |
Total release size: 669.8 kB
Release files / ptyrad-1.0.0.tar.gz
| Download URL | ptyrad-1.0.0.tar.gz |
|---|---|
| Size | 299.8 kB |
| Tags | Source |
|
SHA-256 checksum How to use checksums |
fcbf4560d94069b49fd9d3e668913d2dca2984924c3260f6088c810bcd68f76e
|
|
BLAKE2b-256 checksum How to use checksums |
6bce1719d3be969285b5d5f92ec9a24c7ebb0990bcd28ed5510f4adbf045eb8e
|
| Upload date | |
|
Uploaded using Trusted Publishing? What is trusted publishing? |
Yes |
| Uploaded via |
twine/6.1.0 CPython/3.13.12
|
Provenance
Provenance describes where a file came from. On PyPI, provenance is shared via attestations, which provide a verifiable record of the build or publishing details. View details, limitations and caveats.


PyPI Publish Attestation
PyPI verified that this artifact, at this checksum, originated from the publisher listed below.
Signed by GitHub Actions, verified by PyPI on Jun 7, 2026.
Transparency logRelease files / ptyrad-1.0.0-py3-none-any.whl
| Download URL | ptyrad-1.0.0-py3-none-any.whl |
|---|---|
| Size | 370.0 kB |
| Tags | Python 3 |
|
SHA-256 checksum How to use checksums |
2cf29aa8b1f98aa6e58a460d1cd749fd3a1f60ae74ab574451232508c35c745e
|
|
BLAKE2b-256 checksum How to use checksums |
7a78567cdb87f11f578767124be334587afc85102a56e72d87eaf55df1b3cba0
|
| Upload date | |
|
Uploaded using Trusted Publishing? What is trusted publishing? |
Yes |
| Uploaded via |
twine/6.1.0 CPython/3.13.12
|
Provenance
Provenance describes where a file came from. On PyPI, provenance is shared via attestations, which provide a verifiable record of the build or publishing details. View details, limitations and caveats.
PyPI Publish Attestation
PyPI verified that this artifact, at this checksum, originated from the publisher listed below.
Signed by GitHub Actions, verified by PyPI on Jun 7, 2026.
Transparency log













