Library for efficient processing and visualization of time series.
Project description
QATS
Python library and GUI for efficient processing and visualization of time series.
General
About
The python library provides tools for:
- Import and export from/to various pre-defined time series file formats
- Signal processing
- Inferring statistical distributions
- Cycle counting using the Rainflow algorithm
It was originally created to handle time series files exported from SIMO and RIFLEX. Now it also handles SIMA hdf5 (.h5) files, Matlab (version < 7.3) .mat files, CSV files and more.
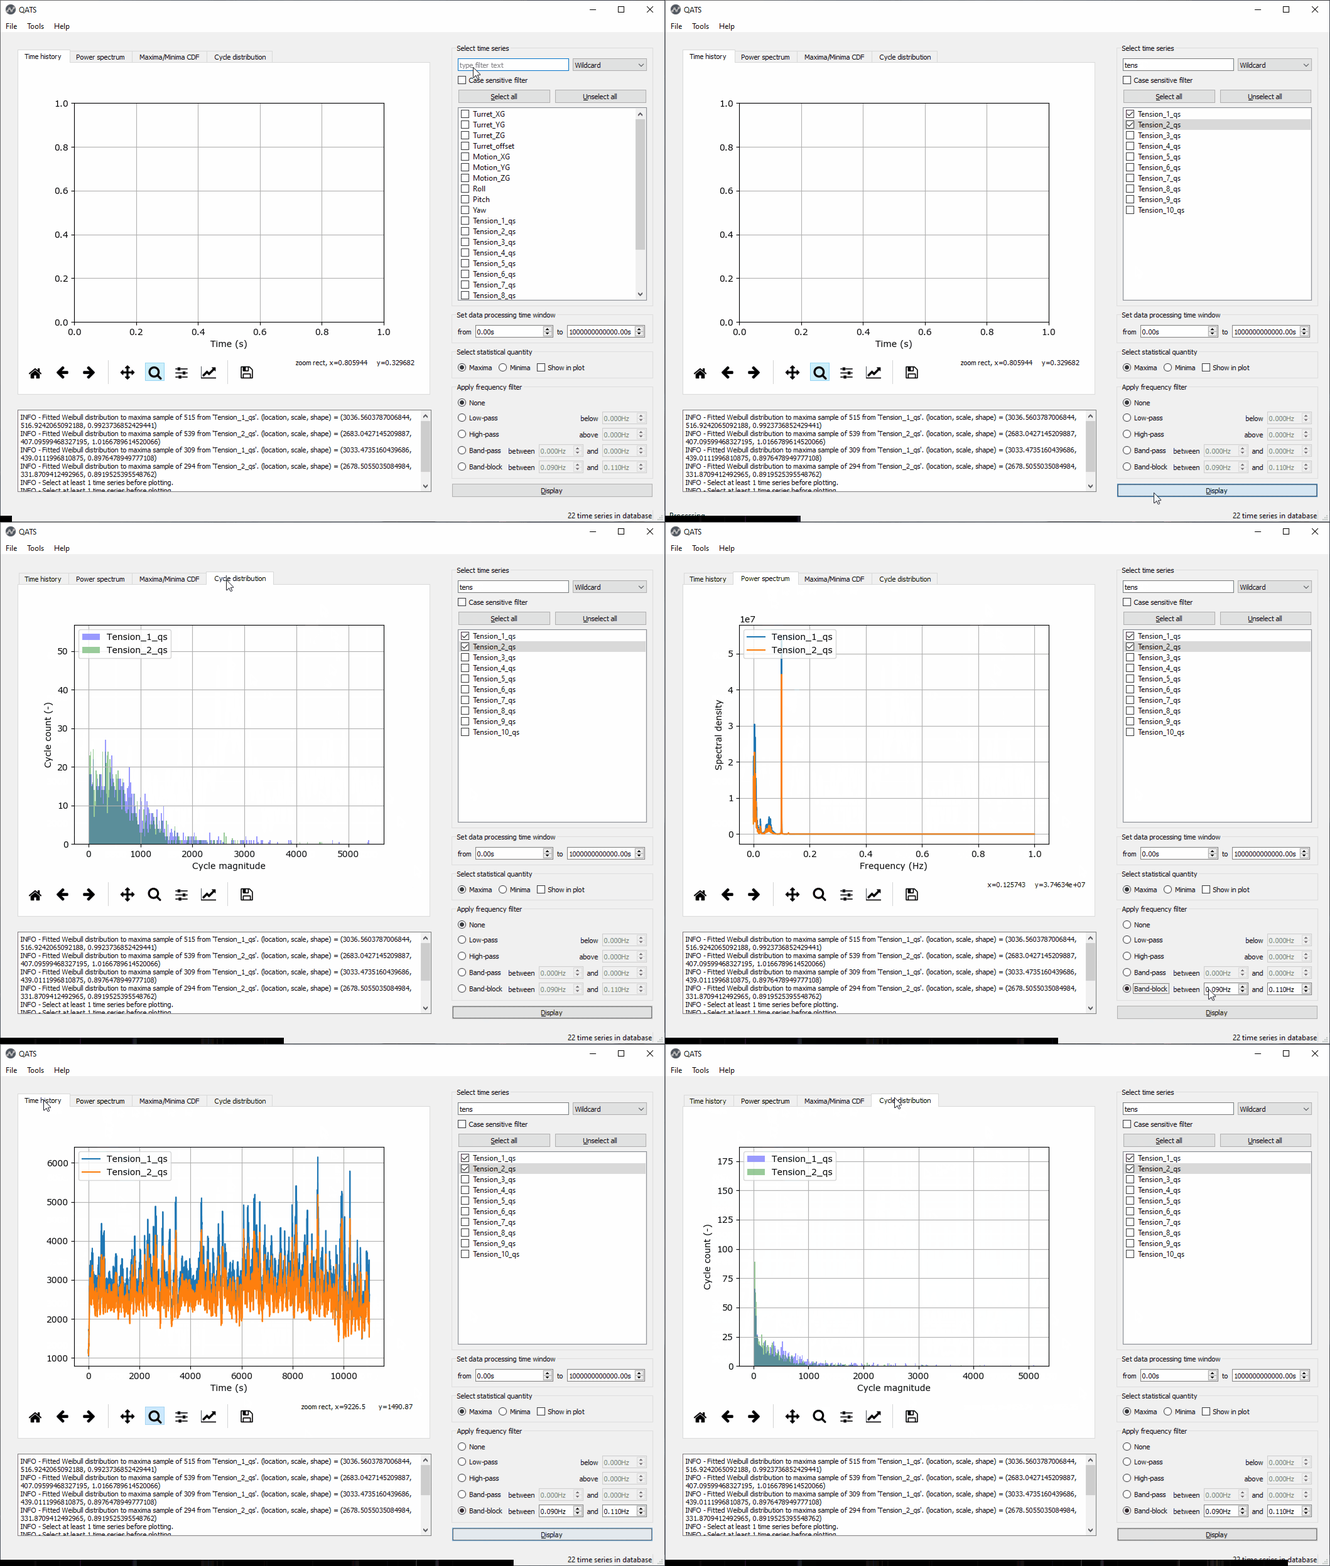
QATS also features a GUI which offers efficient and low threshold processing and visualization of time series. It is perfect for inspecting, comparing and reporting:
- time series
- power spectral density distributions
- peak and extreme distributions
- cycle distributions
Demo
Getting started
Run the below command in a Python environment to install the latest QATS release:
python -m pip install qats
To upgrade from a previous version, the command is:
python -m pip install --upgrade qats
You may now import qats in your own scripts:
from qats import TsDB, TimeSeries
... or use the GUI to inspect time series. Note that as of version 4.2.0 you are quite free to choose which Qt binding you would like to use for the GUI: PyQt5 or PySide2, or even PyQt4 / PySide.
Install the chosen binding (here PyQt5 as an example):
python -m pip install pyqt5
If multiple Qt bindinds are installed, the one to use may be controlled by setting the environmental variable QT_API to the desired package. Accepted values include pyqt5 (to use PyQt5) and pyside2 (PySide2). For more details, see README file for qtpy.
The GUI may now be launched by:
qats app
To create a start menu link, which you can even pin to the taskbar to ease access to the QATS GUI, run the following command:
qats config --link-app
Take a look at the resources listed below to learn more.
Resources
Contribute
These instructions will get you a copy of the project up and running on your local machine for development and testing purposes. See deployment for notes on how to deploy the project on a live system.
Prerequisites
Install Python version 3.6 or later from either https://www.python.org or https://www.anaconda.com.
Clone the source code repository
At the desired location, run:
git clone https://github.com/dnvgl/qats.git
Installing
To get the development environment running:
... create an isolated Python environment and activate it,
python -m venv /path/to/new/virtual/environment

/path/to/new/virtual/environment/Scripts/activate
... install the dev dependencies in requirements.txt,
python -m pip install -r requirements.txt
.. and install the package in development mode.
python setup.py develop
You should now be able to import the package in the Python console,
import qats
help(qats)
... and use the command line interface (CLI).
qats -h
Running the tests
The automated tests are run using Tox.
tox
The test automation is configured in the file tox.ini.
Building the package
Build tarball and wheel distributions by:
python setup.py sdist bdist_wheel
The distribution file names adhere to the PEP 0427
convention {distribution}-{version}(-{build tag})?-{python tag}-{abi tag}-{platform tag}.whl.
Building the documentation
The html documentation is built using Sphinx
sphinx-build -b html docs\source docs\_build
To force a build to read/write all files (always read all files and don't use a saved environment), include the -a and -E options:
sphinx-build -a -E -b html docs\source docs\_build
Deployment
Packaging, unit testing and deployment to PyPi is automated using Travis-CI.
Versioning
We apply the "major.minor.micro" versioning scheme defined in PEP 440.
We cut a new version by applying a Git tag like 3.0.1 at the desired commit and then
setuptools_scm takes care of the rest. For the versions
available, see the tags on this repository.
Authors
License
This project is licensed under the MIT License - see the LICENSE file for details.
Project details
Release history Release notifications | RSS feed
Download files
Download the file for your platform. If you're not sure which to choose, learn more about installing packages.


