UFO source file linter
Project description

ufolint is a source file linter for typeface development in Unified Font Object (UFO) source code. It was designed for continuous integration testing of UFO source contributions to typeface projects.


The application performs a UFO version specific static analysis of the source text files against the UFO v2 and v3 specifications for issues that include:
- supported UFO version
- mandatory files and directories
- mandatory file path naming conventions
- source defined file path and directory path consistency across source files
- valid XML file format
- *.plist file property list value checks
- *.plist file property list value type checks
- fontinfo.plist OpenType property naming conventions
- fontinfo.plist OpenType property data validations
- *.glif file format version testing
- *.glif file outline, attribute, anchor, guideline, image, note validations
- images follow UFO v3+ png specification
- source files import into ufoLib library with ufoLib public methods
These tests are performed through a combination of public methods in the fontTools.ufoLib library and additional tests that are implemented in the ufolint application. ufolint catches exceptions raised in the ufoLib public read methods for all *.plist file types and all ufoLib validations performed on *.glif files. These are returned to users with informative error messages that indicate the filepath(s) of concern and exit status code 1.
Install and Upgrade
ufolint can be run locally or with remote CI testing services.
Local Install and Upgrade
Use the command:
$ pip install ufolint
Upgrade to a new version of the application with the command:
$ pip install --upgrade ufolint
Local Usage
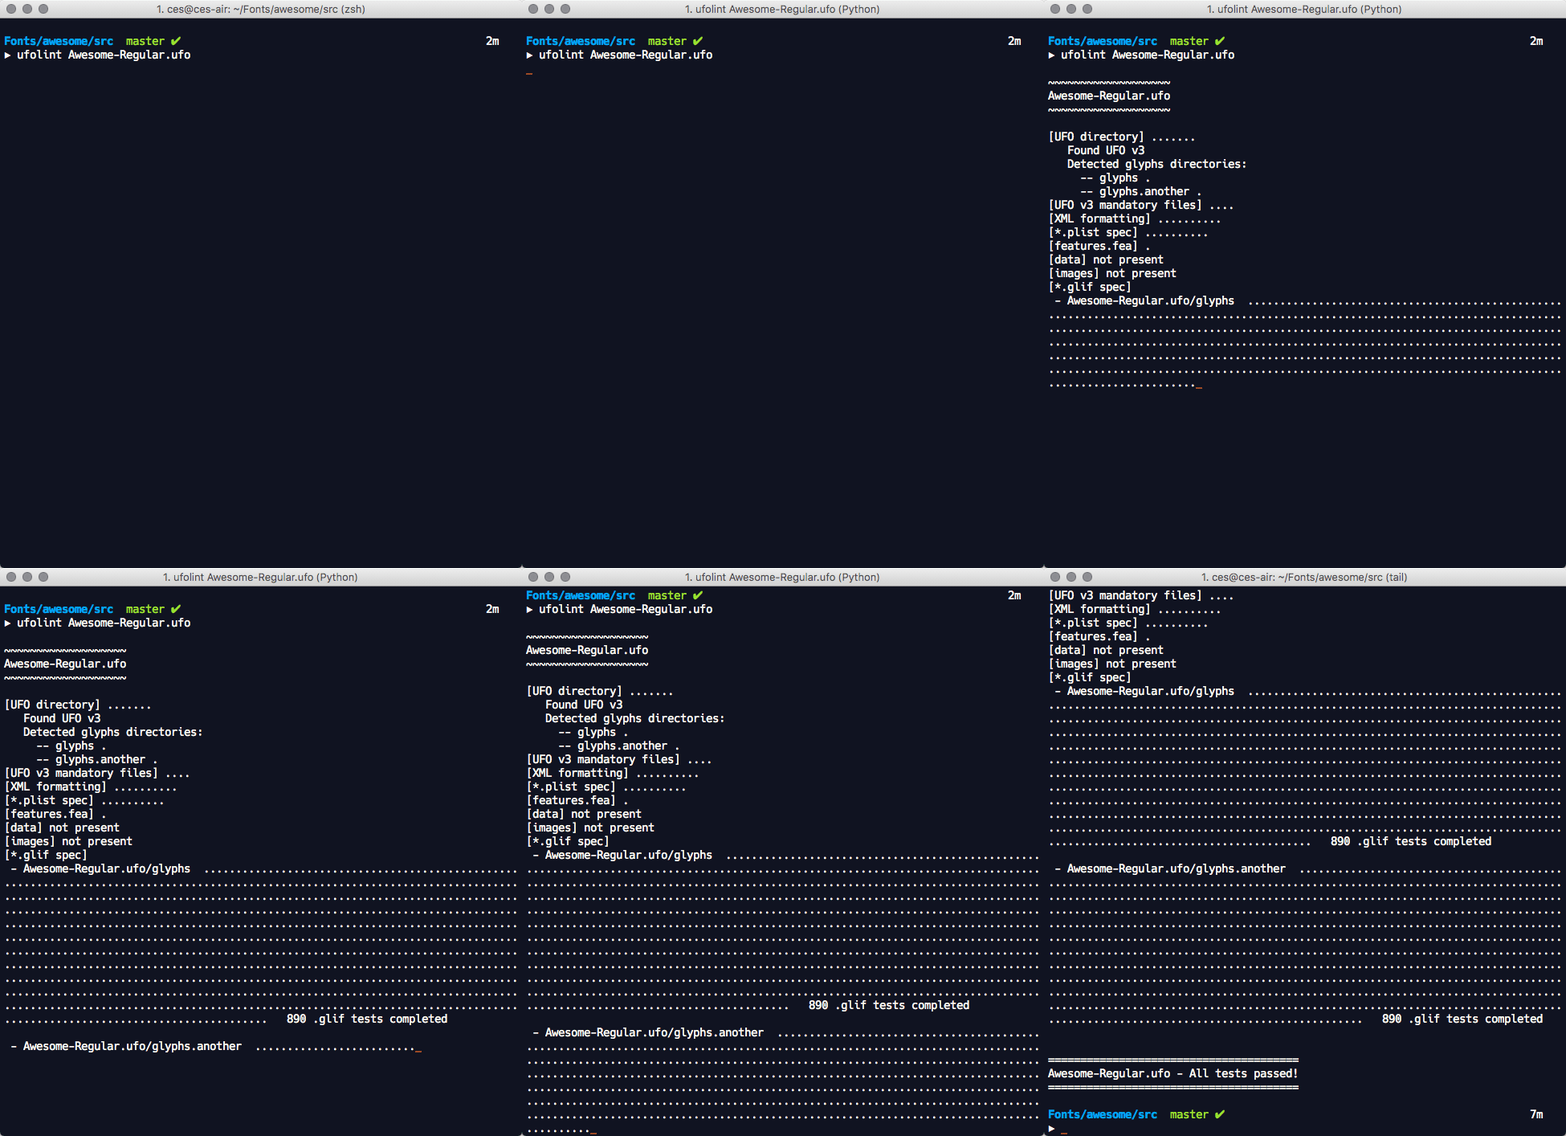
The process is fully automated. Simply point ufolint to one or more UFO source directories and it takes care of the rest. ufolint exits with status code 0 if all tests pass and exits with status code 1 if any tests fail.
$ ufolint [UFO source path] ([UFO path 2] [UFO path3]...)
Example
$ ufolint Awesome-Regular.ufo Awesome-Bold.ufo
For critical failures that prevent the completion of further testing, ufolint exits immediately and other tests are aborted. In all other circumstances, failures are collected across the entire analysis and displayed at the completion of all tests.
ufolint provides verbose, useful error messages that include the file(s) of concern, the error type, and in many cases, the problematic line in the file.
Travis CI Setup
To continuously test your UFO source changes on Travis with each commit pushed or pull request submitted to your Github repository, use these initial two steps from the Travis Getting Started Guide:
- Step 1: Sign in to Travis with your Github account
- Step 2: Go to your Travis Profile page and enable Travis for the typeface repository where you would like to enable ufolint testing
Then in your Github repository,
- Step 3: Add a file on the path
.travis.ymlin the root of your Github repository that includes the following text:
.travis.yml
sudo: false
language: python

env:
  - VARIANT=src/Test-Regular.ufo
  - VARIANT=src/Test-Bold.ufo
  - VARIANT=src/Test-Italic.ufo
  - VARIANT=src/Test-BoldItalic.ufo

before_script: pip install ufolint

script: "ufolint $VARIANT"

notifications:
  email: false
- Step 4: Replace the
VARIANT=src/Test-*.ufolines in the.travis.ymlfile with the actual paths to your UFO source files after the=character. Use one line per variant and add or subtract lines as necessary to test the desired source UFO directories in the repository. These should be relative paths from the root of your git repository.
This Travis setting structure performs the variant tests in parallel for each of the variants specified under the env field of the Travis settings file. Each variant will be labeled on the Travis testing page like this:

-
Step 5: With each new commit pushed to your Github repository (or any new pull request submitted by others) Travis is automatically notified and performs the ufolint tests on the modified (or proposed modifications for pull requests) UFO source. You can view the test results on your Travis account page for the repository.
-
Optional: To add a Travis test result badge to your repository README page, insert the following Markdown in your README page and modify
[ACCOUNT]and[REPOSITORY]with your Travis account and repository details:
[](https://travis-ci.org/[ACCOUNT]/[REPOSITORY])
Acknowledgments
Built with the fantastic fontTools ufoLib library where a majority of the UFO validation work has been performed!
License
Project details
Release history Release notifications | RSS feed
Download files
Download the file for your platform. If you're not sure which to choose, learn more about installing packages.


