
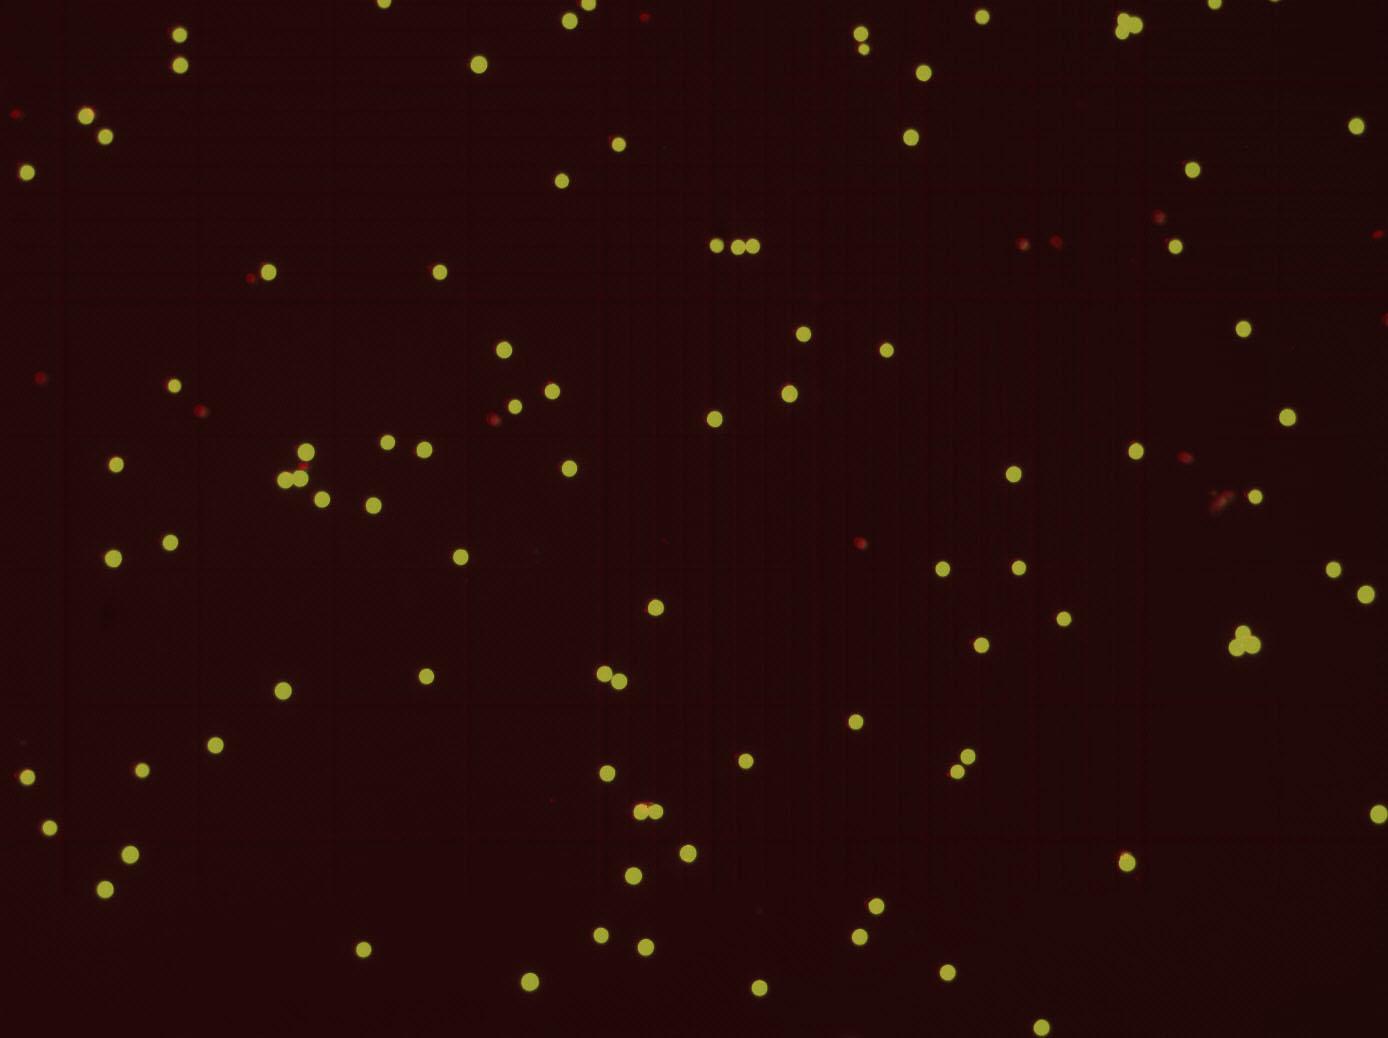
The purpose of this project is to count the number of alive and dead pollens in an image.

Project description
PollEncOuNt 
The purpose of this project is to count the number of alive and dead pollens in an image.
Contents
Installation
- Package installs
pip install PollEncOuNt
Outputs Demonstration
| Raw | Predicted |
|---|---|
 |
 |
blue squares detected are alive, green squares detected ard dead.
count_result.csv summarizes the results after running the prediction process.
| Filename | Alive | Dead |
|---|---|---|
| pollen_predicted.jpg | 96 | 20 |
Usage
GUI
Launching the GUI
Open your terminal (Mac/Linux) or command line (Windows).
Launch the GUI by typing:
% peon
The PEON Main Menu will appear.
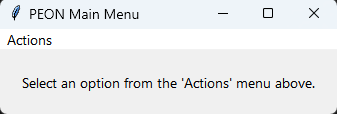
Main Menu
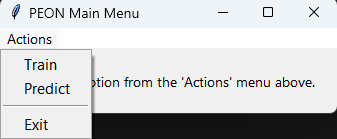
From the Actions menu, you can:
-
Select Train to open the Train GUI.
-
Select Predict to open the Predict GUI.
-
Exit the application.
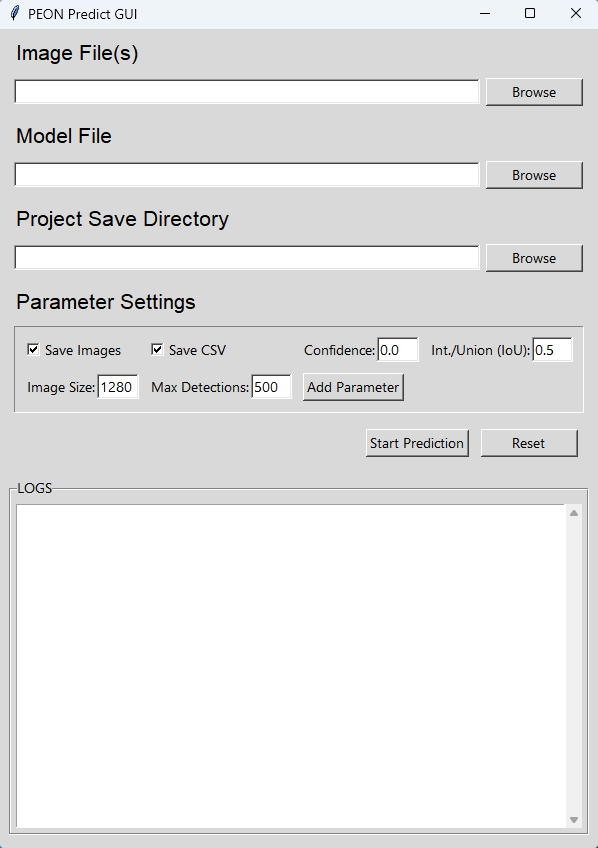
Predict GUI
A Pre-trained Model can directly be used for prediction.
- Open the Predict GUI:
- From the main menu, go to
Actions > Predict.
- Configure Prediction Settings:
- Image Files: Click the Browse button and select one or more image files for prediction.
- Model File: Click the Browse button to load the trained model file (
.pt,.pth, or.onnx). - Project Save Directory: Click the Browse button to select the directory where the prediction results will be saved.
- Pridect Settings:
- Check the Save Images box to save the images with predictions.
- Check the Save CSV box to save the results in a
count_result.csvfile.
- Start Prediction:
- Click the Start Prediction button to begin inference.
- Real-time log updates will appear in the LOGS section.
- Reset Prediction:
- Click the Reset button to clear inputs and logs.
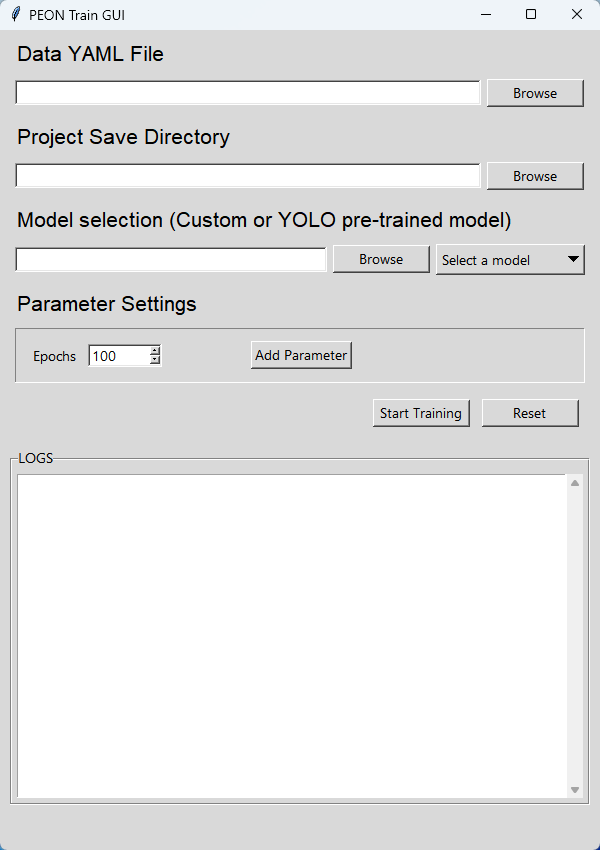
Train GUI
- Open the Train GUI:
- From the main menu, go to
Actions > Train.
- Configure Training Settings:
- Data YAML File: Click the Browse button and select a valid YAML file for training data.
- Project Save Directory: Click the Browse button and choose the directory where training outputs (e.g., logs, model checkpoints) will be saved.
- Model Selection:
- For Pre-trained Models: Click the Browse button to select a
.pt,.pth, or.onnxmodel file. - For YOLOv8 Models: Use the dropdown menu to choose one of the YOLO models (e.g.,
yolov8n.pt).
- For Pre-trained Models: Click the Browse button to select a
- Training Settings:
- Set the number of epochs for training.
- Select the device (
cpuorgpu) from the dropdown menu.
- Start Training:
- Click the Start Training button to begin.
- Monitor the real-time log updates in the LOGS section.
- Reset Training:
- To reset the form, click the Reset button. This clears all input fields and logs.
Python API
Predict
A pre-trained model can directly be used for prediction(path: ./model/best.pt).
from peon import peon_predict

results = peon_predict(img_files=["IMG1", "IMG2", ...],
                       model_path: "MODEL_PATH",
                       save_dir: "SAVE_DIR,
                       save_img = True,
                       save_csv = True,)
img_files (list[str]): List of image path to conduct prediction.
model_path (str): Path to the YOLO model.
save_dir (str, optional): Path to the directory to save the results. Required if save_img or save_csv is True.
save_img (bool, optional): Whether to save the predicted images. Defaults to True.
save_csv (bool, optional): Whether to save the results to a CSV file. Defaults to True.
Train
from peon import peon_train

peon_train(data_path="DATA_PATH",
           save_dir="SAVE_DIR",
           model_path = "yolov8m.pt",
           epochs = 100,
           device = "cpu",)
data_path (str): Path to the data .YAML file.
save_dir (str): Path to the directory to save the trained model.
model_path (str, optional): Path to the YOLO model. Defaults to "yolov8m.pt".
epochs (int, optional): Number of epochs for training. Defaults to 100.
device (str, optional): Device to use for training. Defaults to "cpu".


Download files
Download the file for your platform. If you're not sure which to choose, learn more about installing packages.
Source Distribution
Built Distribution
Filter files by name, interpreter, ABI, and platform.
If you're not sure about the file name format, learn more about wheel file names.
Copy a direct link to the current filters
File details
Details for the file pollencount-0.0.4.tar.gz.
File metadata
- Download URL: pollencount-0.0.4.tar.gz
- Upload date:
- Size: 9.3 kB
- Tags: Source
- Uploaded using Trusted Publishing? No
- Uploaded via: twine/6.1.0 CPython/3.12.8
File hashes
| Algorithm | Hash digest | |
|---|---|---|
| SHA256 |
e90ded496cb01e1fb1b5e42aa17c50828ad12307edbbdf220d9ec79780ef317f
|
|
| MD5 |
7ed363d135b614a68df970c9dfbf6583
|
|
| BLAKE2b-256 |
cb09795e455e27f6ad0162c65b7d3173ade9670bc0d47e80aa19d7f1057a44b5
|
File details
Details for the file PollEncOuNt-0.0.4-py3-none-any.whl.
File metadata
- Download URL: PollEncOuNt-0.0.4-py3-none-any.whl
- Upload date:
- Size: 10.2 kB
- Tags: Python 3
- Uploaded using Trusted Publishing? No
- Uploaded via: twine/6.1.0 CPython/3.12.8
File hashes
| Algorithm | Hash digest | |
|---|---|---|
| SHA256 |
69df9928bfd2621e1579d1bcd7d81a65203bb912a32aa78492a665c7540ed289
|
|
| MD5 |
a6612168e4f8c1ac91f688964069698d
|
|
| BLAKE2b-256 |
1707c24b0d689c730056c7051c606cae162b3b235b7a31c297794fc88d8b5b3e
|






