
🔬 AFusion: AlphaFold 3 GUI & Toolkit





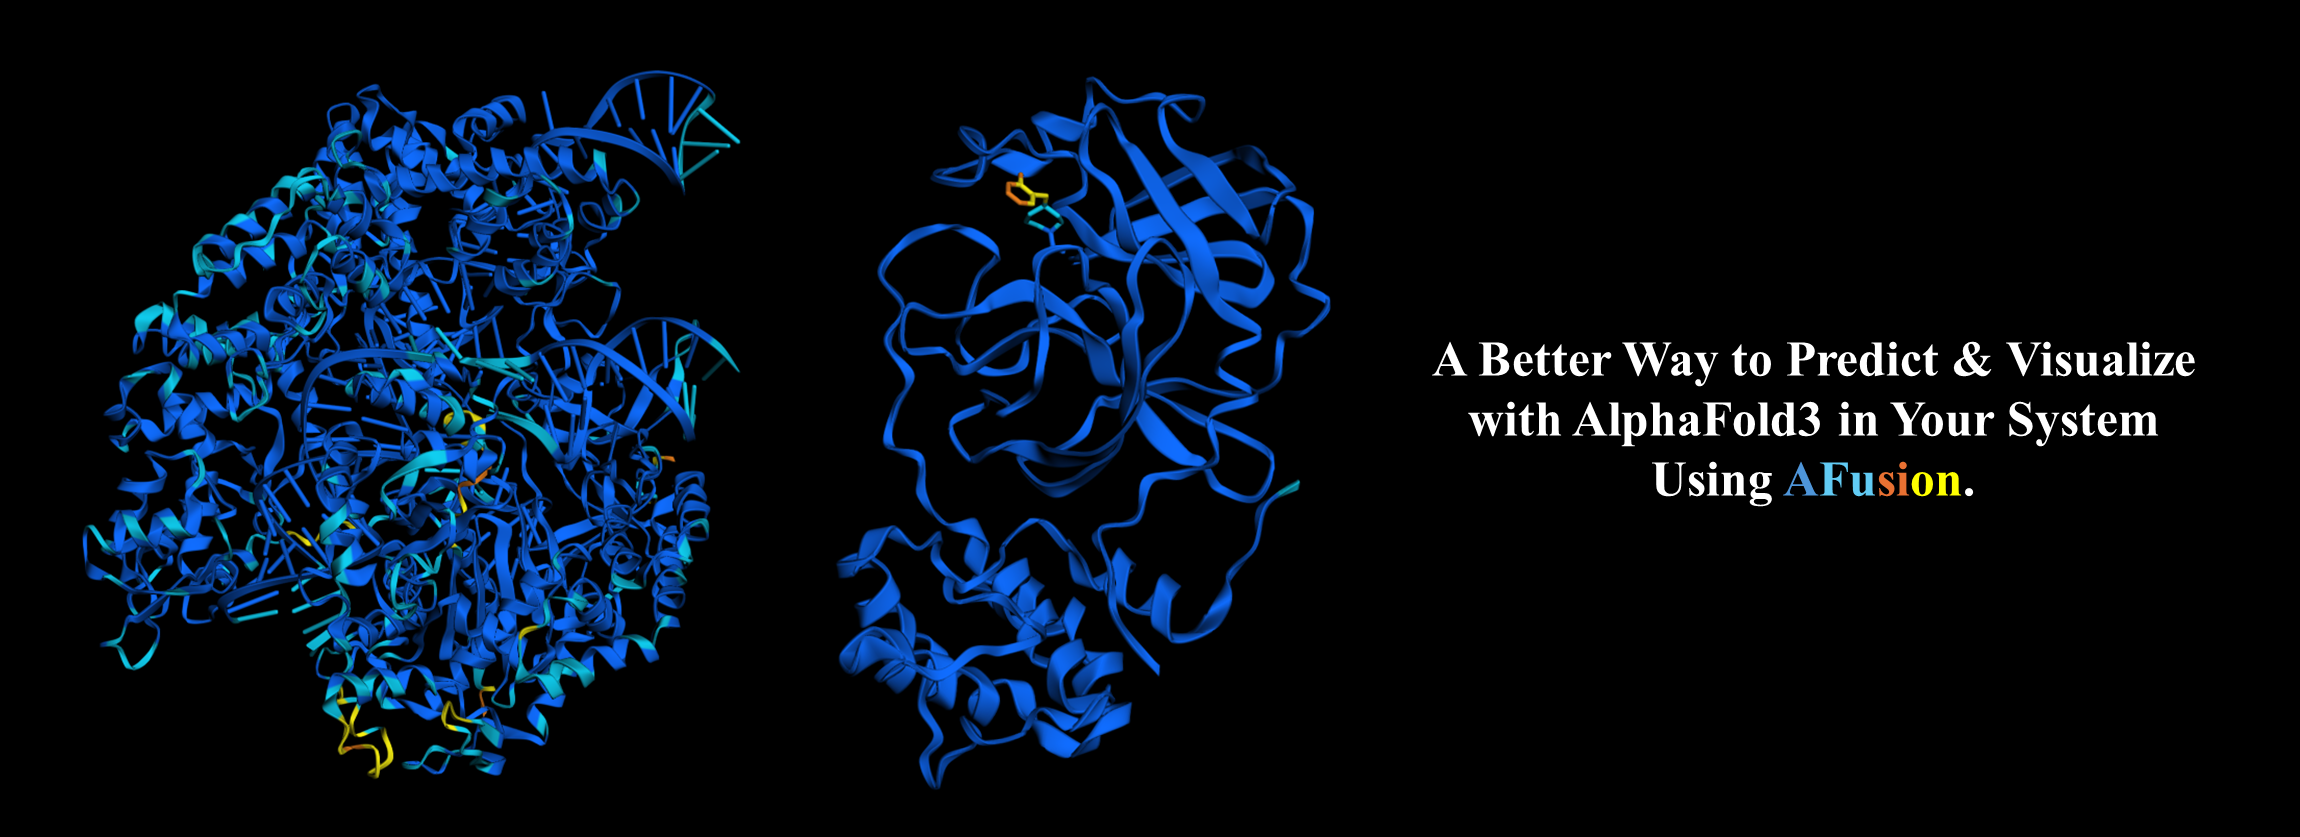
AFusion is a user-friendly graphical interface designed to simplify the process of AlphaFold 3 installation, prediction and visualization, making it accessible to users who prefer a GUI over command-line interactions.
Demo site (generate input JSON files ONLY)
Usable visualization site (fully usable)
Table of Contents
- Features
- Prerequisites
- Installation and Running
- Usage
- Documentation
- ToDo
- Screenshots
- License
- Acknowledgements
Features
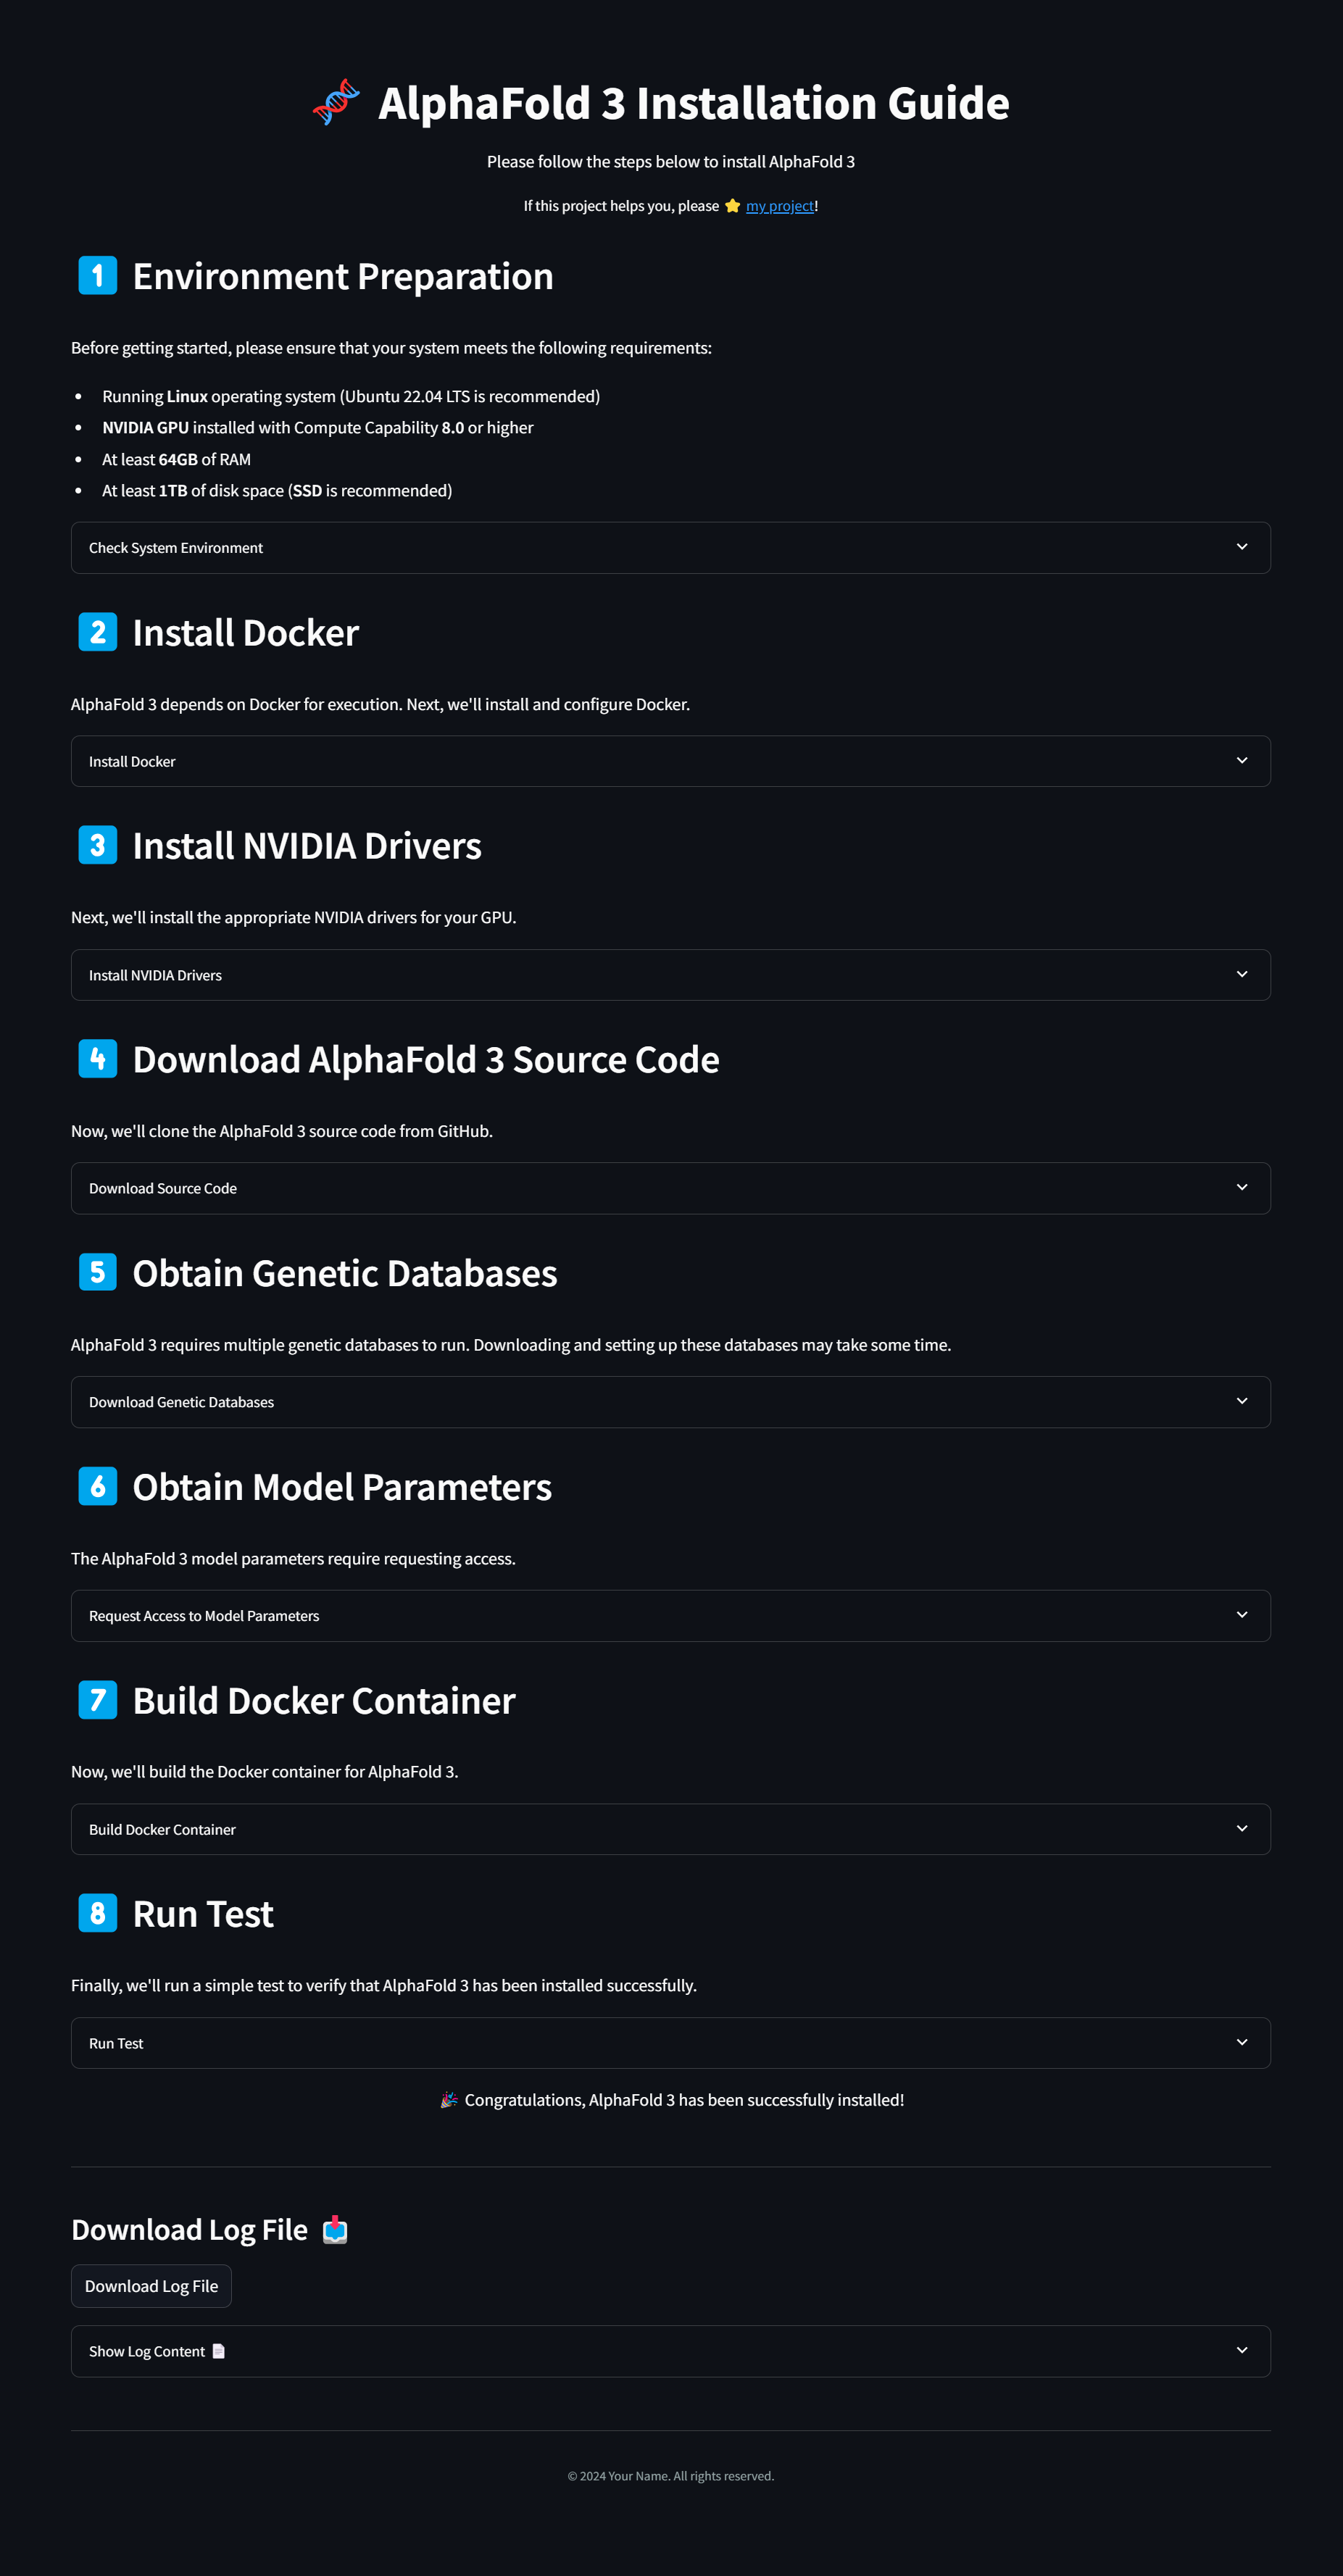
- 🧭 Guided Installation: GUI-based installer to simplify the installation process, easily set up the application step-by-step.
- ✨ Intuitive Interface: Easily configure job settings, sequences, and execution parameters through a clean and modern GUI.
- 📋 Entity Management: Add multiple entities (Protein, RNA, DNA, Ligand) with support for modifications, MSA options, and templates.
- ⚙️ Dynamic JSON Generation: Automatically generates the required JSON input file for AlphaFold 3 based on user inputs.
- 🚀 Integrated Execution: Run AlphaFold 3 directly from the GUI with customizable Docker execution settings.
- 🖥️ Visual Feedback: Provides command output within the interface for monitoring and debugging.
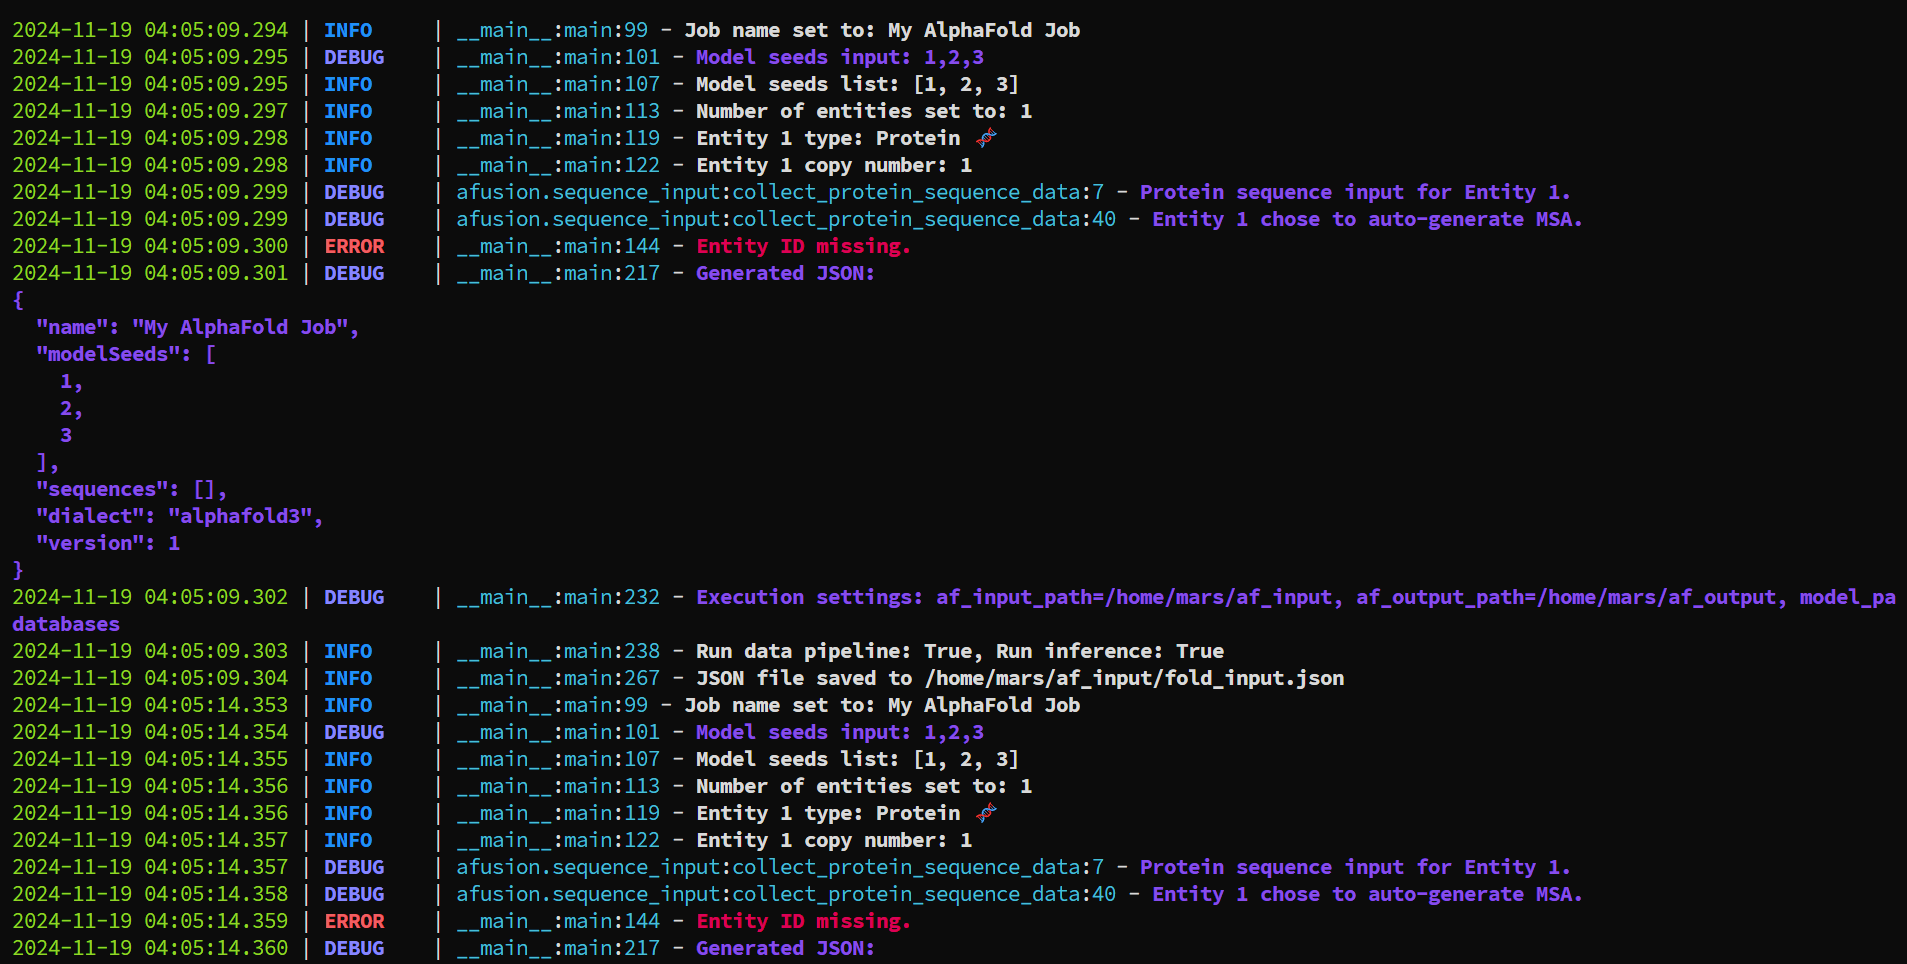
- 🖥️ Console Output: Track processes and debug more effectively with backend console output.
- 🧩 API for Batch Predictions: Perform batch predictions using the AFusion API in Python scripts.
🌟 New Feature!
- AlphaFold 3 Output Analysis System: Automatically analyze and visualize results with customizable visualizations and generate detailed PDF reports for streamlined insights.
Prerequisites
Before using AFusion, ensure that you have the following:
-
🐳 Docker Installed: Docker is required to run AlphaFold 3. Install Docker from the official website.
-
🧬 AlphaFold 3 Installed: AFusion requires AlphaFold 3 to be installed and set up on your system. Follow the installation instructions provided in the AlphaFold 3 GitHub Repository to deploy AlphaFold 3. Or you can run step-by-step GUI by:
afusion install -
🐍 Python 3.10 or Higher: AFusion is built with Python and requires Python 3.10 or higher.
Installation and Running
-
Install AFusion
Run the following command in your terminal to install AFusion:
pip install afusion
-
Run AFusion GUI
After installation, you can start AFusion by running:
afusion runThis will launch the AFusion graphical user interface (GUI) in your default web browser.
Please Note:
-
🧬 AlphaFold 3 Installation: Ensure you have correctly installed AlphaFold 3, including model parameters and required databases, following the AlphaFold 3 Installation Guide.
-
⚙️ Docker Configuration: After installing Docker, make sure it is running properly and that your user has permission to execute Docker commands.
-
📦 Streamlit is Included in Dependencies: AFusion's installation will automatically install all required dependencies, including Streamlit. There's no need to install it separately.
If you encounter any issues during installation or usage, please refer to the relevant official documentation or contact us for support.
Usage
Launching AFusion
-
🚀 Start the Streamlit App
From the project directory, run:
afusion run -
🌐 Access the Application
- The application will launch, and Streamlit will provide a local URL (e.g.,
http://localhost:8501). - Open the provided URL in your web browser to access AFusion.
- The application will launch, and Streamlit will provide a local URL (e.g.,
Using the GUI
Find more about input in here.
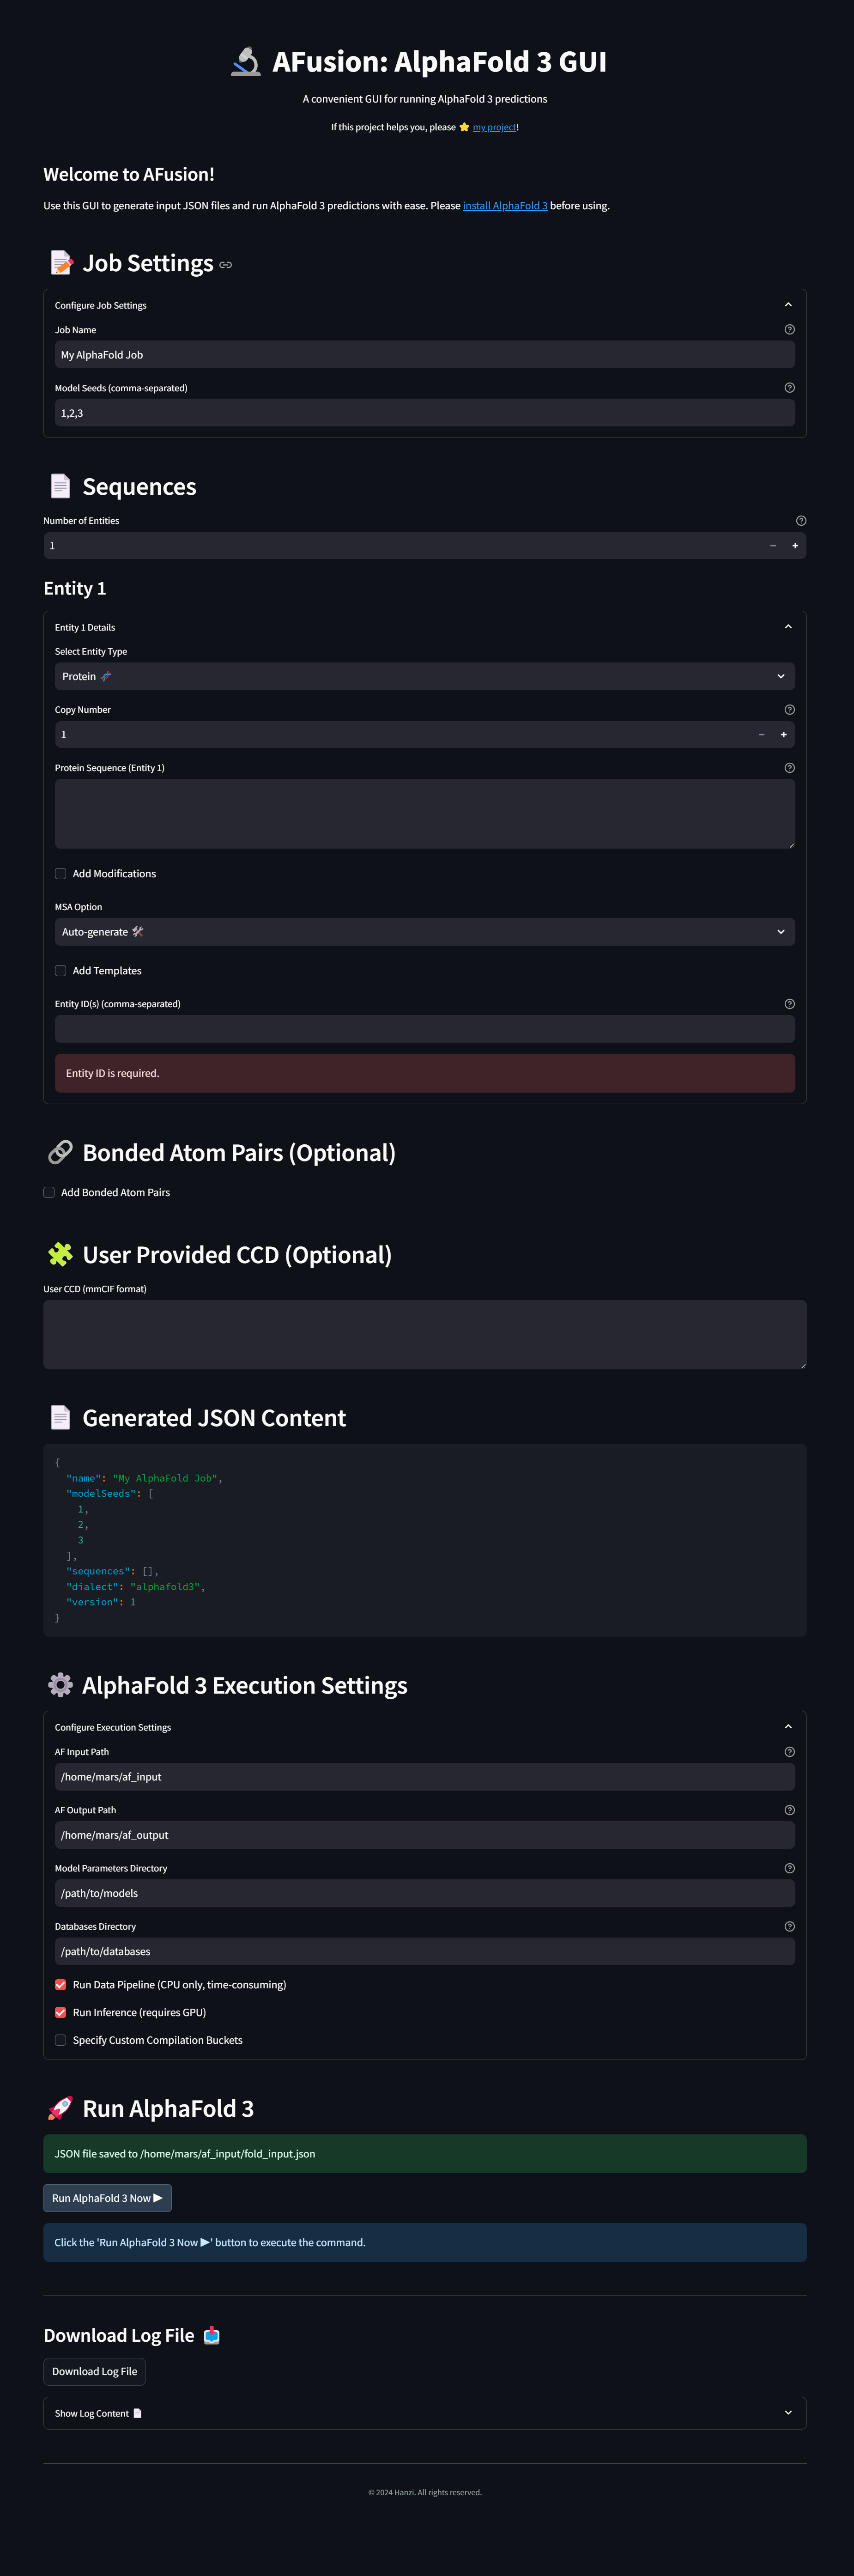
1. Welcome Page
- 👋 Logo and Introduction: You'll see the AFusion logo and a brief description.
- 📑 Navigation Sidebar: Use the sidebar on the left to navigate to different sections of the app.
2. Job Settings
- 🏷️ Job Name: Enter a descriptive name for your job.
- 🔢 Model Seeds: Provide integer seeds separated by commas (e.g.,
1,2,3).
3. Sequences
- 🔬 Number of Entities: Select how many entities you want to add (Proteins, RNA, DNA, Ligand).
- 📋 Entity Details: For each entity:
- ⚛️ Entity Type: Select the type (Protein, RNA, DNA, Ligand).
- 🆔 Entity ID: Provide an identifier for the entity.
- 🧬 Sequence Input: Enter the sequence information.
- ✏️ Modifications: Optionally add modifications with their types and positions.
- 📂 MSA Options: Choose MSA generation options and provide MSA data if applicable.
- 📜 Templates: Optionally add template data with mmCIF content and indices.
4. Bonded Atom Pairs (Optional)
- 🔗 Add Bonds: Check the box to add bonded atom pairs.
- ⚛️ Define Bonds: For each bond, provide details for the first and second atoms, including entity IDs, residue IDs, and atom names.
5. User Provided CCD (Optional)
- 📜 User CCD Input: Paste or enter custom CCD data in mmCIF format.
6. Generated JSON
- 📄 Review JSON Content: The application generates the JSON input file based on your entries. You can review it here.
7. AlphaFold 3 Execution Settings
-
🗂️ Paths Configuration:
- 📁 AF Input Path: Specify the path to the AlphaFold input directory (e.g.,
/home/user/af_input). - 📂 AF Output Path: Specify the path to the output directory (e.g.,
/home/user/af_output). - 📂 Model Parameters Directory: Provide the path to the model parameters directory.
- 📂 Databases Directory: Provide the path to the databases directory.
- 📁 AF Input Path: Specify the path to the AlphaFold input directory (e.g.,
-
⚙️ Execution Options:
- 🏗️ Run Data Pipeline: Choose whether to run the data pipeline (CPU-intensive).
- 💻 Run Inference: Choose whether to run inference (requires GPU).
8. Run AlphaFold 3
- 💾 Save JSON File: Click the "Save JSON File" button to save the generated JSON to the specified input path.
- ▶️ Run AlphaFold 3 Now: Click the "Run AlphaFold 3 Now ▶️" button to execute the AlphaFold 3 prediction using the Docker command.
- 🔧 Docker Command: The exact Docker command used is displayed for your reference.
- 📊 Command Output: Execution output is displayed within the app for monitoring.
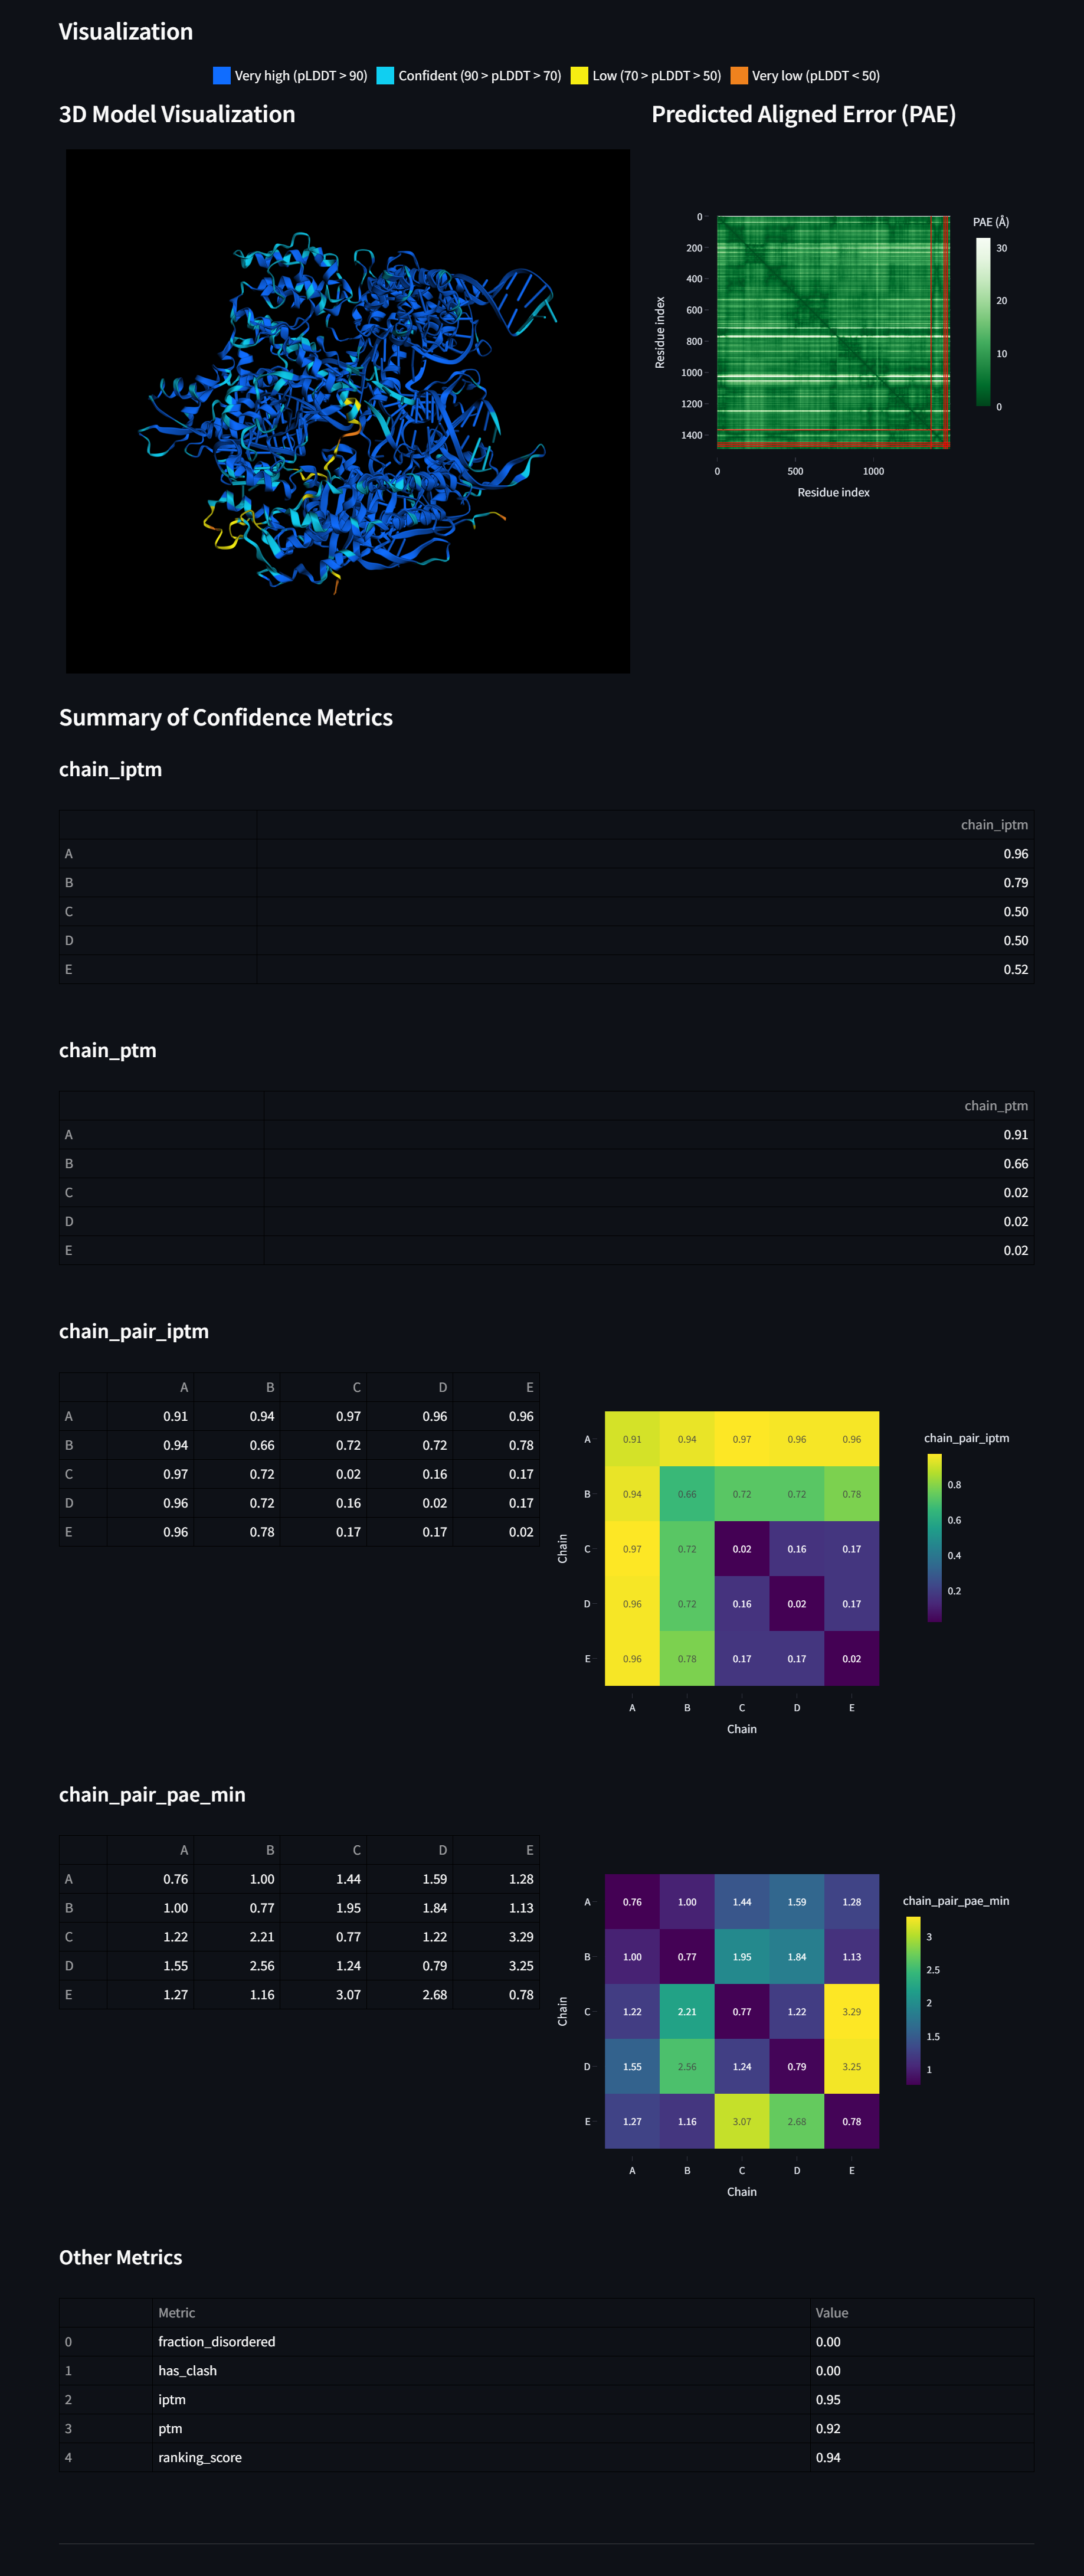
Visualization Module 🎨📊
-
🚀 Launch Visualization Interface
To start the visualization module, run:
afusion visualization -
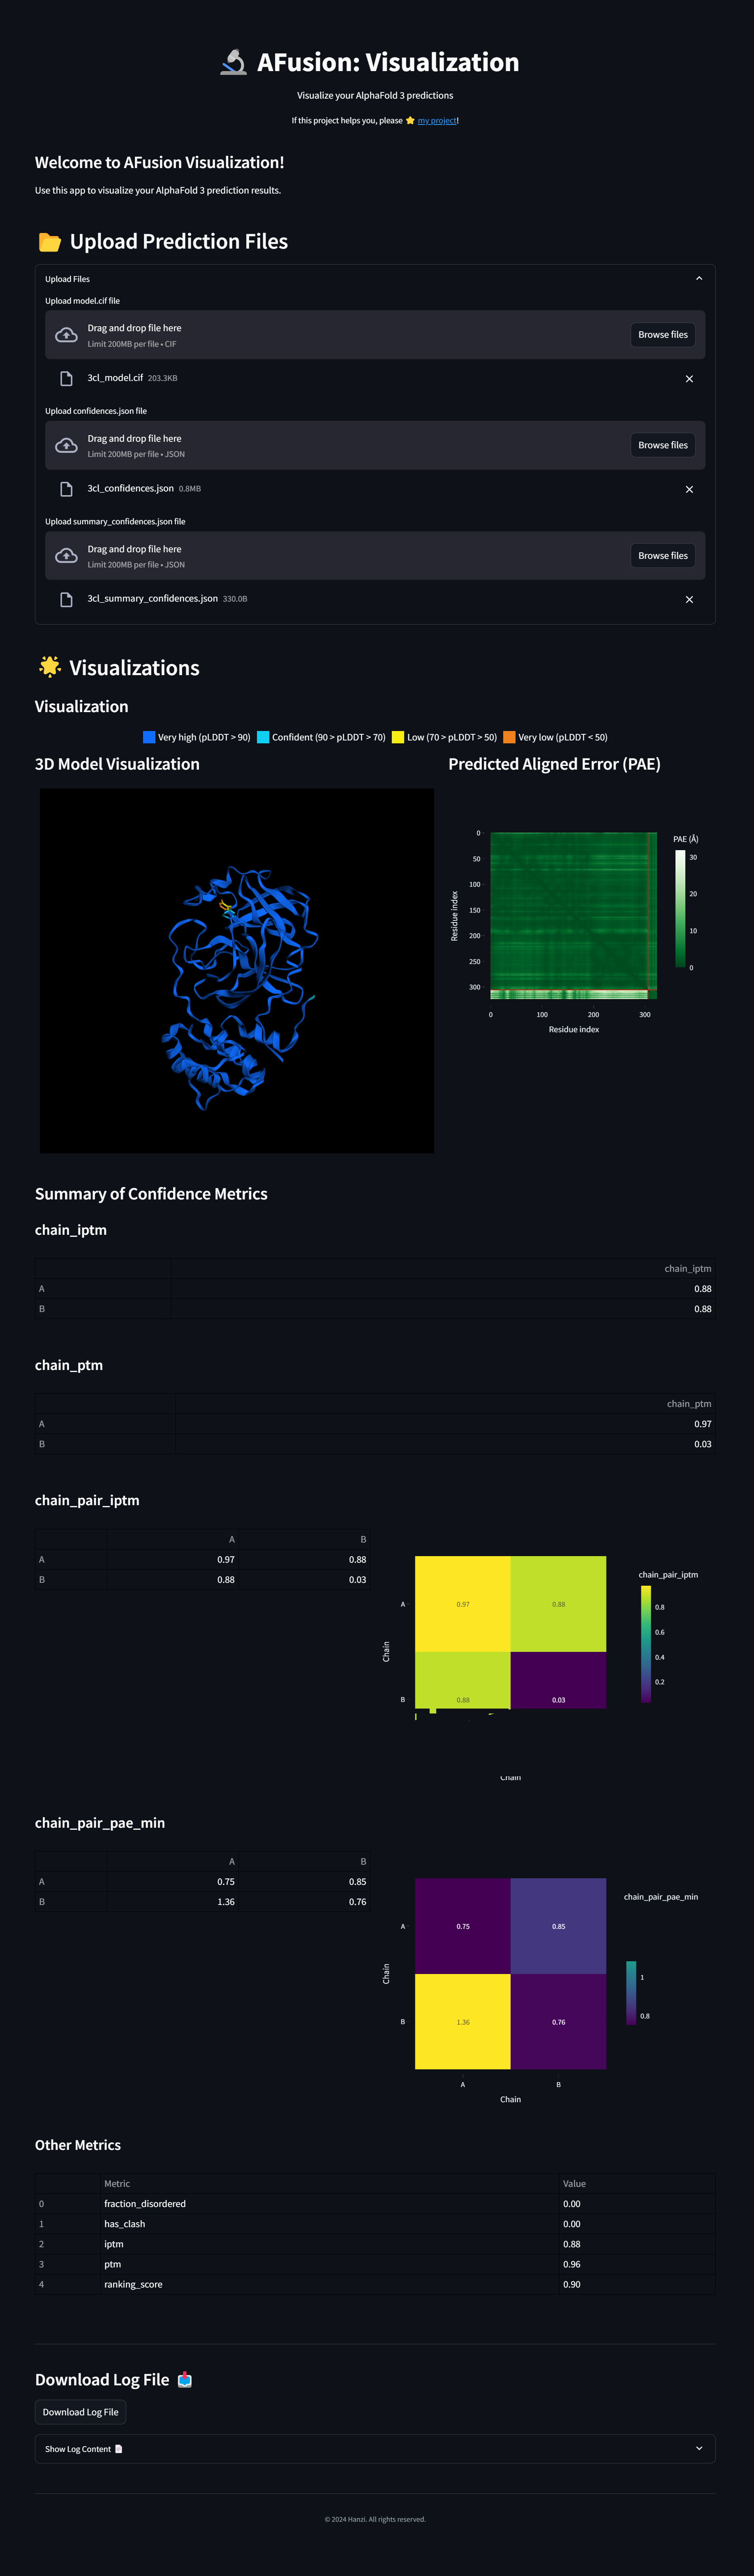
📂 Upload and Analyze Results
- 📤 Upload Files: Upload AlphaFold 3 output files (e.g.,
.cif,.json) directly in the visualization interface. - 🔬 Visual Analysis: Perform visual analysis for each prediction, with detailed structure displays and customizable plots.
- 📄 Web Reports: Generate web reports like Alphafold3 Server for the analysis on demand.
- 📤 Upload Files: Upload AlphaFold 3 output files (e.g.,
-
🔗 Integrated with Prediction GUI
- 🎛️ Seamless Integration: The visualization tools are also integrated into the prediction GUI. Once predictions are complete, you can switch seamlessly to the visualization tab for analysis.
Documentation
- Full Documentation in here
ToDo
-
📄 Bulid Documentation: Tutorial for using the AFusion API in Python scripts for batch predictions. -
♻️ Refactor Code and Publish to PyPI: Refactor the project code for improved modularity and maintainability, and publish the latest version to PyPI for easy installation. -
🔗 Develop AlphaFold result analysis system: Design and implement a comprehensive analysis pipeline for AlphaFold prediction results.-
Update the system.
-
- ⚛️ Preset Common Small Molecules & Metal Ions: Add a dedicated section for quick access to commonly used small molecules and metal ions.
- 🛠️ New Tool for Chemical Small Molecules: Develop a new tool to handle and model chemical small molecules, supporting seamless integration into the prediction pipeline.
-
🖥️ Add Console Output: Implement a backend console for output to track processes and debug more effectively. -
🧩 Create API for Batch Predictions: Develop a standalone function API to allow users to perform batch predictions with afusion in Python scripts. -
🧭 Create Guided Installation GUI: To simplify the installation process.
Screenshots
Prediction GUI Interface
Visualization GUI Interface
Click to view screenshot
Installation GUI Interface
Click to view screenshot
CLI Output
Click to view screenshot
License
This project is licensed under the GPL3 License - see the LICENSE file for details.
Acknowledgements
- AlphaFold 3: This GUI is designed to work with AlphaFold 3 by DeepMind.
- Streamlit: AFusion is built using Streamlit, an open-source app framework for machine learning and data science teams.
- Contributors: Waiting for more!
If you encounter any issues or have suggestions for improvements, please open an issue or submit a pull request.
Happy Folding! 🧬
1 maintainer

Metadata
1 maintainer
Release files for afusion 1.2.2.2
For a detailed explanation of source distributions (sdists) and built distributions (wheels), please see the package formats documentation.
Source distribution (sdist)
| File | Size | Uploaded | Provenance | Actions |
|---|---|---|---|---|
| afusion-1.2.2.2.tar.gz | 58.7 kB | Without provenance | Details for afusion-1.2.2.2.tar.gz |
Built distribution (wheel)
| File | Interpreter | ABI | Platform | Actions Reset |
|---|---|---|---|---|
| afusion-1.2.2.2-py3-none-any.whl | Python 3 | none | any | Details for afusion-1.2.2.2-py3-none-any.whl |
Total release size: 101.1 kB
Release files / afusion-1.2.2.2.tar.gz
| Download URL | afusion-1.2.2.2.tar.gz |
|---|---|
| Size | 58.7 kB |
| Tags | Source |
|
SHA-256 checksum How to use checksums |
acd7a162dcd93194e64272751916dc993bc456775734c60f63d796d497a9843d
|
|
BLAKE2b-256 checksum How to use checksums |
8944aa8c815f7ebd80aa31eb82b2f3aae5b2aa663b589b761f47d496a68e943f
|
| Upload date | |
|
Uploaded using Trusted Publishing? What is trusted publishing? |
No |
| Uploaded via |
twine/5.1.1 CPython/3.10.14
|
Release files / afusion-1.2.2.2-py3-none-any.whl
| Download URL | afusion-1.2.2.2-py3-none-any.whl |
|---|---|
| Size | 42.3 kB |
| Tags | Python 3 |
|
SHA-256 checksum How to use checksums |
9aaa976ee4d21af2c1099105299d24a5df3df1f57bde98d8302b167ebc440fde
|
|
BLAKE2b-256 checksum How to use checksums |
9b63f5e849b76cc092128b0f5ba5bbab3a1bf434569021d8d968035185406f23
|
| Upload date | |
|
Uploaded using Trusted Publishing? What is trusted publishing? |
No |
| Uploaded via |
twine/5.1.1 CPython/3.10.14
|
Security for afusion 1.2.2.2
Provenance
Provenance describes where a file came from. On PyPI, provenance is shared via attestations, which provide a verifiable record of the build or publishing details. View details, limitations and caveats.
No provenance found
None of the files in this release were uploaded with provenance metadata.
A note on package security
PyPI is a repository for distributing packages, not a service for auditing them. While third-party security researchers and our staff do their best to detect and remove malicious packages, PyPI cannot guarantee the quality, security or suitability of any given package.
To learn more about protecting yourself from malicious actors, visit our package security documentation.














