


pip install auto-highligher-py
auto-highlighter is a tool I developed to assist in video editing. It looks through hours of a
video for you and finds any clips that can be used for a TikTok or editing.
As an editor for multiple streamers, I am often tasked with having to look through hours of content to find a clip to create a TikTok from. So this tool gets the job done in minutes.
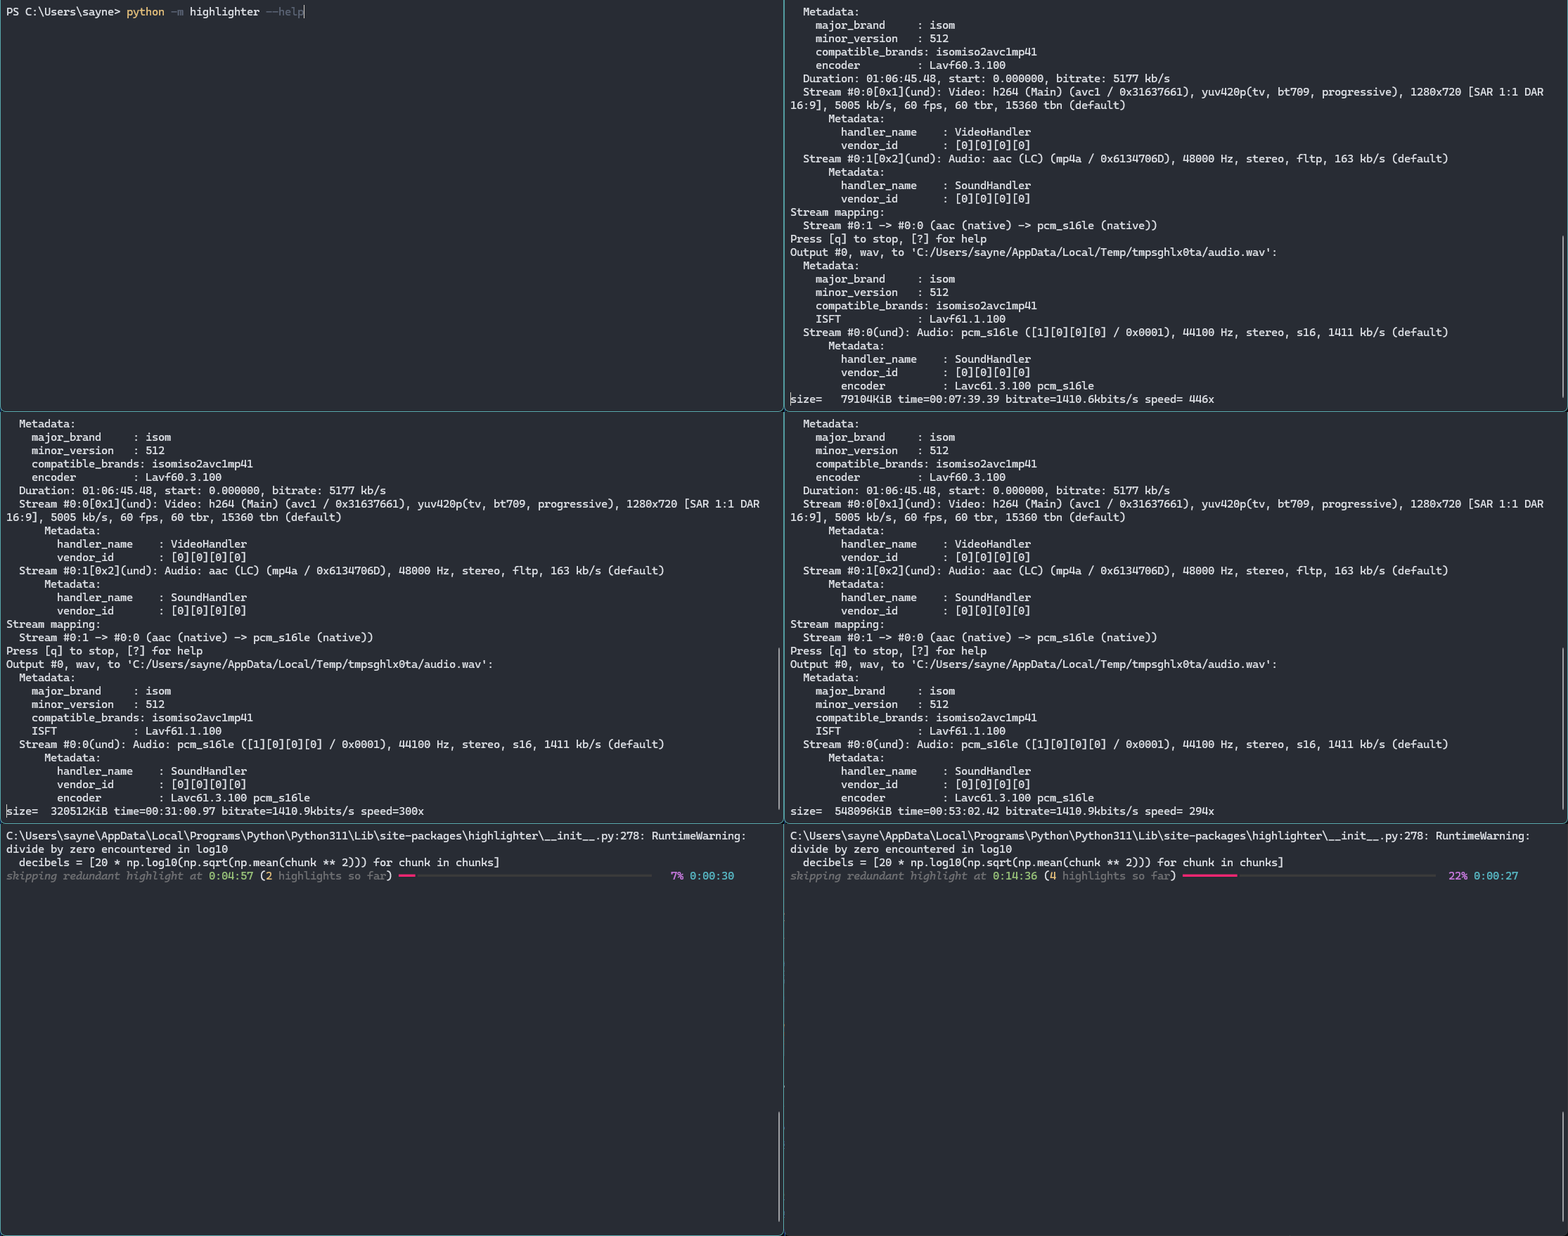
It saves detected clips to a folder for you to look through. By default, it is the highlights folder.
use cases
With this tool, you can easily find clips that otherwise would've taken hours. It can:
- Automatically detect any possible clips by audio / video.
- Save these clips to a folder for manual review.
- The clips will be in the original resolution as the VOD.
- Length of these clips can be customized.
- Can generate from any format.
installation
To begin using this project you must have the following installed onto your machine.
On Windows, open the start menu and type in cmd and open it.
Linux users can open their terminal by doing CTRL+ALT+T or by finding it.
I don't own a macbook 💀
Once installed, verify that you can call each command from your terminal.
Then using pip, install auto-highlighter.
> pip install auto-highlighter-py
> python --version
'python 3.11.9' # or similar.
> ffmpeg -version
'ffmpeg version <version>-<build>...'
2 gigabytes of space is recommended.
usage
 Usage: python -m highlighter [OPTIONS] COMMAND [ARGS]...

╭─ Options ────────────────────────────────────────────────────────────────────────────────────────────────────────────╮
│ --install-completion          Install completion for the current shell.                                              │
│ --show-completion             Show completion for the current shell, to copy it or customize the installation.       │
│ --help                        Show this message and exit.                                                            │
╰──────────────────────────────────────────────────────────────────────────────────────────────────────────────────────╯
╭─ Commands ───────────────────────────────────────────────────────────────────────────────────────────────────────────╮
│ analyze          analyze VOD for any highlights.                                                                     │
│ reference   find average decibel in video. (if you re unsure what target decibel to aim for, use this)          │
╰──────────────────────────────────────────────────────────────────────────────────────────────────────────────────────╯
# analyzing a video and generating clips is easy!
> auto-highlighter analyze -i "PATH/TO/VIDEO"
# OR
> python -m highlighter analyze -i "PATH/TO/VIDEO"
Whenever the tool begins analyzing, it will place all generated clips in highlights folder, or
in the folder you set the highlighter to place the clips at.
Use the --help option to see what else you
can do! It is very customizable.
adjusting to get the best results
auto-highlighter will highlight moments of a given VOD based on how loud a specific point in the video is. By default, It is set to 85.0dB and if a moment goes past this value it will be highlighted.
However this is different across each video. So if needed, you can adjust the target decibel using -t <DECIBEL> option. If you don't know what target decibel to aim for, using the reference command will give you information about the average decibel of the video, and the greatest decibel found.
# find a target decibel
auto-highligher find-reference -i "PATH/TO/VIDEO"
# OR
python -m highlighter find-reference -i "PATH/TO/VIDEO"
TL:DR: use this command if the highlighter is creating too many, or too little clips. this will tell you the recommended target decibel to set.
:O how does it work?
The highlighter works by finding the loudest points of a given video. When a point
of a video exceeds a given target dB (default: 85.0dB), it counts that as a
clip and will compile that into a 30 seconds video.
All generated videos will automatically be outputted to a directory called ./highlights.
This directory will be created in the location where you called the command. You can
also specifiy where the highlighter should output videos by using the --output, -o option.
You can also use another detection method with video! The way this method works is by taking the brightest moments of a video and creating a clip out of that too. You can also adjust the target luminance.
the tech behind it
Python 3.11+, Poetry (Package Management), FFMpeg (Video Conversion, and Generation)
Python is the programming language of choice for this project. It was very simple to use and allowed me to make this software very quickly. Poetry is used to easily publish this package to PyPI and use it in a virtual environment. FFMpeg is used on the command line to convert video to audio (for analysis) and to generate clips from highlights.
to-do
- Optimize decibel algorithm.
- Implement threading for clip generation.
- Add
watchfunction, which can be used to create clips from ongoing streams.
1 maintainer

Release files for auto-highlighter-py 0.1.0
For a detailed explanation of source distributions (sdists) and built distributions (wheels), please see the package formats documentation.
Source distribution (sdist)
| File | Size | Uploaded | |
|---|---|---|---|
| auto_highlighter_py-0.1.0.tar.gz | 7.4 kB | Details |
Built distribution (wheel)
| File | Interpreter | ABI | Platform | Reset |
|---|---|---|---|---|
| auto_highlighter_py-0.1.0-py3-none-any.whl | Python 3 | none | any | Details |
Total release size: 15.9 kB
Release files / auto_highlighter_py-0.1.0.tar.gz
| Download URL | auto_highlighter_py-0.1.0.tar.gz |
|---|---|
| Size | 7.4 kB |
| Tags | Source |
|
SHA-256 checksum How to use checksums |
b040328942526e1095bf764d7f3c4b9000d810ca95c9b1f248643661462ab632
|
|
BLAKE2b-256 checksum How to use checksums |
680e6688c6b665f786e53a4e38671acb900cc34dacfa52790e4cee97024f1c4e
|
| Upload date | |
|
Uploaded using Trusted Publishing? What is trusted publishing? |
No |
| Uploaded via |
uv/0.4.22
|
Release files / auto_highlighter_py-0.1.0-py3-none-any.whl
| Download URL | auto_highlighter_py-0.1.0-py3-none-any.whl |
|---|---|
| Size | 8.5 kB |
| Tags | Python 3 |
|
SHA-256 checksum How to use checksums |
4a61c520d4fbd9eb0f8af4ca5aefc7fd1fd2a00f2463b41dd753db1142da826d
|
|
BLAKE2b-256 checksum How to use checksums |
aa67cf8d061077adedc1e38f9e8a42160c196df0936da83548cce62795623b5d
|
| Upload date | |
|
Uploaded using Trusted Publishing? What is trusted publishing? |
No |
| Uploaded via |
uv/0.4.22
|














