AutoGen Studio

Project description
AutoGen Studio


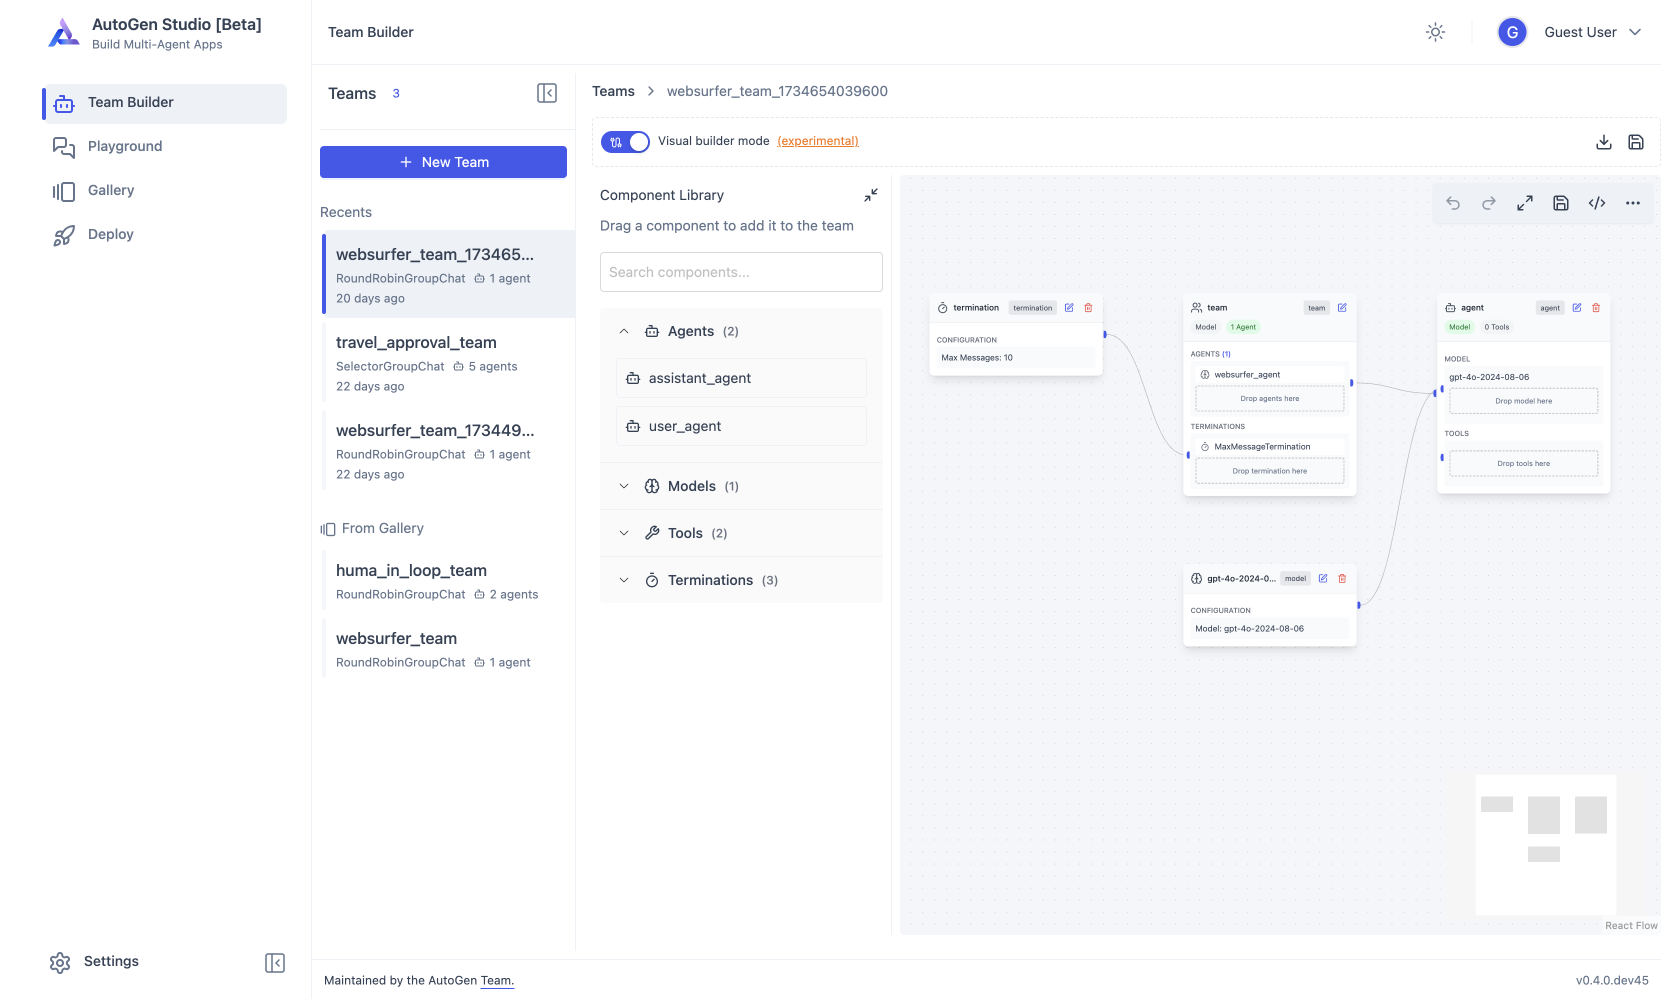
AutoGen Studio is an AutoGen-powered AI app (user interface) to help you rapidly prototype AI agents, enhance them with skills, compose them into workflows and interact with them to accomplish tasks. It is built on top of the AutoGen framework, which is a toolkit for building AI agents.
Code for AutoGen Studio is on GitHub at microsoft/autogen
[!WARNING] AutoGen Studio is under active development and is currently not meant to be a production-ready app. Expect breaking changes in upcoming releases. Documentation and the
README.mdmight be outdated.
Updates
- 2024-11-14: AutoGen Studio is being rewritten to use the updated AutoGen 0.4.0 api AgentChat api.
- 2024-04-17: April 17: AutoGen Studio database layer is now rewritten to use SQLModel (Pydantic + SQLAlchemy). This provides entity linking (skills, models, agents and workflows are linked via association tables) and supports multiple database backend dialects supported in SQLAlchemy (SQLite, PostgreSQL, MySQL, Oracle, Microsoft SQL Server). The backend database can be specified a
--database-uriargument when running the application. For example,autogenstudio ui --database-uri sqlite:///database.sqlitefor SQLite andautogenstudio ui --database-uri postgresql+psycopg://user:password@localhost/dbnamefor PostgreSQL. - 2024-03-12: Default directory for AutoGen Studio is now /home/<USER>/.autogenstudio. You can also specify this directory using the
--appdirargument when running the application. For example,autogenstudio ui --appdir /path/to/folder. This will store the database and other files in the specified directory e.g./path/to/folder/database.sqlite..envfiles in that directory will be used to set environment variables for the app.
Project Structure:
autogenstudio/contains code for the backend classes and web api (FastAPI)frontend/contains code for the webui, built with Gatsby and TailwindCSS
Installation
There are two ways to install AutoGen Studio - from PyPi or from the source. We recommend installing from PyPi unless you plan to modify the source code.
Install from PyPi (Recommended)
We recommend using a virtual environment (e.g., venv) to avoid conflicts with existing Python packages. With Python 3.10 or newer active in your virtual environment, use pip to install AutoGen Studio:
pip install -U autogenstudio
Install from source
Note: This approach requires some familiarity with building interfaces in React.
Important: Git LFS Requirement
AutoGen Studio uses Git Large File Storage (LFS) for managing image and other large files. If you clone the repository without git-lfs, you'll encounter build errors related to image formats.
Before cloning the repository:
-
Install git-lfs:
# On Debian/Ubuntu
apt-get install git-lfs

# On macOS with Homebrew
brew install git-lfs

# On Windows with Chocolatey
choco install git-lfs
-
Set up git-lfs:
git lfs install
If you've already cloned the repository:
git lfs install
git lfs fetch --all
git lfs checkout  # downloads all missing image files to the working directory
This setup is handled automatically if you use the dev container method of installation.
You have two options for installing from source: manually or using a dev container.
A) Install from source manually
-
Ensure you have Python 3.10+ and Node.js (version above 14.15.0) installed.
-
Clone the AutoGen Studio repository and install its Python dependencies using
pip install -e . -
Navigate to the
python/packages/autogen-studio/frontenddirectory, install the dependencies, and build the UI:npm install -g gatsby-cli npm install --global yarn cd frontend yarn install yarn build # Windows users may need alternative commands to build the frontend: gatsby clean && rmdir /s /q ..\\autogenstudio\\web\\ui 2>nul & (set \"PREFIX_PATH_VALUE=\" || ver>nul) && gatsby build --prefix-paths && xcopy /E /I /Y public ..\\autogenstudio\\web\\ui
B) Install from source using a dev container
-
Follow the Dev Containers tutorial to install VS Code, Docker and relevant extensions.
-
Clone the AutoGen Studio repository.
-
Open
python/packages/autogen-studio/in VS Code. Click the blue button in bottom the corner or press F1 and select "Dev Containers: Reopen in Container". -
Build the UI:
cd frontend
yarn build
Running the Application
Once installed, run the web UI by entering the following in your terminal:
autogenstudio ui --port 8081
This command will start the application on the specified port. Open your web browser and go to http://localhost:8081/ to use AutoGen Studio.
AutoGen Studio also takes several parameters to customize the application:
--host <host>argument to specify the host address. By default, it is set tolocalhost.--appdir <appdir>argument to specify the directory where the app files (e.g., database and generated user files) are stored. By default, it is set to the.autogenstudiodirectory in the user's home directory.--port <port>argument to specify the port number. By default, it is set to8080.--reloadargument to enable auto-reloading of the server when changes are made to the code. By default, it is set toFalse.--database-uriargument to specify the database URI. Example values includesqlite:///database.sqlitefor SQLite andpostgresql+psycopg://user:password@localhost/dbnamefor PostgreSQL. If this is not specified, the database URL defaults to adatabase.sqlitefile in the--appdirdirectory.--upgrade-databaseargument to upgrade the database schema to the latest version. By default, it is set toFalse.
Now that you have AutoGen Studio installed and running, you are ready to explore its capabilities, including defining and modifying agent workflows, interacting with agents and sessions, and expanding agent skills.
Local frontend development server
See ./frontend/README.md
Contribution Guide
We welcome contributions to AutoGen Studio. We recommend the following general steps to contribute to the project:
- Review the overall AutoGen project contribution guide
- Please review the AutoGen Studio roadmap to get a sense of the current priorities for the project. Help is appreciated especially with Studio issues tagged with
help-wanted - Please initiate a discussion on the roadmap issue or a new issue to discuss your proposed contribution.
- Submit a pull request with your contribution!
- If you are modifying AutoGen Studio, it has its own devcontainer. See instructions in
.devcontainer/README.mdto use it - Please use the tag
proj-studiofor any issues, questions, and PRs related to Studio
FAQ
Please refer to the AutoGen Studio FAQs page for more information.
Acknowledgements
AutoGen Studio is Based on the AutoGen project. It was adapted from a research prototype built in October 2023 (original credits: Gagan Bansal, Adam Fourney, Victor Dibia, Piali Choudhury, Saleema Amershi, Ahmed Awadallah, Chi Wang).
Release history Release notifications | RSS feed


Download files
Download the file for your platform. If you're not sure which to choose, learn more about installing packages.
Source Distribution
Built Distribution
Filter files by name, interpreter, ABI, and platform.
If you're not sure about the file name format, learn more about wheel file names.
Copy a direct link to the current filters
File details
Details for the file autogenstudio-0.4.2.2.tar.gz.
File metadata
- Download URL: autogenstudio-0.4.2.2.tar.gz
- Upload date:
- Size: 3.4 MB
- Tags: Source
- Uploaded using Trusted Publishing? No
- Uploaded via: twine/6.1.0 CPython/3.11.12
File hashes
| Algorithm | Hash digest | |
|---|---|---|
| SHA256 |
1cab6a4148ae7436c91090d5e229d3b02c9add6c8ab449b800b7fcc9204b2675
|
|
| MD5 |
eaed9ba59809325821d5586d32189c46
|
|
| BLAKE2b-256 |
140cb73703ff023f4e8c6f4c7b0c2bd21bc54b590e71bc227d7776add3444acc
|
File details
Details for the file autogenstudio-0.4.2.2-py3-none-any.whl.
File metadata
- Download URL: autogenstudio-0.4.2.2-py3-none-any.whl
- Upload date:
- Size: 3.5 MB
- Tags: Python 3
- Uploaded using Trusted Publishing? No
- Uploaded via: twine/6.1.0 CPython/3.11.12
File hashes
| Algorithm | Hash digest | |
|---|---|---|
| SHA256 |
2d8393a2afac5a54107160a6186447f68ff0a2b9af26b94ed7efe18940574cdf
|
|
| MD5 |
a2e09f69e018109cf4adf8b39abbbc98
|
|
| BLAKE2b-256 |
0289cc6c3661664074f494cc41f27e985fe8fa4af1bad0090ec069daaf50f8dc
|


