

Your activity, into automation.






AutomatiQ
[!Note] Alpha. Things will break and change. See VISION.md for what this project is trying to become.
AutomatiQ is a tool that aims to reduce hallucinations and simplify reverse engineering of websites for AI agents. It works by asking you to normally browse your target website, while AutomatiQ records all your interactions and network logs to produce an artifact folder. This artifact folder acts as a source of truth for your AI agent to build web automations, scrapers with higher accuracy, speed and quality without wasting tokens.
The good thing is, Agents will be able to generate direct HTTP-based scripts without ever touching browser during runtime, drastically increasing speed and reducing memory footprint.
[!Warning] Sensitive data: recordings are unredacted - request/response bodies, cookies, and credentials (including typed passwords) are stored verbatim. Treat every session folder as a secret: never commit or share it.
How it works
- Record. A visible Brave window opens with CDP instrumentation. Capture runs until you close the last window or call
stop_recording. - Compile. Network traffic is decoded into the workspace dump. With a vision model configured, action clips are annotated so the session folder describes what the user actually did.
- Consume. The session
README.mddocuments every artifact. Your MCP client reads it and writes the script.
Quickstart
Paste the following into your agent harness:
Install AutomatiQ (`pip install automatiq`, Python 3.11+) and register an MCP server in this client:
name `automatiq`, transport `stdio`, command `automatiq`, args `[]`. After a restart if needed, 5 tools should be live
Install
Python 3.11+. A managed Brave is downloaded on first run if none is found.
pip install automatiq
MCP setup
{
  "mcpServers": {
    "automatiq": {
      "command": "automatiq"
    }
  }
}
Codex, OpenCode, and oh-my-pi
Codex (~/.codex/config.toml):
[mcp_servers.automatiq]
command = "automatiq"
args = []
OpenCode (opencode.json):
{
  "mcp": {
    "automatiq": {
      "type": "local",
      "command": ["automatiq"]
    }
  }
}
oh-my-pi (mcpServers):
{
  "mcpServers": {
    "automatiq": {
      "command": "automatiq"
    }
  }
}
For debugging, run the stdio server directly: automatiq or python -m automatiq.
Sponsors
Want to Sponsor this Project? Contact me via discord: @moltensteel
Our Sponsors
Maintaining this open-source project sustainably is made possible thanks to our sponsors.

NodeMaven — High Quality Proxy Infrastructure
Running web automation and scraping scripts reliably requires high-quality proxies to avoid rate limits, IP bans, and CAPTCHA blocks.
- 99.9% uptime with sticky sessions up to 7 days.
- All proxies have a fraud score under 97% — No KYC required.
- Earn up to 10% cashback on the data you use.
Special codes for AutomatiQ users:
AUTOMATIQ35— 35% off Mobile and Residential ProxiesAUTOMATIQ40— 40% off ISP (Static) Proxies

Swiftproxy — Residential & Static Residential Proxies
Whether you're building browser agents, AI-powered automation workflows, or large-scale data pipelines, Swiftproxy provides the proxy infrastructure to keep your sessions stable and your blocks low.
- 90M+ clean residential IPs across global locations.
- Static residential proxies for stable sessions, account isolation, and multi-account workflows.
- Non-expiring traffic on dynamic residential proxies — use it whenever you need it.
- Free testing available to evaluate performance before integrating.
AutomatiQ community offer:
PROXY90— 10% off Residential and Static Residential Proxies
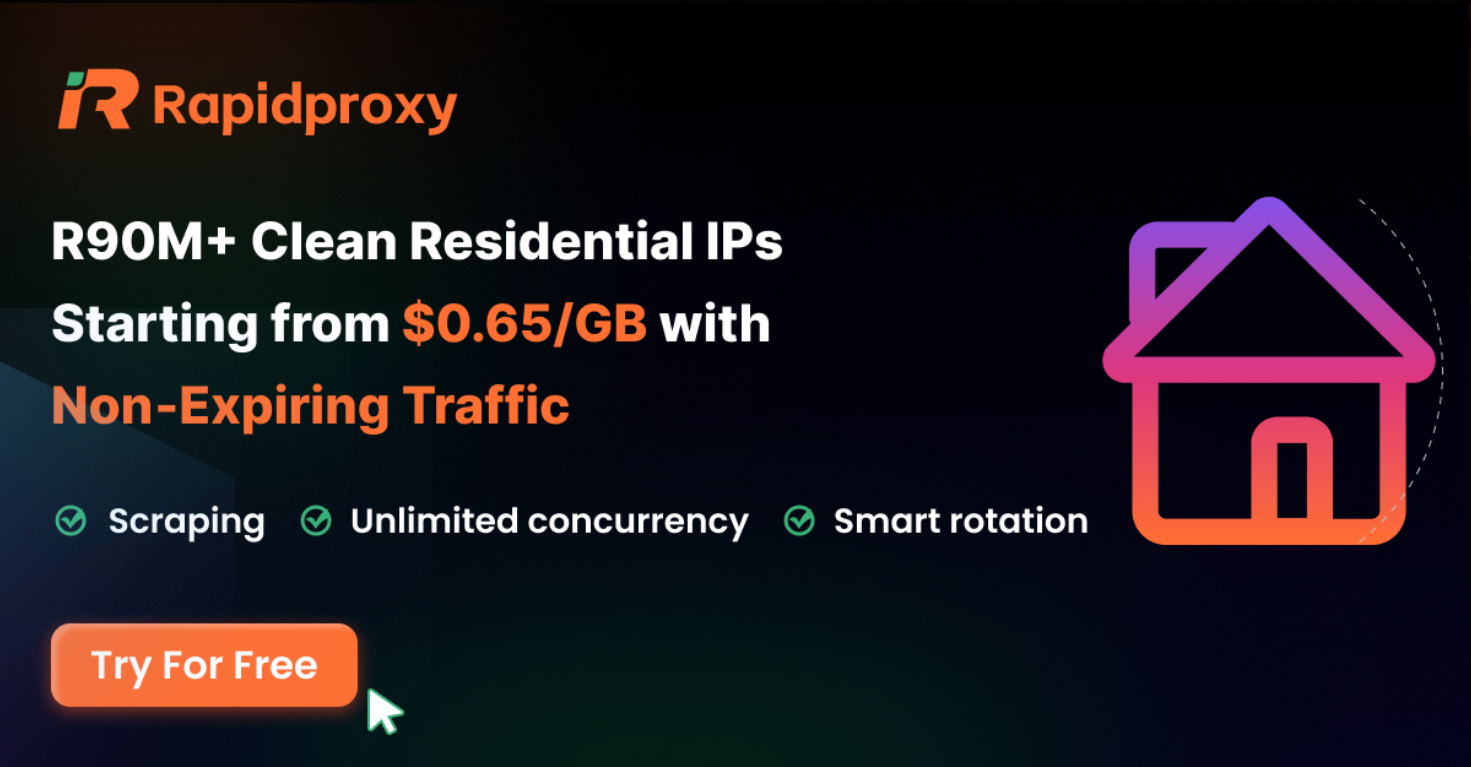
RapidProxy — High-Performance Residential Proxy Network
Built for developers and teams running web scrapers, browser automation, AI agents, and monitoring tools at scale.
- 90M+ residential IPs with smart rotation for resilient requests.
- High-concurrency support for workloads at scale.
- AI-powered CAPTCHA bypass to reduce interruptions.
- Non-expiring traffic — use purchased bandwidth whenever you need it.
AutomatiQ community offer:
- Free trial available.
- Pricing starts at $0.65/GB.
RAPID10— 10% off
Tools
| Tool | Purpose |
|---|---|
start_recording(url, session_name?, proxy?, include_video?) |
Opens a visible Brave window. Returns session_id immediately. Captures network, WebSockets, actions, and video. |
stop_recording(session_id) |
Requests a graceful end (~1s). Compilation continues. |
wait_for_completion(session_id?, timeout_s?) |
Blocks until a terminal state or timeout. Call in a loop. Sessions also end when the last browser window closes. |
get_status(session_id?) |
One session, or (no id) a newest-first list. |
annotate_user_interactions(session_id?, focus?) |
Re-runs vision analysis. Poll with wait_for_completion. |
Workflow: start_recording → poll wait_for_completion → on completion, read readme_path first. Artifacts are plain files under ./automatiq_sessions/<session_name>/ in the MCP server's working directory (add that folder to .gitignore).
First run can sit in initializing for a minute while Brave downloads. macOS will ask for screen recording permission. Crashed sessions still save the recording plus crash_report.txt.
Vision model
AutomatiQ sees requests, WebSocket frames, and raw actions. A vision pass adds what those miss: which on-screen control was used, whether the step succeeded, and a session_flow narrative. That is the difference between a HAR-like dump and a session the client can turn into a script with less guessing.
Paste a key into ~/.automatiq/config.toml (created on first run):
[models]
recorder_api_key = "your-key-here"
The key must match the provider of [models] recorder (any LiteLLM provider). Keys are read from this file only, at the start of each recording. start_recording reports whether a key was found.
include_video=true (default) cuts an MP4 per action cluster for that analysis. Pass include_video=false when you want a faster capture and no clips. You can run annotate_user_interactions later if you add a key after the recording.
Configuration
Settings live in ~/.automatiq/config.toml, created with a commented template on first run. Missing keys from new releases are appended in place; the previous file is saved as config.toml.bak.
Priority: tool parameter > AUTOMATIQ_* env var > ~/.automatiq/config.toml > built-in defaults.
[models]
recorder = "gemini/gemini-3.1-flash-lite"
recorder_api_key = ""
base_url = ""                    # OpenAI-compatible local endpoint

[recorder_proxy]
enabled = false
server  = ""                     # http://user:pass@host:3128 or socks5://host:1080
# provider = "myproxies:rotate"  # importable "module:callable"

[telemetry]
enabled = true
Local models: set base_url and prefix the model with openai/ so LiteLLM uses the OpenAI protocol.
[models]
recorder = "openai/llama3.3"
base_url = "http://localhost:11434/v1"
Key edits apply on the next recording. Model changes need a server restart.
Proxy for the recording browser only (LLM calls and blocklist downloads are unchanged):
- one-off:
start_recording(url, proxy="socks5://127.0.0.1:1080") - permanent:
[recorder_proxy]above - rotating:
provider = "module:callable"that returns a proxy URL; falls back toserveron failure
Precedence for proxy: tool param > AUTOMATIQ_RECORDER_PROXY_* > provider > server.
Environment variables
| Env var | Default | Meaning |
|---|---|---|
AUTOMATIQ_HOME |
~/.automatiq |
Root for config, browsers, logs, blocklist |
AUTOMATIQ_OUTPUT_DIR |
./automatiq_sessions (server cwd) |
Session folders |
AUTOMATIQ_RECORDER_MODEL |
gemini/gemini-3.1-flash-lite |
LiteLLM model string (must support images) |
AUTOMATIQ_API_BASE |
unset | OpenAI-compatible endpoint |
AUTOMATIQ_BROWSER_CHANNEL |
release |
Brave channel (recorder is Brave-only) |
AUTOMATIQ_BROWSER_EXECUTABLE_PATH |
auto | Explicit browser binary |
AUTOMATIQ_FPS |
3 |
Screen capture frames/sec |
AUTOMATIQ_LOG_LEVEL |
INFO |
stderr minimum; session log under ~/.automatiq/logs/ is DEBUG+ |
AUTOMATIQ_MERGE_GAP |
1.5 |
Inactivity (s) that splits action clusters |
AUTOMATIQ_SEGMENT_PAD |
2 |
Padding (s) around each action clip |
AUTOMATIQ_MAX_FRAMES_PER_PROMPT |
8 |
Frames sampled per vision prompt |
AUTOMATIQ_TELEMETRY |
1 |
Set 0 to disable |
AUTOMATIQ_BLOCKLIST_SOURCES |
empty | name1=url1,name2=url2 hosts-file blocklists |
AUTOMATIQ_RECORDER_PROXY_SERVER |
unset | Proxy URL for the recording browser |
Telemetry
Anonymous usage telemetry is enabled by default. It reports OS, Python and AutomatiQ versions, which tools ran and how often, durations, error classes, and session outcomes. It never reports URLs, file paths, prompts, or keys. Disable with [telemetry] enabled = false or AUTOMATIQ_TELEMETRY=0.
Development
git clone https://github.com/StoneSteel27/AutomatiQ.git
cd AutomatiQ
uv sync
uv run pre-commit install
uv run pytest -q
uv run automatiq   # MCP stdio server
License
MIT
1 maintainer

Metadata
1 maintainer
Release files for automatiq 0.4.0
For a detailed explanation of source distributions (sdists) and built distributions (wheels), please see the package formats documentation.
Source distribution (sdist)
| File | Size | Uploaded | |
|---|---|---|---|
| automatiq-0.4.0.tar.gz | 137.5 kB | Details |
Built distribution (wheel)
| File | Interpreter | ABI | Platform | Reset |
|---|---|---|---|---|
| automatiq-0.4.0-py3-none-any.whl | Python 3 | none | any | Details |
Total release size: 255.6 kB
Release files / automatiq-0.4.0.tar.gz
| Download URL | automatiq-0.4.0.tar.gz |
|---|---|
| Size | 137.5 kB |
| Tags | Source |
|
SHA-256 checksum How to use checksums |
a86b55705acca60251c3ebe8da6f77e3b58444fe9c27230ca1cd43f14332a4c1
|
|
BLAKE2b-256 checksum How to use checksums |
a67ef3f227c0dd8d122c0bf412156c06531af58f671f10591be17844bdb2370f
|
| Upload date | |
|
Uploaded using Trusted Publishing? What is trusted publishing? |
No |
| Uploaded via |
twine/7.0.0 CPython/3.13.5
|
Release files / automatiq-0.4.0-py3-none-any.whl
| Download URL | automatiq-0.4.0-py3-none-any.whl |
|---|---|
| Size | 118.1 kB |
| Tags | Python 3 |
|
SHA-256 checksum How to use checksums |
58e16e196fd4fdbfafb9b2f59fd9b8ee706b76f6b1d0659ec57e1cfa70fa1614
|
|
BLAKE2b-256 checksum How to use checksums |
3099ee1584e1891cb35d59442666a2ca63f28de9137b5d42e06a905044581530
|
| Upload date | |
|
Uploaded using Trusted Publishing? What is trusted publishing? |
No |
| Uploaded via |
twine/7.0.0 CPython/3.13.5
|














