
A package for signal classification and deployment in any microcontroller board with no expertise required.

Project description
A Complete Guide to use easyRTML



My Dear ML Enthusiasts and Aspiring Beginners,
Today, you're about to start on a journey to train your first Machine Learning signal classification model. Deploy it on any microcontrollers like ESP32, ESP8266, Arduino 33 BLE, or platforms like Raspberry Pi and Python, you’ll be able to perform Real-Time classification with lightning-fast prediction times ranging from 10 to 100 microseconds.
I’m a 4th-year Engineering student at IIT (BHU), and this package has been used for research work. The use case is detailed in my research paper, so you can be confident that this package is genuine and verified.
Let's get started!
- Aryan Jadhav
Getting Started
- Any compatible microcontroller board
- Sensor (IMU, EMG, EOG, Flex_sensor, Force Resistve Sensor , etc)
- No Prior Coding Knowledge Required: Our solution is designed to be accessible even to those with no coding experience.
- Beginner-Friendly: User-friendly interface and straightforward processes ensure a smooth start for beginners.
- Easy to Use: Simple code to understand, less paramaters to tweak, press only enter that's it. That easy!.
- Comprehensive Solution: Includes all essential components—Data Acquisition, Data Cleaning, Data Preprocessing, Feature Extraction, Feature Selection, Model Training, Scientific Visualization, Optimal Model Fit, and Deployment Code Generation.
Table of Contents
- Installation
- Usage
Installation
Install latest easyRTML package in your jupyter notebook environment
pip install easyRTML
Usage
Step 1: Initialize Data Recording for Your Microcontroller
To get started with recording data from your microcontroller (for example, the ESP8266), you'll need to upload the recording code using the Arduino IDE. This code will set up your sensor (like the MPU6050 IMU sensor) to send data in a comma-separated format.
Here’s a sample data recording code for the MPU6050 and ESP8266:
#include <Adafruit_MPU6050.h>
#include <Wire.h>
Adafruit_MPU6050 mpu;

void setup() {
Serial.begin(115200); //(Note the baudrate)
while (!Serial) {
delay(10);
}

if (!mpu.begin()) {
while (1) {
delay(10);
}
}

mpu.setAccelerometerRange(MPU6050_RANGE_8_G);
mpu.setGyroRange(MPU6050_RANGE_500_DEG);
}

void loop() {
sensors_event_t a, g, temp;
mpu.getEvent(&a, &g, &temp);

Serial.print(a.acceleration.x);
Serial.print(",");
Serial.print(a.acceleration.y);
Serial.print(",");
Serial.print(a.acceleration.z);
Serial.print(",");
Serial.print(g.gyro.x);
Serial.print(",");
Serial.print(g.gyro.y);
Serial.print(",");
Serial.print(g.gyro.z);
Serial.println("");
}
Select the COMX port and upload the code to your microcontroller. Once the upload is complete, head over to 'Tools' -> 'Serial Plotter' in the Arduino IDE to verify that the data is plotting successfully.
Tip: If the data isn't plotting, double-check the baud rate to ensure it matches the code. If the issue persists, try unplugging and reconnecting the serial port.
Perform Data Acquisition
With the data acquisition code successfully uploaded, your device is now ready for Data Acquisition. Next, return to your Jupyter Notebook where the easyRTML package is installed. Execute the following code to start recording data:
from easyRTML import DataAQ

"""
- Protocol to record data:
  * Data should be recorded in Continious Motion
  * Mean geature duration should be aproximately 1 sec.
  * For good results, record for minimum 30 sec with 30 repetation of motion for that label.

- The code will pormt to enter the Duration of data to be recorded.
- You can record multiple labels, to perfrom multiclass classificcation as required.
- You can record the data again for any label if not recorded perfectly.
- Csv file will be saved in your directory with the mentioned "filename_sampling_freq.csv"
Tip : If code stops while recording or doesn't, pulg out the serial port and plug in back.

"""

filename = "fsr" # Enter the name you want for your recorded CSV file Eg. "fsr"
serial_port = '/dev/tty.usbserial-XXXX'  # Enter the serial port name Eg. COMX, /dev/tty.usbserial-XXXX
baud_rate = 115200  # Enter the same BaudRate used in Data Recording code at Arduino IDE.

data_acquisition = DataAQ(filename=filename, serial_port=serial_port, baud_rate=baud_rate)
Voila! Once the CSV file is exported, you're all set and ready to dive into PreProcessing! 🎉
Step 2: PreProcessing
In this step, we’ll handle data cleaning, address any missing values, normalize the data, and visualize it through plots.
from easyRTML import Processor, Plot
file_name = 'fsr.csv' # Replace with your recorded, saved CSV file in directory.
processor = Processor(file_name)

Plot.plot(processor.df) #Plots the CSV file features
Plot.plot_normalized(processor.normalized_df) #Plots the normalized features
Plot.plot_separated(processor.normalized_df)  #Separetly plots every normlaized label
Step 3: Feature Extraction
Now we dive into one of the crucial stages: Feature Extraction. We'll employ a rolling window approach with a shift logic to extract time-domain features.
Features Extracted:
- Minimum
- Maximum
- Mean
- Root Mean Square
This features are enough to capture the essential characteristics of the data while keeping the model straightforward and manageable.
from easyRTML import Extractor

#Update the sampling_freq with your recorded CSV file. Update mean_geature_duration and shift if needed. (Experiemnt with it)
extractor = Extractor(sampling_freq=1000, mean_gesture_duration=1000, shift=0.3)

features_df, shuffled_df, variables = extractor.process_data(processor.normalized_df)
features_df.describe()
Step 4: Feature Selection + Model Training
Now we're ready to train our Machine Learning model! 🎉 Before diving in, we'll identify the best features from the features_df dataframe. This ensures we use the most relevant features for the highest accuracy while keeping the model efficient, with prediction times in the range of 10-100 microseconds.
Outputs and Visual results:
- List of Selected Features
- Folds Accuracy, Mean Folds Accuracy, Training Accuracy, Testing Accuracy
- Classification Report of Tranined Model
- Confusion Matrix
- Coorelation matrix of selected features
- Pair Plot of select features
At this stage, we support two fantastic Machine Learning models: XGBoost and Random Forest. These models are compatible for offline classification, Python-based online classification, and deployment on microcontrollers.
You’re all set to train and evaluate your model with ease and precision.
Xgboost Model Traning
from easyRTML import XGML

xgml = XGML(shuffled_df)
xgml.Xgboost(
    xgb_params={'max_depth': 3, 'n_estimators': 10},
    cv_params={'n_splits': 5},
    filename='xgboost_model.pkl'
)
#Change xgb_params and cv_params as required.
Random Forest Model Traning
from easyRTML import RBML

rfml = RBML(shuffled_df)
rfml.Random_forest(
    rf_params={'max_depth': 3, 'n_estimators': 10},
    cv_params={'n_splits': 5},
    filename='rf_model.pkl'
)
#Change rf_params and cv_params as required.
Step 5: Model deployment to perfrom Real-Time Machine Learning (RTML)
You are all set at this point to deploy your model in various platforms and get live predictions from new data by sensor.
Here’s what you can do:
- Perform RTML in Jupyter Notebook or VSCode using Python
- Deploy RTML on ESP32, ESP8266, Arduino 33 BLE microcontrollers with the generated Classifier.h and Pipeline.h code
- Upcoming: Deploy RTML on Raspberry Pi using MicroPython (stay tuned!)
To utilize any of these deployment options, you'll need an Authentication Key from easyRTML.com
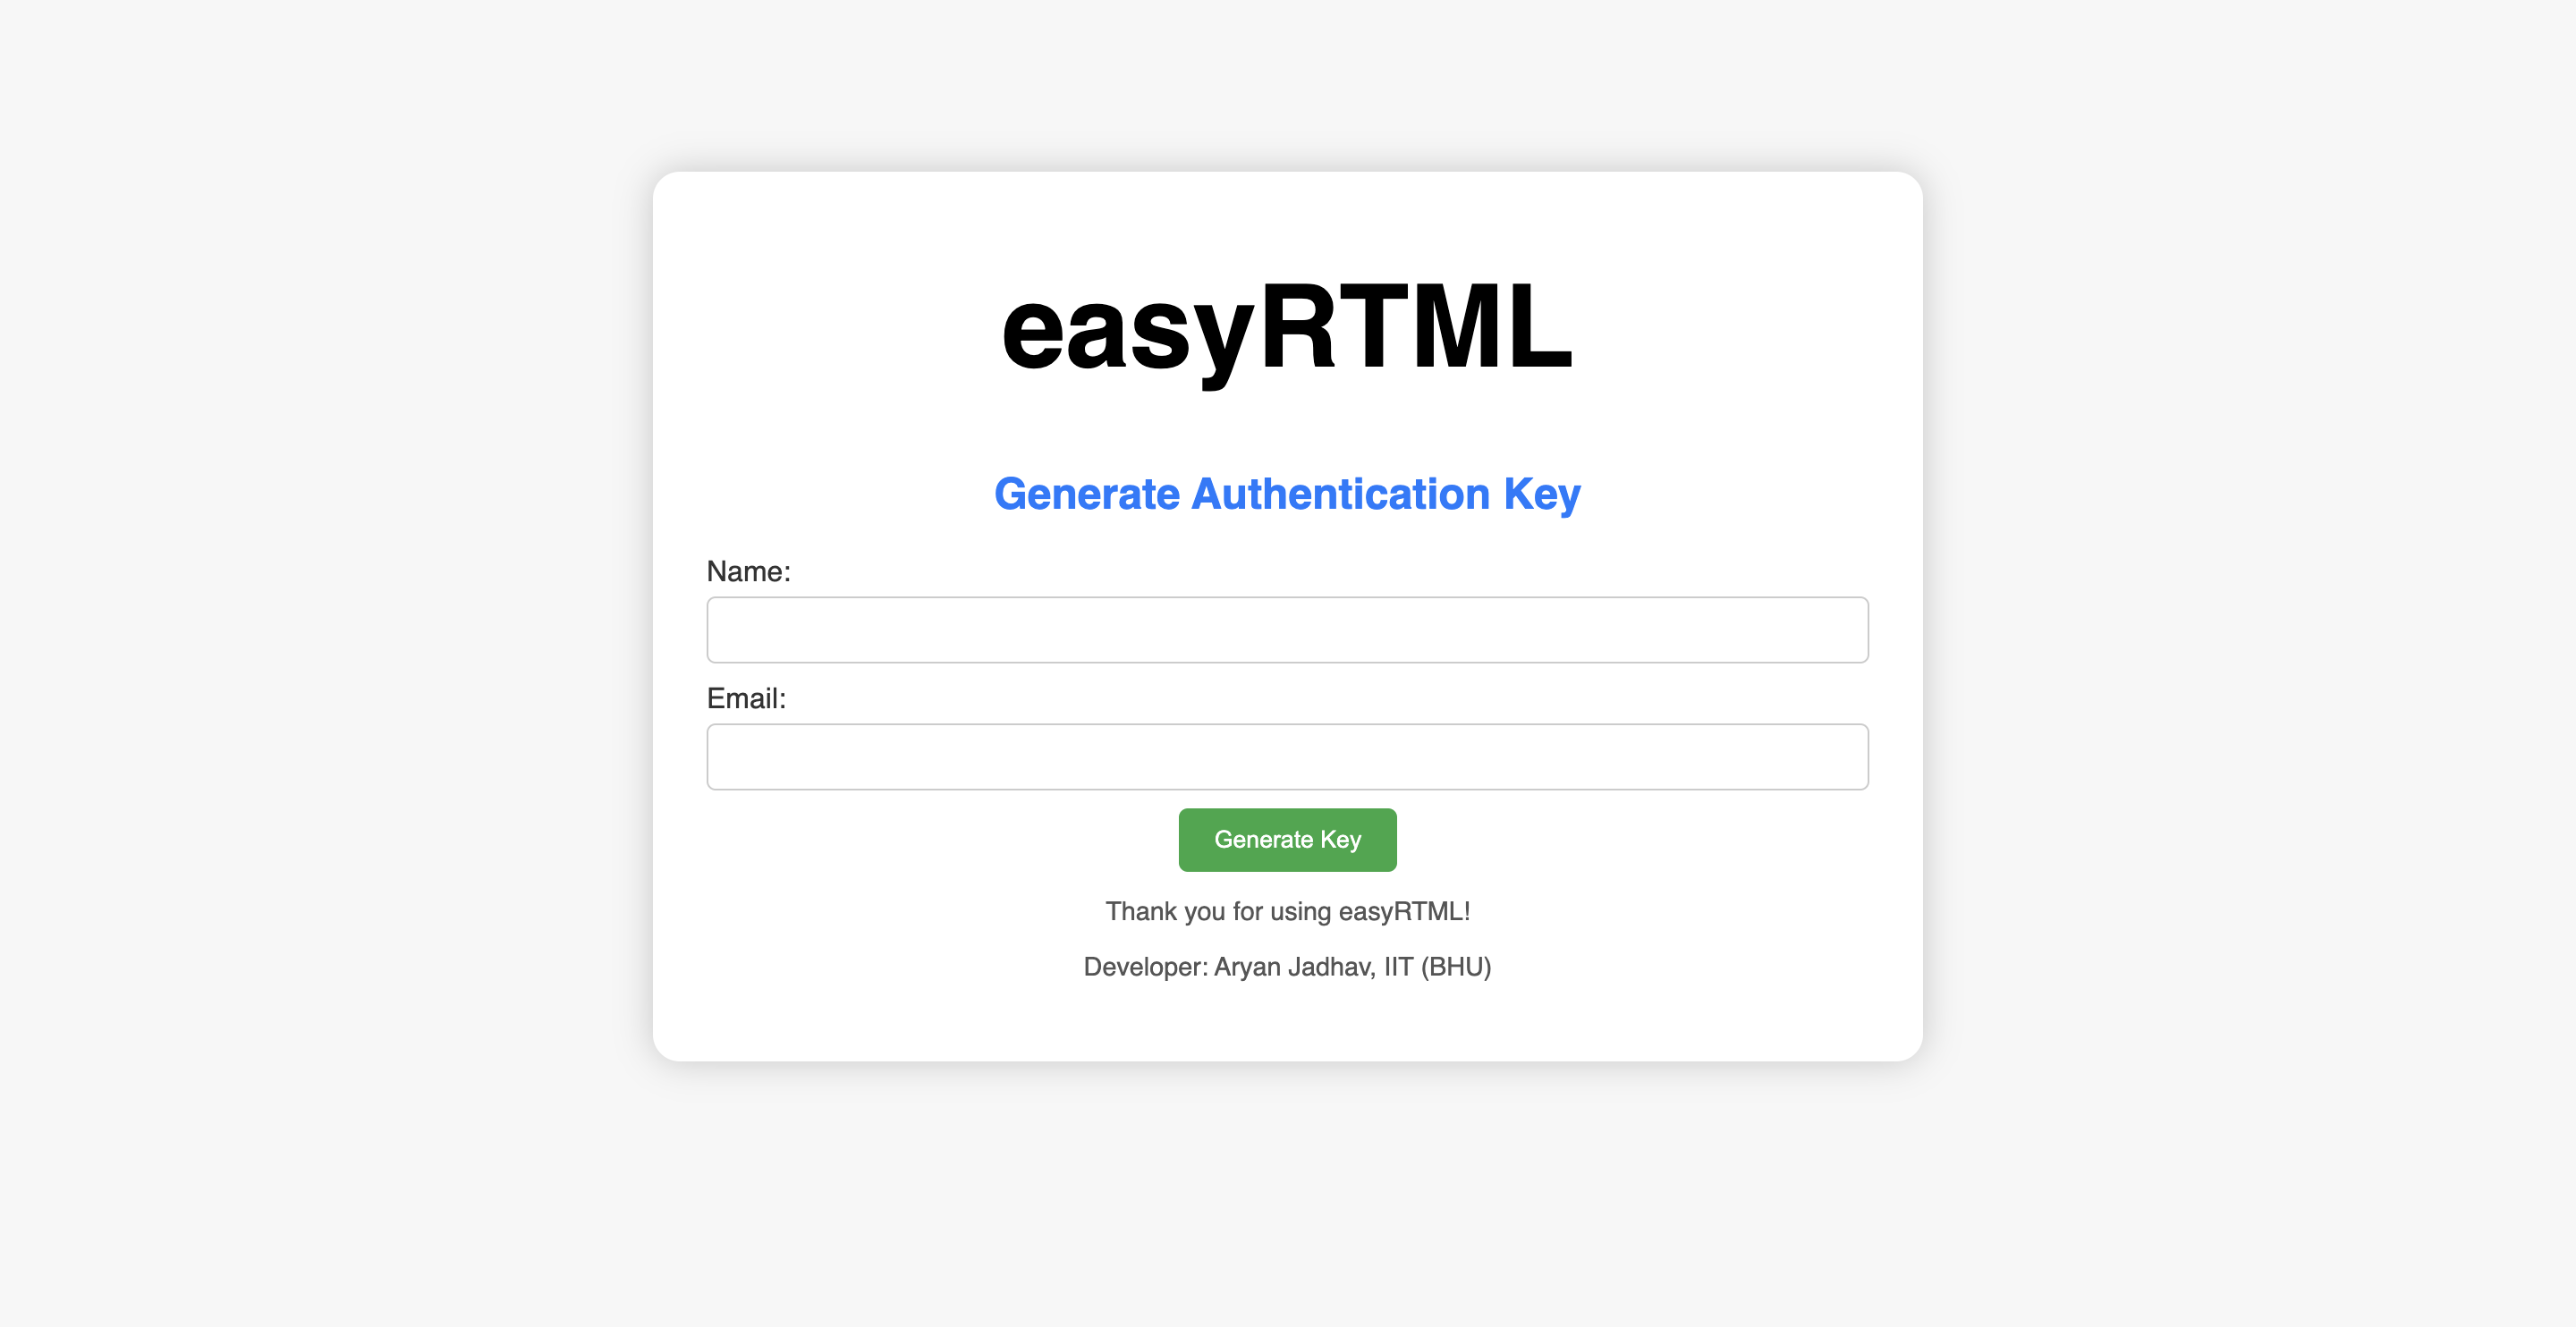
Note: Ensure you provide a valid email address and name, as your Authentication Key will be sent to the email you provide.
Once you receive your Authentication Key, save it along with your email, as you'll need these details to execute the code.
RTML code generator for Python (Jupyter Notebook & VSCode)
For Xgboost and Random Forest both trained classifier models:
"""
Python RTML Code generator
"""
from easyRTML import authenticate
email = "abc@gmail.com" #Enter your email here

#Authetication Key: 136126847XXXXXXXXXXXXX

if authenticate(email=email):

    from easyRTML import pyRTML

    py_RTML = pyRTML(processor, extractor, xgml) # Change the below rfml/xgml depending upon which model been used

    """
    - Run the below code to access the generted python script to Execute the Real-time classification.
    - Make sure you define model_file, serial_port, baud_rate correctly.
    - Genearted code will be saved in your directory.
    """
    generated_code = py_RTML.easyRTML_python_generate(model_file="xgboost_model.pkl", serial_port='/dev/cu.usbserial-0001', baud_rate=115200)
    py_RTML.save_code_to_file(generated_code) # Save the generated code to a file
    print(generated_code)

    """
    - Run the below code if you wish to Execute the Real-time classification directly without getting generted code.
    - Make sure you comment out the above code completly.
    - Make sure you define model_file, serial_port, baud_rate correctly.
    - Genearted code will be saved in your directory.
    """
#    py_RTML.execute_generated_code(model_file="xgboost_model.pkl", serial_port='/dev/cu.usbserial-0001', baud_rate=115200)

else:
    print("Access denied")

    """
    - A promt will apprear, please enter your Authetication code to proceed.
    """
RTML for Microcontroller (ESP32, ESP8266, Arduino 33 BLE, etc)
To deploy your trained XGBoost or Random Forest model on a microcontroller, you'll need to generate the following files:
- 'pipeline.h'
- 'classifier.h'
- Modify the Data Recording code of Arduino IDE
Generate Pipeline.h
This file is required for both XGBoost and Random Forest models. It includes:
"""
pipeline.h code
"""

from easyRTML import authenticate
email = "abc@gmail.com"  #Enter your email here

#Authetication Key: 136126847XXXXXXXXXXXXX

if authenticate(email=email):
    from easyRTML import Pipe

    """
    - Change rfml/xgml depending upon which model been used.
    - Genearted code will be saved in your directory.
    """

    pipe = Pipe(processor, extractor, xgml)
    pipe.save_cpp_code()

else:
    print("Access denied")

    """
    - A promt will apprear, please enter your Authetication code to proceed.
    """
Generate Classifier.h
For Xgboost porting:
"""
classifier.h code
"""

from easyRTML import authenticate
email = "abc@gmail.com"  #Enter your email here

#Authetication Key: 136126847XXXXXXXXXXXXX

if authenticate(email=email):
    from easyRTML import generate_code

    """
    - Make sure to import XgBoost model properly as .pkl file.
    - Genearted code will be saved in your directory.
    """

    cpp_code = generate_code("easyRTML_Xgboost", 'xgboost_model.pkl', xgml)
    print(cpp_code)

else:
    print("Access denied")

    """
    - A promt will apprear, please enter your Authetication code to proceed.
    """
For Random Forest porting:
"""
classifier.h code
"""

from easyRTML import authenticate
email = "abc@gmail.com"  #Enter your email here

#Authetication Key: 136126847XXXXXXXXXXXXX

if authenticate(email=email):
    from easyRTML import generate_code

    """
    - Make sure to import Random Forest model properly as .pkl file.
    - Genearted code will be saved in your directory.
    """

    cpp_code = generate_code("easyRTML_RandomForest", 'rf_model.pkl', rfml)
    print(cpp_code)

else:
    print("Access denied")

    """
    - A promt will apprear, please enter your Authetication code to proceed.
    """
Modify the Data Recording code of Arduino IDE (main.ino)
Lines marked with "// Modified code" indicate the extra lines added to the data recording code to facilitate integration with the classifier.h and pipeline.h files. Additionally, conditional code has been included to perform specific tasks based on the prediction results.
#include <Adafruit_MPU6050.h>
#include <Wire.h>
#include "pipeline.h" // Modified code

Adafruit_MPU6050 mpu;
Pipeline pipeline; // Modified code

//const int esp8266LedPin = LED_BUILTIN;

void setup() {
  Serial.begin(115200);
  while (!Serial) {
    delay(10);
  }

  if (!mpu.begin()) {
    while (1) {
      delay(10);
    }
  }

  mpu.setAccelerometerRange(MPU6050_RANGE_8_G);
  mpu.setGyroRange(MPU6050_RANGE_500_DEG);

// Initialize ESP8266 onboard LED pin
//  pinMode(esp8266LedPin, OUTPUT);

}

void loop() {
  sensors_event_t a, g, temp;
  mpu.getEvent(&a, &g, &temp);
  float rawData[6] = {a.acceleration.x, a.acceleration.y, a.acceleration.z, g.gyro.x, g.gyro.y, g.gyro.z}; // Modified code

  pipeline.normalizeAndBuffer(rawData); // Modified code

// Check the prediction result from Pipeline
//  String prediction = pipeline.getPrediction();
//  if (prediction == "ud") {
//    digitalWrite(esp8266LedPin, HIGH); // Turn ESP8266 LED on
//  } else {
//    digitalWrite(esp8266LedPin, LOW); // Turn ESP8266 LED off
//  }

}
This is how your Arduino IDE setup should look, with the main.ino, pipeline.h, and classifier.h codes in separate tabs within the same file:
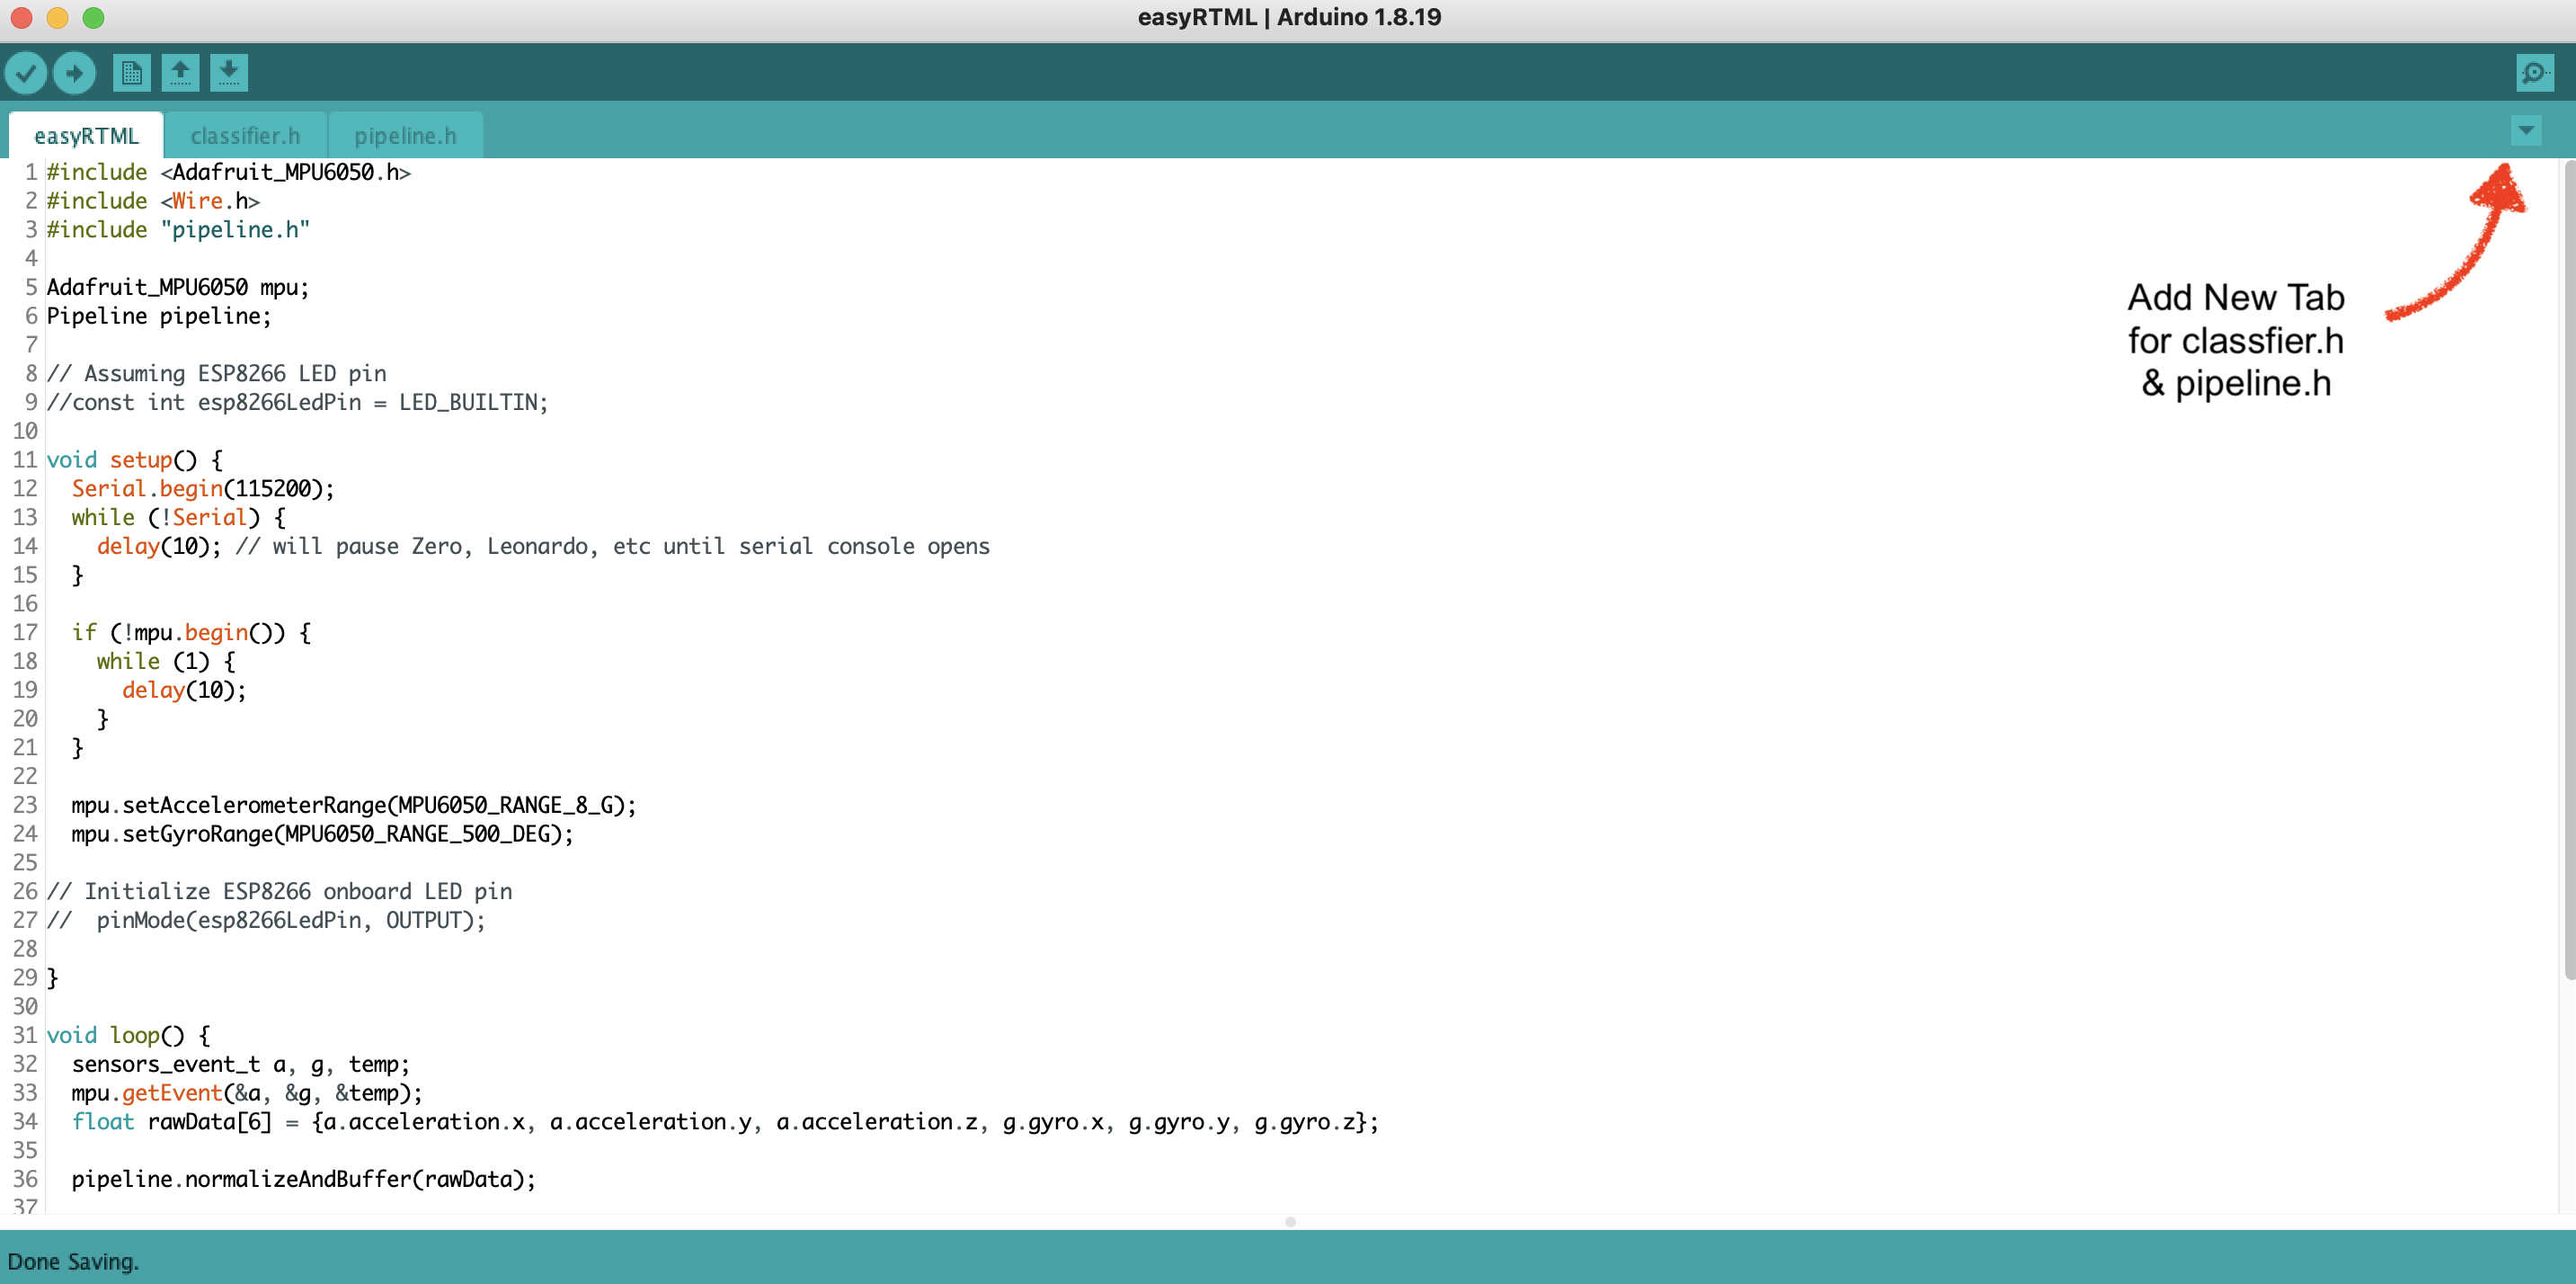
Fantastic! Now, compile the code and upload it to your microcontroller board. Once the upload is complete, open the 'Serial Monitor' in the Arduino IDE. Voilà! Your real-time prediction results will be displayed.
YAAAAAAAAYYYY! You’ve successfully completed your first Real-Time Machine Learning project. 🎉🎉🎉
If you encounter any issues or can’t get your model to run in real time, don’t hesitate to reach out to me at easiestrtml@gmail.com. You can schedule an appointment, and I’ll be happy to assist you with your project.
Happy experimenting, and best of luck with your Real-Time Machine Learning journey!


Download files
Download the file for your platform. If you're not sure which to choose, learn more about installing packages.
Source Distribution
Built Distribution
Filter files by name, interpreter, ABI, and platform.
If you're not sure about the file name format, learn more about wheel file names.
Copy a direct link to the current filters
File details
Details for the file easyRTML-1.6.5.tar.gz.
File metadata
- Download URL: easyRTML-1.6.5.tar.gz
- Upload date:
- Size: 32.7 kB
- Tags: Source
- Uploaded using Trusted Publishing? No
- Uploaded via: twine/5.1.1 CPython/3.9.13
File hashes
| Algorithm | Hash digest | |
|---|---|---|
| SHA256 |
e10bd3e5cc1cd497262f26db75ad9470ee156bbcfcf0443e379be3e44081c9d2
|
|
| MD5 |
3b9d9e5baa2d50702bd3d1df9bd8ae3c
|
|
| BLAKE2b-256 |
51f492093a14d5a79a3513d6cdabdfd7254274ce3b24cbebf25e8bba9b683412
|
File details
Details for the file easyRTML-1.6.5-py3-none-any.whl.
File metadata
- Download URL: easyRTML-1.6.5-py3-none-any.whl
- Upload date:
- Size: 32.3 kB
- Tags: Python 3
- Uploaded using Trusted Publishing? No
- Uploaded via: twine/5.1.1 CPython/3.9.13
File hashes
| Algorithm | Hash digest | |
|---|---|---|
| SHA256 |
950e7d439e6fcd4693e7eb815d3861ced2b76e39772d3229490bc76da13711e4
|
|
| MD5 |
9d7db3575a76efe6d8261e0de9690983
|
|
| BLAKE2b-256 |
6ae0fc8d59392bb37815fa4c8c5100519b1359a10cf5eb9344266736713bf6e0
|






