fastapi-cloudauth supports simple integration between FastAPI and cloud authentication services (AWS Cognito, Auth0, Firebase Authentication).

Project description
FastAPI Cloud Auth


fastapi-cloudauth standardizes and simplifies the integration between FastAPI and cloud authentication services (AWS Cognito, Auth0, Firebase Authentication).
Features
- Verify access/id token: standard JWT validation (signature, expiration), token audience claims, etc.
- Verify permissions based on scope (or groups) within access token and extract user info
- Get the detail of login user info (name, email, etc.) within ID token
- Dependency injection for verification/getting user, powered by FastAPI
- Support for:
- AWS Cognito
- Auth0
- Firebase Auth (Only ID token)
Requirements
Python 3.6+
Install
$ pip install fastapi-cloudauth
Example (AWS Cognito)
Pre-requirements
- Check
region,userPoolIDandAppClientIDof AWS Cognito that you manage to - Create a user's assigned
read:userspermission in AWS Cognito - Get Access/ID token for the created user
NOTE: access token is valid for verification, scope-based authentication, and getting user info (optional). ID token is valid for verification and getting full user info from claims.
Create it
Create a main.py file with the following content:
import os
from pydantic import BaseModel
from fastapi import FastAPI, Depends
from fastapi_cloudauth.cognito import Cognito, CognitoCurrentUser, CognitoClaims

app = FastAPI()
auth = Cognito(
    region=os.environ["REGION"],
    userPoolId=os.environ["USERPOOLID"],
    client_id=os.environ["APPCLIENTID"]
)

@app.get("/", dependencies=[Depends(auth.scope(["read:users"]))])
def secure():
    # access token is valid
    return "Hello"


class AccessUser(BaseModel):
    sub: str


@app.get("/access/")
def secure_access(current_user: AccessUser = Depends(auth.claim(AccessUser))):
    # access token is valid and getting user info from access token
    return f"Hello", {current_user.sub}


get_current_user = CognitoCurrentUser(
    region=os.environ["REGION"],
    userPoolId=os.environ["USERPOOLID"],
    client_id=os.environ["APPCLIENTID"]
)


@app.get("/user/")
def secure_user(current_user: CognitoClaims = Depends(get_current_user)):
    # ID token is valid and getting user info from ID token
    return f"Hello, {current_user.username}"
Run the server with:
$ uvicorn main:app

INFO:     Started server process [15332]
INFO:     Waiting for application startup.
INFO:     Application startup complete.
INFO:     Uvicorn running on http://127.0.0.1:8000 (Press CTRL+C to quit)
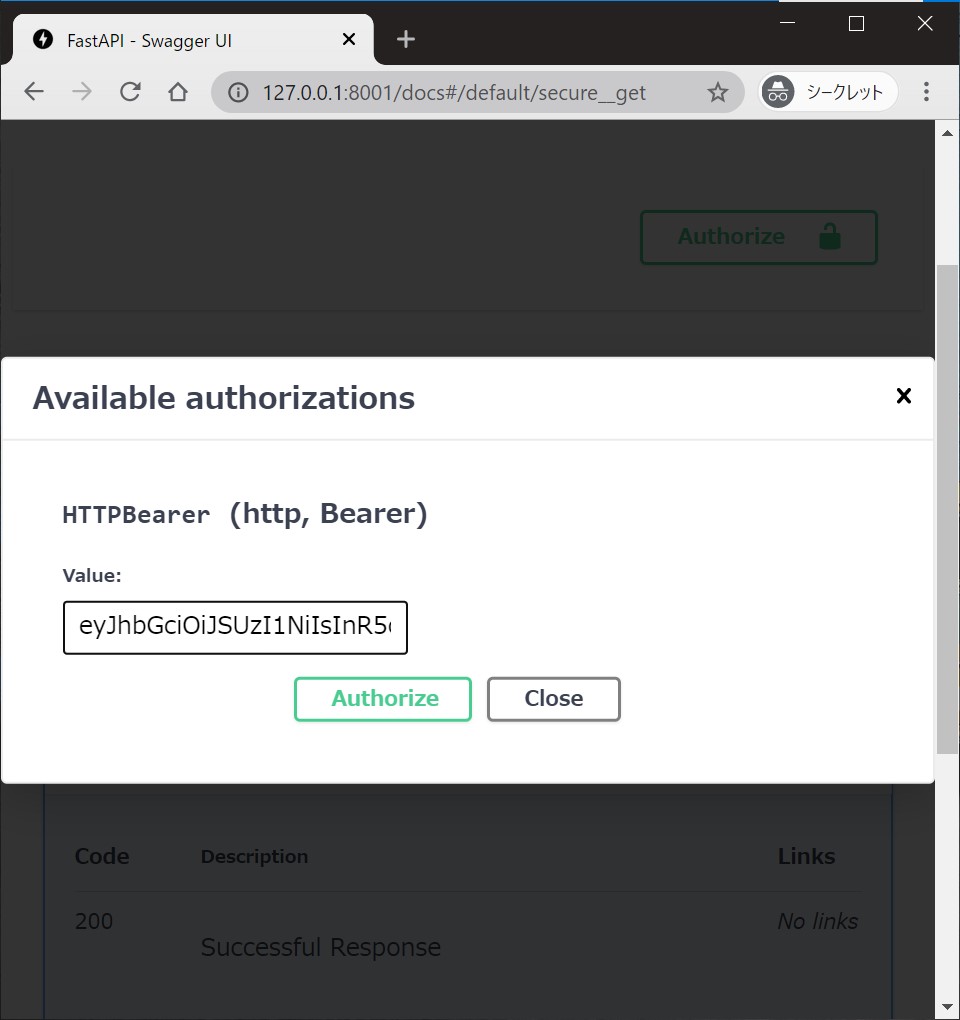
Interactive API Doc
Go to http://127.0.0.1:8000/docs.
You will see the automatic interactive API documentation (provided by Swagger UI).
Authorize :unlock: button can be available at the endpoint's injected dependency.
You can supply a token and try the endpoint interactively.
Example (Auth0)
Pre-requirement
- Check
domain,customAPI(Audience) andClientIDof Auth0 that you manage to - Create a user assigned
read:userspermission in Auth0 - Get Access/ID token for the created user
Create it
Create a file main.py with:
import os
from pydantic import BaseModel
from fastapi import FastAPI, Depends
from fastapi_cloudauth.auth0 import Auth0, Auth0CurrentUser, Auth0Claims

app = FastAPI()

auth = Auth0(domain=os.environ["DOMAIN"], customAPI=os.environ["CUSTOMAPI"])


@app.get("/", dependencies=[Depends(auth.scope(["read:users"]))])
def secure():
    # access token is valid
    return "Hello"


class AccessUser(BaseModel):
    sub: str


@app.get("/access/")
def secure_access(current_user: AccessUser = Depends(auth.claim(AccessUser))):
    # access token is valid and getting user info from access token
    return f"Hello", {current_user.sub}


get_current_user = Auth0CurrentUser(
    domain=os.environ["DOMAIN"],
    client_id=os.environ["CLIENTID"]
)


@app.get("/user/")
def secure_user(current_user: Auth0Claims = Depends(get_current_user)):
    # ID token is valid and getting user info from ID token
    return f"Hello, {current_user.username}"
Try to run the server and see interactive UI in the same way.
Example (Firebase Authentication)
Pre-requirement
- Create a user in Firebase Authentication and get
project ID - Get ID token for the created user
Create it
Create a file main.py with:
from fastapi import FastAPI, Depends
from fastapi_cloudauth.firebase import FirebaseCurrentUser, FirebaseClaims

app = FastAPI()

get_current_user = FirebaseCurrentUser(
    project_id=os.environ["PROJECT_ID"]
)


@app.get("/user/")
def secure_user(current_user: FirebaseClaims = Depends(get_current_user)):
    # ID token is valid and getting user info from ID token
    return f"Hello, {current_user.user_id}"
Try to run the server and see the interactive UI in the same way.
Additional User Information
We can get values for the current user from access/ID token by writing a few lines.
Custom Claims
For Auth0, the ID token contains the following extra values (Ref at Auth0 official doc):
{
  "iss": "http://YOUR_DOMAIN/",
  "sub": "auth0|123456",
  "aud": "YOUR_CLIENT_ID",
  "exp": 1311281970,
  "iat": 1311280970,
  "name": "Jane Doe",
  "given_name": "Jane",
  "family_name": "Doe",
  "gender": "female",
  "birthdate": "0000-10-31",
  "email": "janedoe@example.com",
  "picture": "http://example.com/janedoe/me.jpg"
}
By default, Auth0CurrentUser gives pydantic.BaseModel object, which has username (name) and email fields.
Here is sample code for extracting extra user information (adding user_id) from ID token:
from pydantic import Field
from fastapi_cloudauth.auth0 import Auth0Claims  # base current user info model (inheriting `pydantic`).

# extend current user info model by `pydantic`.
class CustomAuth0Claims(Auth0Claims):
    user_id: str = Field(alias="sub")

get_current_user = Auth0CurrentUser(domain=DOMAIN, client_id=CLIENTID)
get_current_user.user_info = CustomAuth0Claims  # override user info model with a custom one.
Or, we can set new custom claims as follows:
get_user_detail = get_current_user.claim(CustomAuth0Claims)

@app.get("/new/")
async def detail(user: CustomAuth0Claims = Depends(get_user_detail)):
    return f"Hello, {user.user_id}"
Raw payload
If you don't require pydantic data serialization (validation), FastAPI-CloudAuth has an option to extract the raw payload.
All you need is:
get_raw_info = get_current_user.claim(None)

@app.get("/new/")
async def raw_detail(user = Depends(get_raw_info)):
    # user has all items (ex. iss, sub, aud, exp, ... it depends on passed token)
    return f"Hello, {user.get('sub')}"
Additional scopes
Advanced user-SCOPE verification to protect your API.
Supports:
- all (default): required all scopes you set
- any: At least one of the configured scopes is required
Use as (auth is this instanse and app is fastapi.FastAPI instanse):
from fastapi import Depends
from fastapi_cloudauth import Operator

@app.get("/", dependencies=[Depends(auth.scope(["allowned", "scopes"]))])
def api_all_scope():
    return "user has 'allowned' and 'scopes' scopes"

@app.get("/", dependencies=[Depends(auth.scope(["allowned", "scopes"], op=Operator._any))])
def api_any_scope():
    return "user has at least one of scopes (allowned, scopes)"
Development - Contributing
Please read CONTRIBUTING for how to set up the development environment and testing.
Release history Release notifications | RSS feed


Download files
Download the file for your platform. If you're not sure which to choose, learn more about installing packages.
Source Distribution
Built Distribution
Filter files by name, interpreter, ABI, and platform.
If you're not sure about the file name format, learn more about wheel file names.
Copy a direct link to the current filters
File details
Details for the file fastapi-cloudauth-0.4.3.tar.gz.
File metadata
- Download URL: fastapi-cloudauth-0.4.3.tar.gz
- Upload date:
- Size: 14.0 kB
- Tags: Source
- Uploaded using Trusted Publishing? No
- Uploaded via: poetry/1.1.12 CPython/3.7.12 Linux/5.11.0-1022-azure
File hashes
| Algorithm | Hash digest | |
|---|---|---|
| SHA256 |
67d7dd968867a03b7f353d769b73671a75f8f72e265616a4a8a833078e51106c
|
|
| MD5 |
07a106c343152d1340ec44b6e29c5526
|
|
| BLAKE2b-256 |
aaf8237f3d6d34b902e5e9b3ccc9b84f1d364af026b665638338cc4b126f5be4
|
File details
Details for the file fastapi_cloudauth-0.4.3-py3-none-any.whl.
File metadata
- Download URL: fastapi_cloudauth-0.4.3-py3-none-any.whl
- Upload date:
- Size: 14.9 kB
- Tags: Python 3
- Uploaded using Trusted Publishing? No
- Uploaded via: poetry/1.1.12 CPython/3.7.12 Linux/5.11.0-1022-azure
File hashes
| Algorithm | Hash digest | |
|---|---|---|
| SHA256 |
836dfd5e89e0eca8ec9f85748eb6aec4add7b8376581784ccf8bf791c4c0b8e2
|
|
| MD5 |
29df5c4a8f191bcb5db7936cba13ceae
|
|
| BLAKE2b-256 |
e618552e2b5e984a9cea10059b69294daa1ada66113d0b2212d02027e6c81491
|


