An end-to-end bioimage analysis pipeline with state-of-the-art tools for non-coding experts


Project description
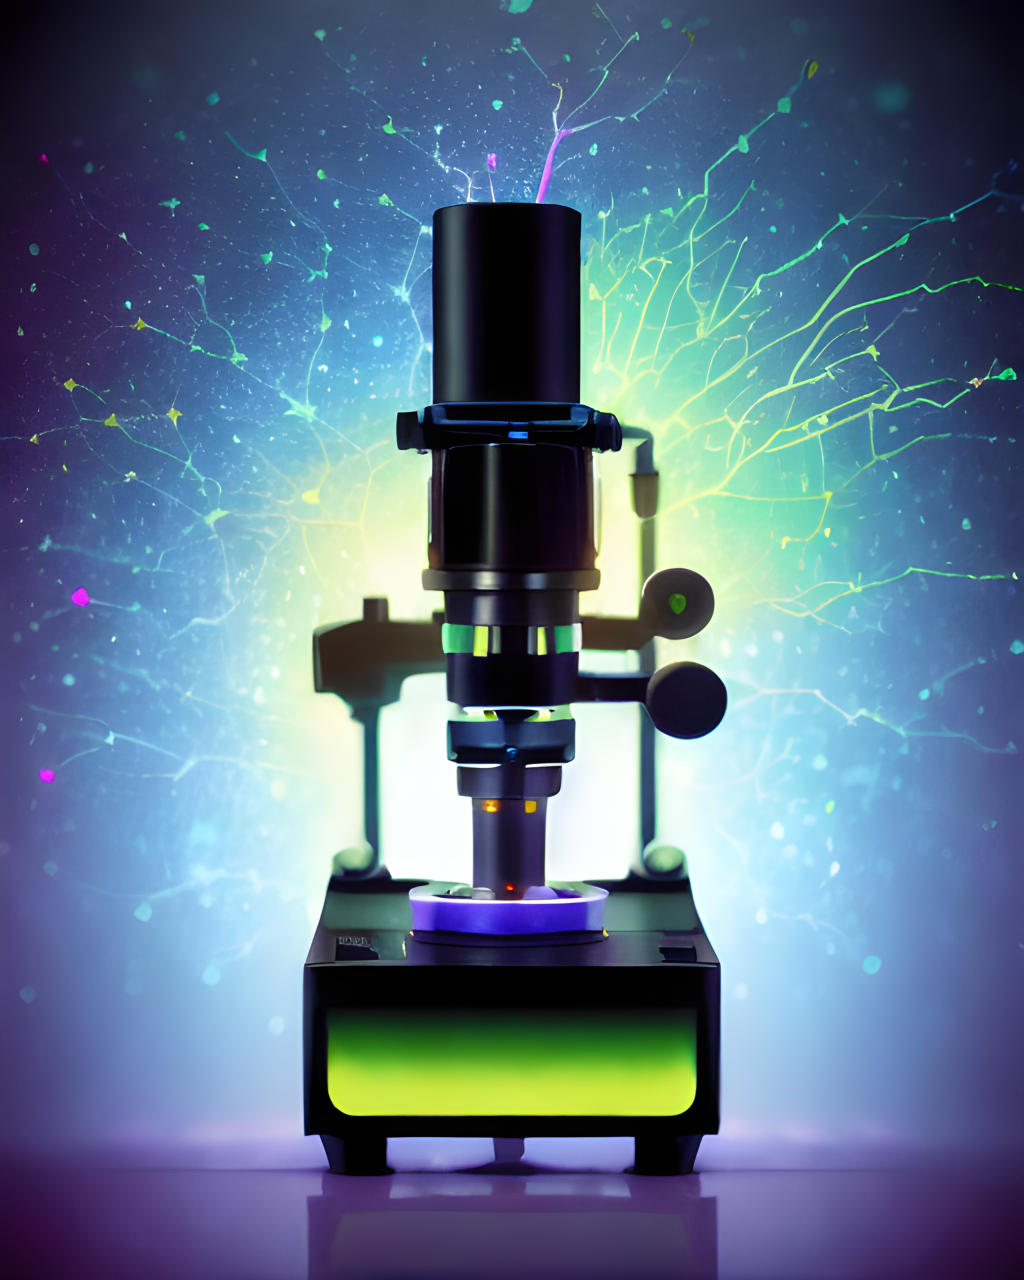
findmycells
Hi there!
Installation guide
findmycells is currently only available via pip. findmycells was so far tested in Windows 7, MacOS Ventura and in a Linux subsystem run under Windows (Ubuntu 20.04.5 in WSL2 on both Windows 10 and Windows 11). Moreover, having a CUDA-capable GPU is highly recommended when using deepflash2 or cellpose for the segmentation of your images. You can run findmycells on Google Colab as well. For local installation, please follow the steps below:
We highly recommend that you use Anaconda. In your terminal (command line, or Anaconda Prompt), run the following line to create a new conda environment, called “findmycells”:
conda create -n findmycells
Once the environment is created, activate it as suggested by conda by running:
conda activate findmycells
You should now see (findmycells) at the beginning of the line.
Continue by installing pip:
conda install pip
Once the installations are done, all you need to do is run:
pip install findmycells
And all required packages should come with it.
Confirming that your GPU is accessible:
If you would like to use your GPU (again: using a GPU is highly recommended, if you want to use the integrated segmentation tools deepflash2 and cellpose), you can test whether it is accessible for python by running the following commands again in the terminal (with the findmycells environment still activated):
python
This will now launch a python interface right in your terminal. Now continue with importing torch:
import torch
As soon as torch is imported, you can check for GPU accessability by running:
torch.cuda.is_available()
This will now output either True (whoop whoop - everything is
working - well done!) or False ( :( ). In case you have a local
CUDA-capable GPU installed & you still got a False, confirm that you
have the latest GPU driver installed, and that you are using the latest
available Windows, WSL2, and Linux builds. If you’re still not able to
access the GPU, it may sometimes help to start by installing pytorch
first (mix & match the correct versions for you
here), and to first confirm
that the GPU is indeed accessible. If it is, you can now continue with
the installation of findmycells & hope that nothing breaks! Fingers
crossed, that you can find a version that satisfies your local
requirements & also those of deepflash2 & cellpose!
For developers
This package is developed using nbdev


Download files
Download the file for your platform. If you're not sure which to choose, learn more about installing packages.
Source Distribution
Built Distribution
Filter files by name, interpreter, ABI, and platform.
If you're not sure about the file name format, learn more about wheel file names.
Copy a direct link to the current filters
File details
Details for the file findmycells-1.0.0.tar.gz.
File metadata
- Download URL: findmycells-1.0.0.tar.gz
- Upload date:
- Size: 94.3 kB
- Tags: Source
- Uploaded using Trusted Publishing? No
- Uploaded via: twine/4.0.2 CPython/3.11.4
File hashes
| Algorithm | Hash digest | |
|---|---|---|
| SHA256 |
8dd5dc44edfcc18168c29c3afa16e001294bc595d2dfa4c49bce452e399f1a0d
|
|
| MD5 |
0402369031975c35b08db5880e4473af
|
|
| BLAKE2b-256 |
5e40250c2dfe77012be691807ad65e6c26fc8f1703c166dea87ac1d6528e1d53
|
File details
Details for the file findmycells-1.0.0-py3-none-any.whl.
File metadata
- Download URL: findmycells-1.0.0-py3-none-any.whl
- Upload date:
- Size: 101.4 kB
- Tags: Python 3
- Uploaded using Trusted Publishing? No
- Uploaded via: twine/4.0.2 CPython/3.11.4
File hashes
| Algorithm | Hash digest | |
|---|---|---|
| SHA256 |
1fa3f102ecc2cd1ddcd81af3d014d701b20d10fb2a4e3bc6a6797619dd08de52
|
|
| MD5 |
2ec6b016f51e5ccfa42f6ed0ad4b1472
|
|
| BLAKE2b-256 |
0ffbfb3b03eb36924c184f282643a86b3ba1b3c94e99c98711b68a8350e3a38c
|


