
Loadouts for Genshin Impact




















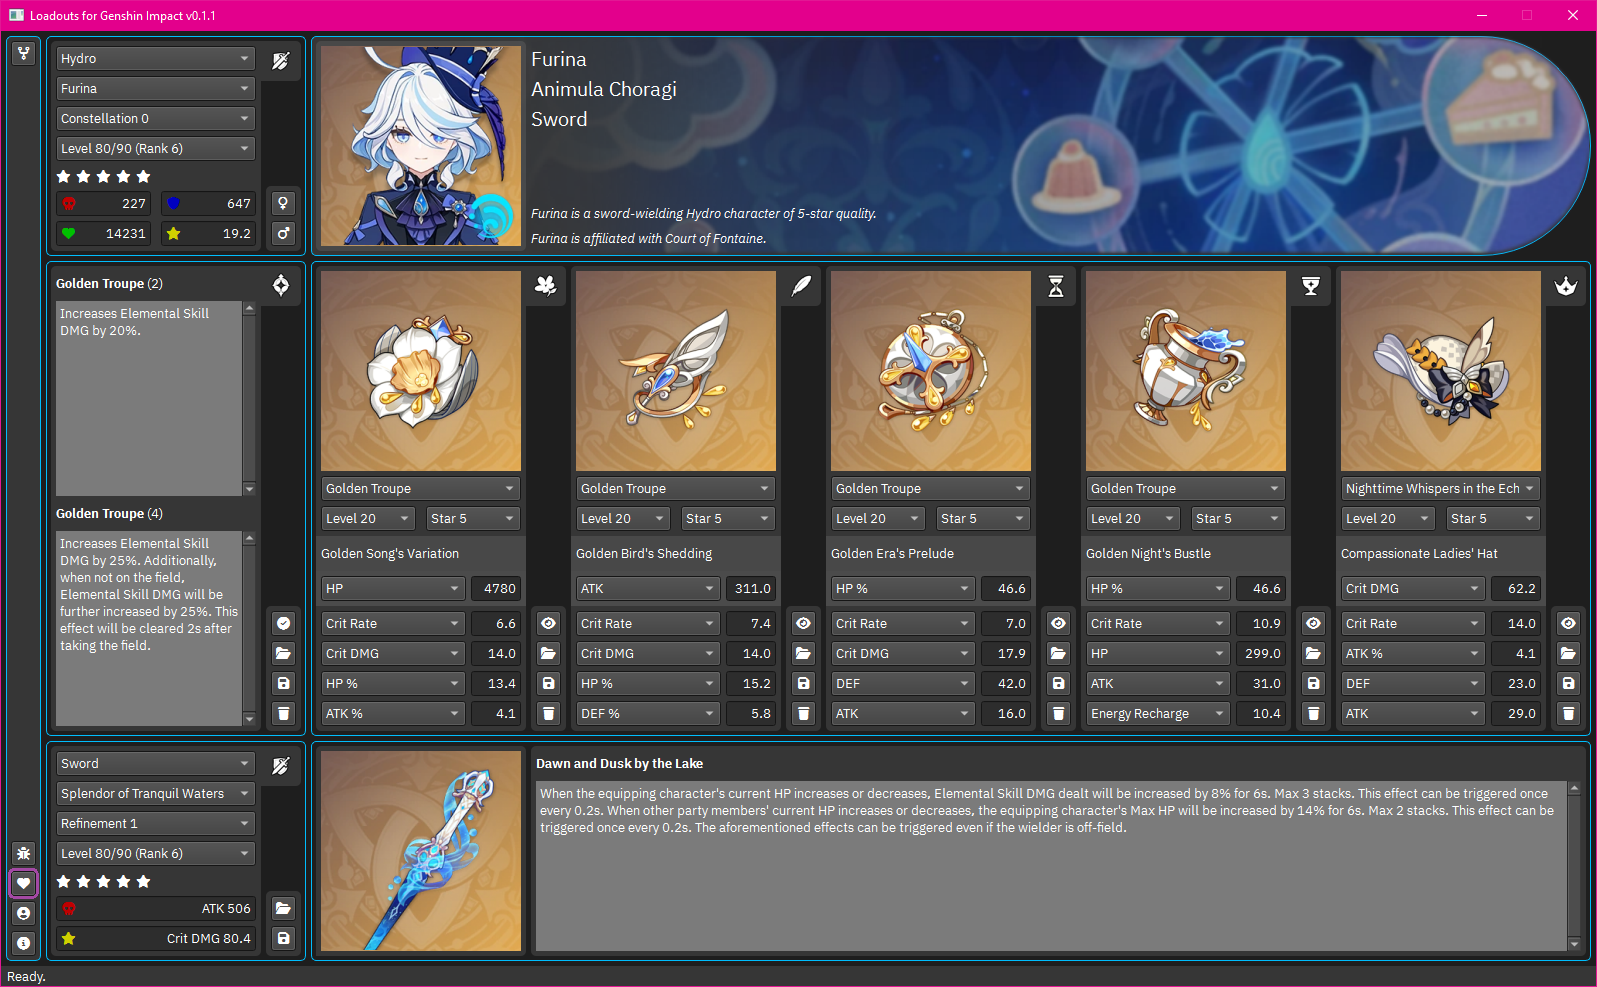
This is a desktop application that allows travelers to manage their custom equipment of artifacts and weapons for playable characters and makes it convenient for travelers to calculate the associated statistics based on their equipment using the semantic understanding of how the gameplay works. Travelers can create their bespoke loadouts consisting of characters, artifacts and weapons and share them with their fellow travelers. Supported file formats include a human-readable Yet Another Markup Language (YAML) serialization format and a JSON-based Genshin Open Object Definition (GOOD) serialization format.
This project is currently in its beta phase and we are committed to delivering a quality experience with every release we make. If you are excited about the direction of this project and want to contribute to the efforts, we would greatly appreciate it if you help us boost the project visibility by starring the project repository, address the releases by reporting the experienced errors, choose the direction by proposing the intended features, enhance the usability by documenting the project repository, improve the codebase by opening the pull requests and finally, persist our efforts by sponsoring the development members.
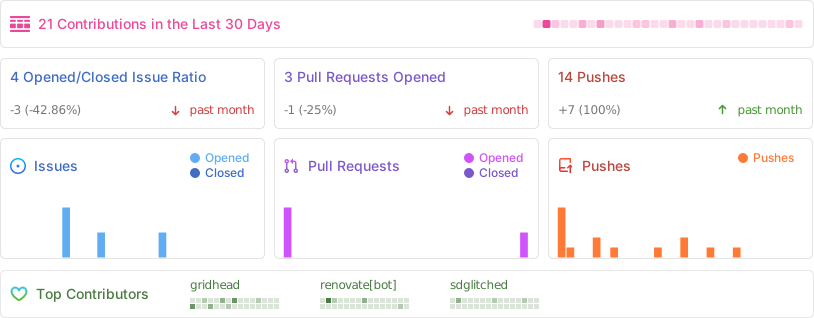
Activity
Screenshots
On GNU/Linux distributions
-
Light mode - Dash
-
Light mode - Result
-
Dark mode - Dash
-
Dark mode - Result
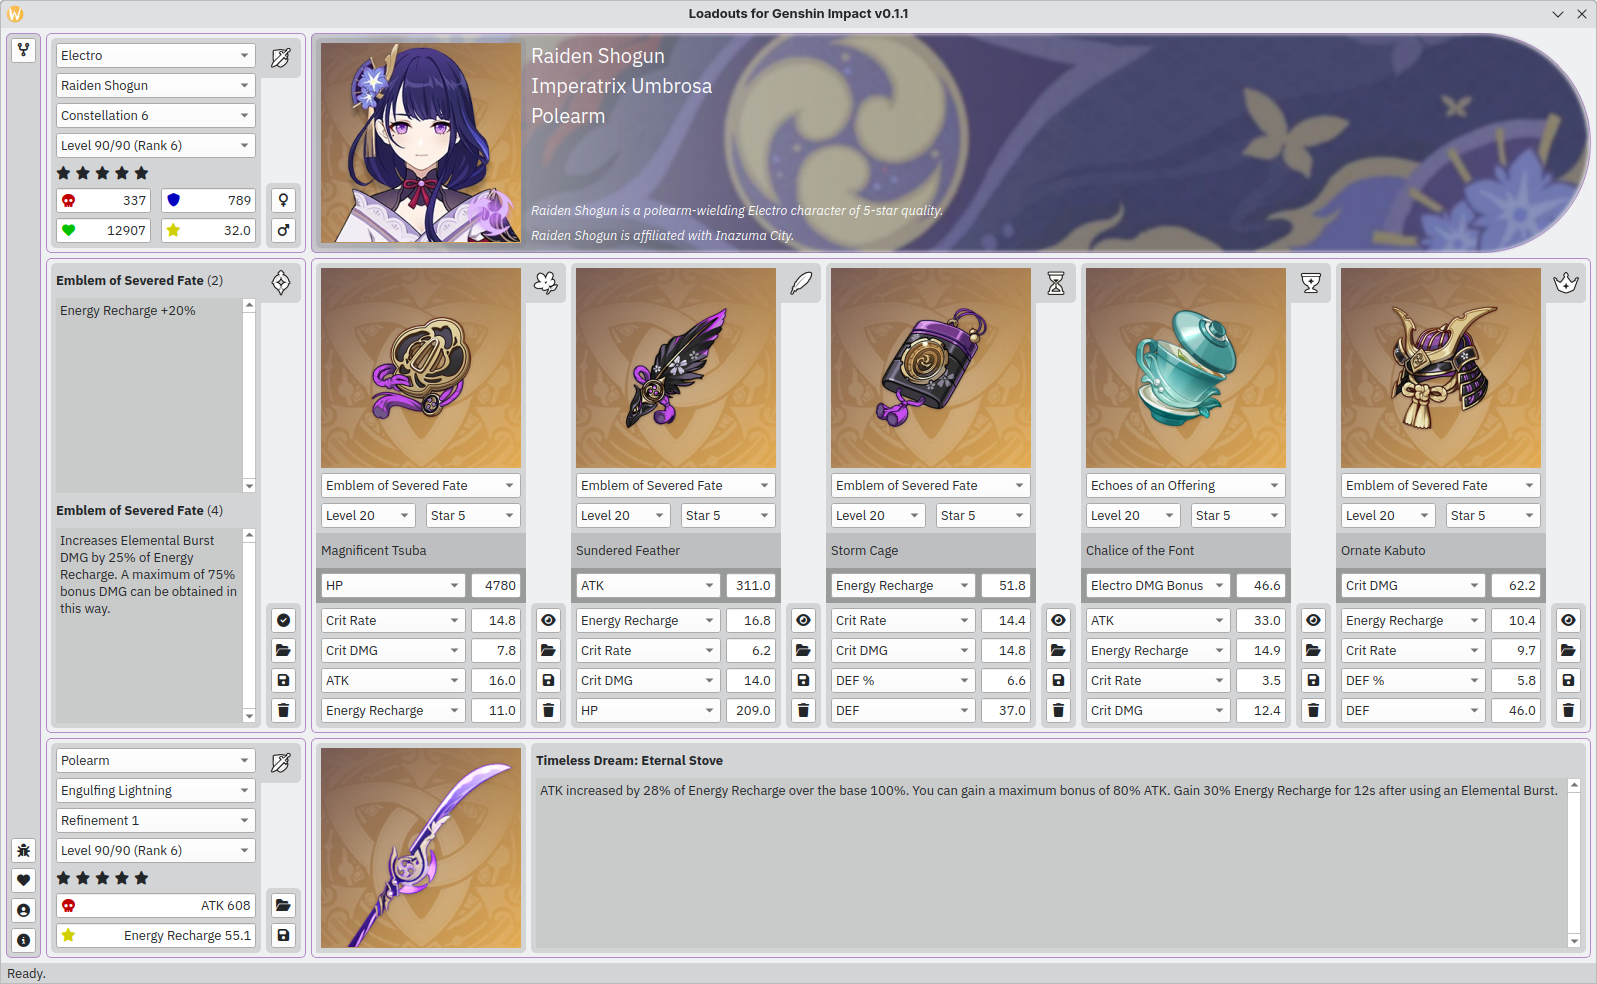
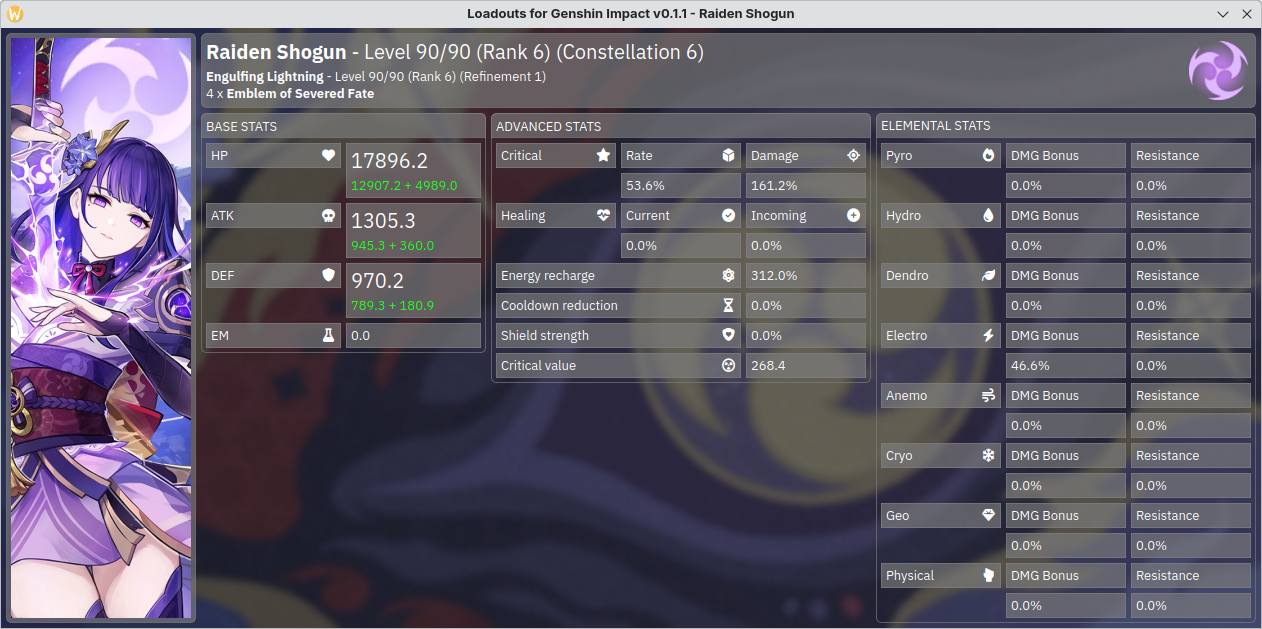
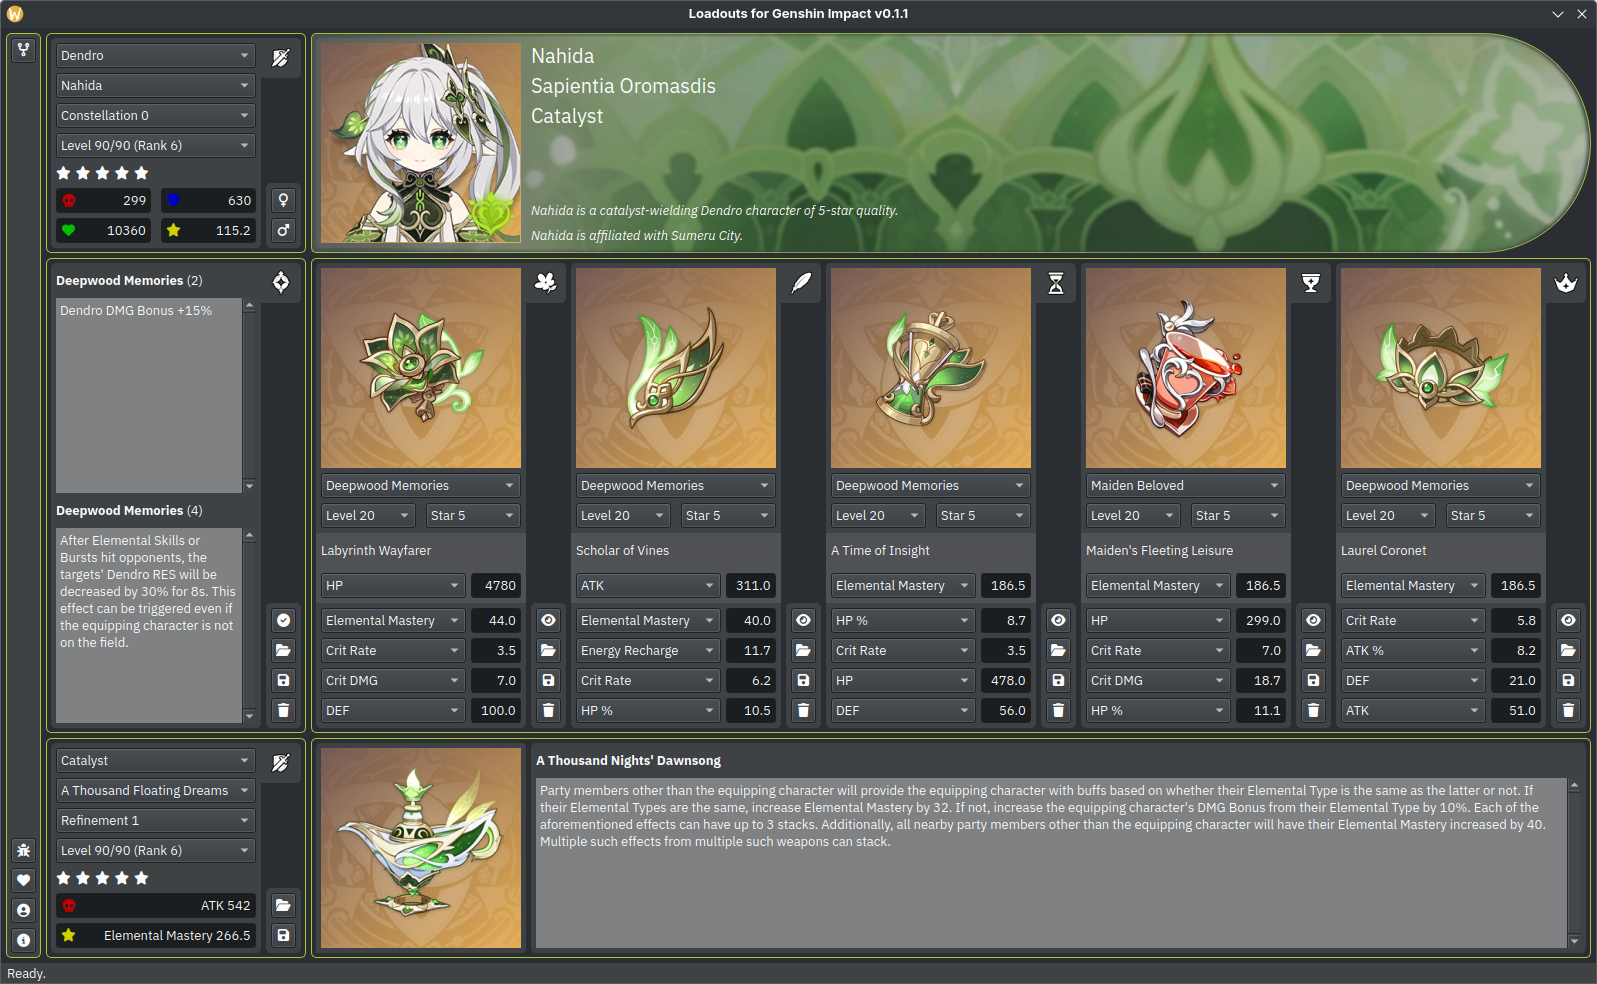
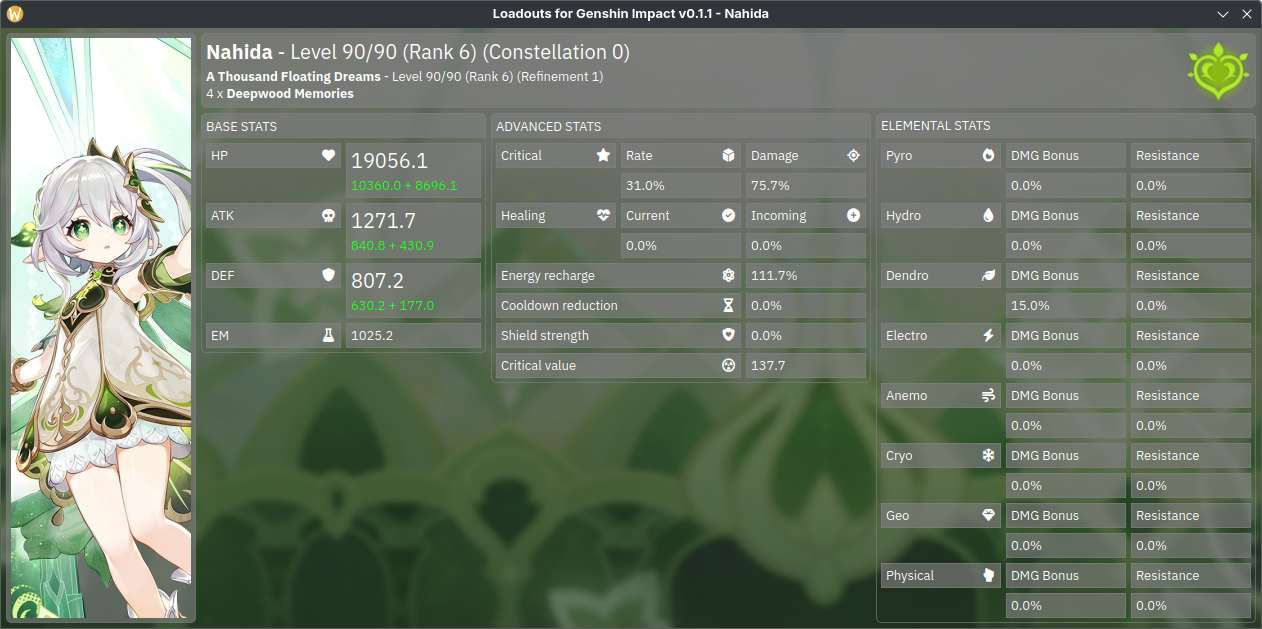
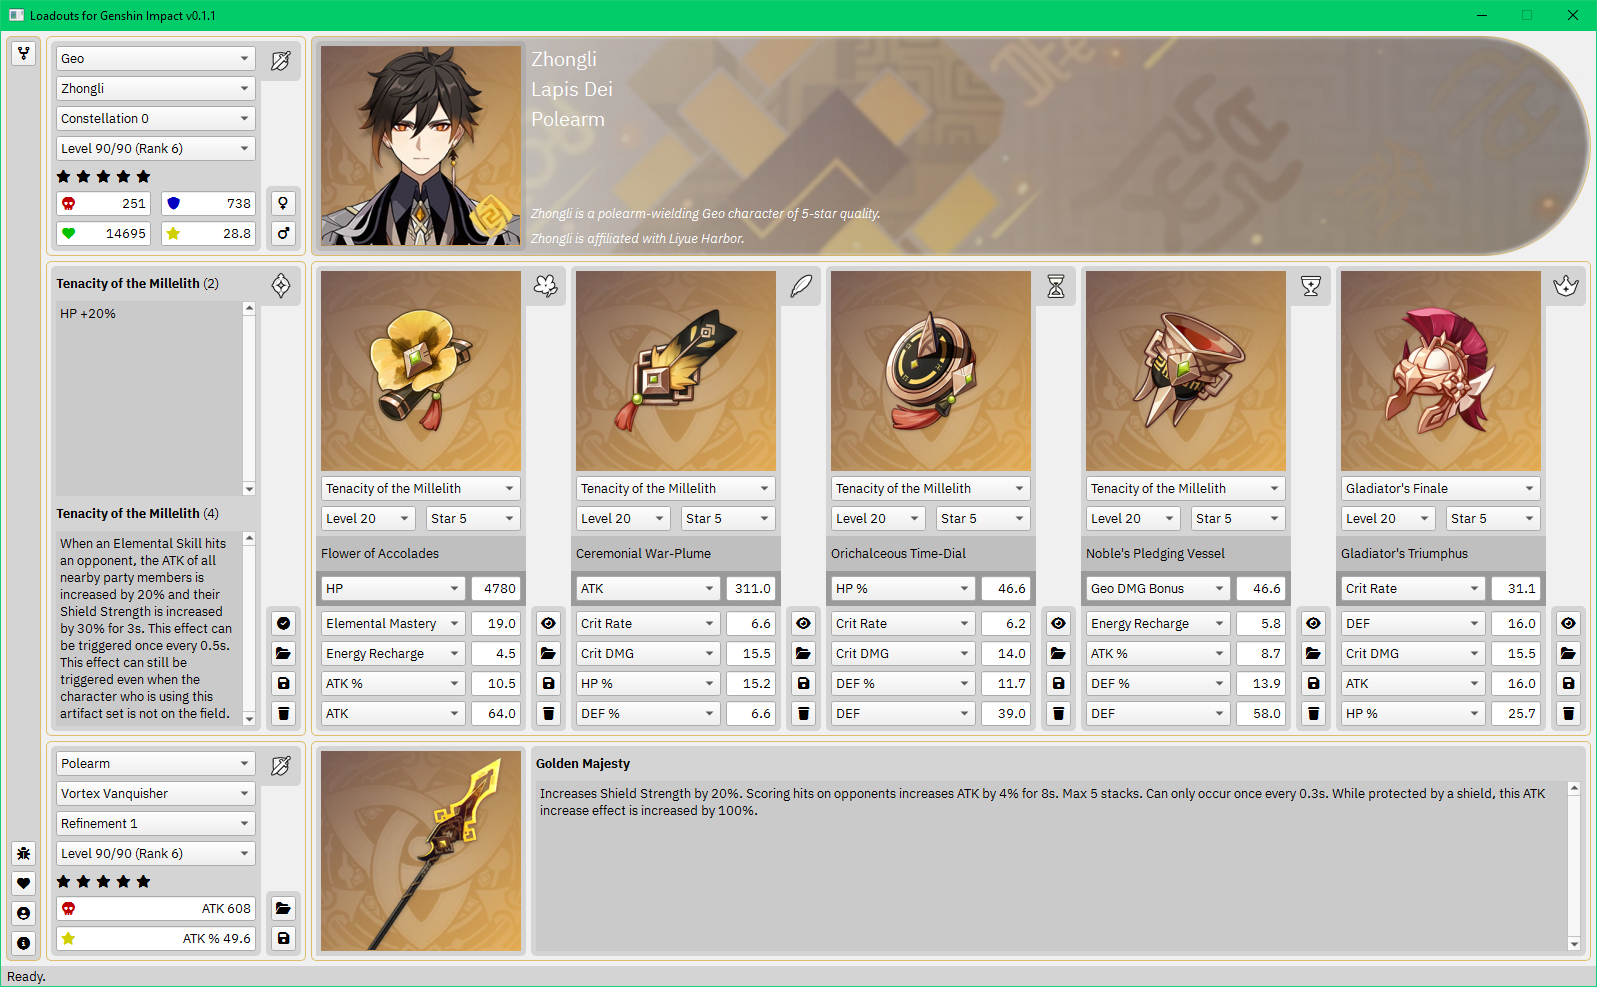
On Microsoft Windows
-
Light mode - Dash
-
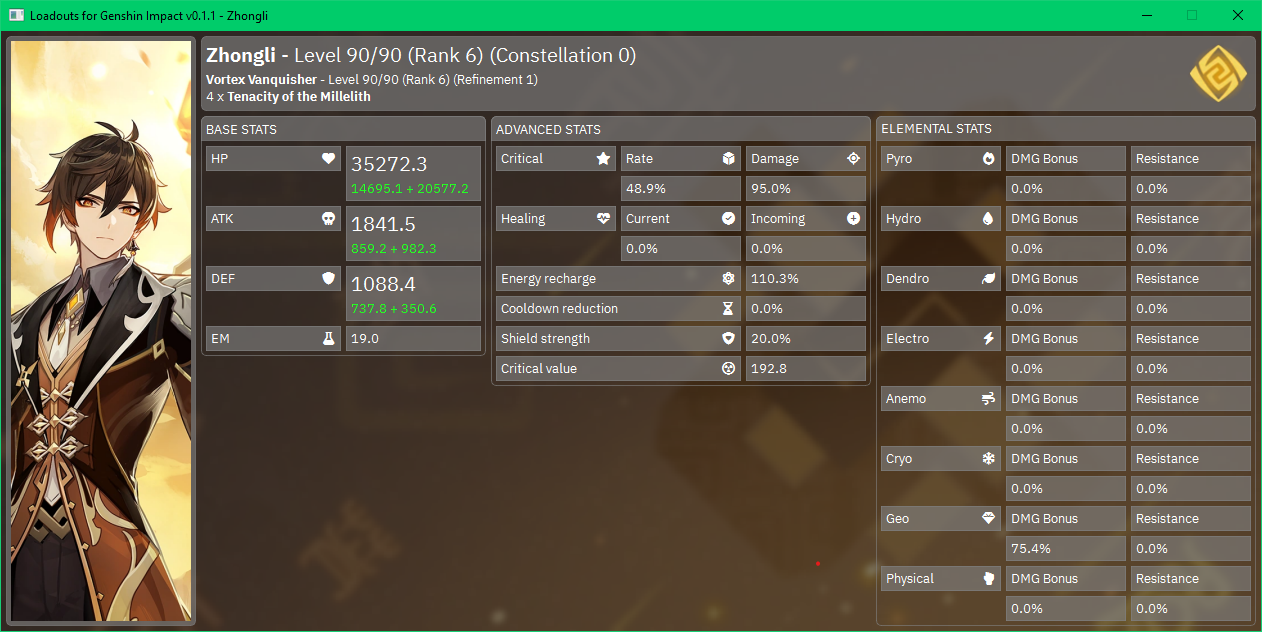
Light mode - Result
-
Dark mode - Dash
-
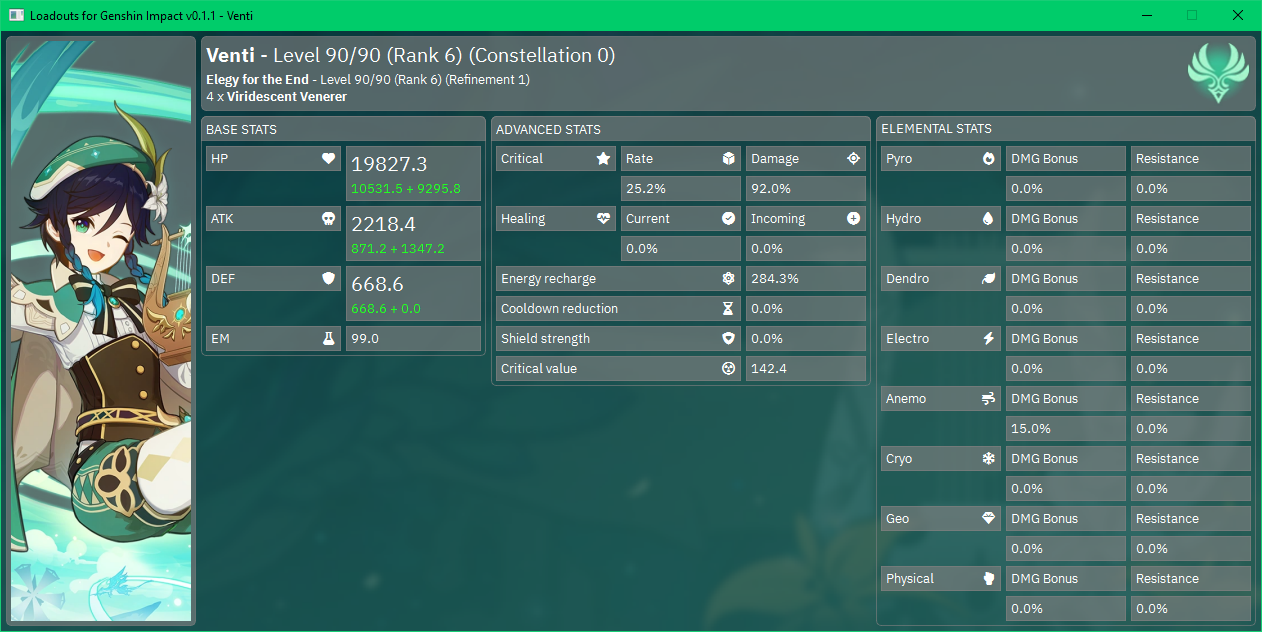
Dark mode - Result
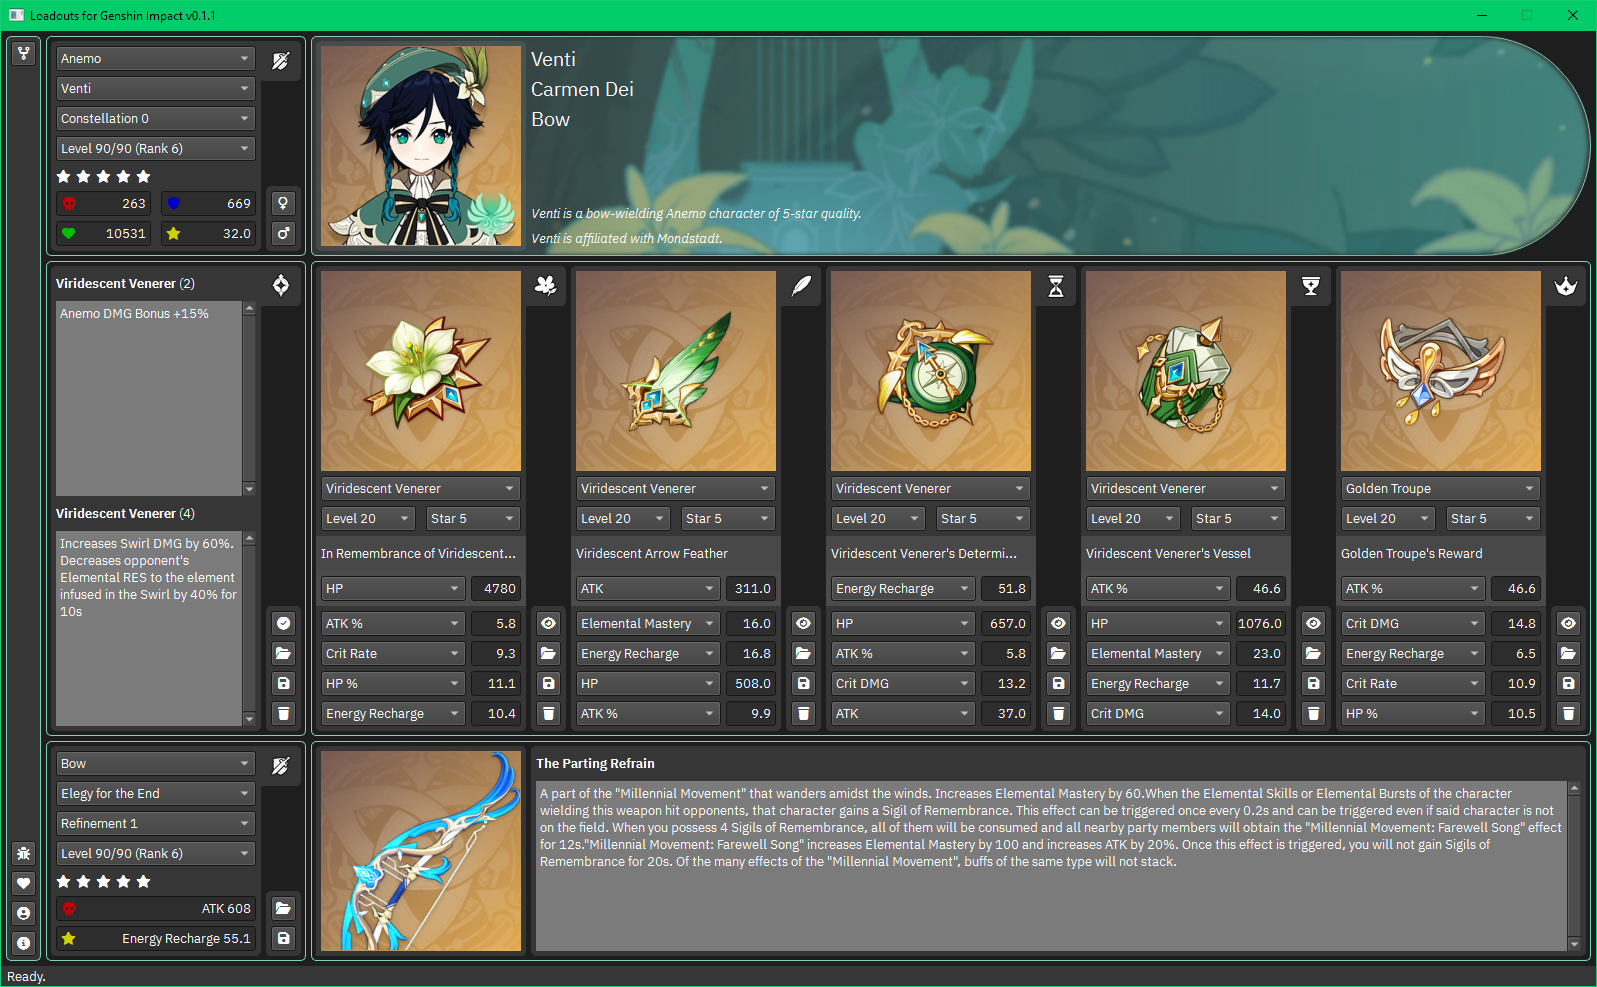
Disclaimer
The "Loadouts for Genshin Impact" project, also known as "GI Loadouts", fully adheres to the terms of services and the regulations regarding third-party software established by MiHoYo for Genshin Impact. This ecosystem application is safe for users, as its unmodified usage strictly avoids any violations, including but not limited to those outlined below.
-
This ecosystem application DOES NOT exploit the game
- This ecosystem application DOES NOT need Genshin Impact to be present on the computer on which this runs on.
-
This ecosystem application DOES NOT help achieve artificial in-game progress
- This ecosystem application DOES NOT interact with Genshin Impact game assets or game process for facilitation.
-
This ecosystem application DOES NOT help selling or exchanging accounts
- This ecosystem application DOES NOT explore beyond its primary purpose of helping manage custom player loadouts.
-
This ecosystem application DOES NOT help topping up via unofficial channels
- This ecosystem application DOES NOT need an active internet connection for its intended functionality to work.
With an extensive suite of over 1616 diverse functionality tests and impeccable 100% source code coverage, we proudly invite auditors and analysts from MiHoYo and other organizations to review our free and open source codebase. This thorough transparency underscores our unwavering commitment to maintaining the fairness and integrity of the game.
The users of this ecosystem application can have complete confidence that their accounts are safe from warnings, suspensions or terminations when using this project. The ecosystem application ensures complete compliance with the terms of services and the regulations regarding third-party software established by MiHoYo for Genshin Impact.
Download
Optical Character Recognition
The project depends on the Tesseract OCR project to be able to scan in-game screenshots using the Optical Character Recognition technology. As such, please ensure that the Tesseract OCR application is installed and configured properly.
On GNU/Linux distributions
-
Install Tesseract OCR from your default package manager.
$ sudo dnf install tesseract -
Make note of the place where the Tesseract OCR executable binary is placed.
/usr/bin/tesseract
On Microsoft Windows
-
Install Tesseract OCR from the UB Mannheim GitHub namespace.
https://github.com/UB-Mannheim/tesseract/wiki -
Make note of the place where the Tesseract OCR executable binary is placed.
C:\Program Files\Tesseract-OCR\tesseract.exe
Releases
Stable
Releases for the general usability purposes can be found here.
Nightly
Releases for the testing debugging purposes can be found here.
Package
Releases that automatically update can be found here.
Warning
Since we moved from PyInstaller to Nuitka for building application executable binaries, we have noticed frequent Microsoft SmartScreen errors on Microsoft Windows. These false positive appear only because the executable binaries are not code signed. The protection system flags them as potentially unsafe due to the absence of an active code signing certificate, but that does not mean that the codebase is malicious.
To proceed past these frivolous warnings, simply click on "More Info" and then "Run anyway" to start the executable binary. As this project is free and open source software, we cannot afford to make additional expenses to subscribe to various code signing services. Not only are the executable binaries transparently built on GitHub Actions, but folks are invited to verify the project's integrity by compiling things locally.
Usage
-
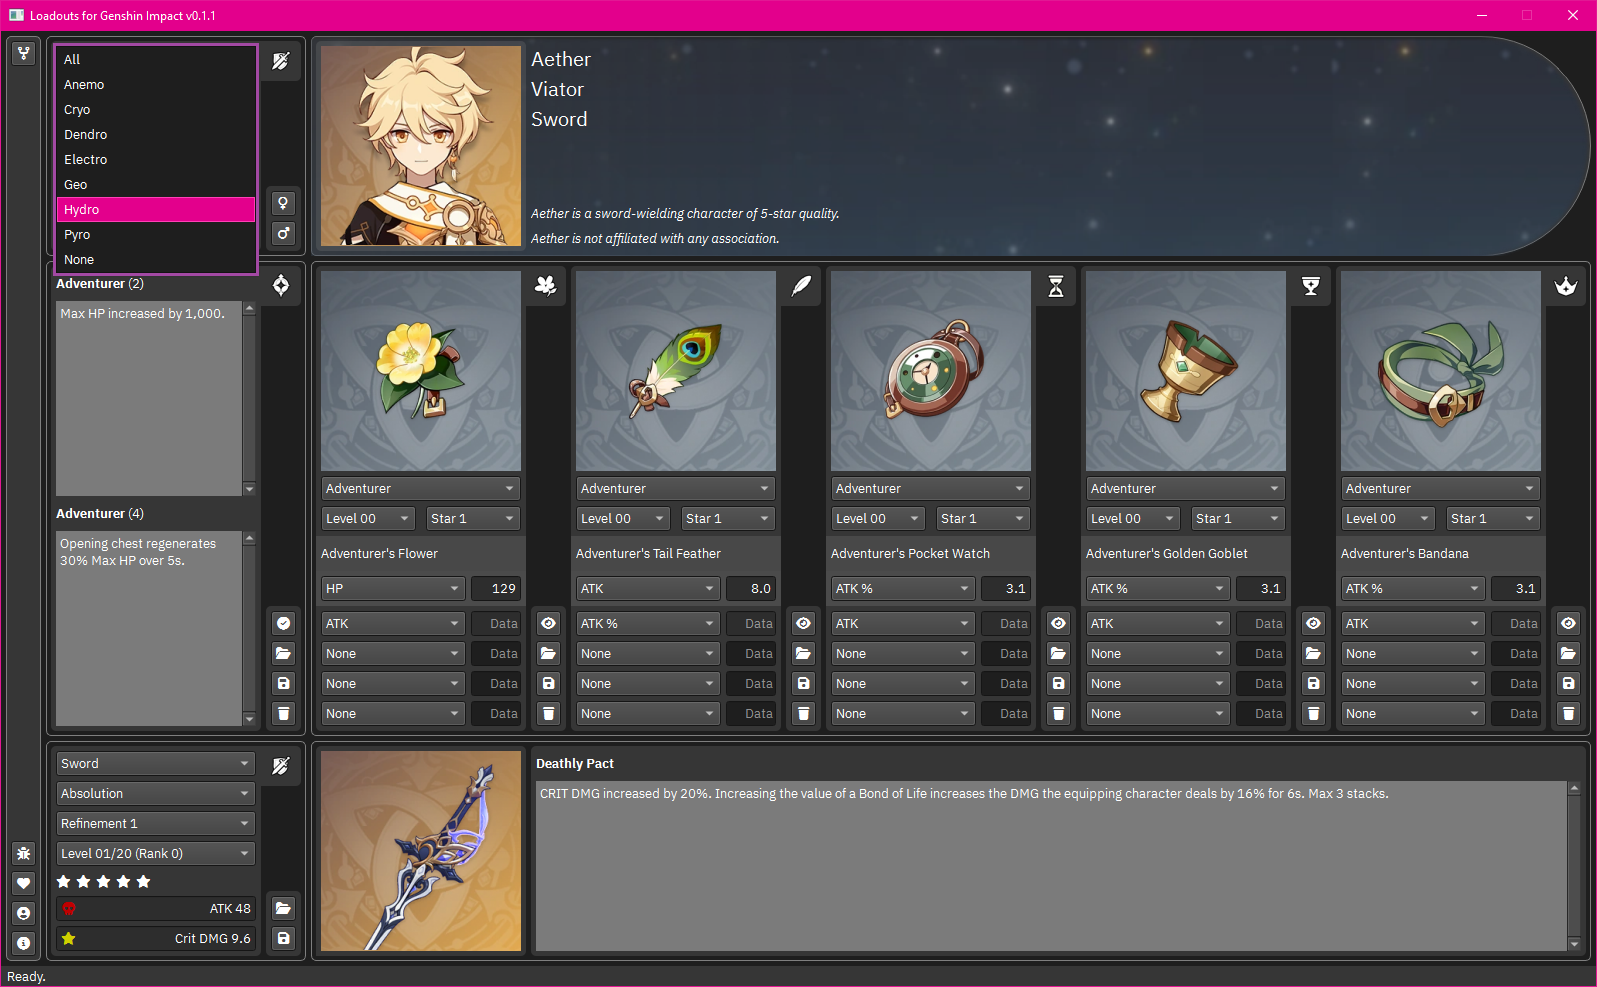
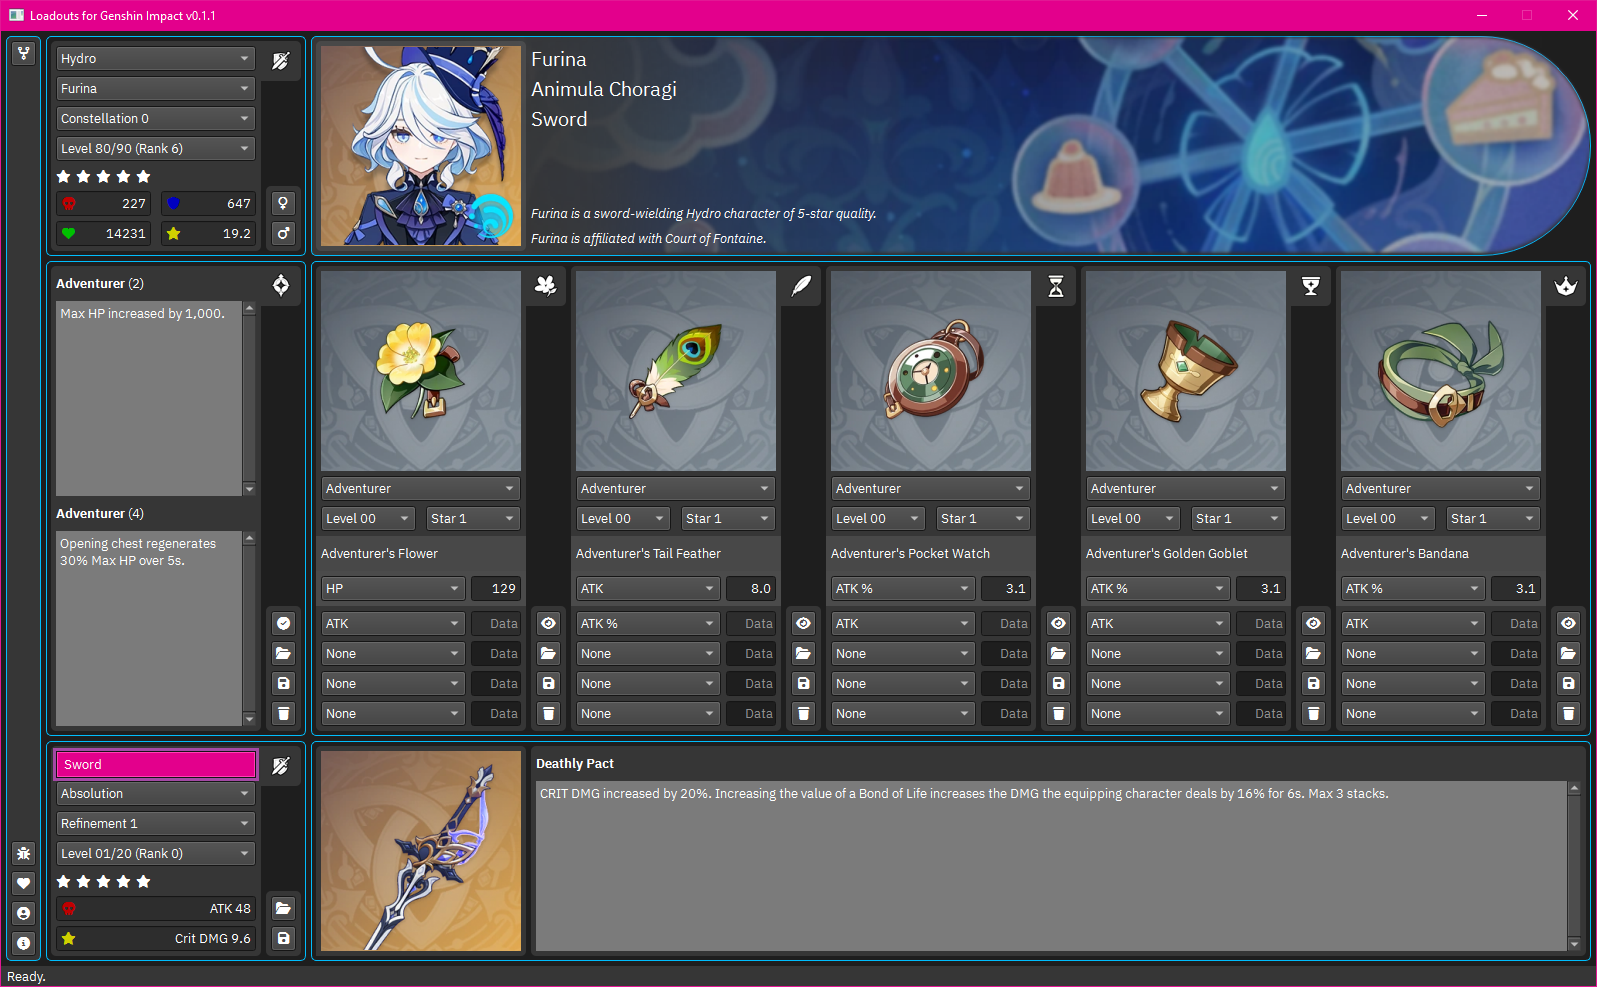
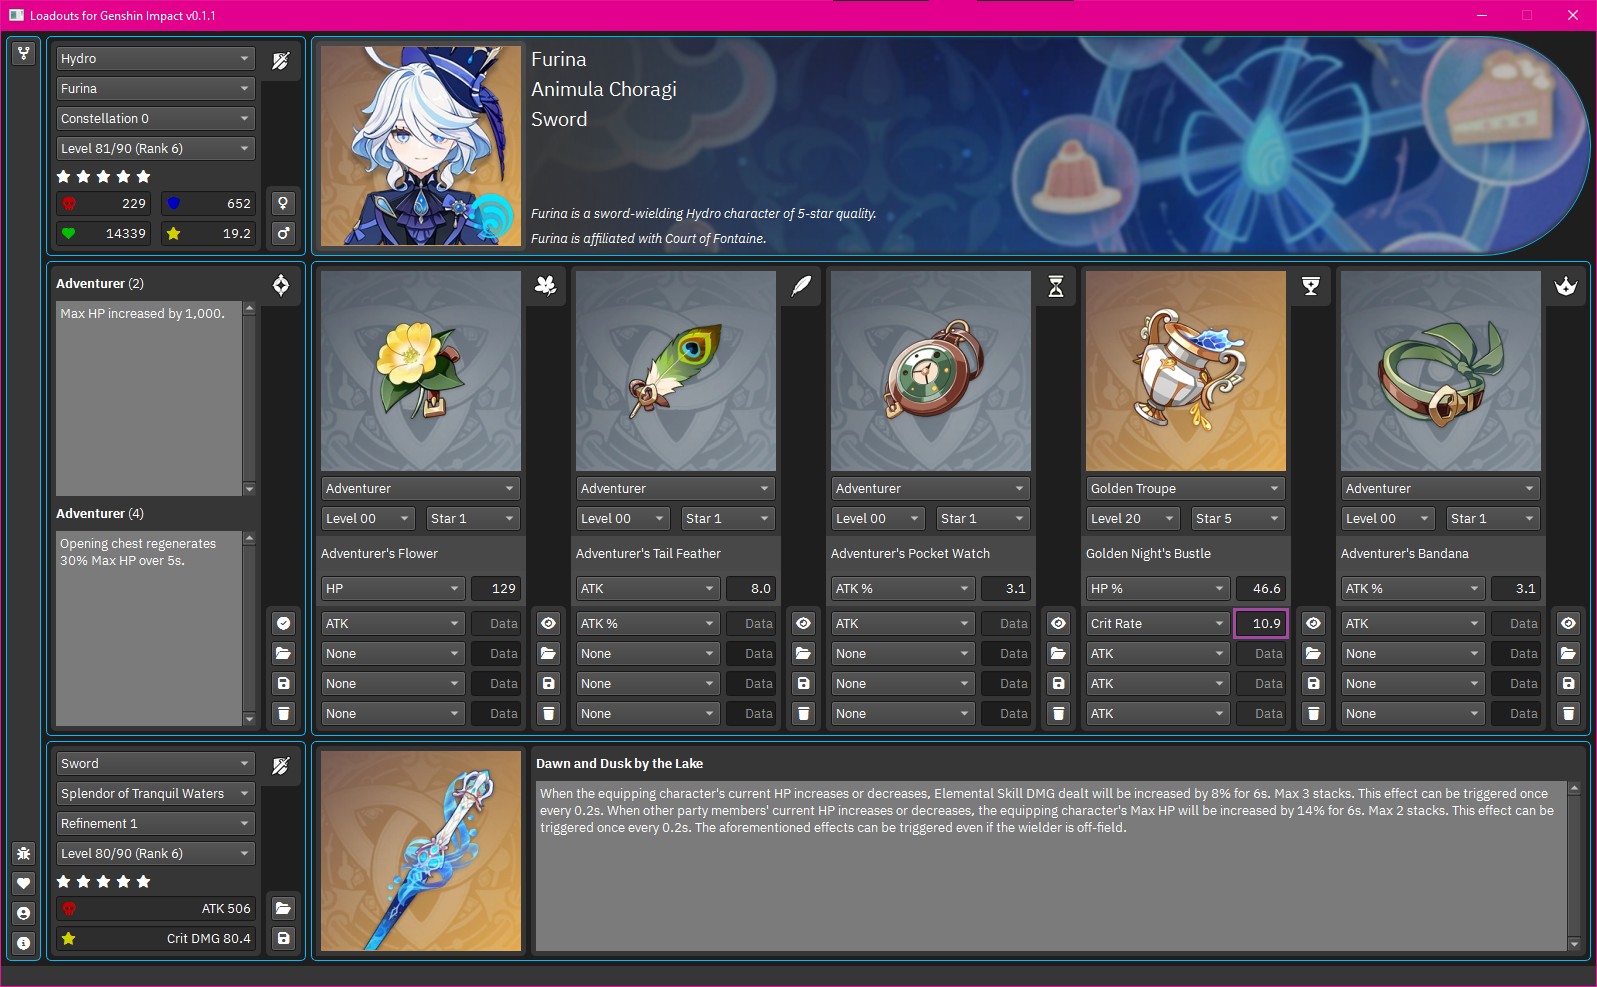
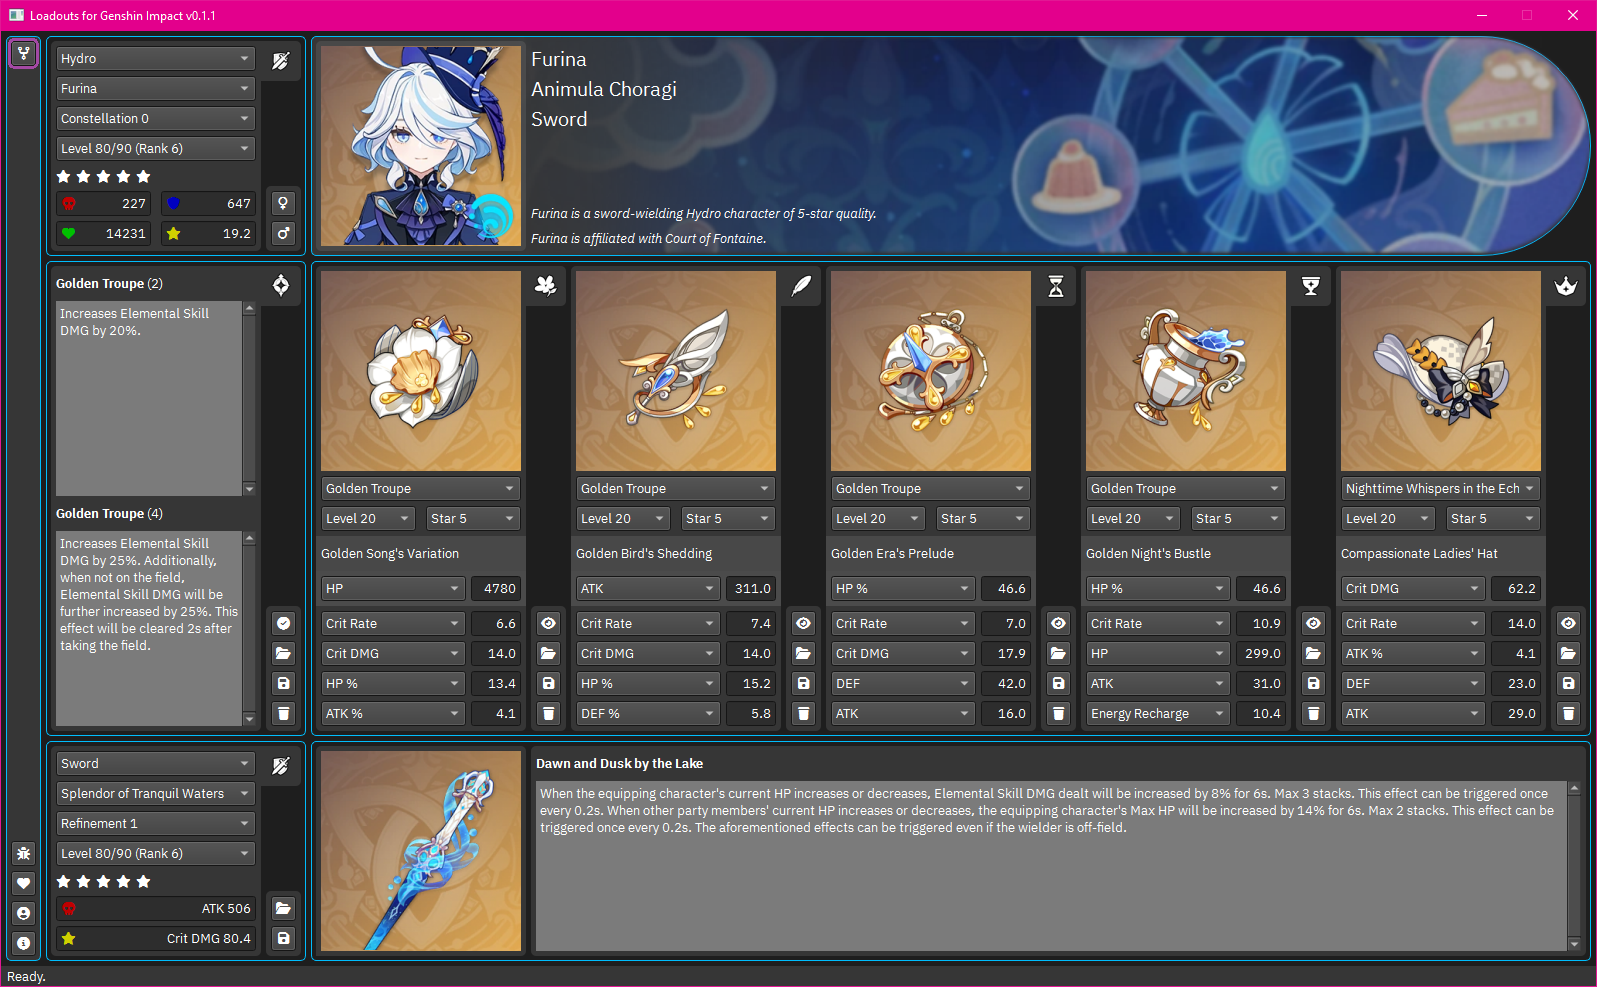
Select the vision from the dropdown menu to quickly locate the character that you wish to manage the equipment for.
-
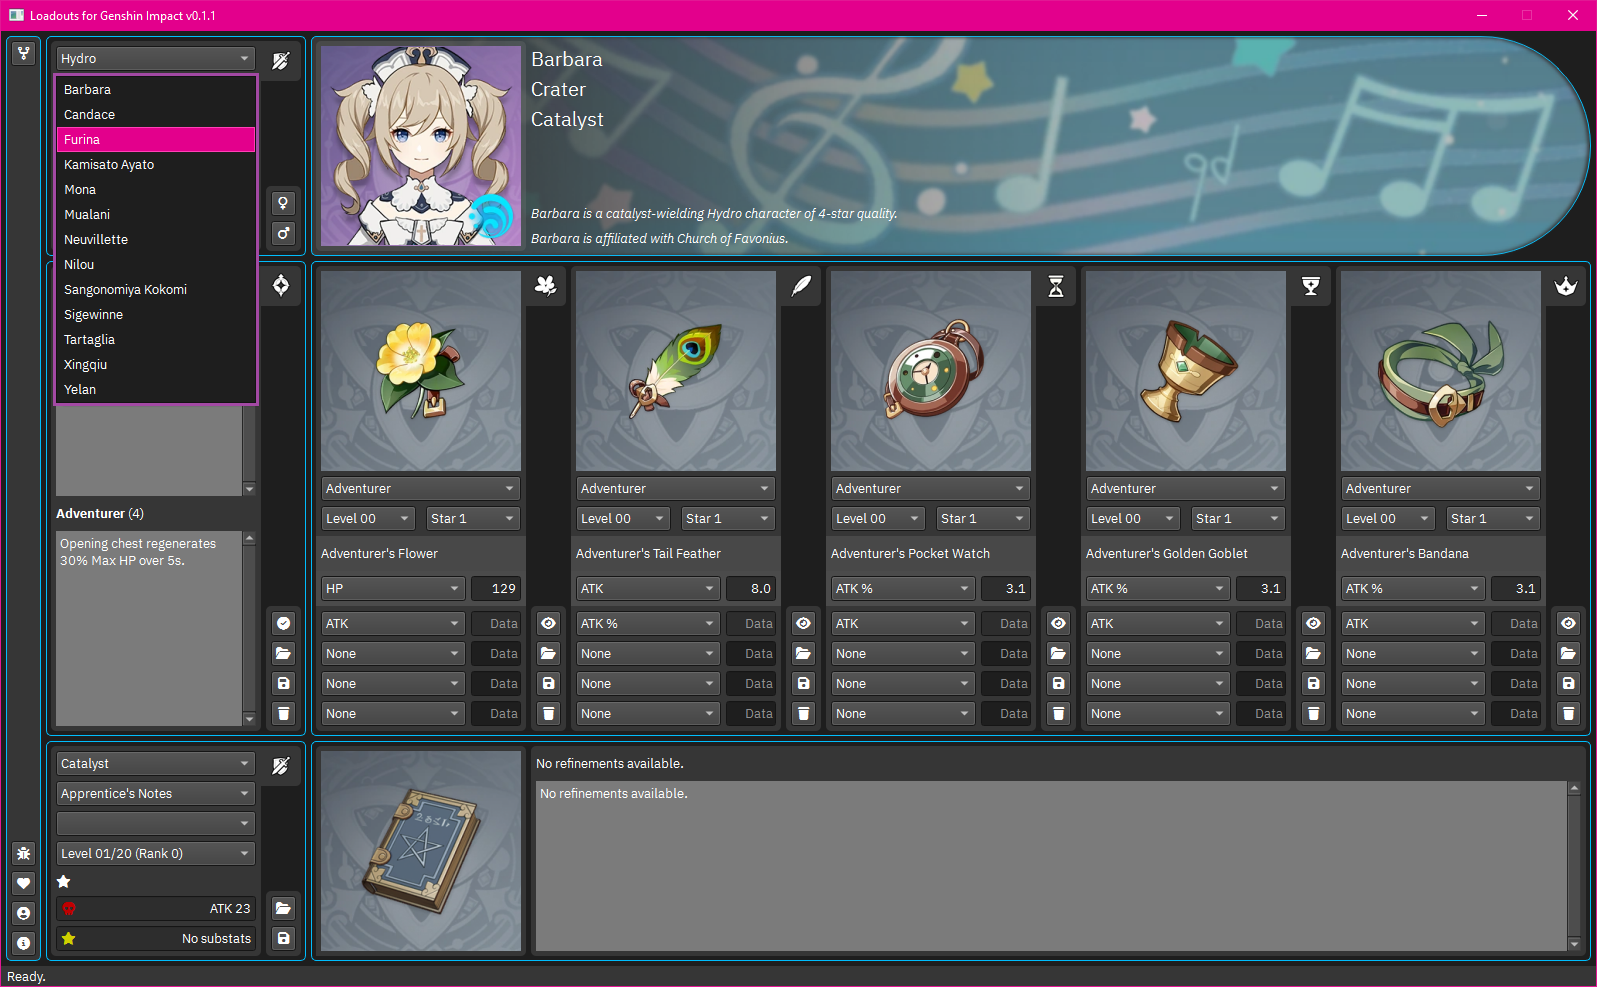
Select the character from the dropdown menu aligned with the element that was selected previously.
-
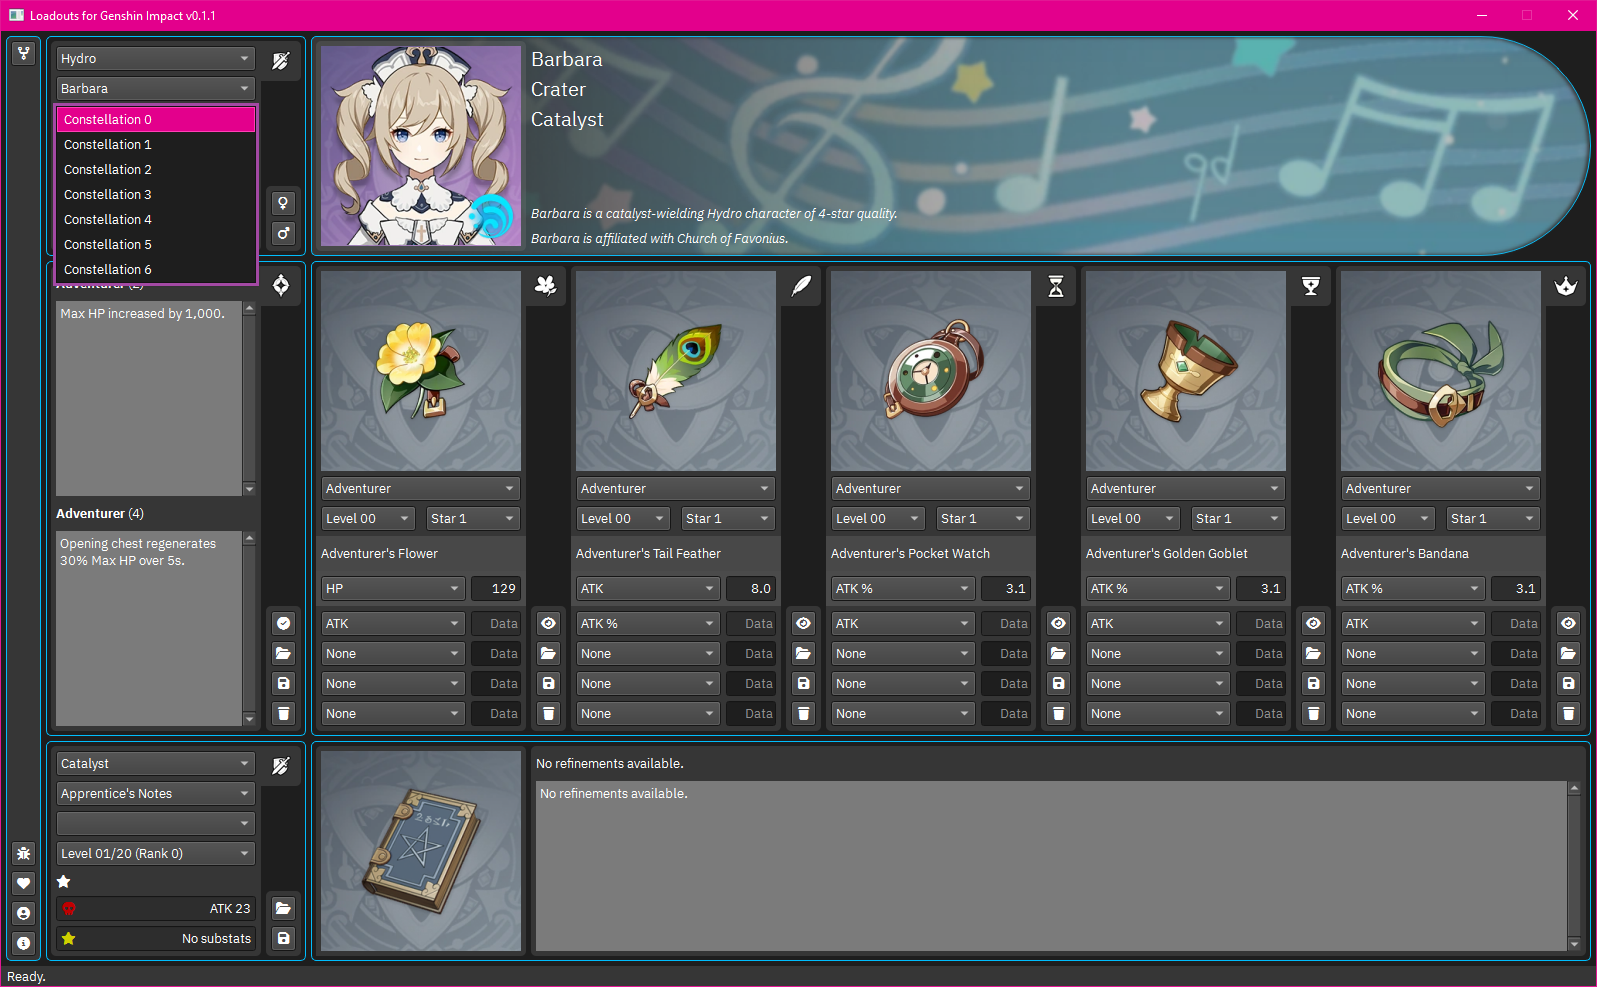
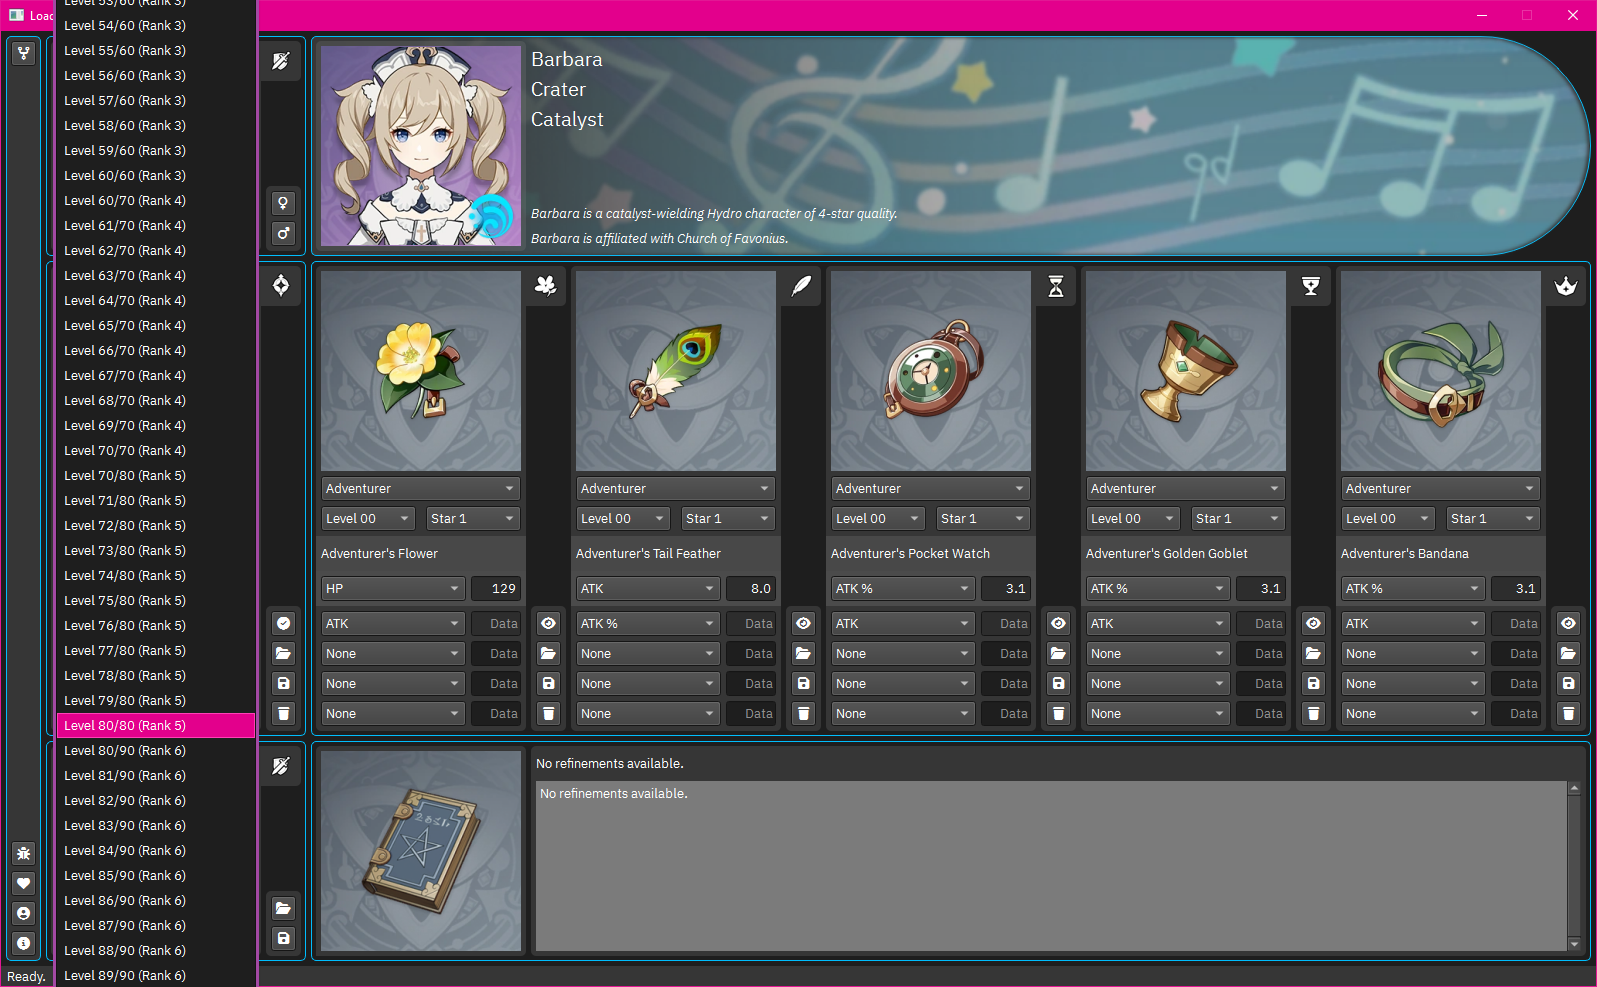
Select the level of the character constellation from the dropdown menu and statistics of the character will be calculated automatically.
-
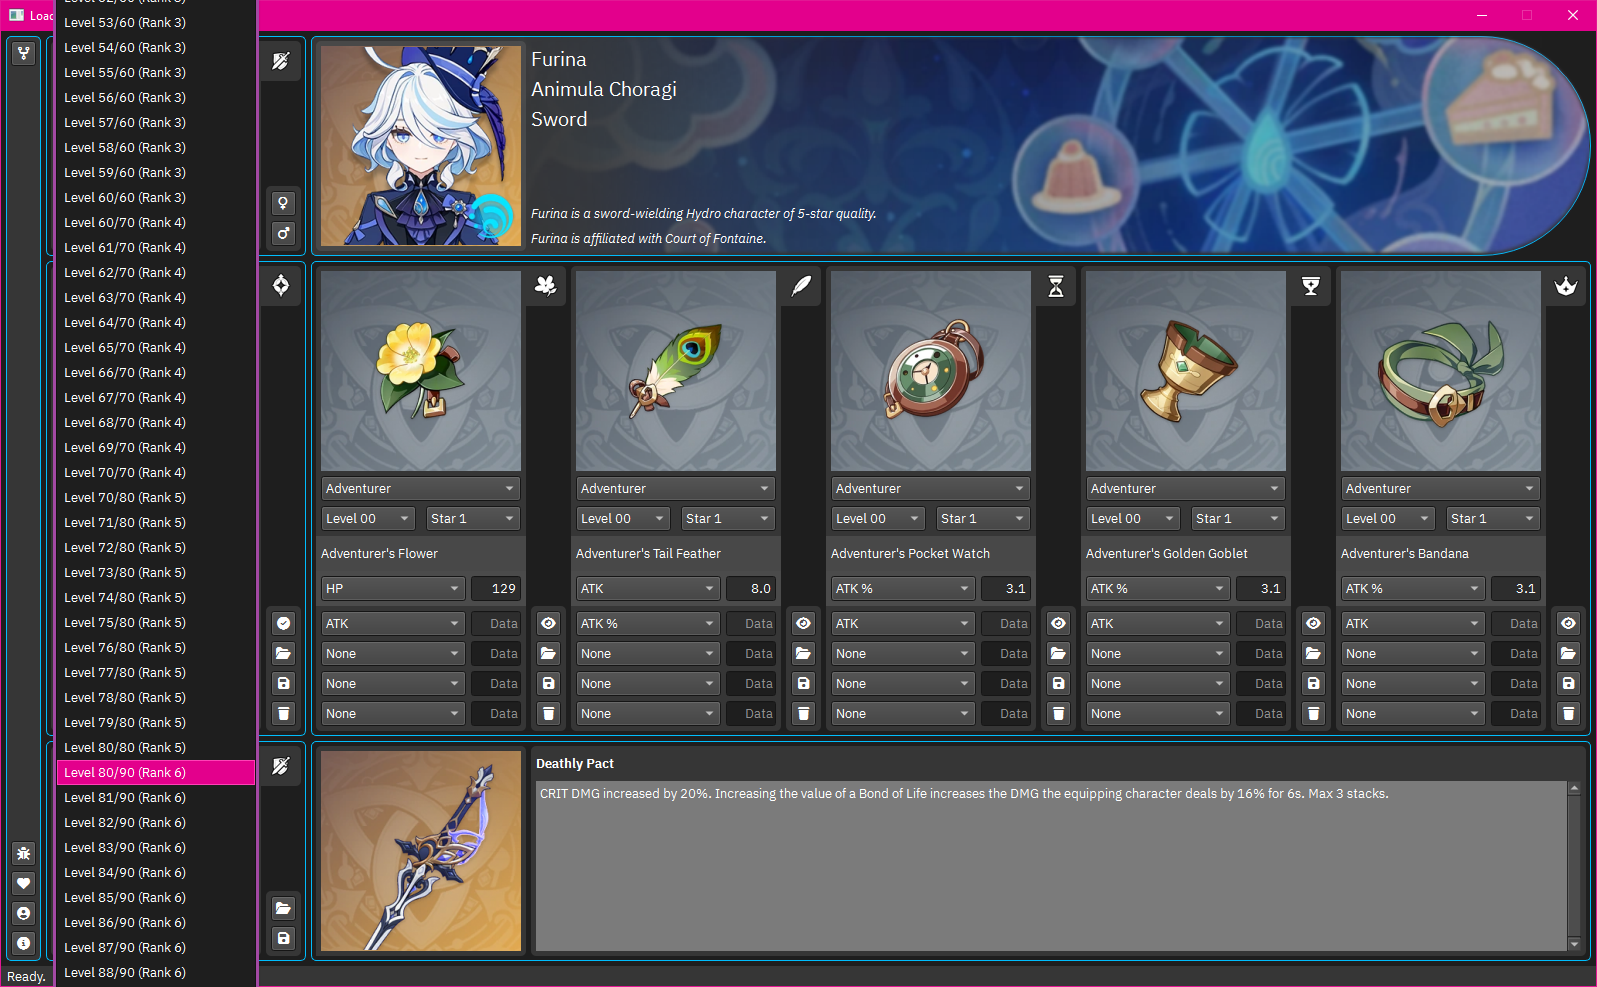
Select the level of the character experience from the dropdown menu and the statistics of the character will be calculated automatically.
-
Quickly switch over to either of the travelers, Lumine or Aether from the character menu using the VENUS or MARS buttons respectively.
-
Once the character is selected from the dropdown menu, the compatible weapon type is automatically selected.
-
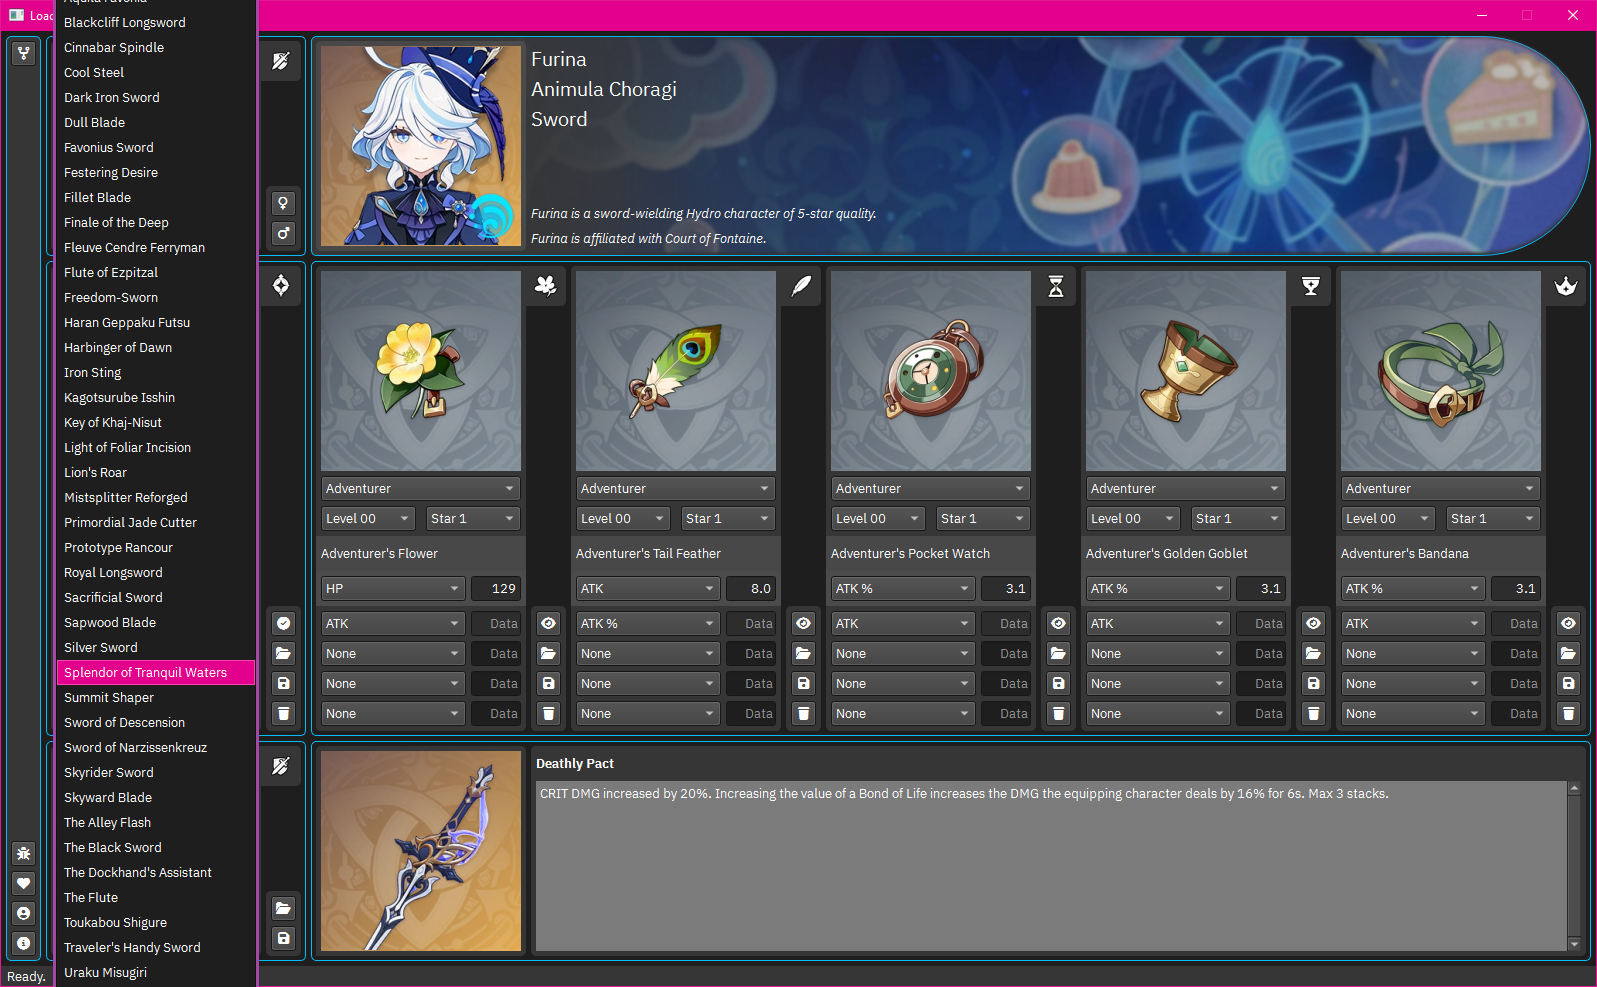
Select the weapon of your choice from the dropdown menu that you want to equip.
-
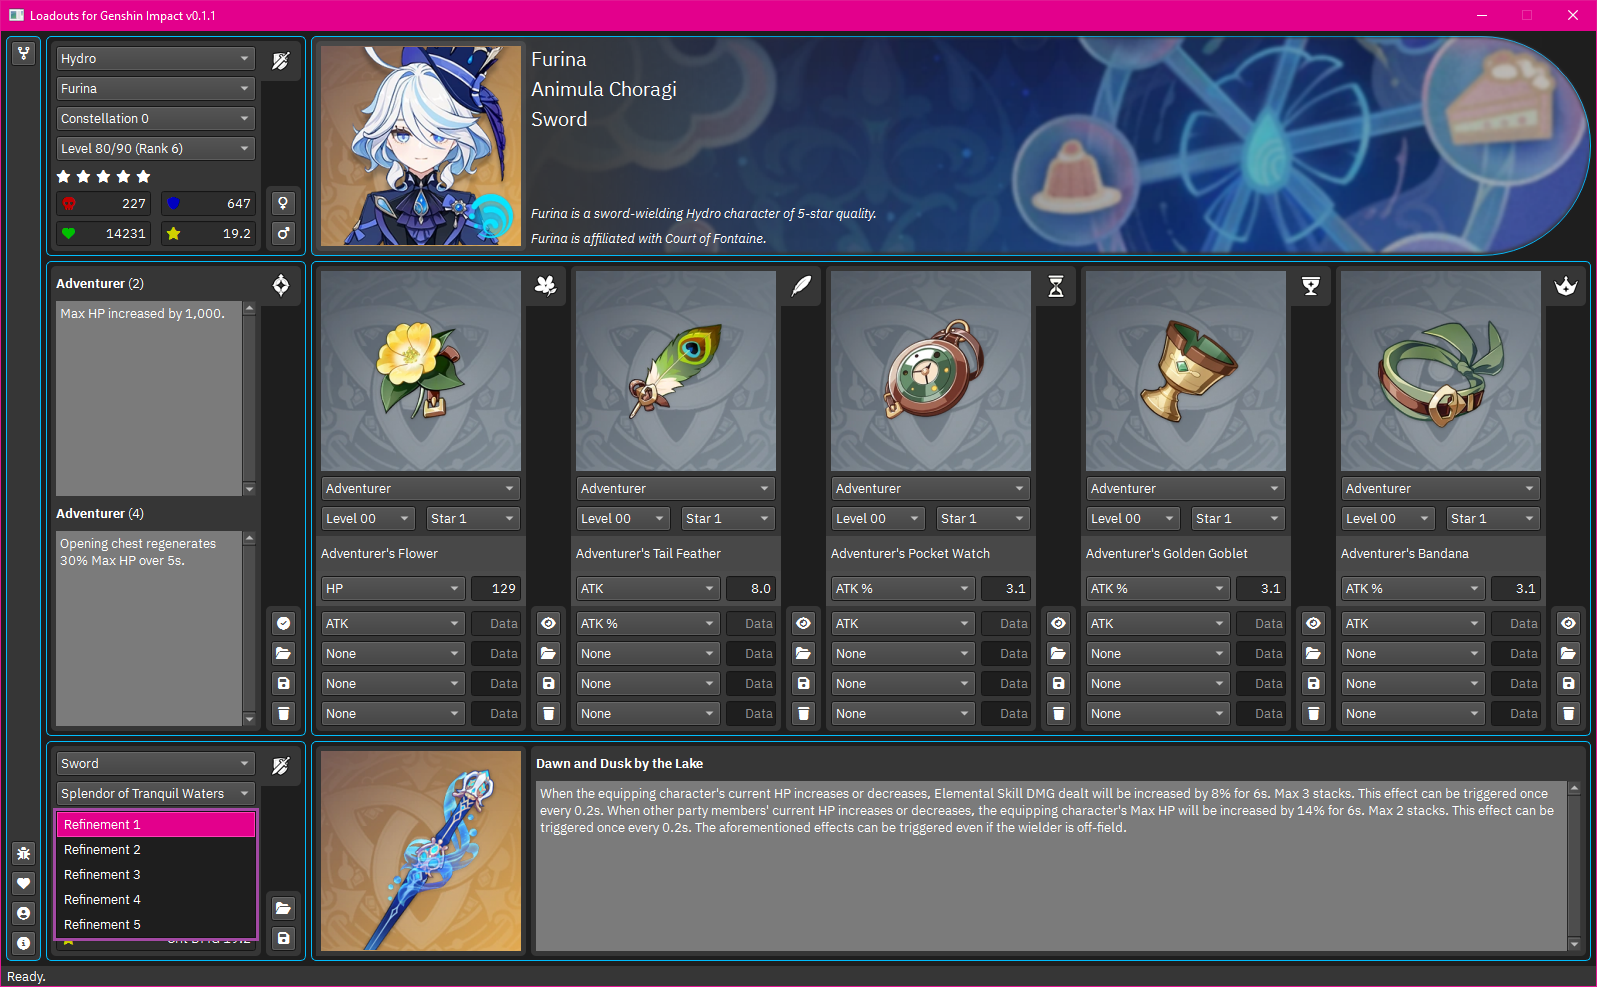
Select the rank of the weapon refinement from the dropdown menu and the statistics of the weapon will be calculated automatically.
-
Select the level of the weapon experience from the dropdown menu and the statistics of the weapon like will be calculated automatically.
-
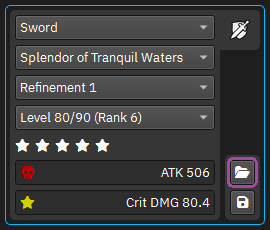
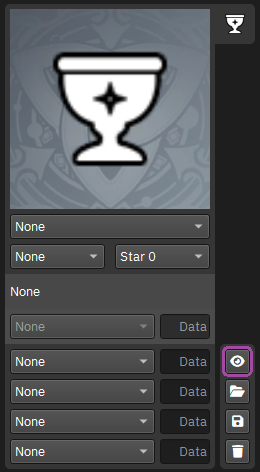
Load the weapon equipment from your local storage by using the LOAD button beside the sections.
-
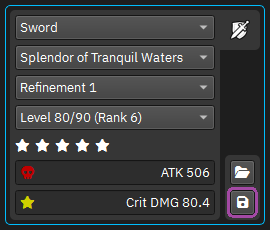
Save the weapon equipment to your local storage by using the SAVE button beside the sections.
-
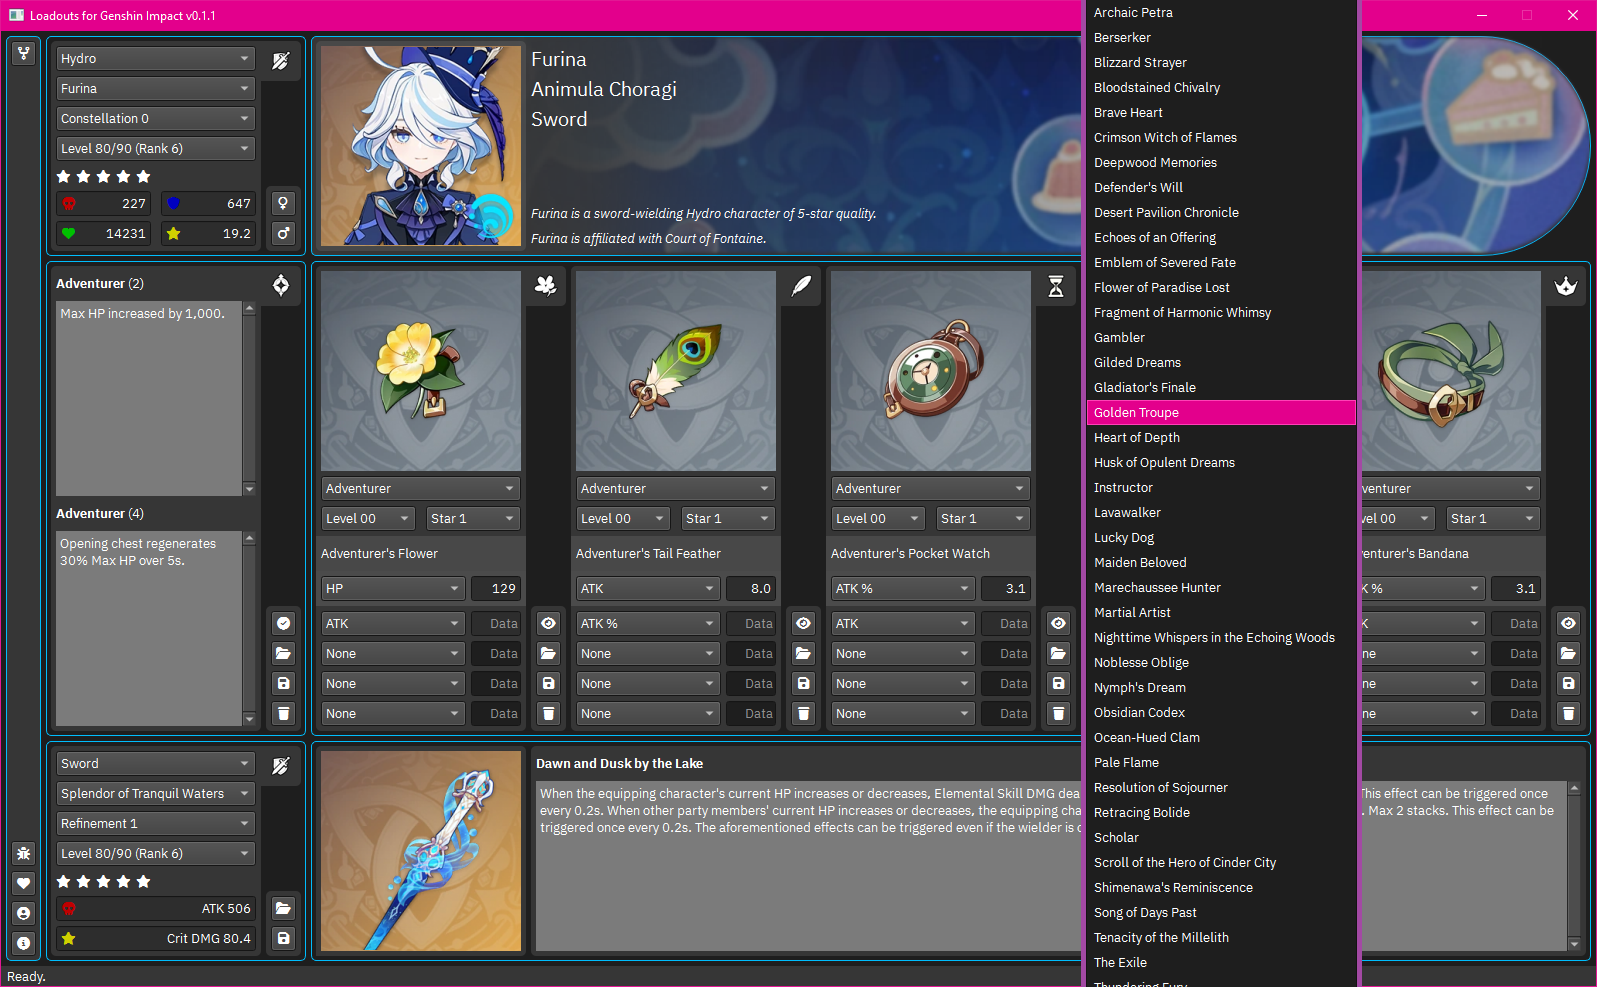
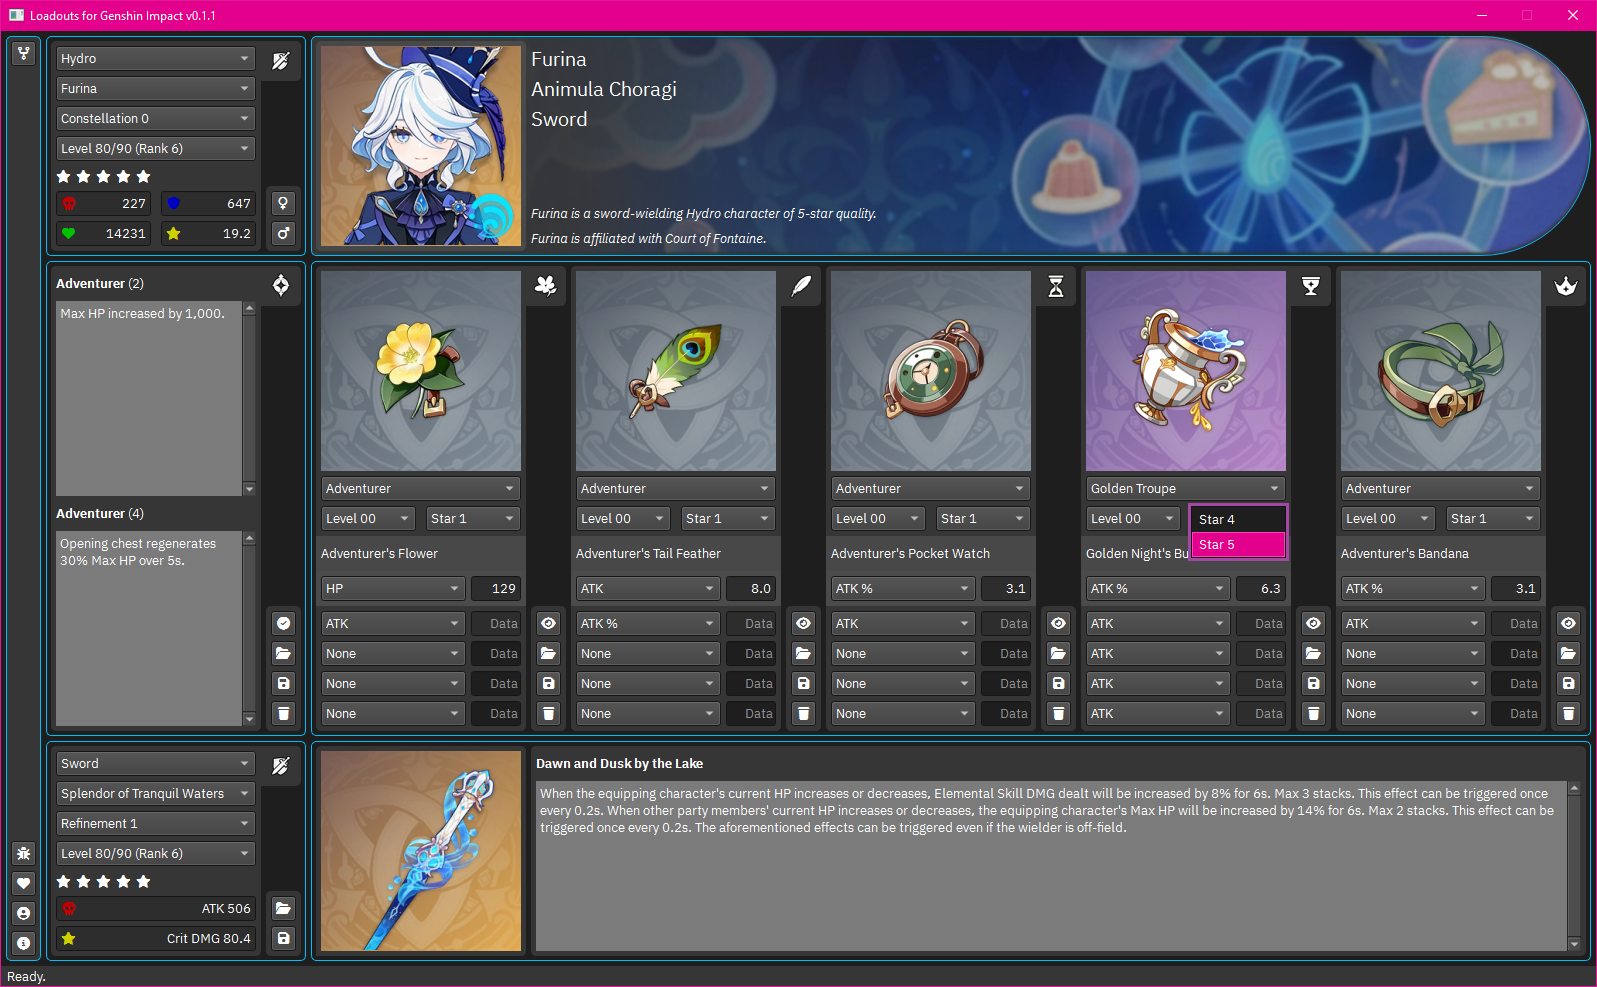
Once the weapon has been configured, configure the artifacts by selecting the artifact set from the dropdown menu.
-
Select the quality associated with the artifact sought from the dropdown menu so that the possible levels are populated.
-
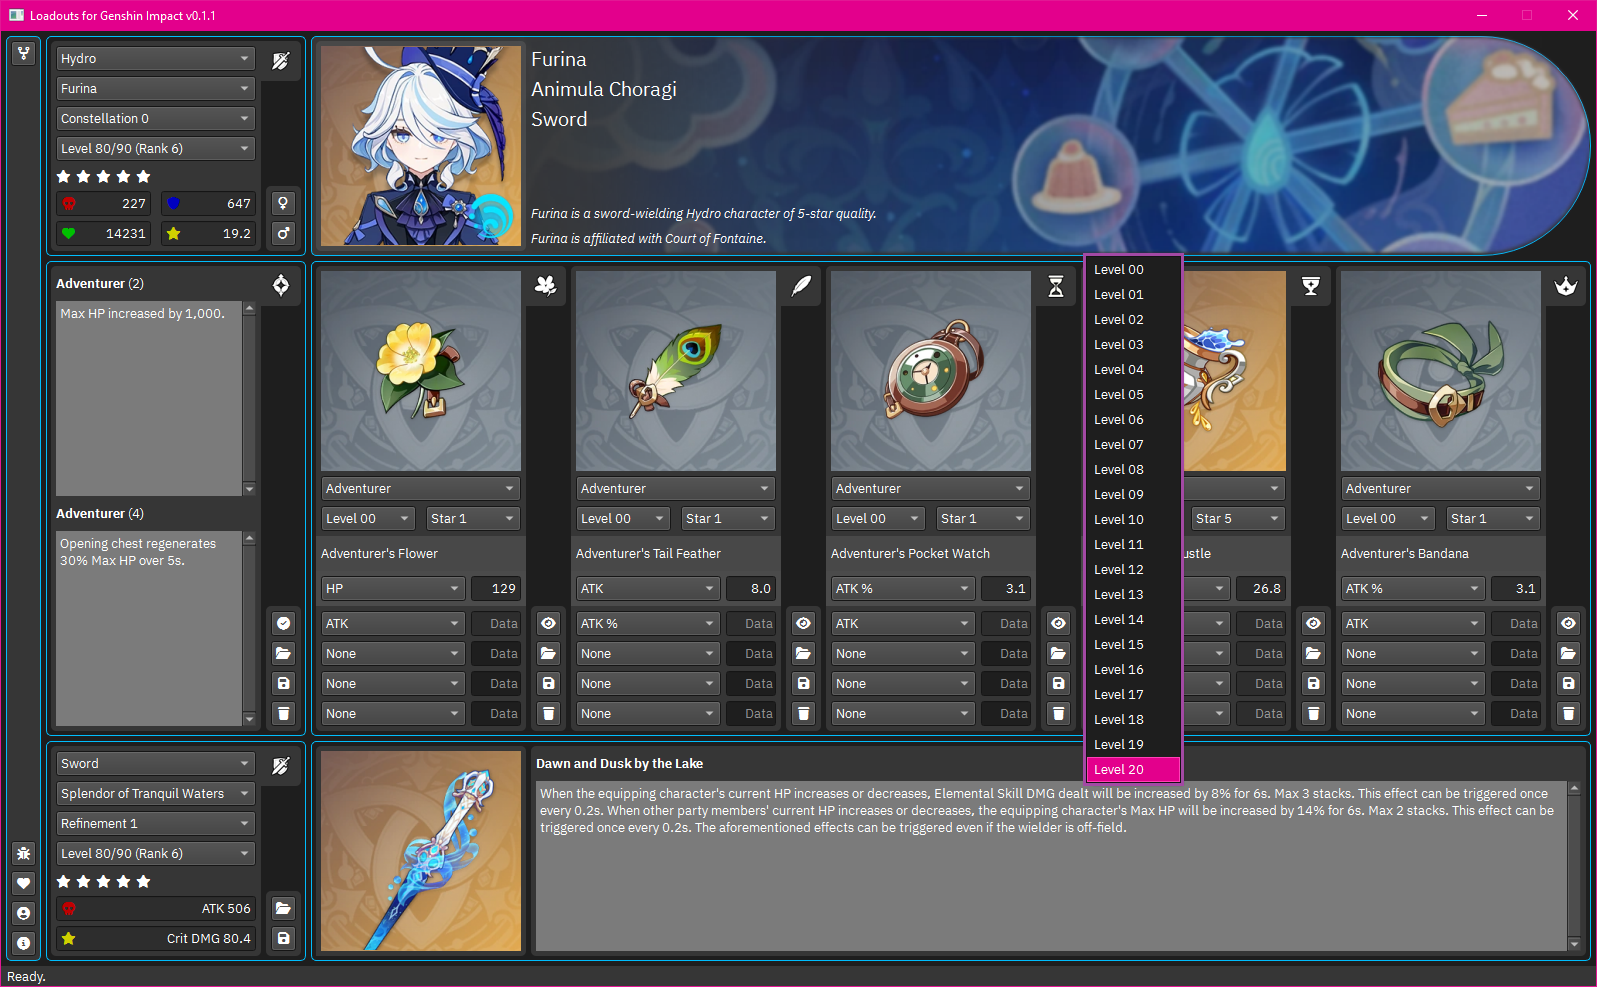
Select the level of the artifact experience from the dropdown menu.
-
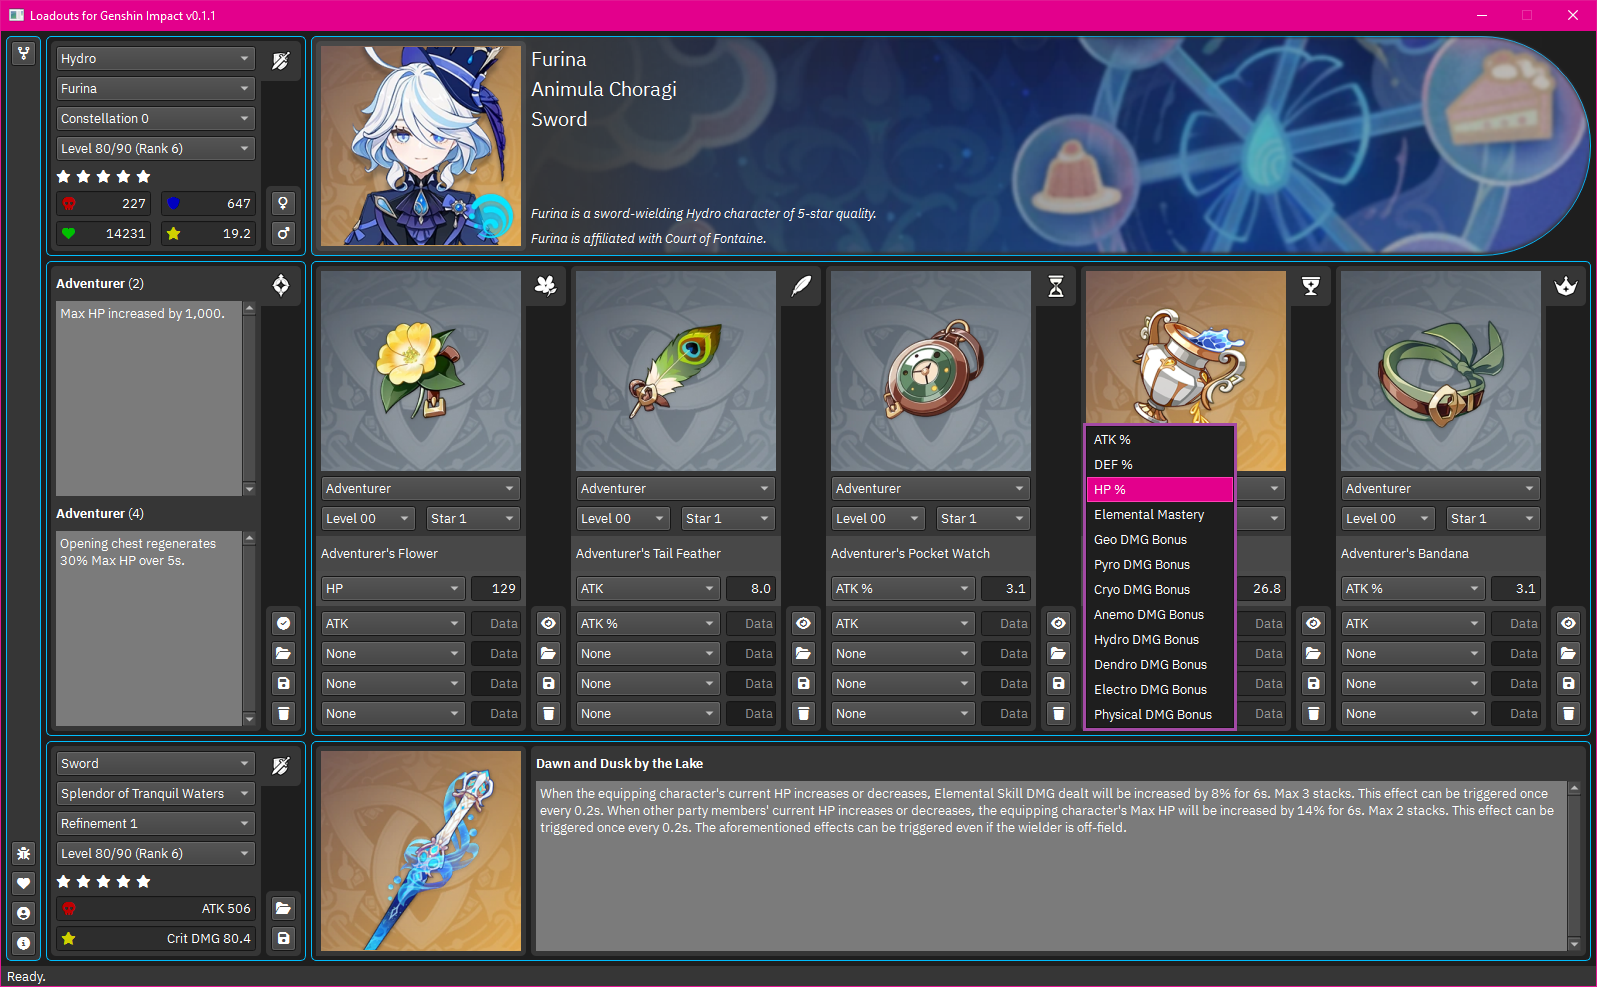
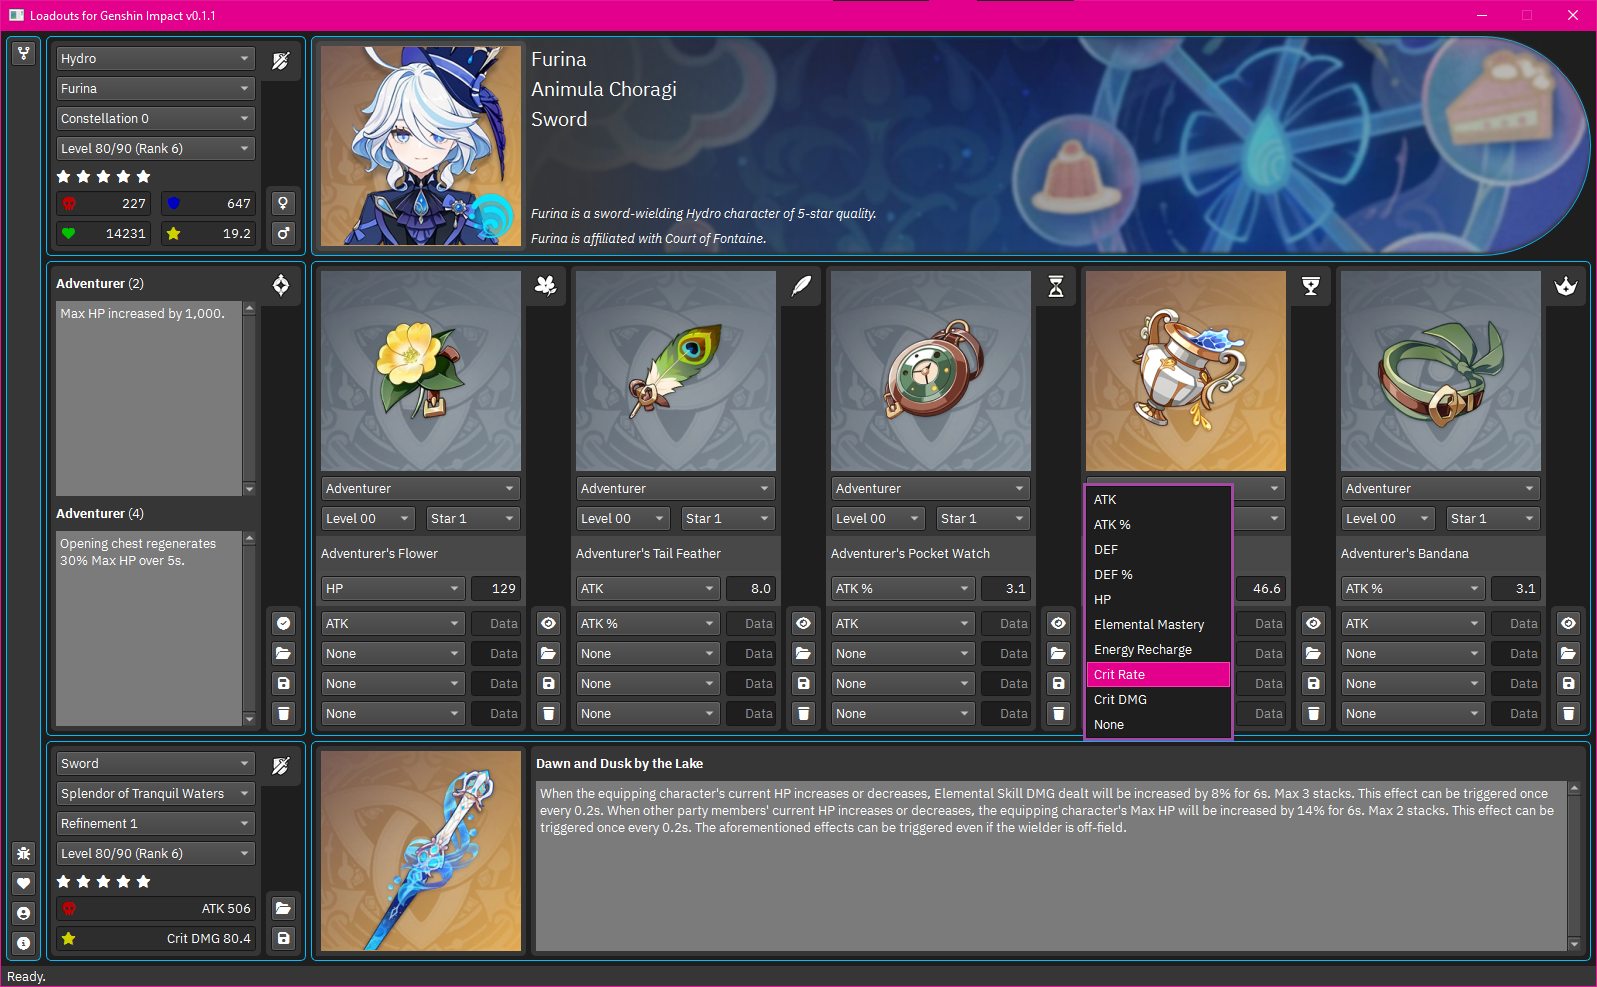
Select the primary stat of the artifact from the dropdown menu and the statistics of the artifact will be calculated automatically.
-
Select the secondary stats of the artifact from the dropdown menu from each distribution area.
-
Enter the value associated with the secondary stats of the artifact from the dropdown menu from each distribution area.
-
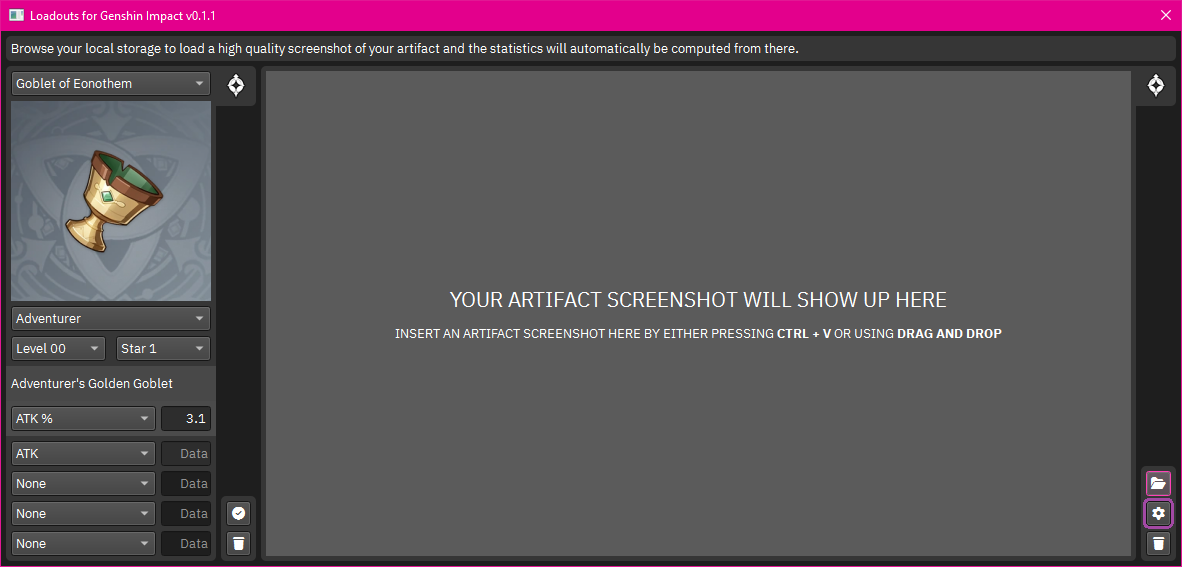
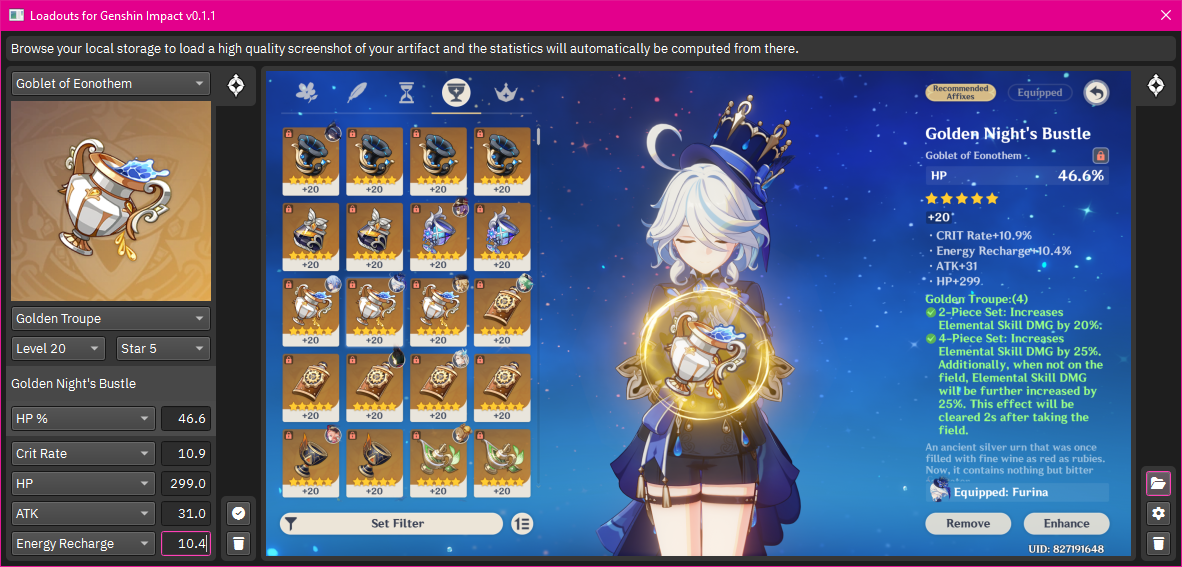
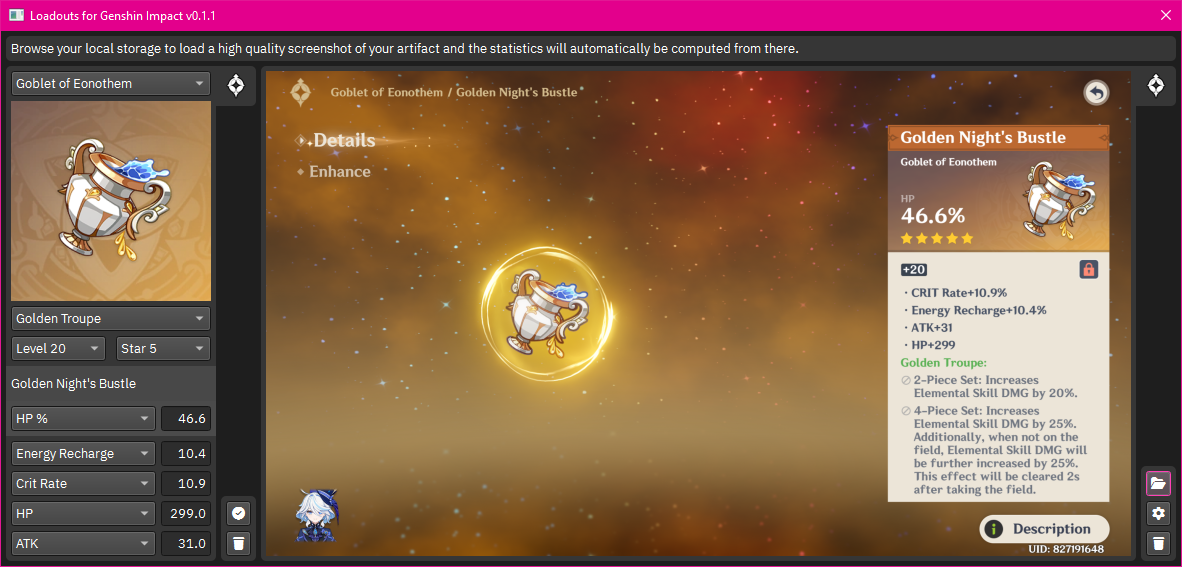
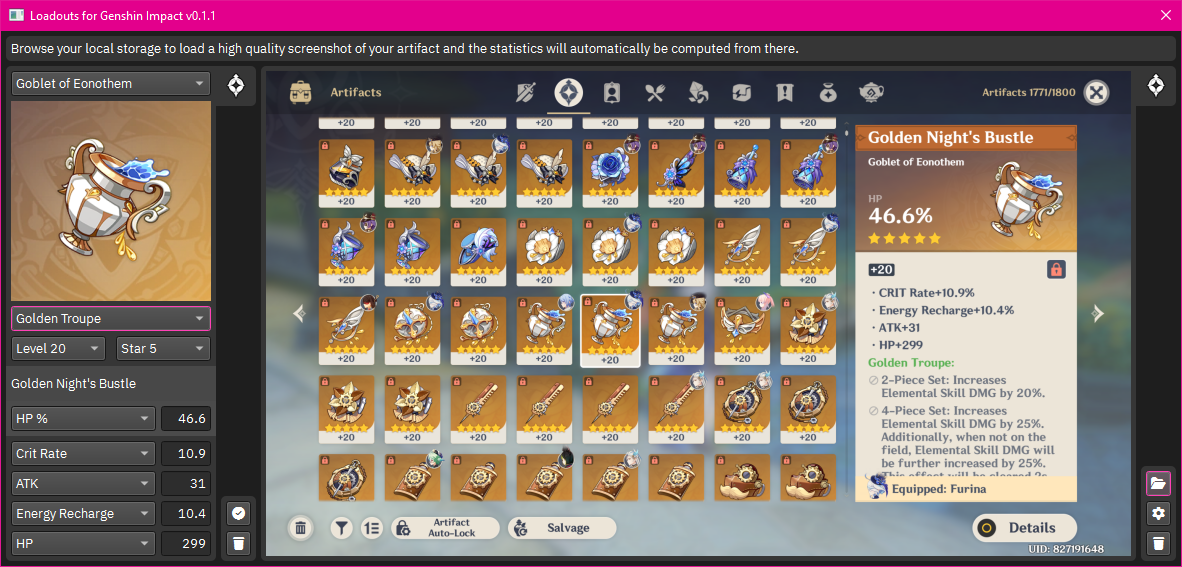
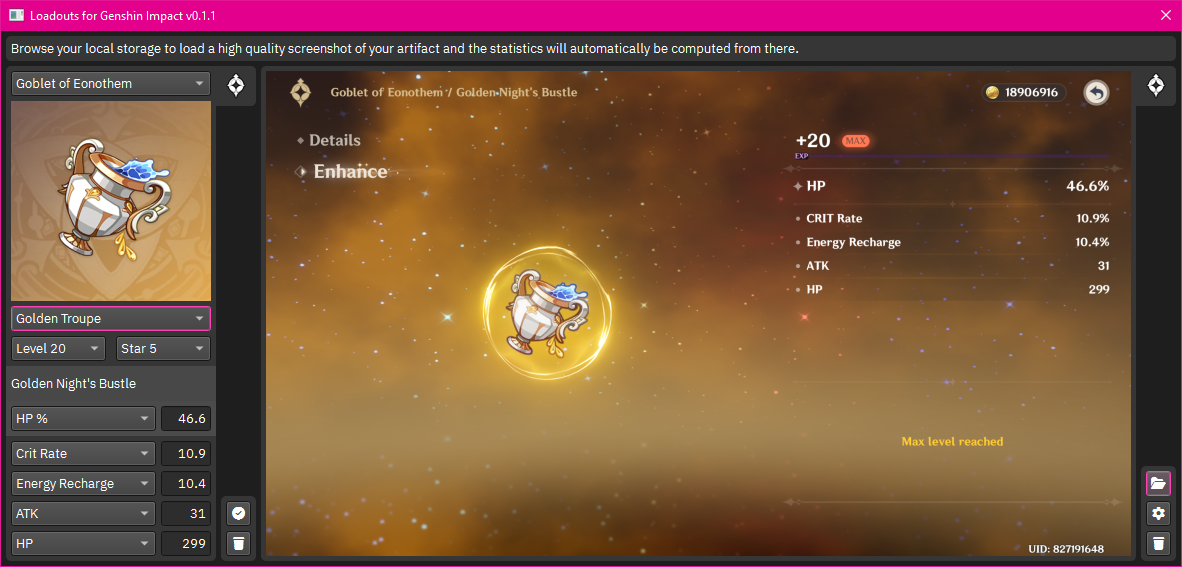
Alternatively, import the statistics from artifact units from in-game screenshots by using the SCAN buttons beside the distribution areas.
-
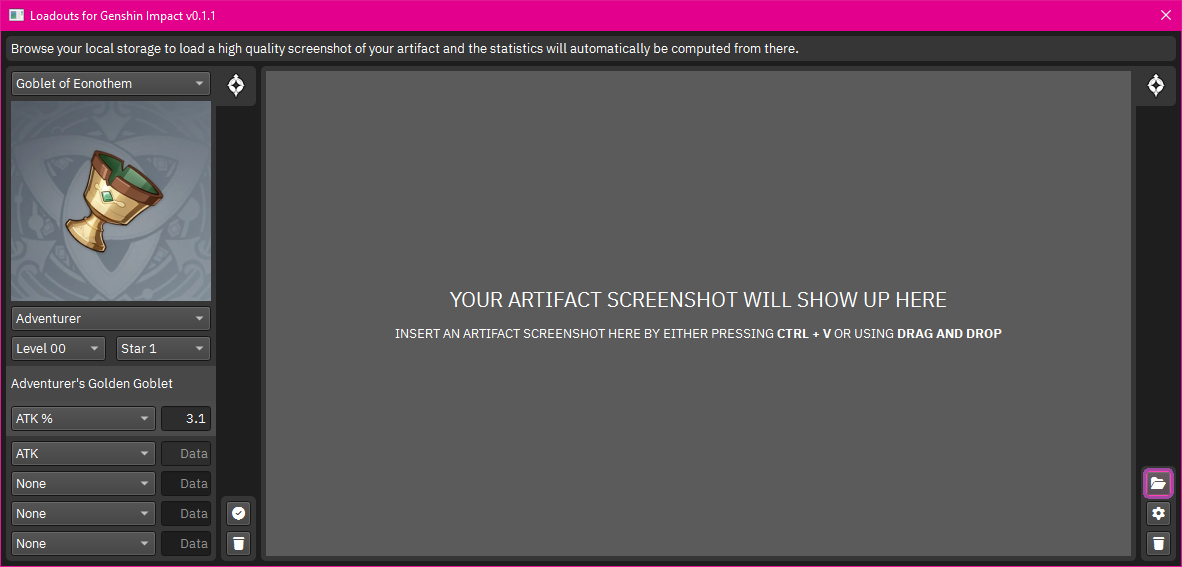
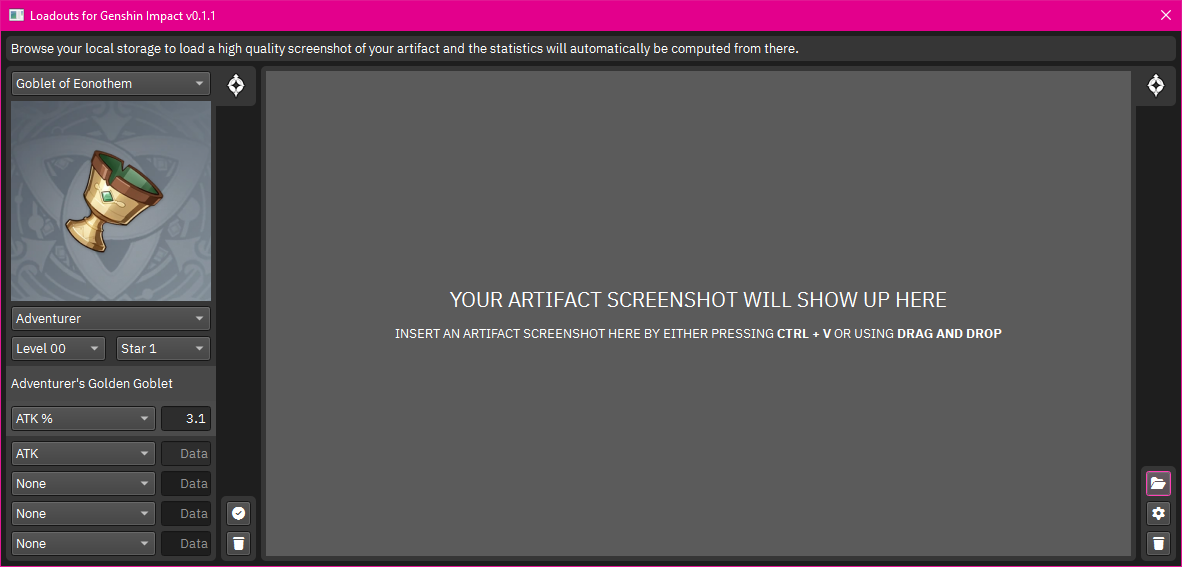
Load the in-game screenshot of the artifact units into interface using the LOAD button.
-
Alternatively, the in-game screenshot of the artifact units can be inserted from the clipboard by pressing
CTRL+V.
-
Alternatively, the in-game screenshot of the artifact units can be inserted by using the drag and drop action.
-
Please note that the supported image formats include, but are not limited to, the following.
- Bitmap
[image/bmp][BMP] - Graphics Interchange Format
[image/gif][GIF] - Tagged Image File Format
[image/tiff][TIF] - Truevision TGA
[image/x-tga][TGA] - Open Document Drawing
[application/vnd.oasis.opendocument.graphics][ODG] - Icon
[image/x-icon][ICO] - Portable Network Graphics
[image/png][PNG] - Joint Photographic Experts Group
[image/jpeg][JPG] - WebP Image
[image/webp][WEBP] - Photoshop Document
[image/vnd.adobe.photoshop][PSD]
- Bitmap
-
Please note that the unsupported image formats include, but are not limited to, the following.
- Scalable Vector Graphics
[image/svg+xml][SVG] - Encapsulated PostScript
[application/postscript][EPS]
- Scalable Vector Graphics
-
Confirm if the correct Tesseract OCR executable is selected by using the LOCATE button.
-
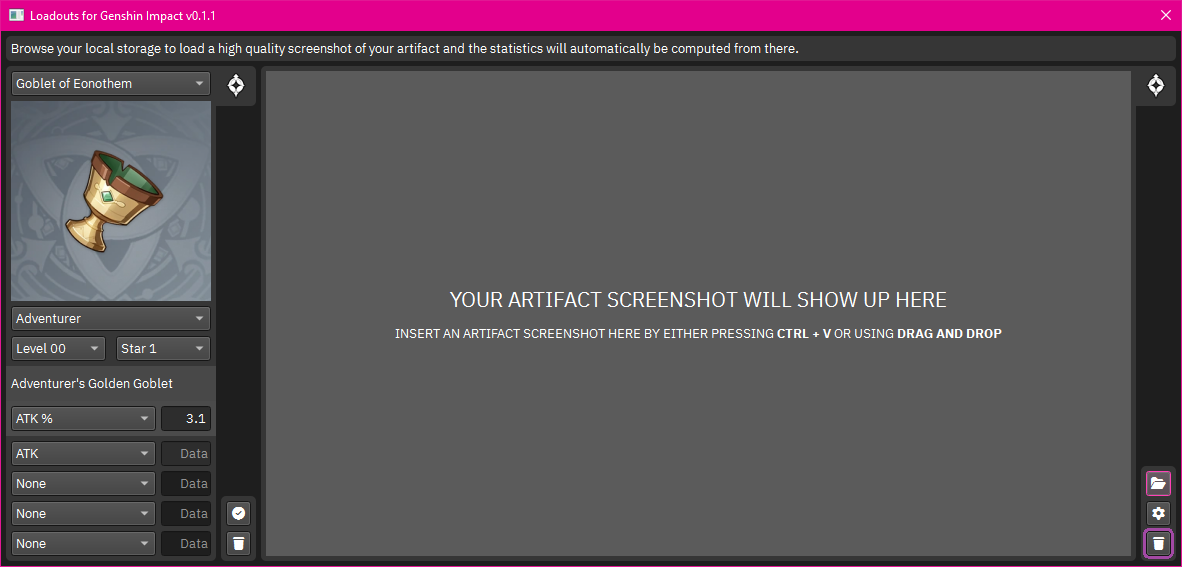
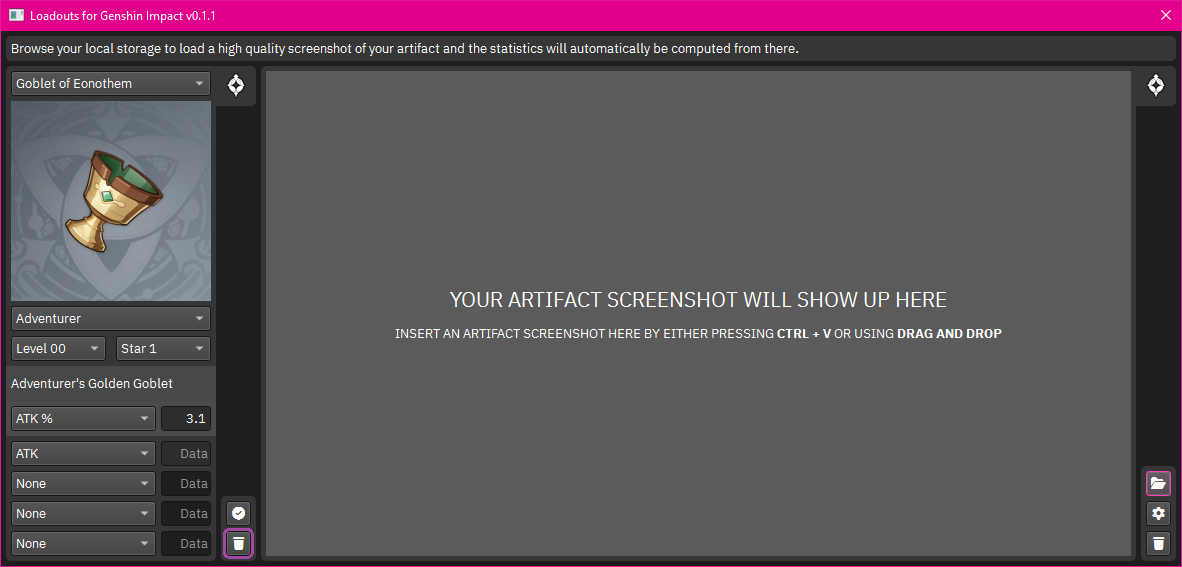
Wipe the in-game screenshot of the artifact unit from the configuration area by using the WIPE button.
-
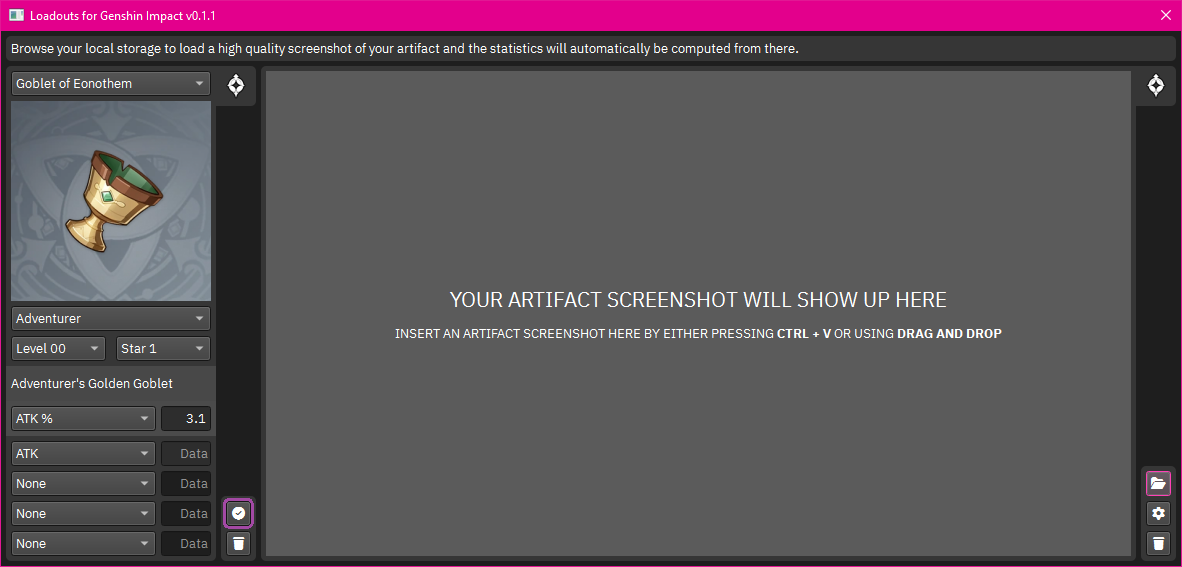
Import the statistics of the detected artifact unit by using the IMPORT button.
-
Wipe the statistics of the detected artifact unit by using from the configuration area by using the WIPE button.
-
Wait for the statistics to be read from the in-game screenshot of artifact using Optical Character Recognition or OCR.
-
Make corrections wherever the application was unable to correctly recognize statistics of the artifact before importing them.
-
Confirm if better scanning results are obtained for the statistics of the artifact from the details screen.
-
Confirm if better scanning results are obtained for the statistics of the artifact from the inventory screen.
-
Confirm if better scanning results are obtained for the statistics of the artifact from the enhancement screen.
-
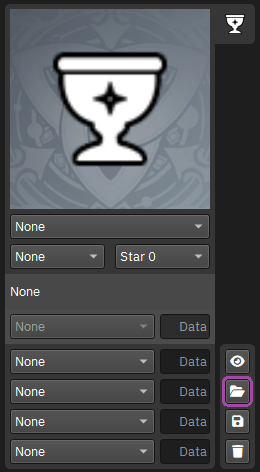
Alternatively, load the artifact units from your local storage by using the LOAD buttons beside the distribution areas.
-
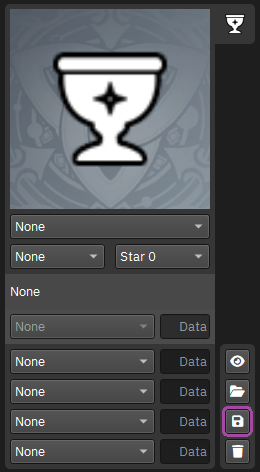
Save the artifact units to your local storage by using the SAVE buttons beside the distribution areas.
-
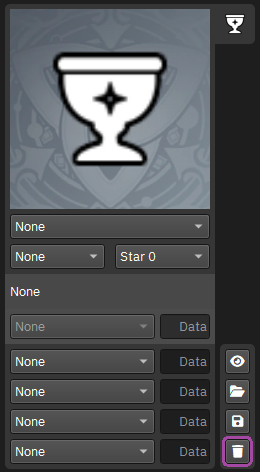
Wipe the artifact units from the configuration area by using the WIPE buttons beside the distribution areas.
-
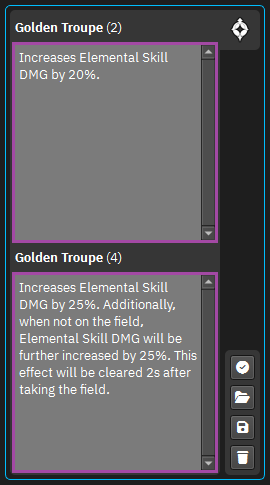
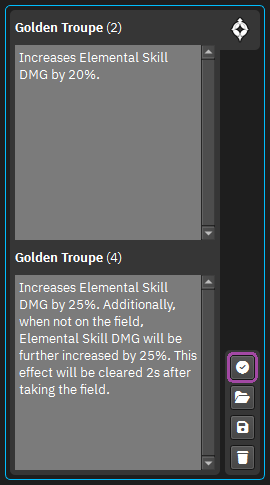
Read the artifact bonuses available to the character when using two pieces or four-pieces of a certain artifact set.
-
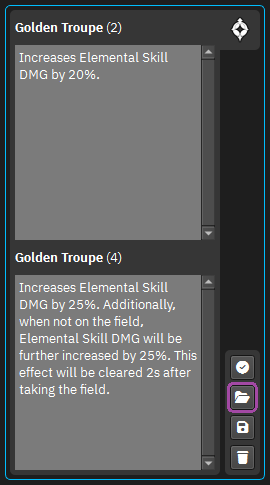
Load the artifact sets from your local storage by using the LOAD buttons beside the distribution areas.
-
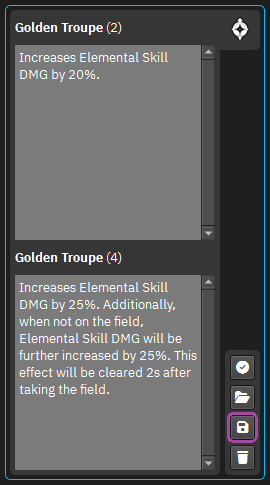
Save the artifact sets to your local storage by using the SAVE buttons beside the distribution areas.
-
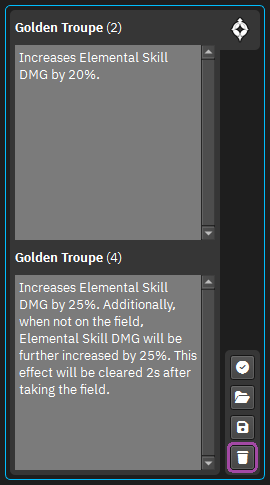
Wipe the artifact sets from the configuration area by using the WIPE buttons beside the distribution areas.
-
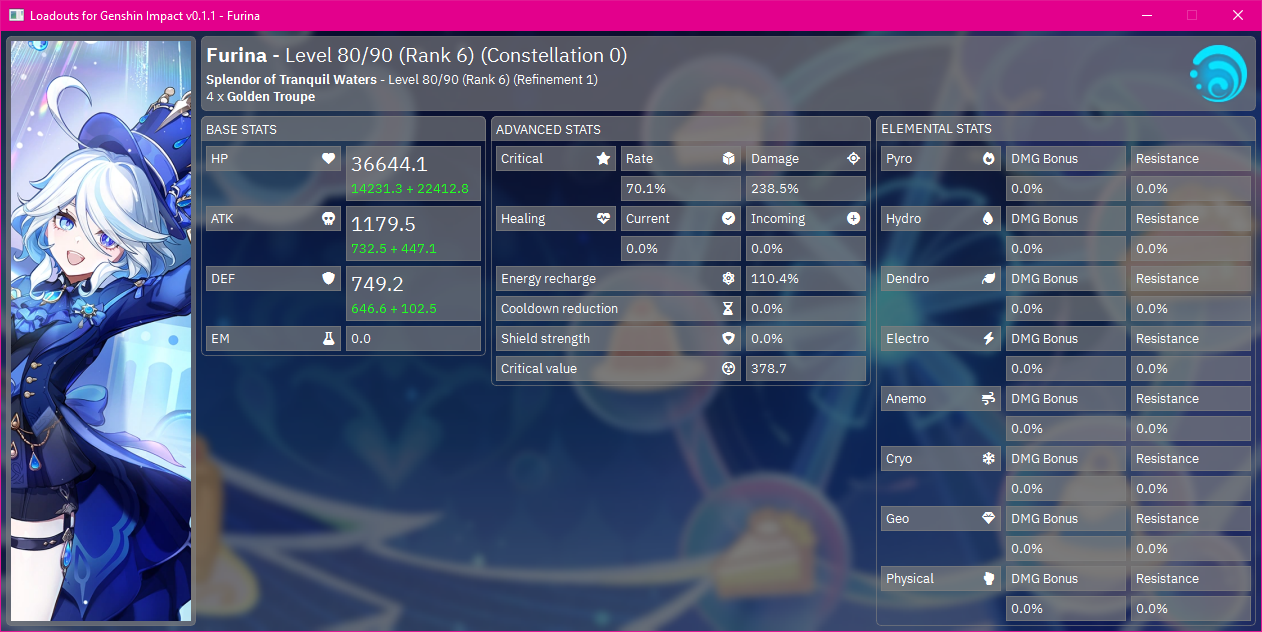
Calculate the character potential with the equipped artifact units or sets and weapon.
-
View the calculations of the character potential on the newly created dialog box.
-
View the help details about the application by clicking on the HELP button from the user interface.
-
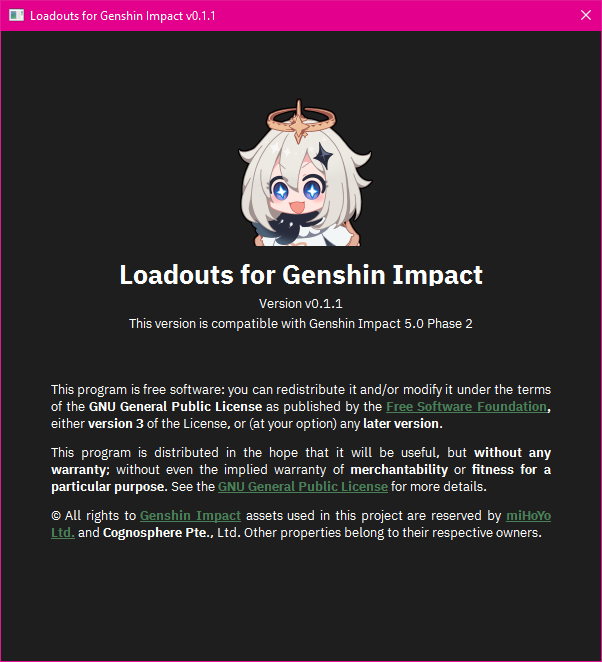
View the info details about the application by clicking on the INFO button from the user interface.
-
View the homepage of the project by clicking on the FORK button from the user interface.
-
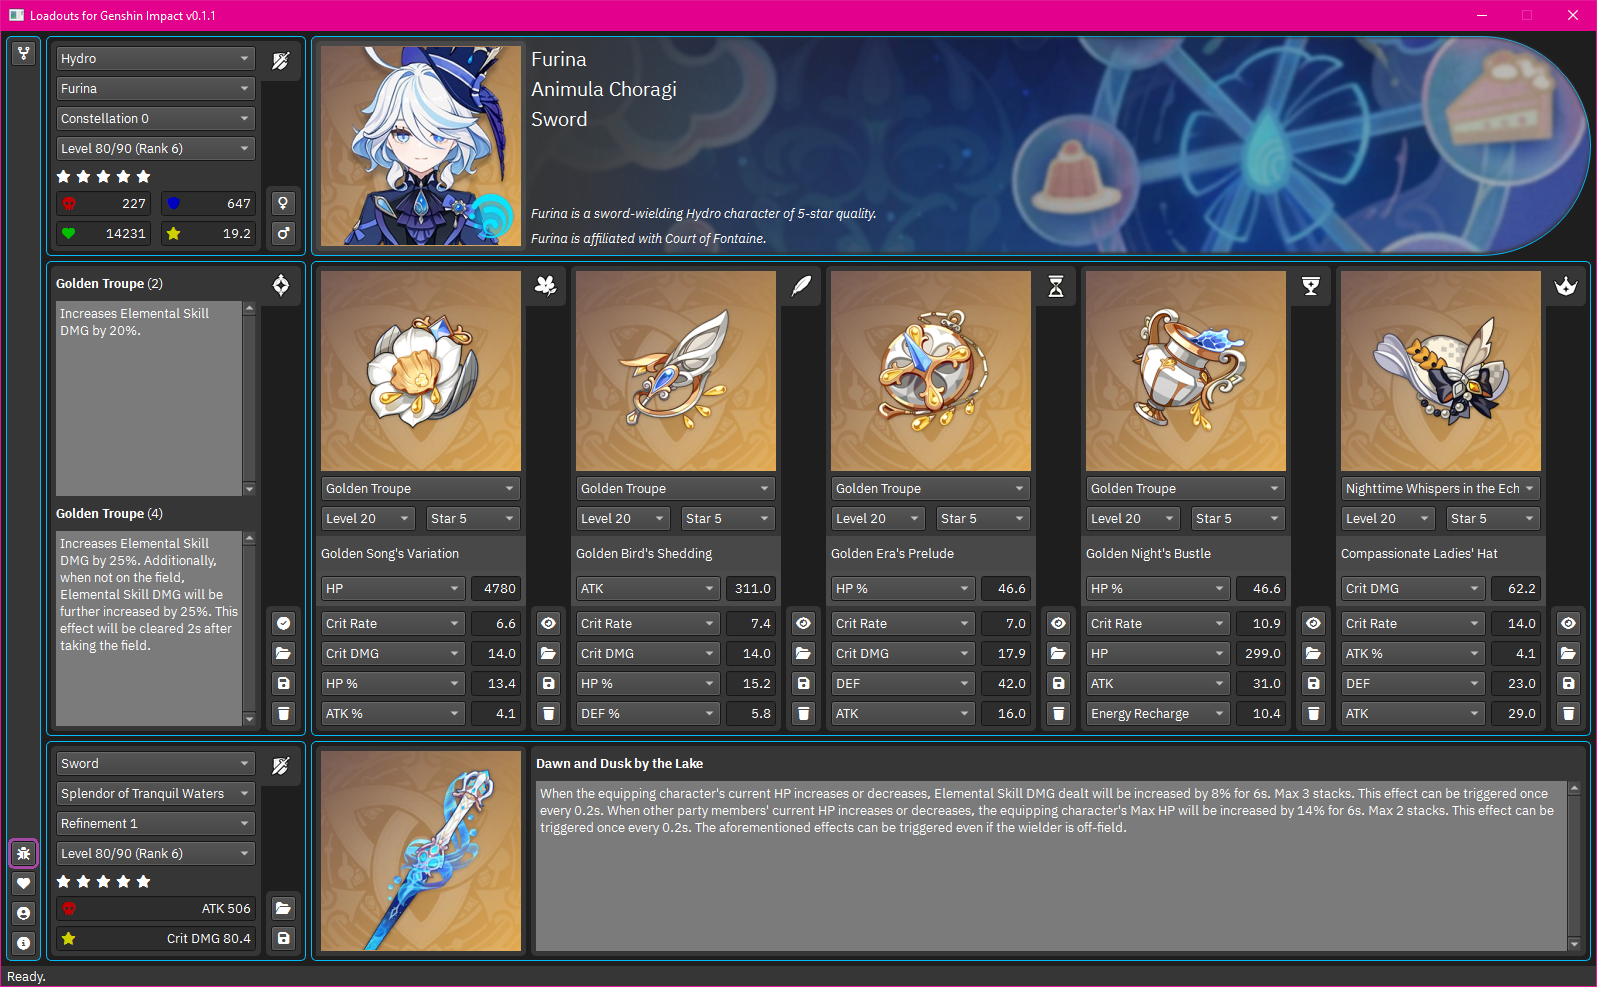
Report software errors or feature requests by clicking on the REPORT button from the user interface.
-
Donate to the project by clicking on the HEART button from the user interface.



Installation
From PyPI
- Install the project using PyPI
We recommend installing the project inside a Python virtual environmentpip install --upgrade gi-loadouts
From Source
On GNU/Linux distributions
- Ensure that the necessary packages are available on the operating system
installation.
$ sudo dnf install git tesseract$ sudo dnf install python3 python3-pip python3-virtualenv uv - Clone your fork to the local storage and make it your current working
directory.
$ git clone https://github.com/gridhead/gi-loadouts.git$ cd gi-loadouts - Create a virtual environment and activate it for installing project
dependencies.
$ virtualenv venv$ source venv/bin/activate - Install the project dependencies using UV and start the application
software.
(venv) $ uv sync --active --extra dev(venv) $ uv run --active gi-loadouts
On Microsoft Windows
- Ensure that the necessary packages are available on the operating system
installation.
Git - https://git-scm.com/downloads
Tesseract - https://github.com/UB-Mannheim/tesseract/wiki
Python 3 - https://www.python.org/downloads/ UV - https://docs.astral.sh/uv/ - Clone your fork to the local storage and make it your current working
directory.
PS > git clone https://github.com/gridhead/gi-loadouts.gitPS > cd gi-loadouts - Create a virtual environment and activate it for installing project
dependencies.
PS > py -m venv venvPS > .\venv\Scripts\activate - Install the project dependencies using UV and start the application
software.
(venv) PS > uv sync --active --extra dev(venv) PS > uv run --active gi-loadouts
Contribution
You can help our efforts by
-
Star the project repository
Starring our project repository on GitHub not only helps us witness your support and boost the visibility for the project but it also motivates us to continue improving and expanding our efforts. -
Report the experienced errors
If you encounter any errors that should be taken care of, please file them as issue tickets on our issue tracker to help us identify problems as it is when we will be able to address the problems. -
Propose the intended features
If you have any ideas that should be introduced in the project, please file them as issue tickets on our issue tracker to help us understand the direction you want the project to take in the future. -
Document the project repository
Facilitating a comprehensive project documentation not only enhances the project repository but it also vital for the project's growth among users and project's approachability among developers. -
Write the project codebase
Consider opening a pull request against the project repository to contribute to the project codebase whether it is for fixing errors, adding features, amending documentation or modifying assets. -
Sponsor the project maintainers
By providing financial support, the maintainers have the means to dedicate more efforts into the development of the project codebase and ensure compatibility from each upcoming Genshin Impact release.
Check out CONTRIBUTING.md for more details.
Disclaimer
All rights to Genshin Impact assets used in this project are reserved by MiHoYo Ltd. and Cognosphere Pte., Ltd.
Other properties belong to their respective owners.
4 maintainers


Release files for gi-loadouts 0.1.19
For a detailed explanation of source distributions (sdists) and built distributions (wheels), please see the package formats documentation.
Source distribution (sdist)
| File | Size | Uploaded | |
|---|---|---|---|
| gi_loadouts-0.1.19.tar.gz | 95.6 MB | Details |
Built distribution (wheel)
| File | Interpreter | ABI | Platform | Reset |
|---|---|---|---|---|
| gi_loadouts-0.1.19-py3-none-any.whl | Python 3 | none | any | Details |
Total release size: 195.0 MB
Release files / gi_loadouts-0.1.19.tar.gz
| Download URL | gi_loadouts-0.1.19.tar.gz |
|---|---|
| Size | 95.6 MB |
| Tags | Source |
|
SHA-256 checksum How to use checksums |
847aa1d29e44324817a1e048ca76397384f63d38f08fedd2f70303ffe4b5c5d4
|
|
BLAKE2b-256 checksum How to use checksums |
ee81f54ec9566bc79d9afe125414283952eeac047e0f08ebd0f672df9968cce3
|
| Upload date | |
|
Uploaded using Trusted Publishing? What is trusted publishing? |
Yes |
| Uploaded via |
twine/7.0.0 CPython/3.13.14
|
Provenance
Provenance describes where a file came from. On PyPI, provenance is shared via attestations, which provide a verifiable record of the build or publishing details. View details, limitations and caveats.


PyPI Publish Attestation
PyPI verified that this artifact, at this checksum, originated from the publisher listed below.
Signed by GitHub Actions, verified by PyPI on Sep 6, 2026.
Transparency logRelease files / gi_loadouts-0.1.19-py3-none-any.whl
| Download URL | gi_loadouts-0.1.19-py3-none-any.whl |
|---|---|
| Size | 99.4 MB |
| Tags | Python 3 |
|
SHA-256 checksum How to use checksums |
37c71a8bb1d214bd357934791c64f5d9948f2599c87eacb6c5f250c49c305a42
|
|
BLAKE2b-256 checksum How to use checksums |
19aaac7b64c09d92369d1e8110e01f89ea4f65e2be6967509190689f47d02c34
|
| Upload date | |
|
Uploaded using Trusted Publishing? What is trusted publishing? |
Yes |
| Uploaded via |
twine/7.0.0 CPython/3.13.14
|
Provenance
Provenance describes where a file came from. On PyPI, provenance is shared via attestations, which provide a verifiable record of the build or publishing details. View details, limitations and caveats.
PyPI Publish Attestation
PyPI verified that this artifact, at this checksum, originated from the publisher listed below.
Signed by GitHub Actions, verified by PyPI on Sep 6, 2026.
Transparency log















