Create Web Preview Images From url, Html-CSS ,svg, any other readable file or string.
Project description
HtmlWebShot
A python3 package which Can Create Images From url, Html-CSS, Svg and from any readable file and texts with many setup features.
Setup & Installation
-
Install HtmlWebShot:
$ pip3 install htmlwebshot
-
Install wkhtmltopdf:
- Debian/Ubuntu:
$ apt-get install wkhtmltopdf -y
- MacOs:
$ brew install homebrew/cask/wkhtmltopdf
- Alternative Support
$ wget https://github.com/1Danish-00/HtmlWebShot/raw/main/script.sh | sh - Win / Arch / Others
click here
- Debian/Ubuntu:
Usage
Import & Instantiate
from htmlwebshot import WebShot
shot = WebShot()
Multiple Arguments
size: (int , int) : tuple : height, width default: full-screenquality: int : (between 0-100)delay: float : delay time to load pageflags: list : know Moreparams: dict : know moreconfig: path setup know more
Simple Method
Using Url
shot.create_pic(url="https://google.com")
Using Html File
shot.create_pic(html="myfile.html", output="picture.jpg")
Using Html with CSS
via files
shot.create_pic(html="myfile.html", css="background.css", output="picture.jpg")
via string
html = """<h1> Hello World </h1>
<p>Write something about the world.</p>"""
css = "body {background: pink;} p {color: red;}"

shot.create_pic(html=html, css=css, output="picture.jpg")
Using Svg Or Any Other Readable File/Text
shot.create_pic(other="violin.svg", output="picture.jpg")
text = "What should I write here???"
shot.create_pic(other=text, size=(100,200))
You can use with async too
await shot.create_pic_async( # parameters are same for both
Some Examples
from htmlwebshot import WebShot
shot = WebShot()

shot.size = (110, 270)
shot.quality = 80  # maximum 100

html = """<h1> Hello World </h1>
<p>Write something about the world.</p>"""
css = "body {background: pink;} p {color: red;}"

shot.create_pic(html=html, css=css, output="picture.jpg")
Click Here To See Output Image Of Above Code.

from htmlwebshot import WebShot
shot = WebShot()

shot.quality = 100
shot.params = {"--crop-x":300, "--crop-w": 400}

shot.create_pic(html="profile.html", css="profile.css")
Click Here To See Output Image Of Above Code.

Click For More Examples
from htmlwebshot import WebShot
shot = WebShot()

shot.quality = 85
shot.flags = ["--enable-javascript"]

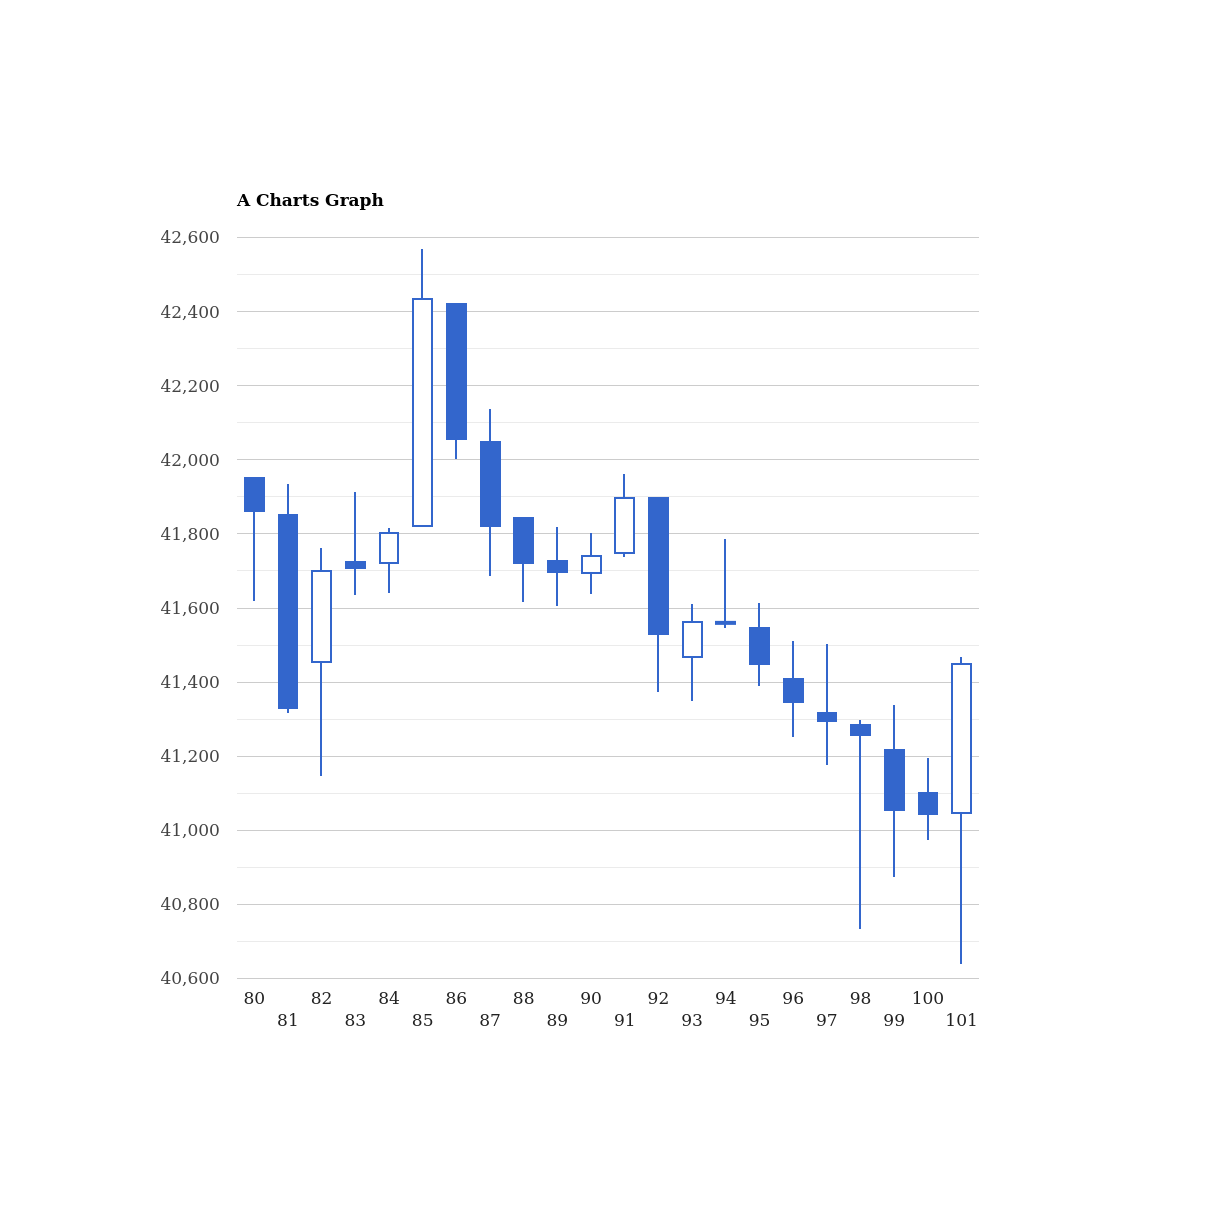
shot.create_pic(html="jsgraph.html")
Click Here To See Output Image Of Above Code.

from htmlwebshot import WebShot
shot = WebShot()

shot.flags = ["--quiet"]
shot.quality = 100

shot.create_pic(other="violin.svg", size=(500,600))
Click Here To See Output Image Of Above Code.

Flags Uses
Click Here To Check All Flags:
--quiet: Be less verbose--disable-smart-width: To force size to be accurate--custom-header-propagation: Add HTTP headers specified by flag--custom-headerfor each resource request--no-custom-header-propagation: Don't Add HTTP headers specified by flag--custom-headerfor each resource request--disable-javascript: Don't allow web pages to run javascript--enable-javascript: Allow web pages to run javascript--proxy-hostname-lookup: Use the proxy for resolving hostnames--stop-slow-scripts: Stop slow running javascripts--no-stop-slow-scripts: Don't Stop slow running javascripts
from htmlwebshot import WebShot
shot = WebShot()
shot.flags = ["--quiet", "--enable-javascript", "--no-stop-slow-scripts"]
Available Params
Click Here To Check All Params options:
--bypass-proxy-for:<value>Bypass proxy for host (repeatable)--cookie:<name><value>Set an additional cookie (repeatable), value should be url encoded.--cookie-jar:<path>Read and write cookies from and to the supplied cookie jar file--crop-h:<int>Set height for cropping--crop-w:<int>Set width for cropping--crop-x:<int>Set x coordinate for cropping--crop-y:<int>Set y coordinate for cropping--custom-header:<name><value>Set an additional HTTP header (repeatable)--encoding:<encoding>Set the default text encoding, for input--format:<format>Output file format--minimum-font-size:<int>Minimum font size--password:<password>HTTP Authentication password--post:<name><value>Add an additional post field (repeatable)--post-file:<name> <path>Post an additional file (repeatable)--proxy:<proxy>Use a proxy--run-script:<js>Run this additional javascript after the page is done loading (repeatable)--ssl-crt-path:<path>Path to the ssl client cert public key in OpenSSL PEM format, optionally followed by intermediate ca and trusted certs--ssl-key-password:<password>Password to ssl client cert private key--ssl-key-path:<path>Path to ssl client cert private key in OpenSSL PEM format--user-style-sheet:<path>Specify a user style sheet, to load with every page--username:<username>HTTP Authentication username--window-status:<windowStatus>Wait until window.status is equal to this string before rendering page--zoom:<float>Use this zoom factor
from htmlwebshot import WebShot
shot = WebShot()
shot.params = {
    "--custom-header": "Accept-Encoding gzip",
    "--minimum-font-size": 50,
    "--format": "png",
    "--zoom": 10,
    }
Config Path
If you installed pkg directly then no need to configure it, It'll auto configure.
But If u installed externally then you have to setup config path.
from htmlwebshot import WebShot, Config
shot = WebShot()
shot.config = Config(wkhtmltopdf="/path/to/wkhtmltopdf", wkhtmltoimage="/path/to/wkhtmltoimage")
Project details
Release history Release notifications | RSS feed
Download files
Download the file for your platform. If you're not sure which to choose, learn more about installing packages.
Source Distribution
Built Distribution
File details
Details for the file htmlwebshot-0.1.1.tar.gz.
File metadata
- Download URL: htmlwebshot-0.1.1.tar.gz
- Upload date:
- Size: 22.6 kB
- Tags: Source
- Uploaded using Trusted Publishing? No
- Uploaded via: twine/3.4.2 importlib_metadata/4.6.3 pkginfo/1.7.1 requests/2.26.0 requests-toolbelt/0.9.1 tqdm/4.62.0 CPython/3.9.6
File hashes
| Algorithm | Hash digest | |
|---|---|---|
| SHA256 | 070091af4262e4a284a656e54da24e125ed268f03164ccddc1c598ade8291731 |
|
| MD5 | 97a373811892399706024a7b6e5f5c74 |
|
| BLAKE2b-256 | cfbf843b8a765467f06c27fc5f6dd253a0076deb31af106fda2a37b9827dc2e9 |
Provenance
File details
Details for the file htmlwebshot-0.1.1-py3-none-any.whl.
File metadata
- Download URL: htmlwebshot-0.1.1-py3-none-any.whl
- Upload date:
- Size: 21.0 kB
- Tags: Python 3
- Uploaded using Trusted Publishing? No
- Uploaded via: twine/3.4.2 importlib_metadata/4.6.3 pkginfo/1.7.1 requests/2.26.0 requests-toolbelt/0.9.1 tqdm/4.62.0 CPython/3.9.6
File hashes
| Algorithm | Hash digest | |
|---|---|---|
| SHA256 | 5f1d240475a3f5c821d1c563b7207261145944baa3821bb8d357f9981c3b5ac4 |
|
| MD5 | be05fa8c92b687278349f5c46196dd43 |
|
| BLAKE2b-256 | 525e8ec71da710a4560080dbcdd53d19ad3fbdc621aaa9e0e910e8c54b489ce6 |


