
HwPilot — Hardware-aware ML Environment Setup & Compatibility Manager









HwPilot — Hardware-aware ML environment setup and compatibility manager.
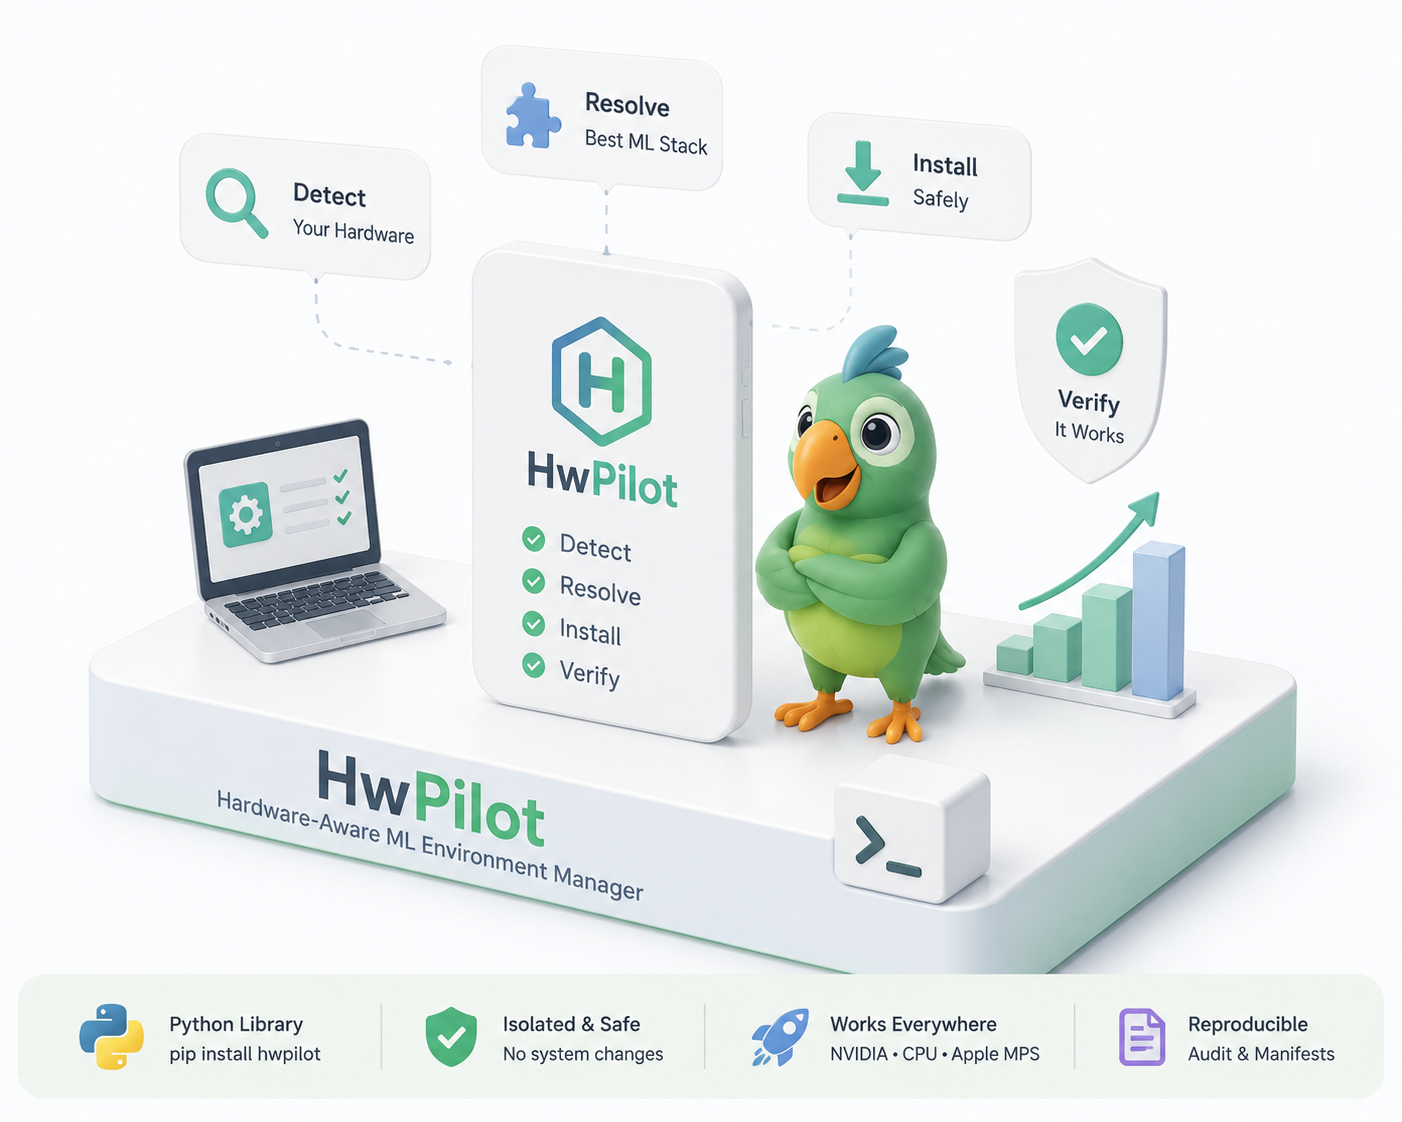
Detect my hardware. Resolve the correct ML environment. Ask me once. Install it safely. Verify that it actually works.
👨💻 Created & Maintained By
Rudraksh Rakesh Zodage
Open Source AI Engineer
- Email: rudrakshrakeshzodage@gmail.com
- GitHub: github.com/RudrakshRakeshZodage
- LinkedIn: linkedin.com/in/rudraksh-zodage-
- HuggingFace: huggingface.co/rudrakshrakeshzodage
🔄 End-to-End Architecture & Workflow
| Step | Layer / Component | Action | Result / Output |
|---|---|---|---|
| 1 | 💻 User Terminal | Run hwpilot setup -y |
Triggers automated pipeline |
| 2 | 🔍 Hardware Detector | Probes CPU, GPU, Driver via nvidia-smi, OS & Python |
System specs: RTX 4060, Driver 610.74, Python 3.13 |
| 3 | ⚖️ Compatibility Engine | Matches NVIDIA Driver vs CUDA Matrix (defaults.json) |
Resolves PyTorch 2.6.0 + CUDA 12.4 (cu124) |
| 4 | 📦 Environment Manager | Creates isolated virtual environment (./hwpilot-env) |
Clean virtual environment seeded with pip & wheel |
| 5 | 🌐 PyTorch CDN Index | Streams package download & uncompress | ~2.53 GB PyTorch CUDA wheels extracted to disk |
| 6 | 🧪 GPU Tensor Verifier | Executes real matrix multiplication on GPU | Verified GPU runtime acceleration |
| 7 | 📄 Manifest Writer | Generates audit records | manifest.json, hardware.json, environment.json |
sequenceDiagram
    autonumber
    actor User as 💻 User (CLI)
    participant Detector as 🔍 Hardware Detector
    participant Resolver as ⚖️ Compatibility Engine
    participant Venv as 📦 Environment Manager
    participant PyTorch as 🌐 PyTorch Wheel Index
    participant Verifier as 🧪 GPU Tensor Verifier

    User->>Detector: Execute `hwpilot setup -y`
    activate Detector
    Detector->>Detector: Probe CPU, GPU (nvidia-smi), OS & Python
    Detector-->>Resolver: Return Hardware Specs (RTX 4060, Driver 610.74, Python 3.13)
    deactivate Detector

    activate Resolver
    Resolver->>Resolver: Evaluate Driver vs CUDA Matrix (defaults.json)
    Resolver-->>User: Display Compatibility Plan (PyTorch 2.6.0 + CUDA 12.4)
    deactivate Resolver

    User->>Venv: Initialize Isolated Virtual Environment
    activate Venv
    Venv->>Venv: Create `./hwpilot-env` (Seeded with pip/wheel)

    Venv->>PyTorch: Request PyTorch CUDA 12.4 Wheel Packages
    activate PyTorch
    PyTorch-->>Venv: Stream Download (~2.53 GB) & Unpack CUDA DLLs
    deactivate PyTorch
    deactivate Venv

    Venv->>Verifier: Trigger Runtime Verification Suite
    activate Verifier
    Verifier->>Verifier: Import torch & Validate CUDA Device Available
    Verifier->>Verifier: Execute Matrix Multiplication Tensor Math on GPU
    Verifier-->>User: Runtime Verification PASSED (GPU Accelerated)
    deactivate Verifier

    Venv->>User: Save `manifest.json` & Output Environment Activation Path
🔥 What is HwPilot?
No cap, setting up PyTorch and CUDA across different GPUs and laptops is a major headache. Broken drivers, incompatible wheels, and CUDA errors ruin the vibe.
HwPilot solves this automatically:
- 🤖 Auto-detects your rig: Scans your CPU, GPU, VRAM, NVIDIA drivers, and OS.
- ⚡ Smart Resolution: Finds the exact PyTorch + CUDA build tailored for your machine.
- 🛡️ Clean & Safe: Creates an isolated
./hwpilot-envwithout touching system drivers. - ✅ Real GPU Verification: Runs actual GPU tensor math before saying it's ready. No fake green checks.
⚡ Quick Start
Installation
pip install hwpilot
Note for Windows Users: If running global
pip install hwpilot, you can run viapython -m hwpilot <command>OR add Python Scripts to your PowerShell PATH for the current session:$env:Path += ";$env:APPDATA\Python\Python313\Scripts"
Quick Setup
Auto-detect your hardware, resolve compatible PyTorch/CUDA wheels, create an isolated virtual environment, and verify GPU compute in one command:
hwpilot setup -y
(or via python module):
python -m hwpilot setup -y
Flags:
-y,--yes: Automatically accept and proceed without prompt.-p,--path <DIR>: Custom environment path (default:./hwpilot-env).
🚀 Key Commands & CLI Reference
| Command | Description |
|---|---|
hwpilot detect |
Inspect hardware (CPU, GPU, VRAM, Compute Capability, Driver, OS, Python). |
hwpilot check |
Evaluate whether the machine meets requirements for ML workloads. |
hwpilot plan |
Preview compatibility resolution and package specs without modifying system. |
hwpilot setup |
Complete end-to-end setup workflow (detect → resolve → confirm → venv → install → verify → manifest). |
hwpilot verify |
Perform real GPU matrix multiplication tensor test in an existing environment. |
hwpilot doctor |
Generate a comprehensive diagnostic and troubleshooting report. |
hwpilot update |
Refresh cached compatibility metadata from remote index. |
hwpilot info |
Display HwPilot version, author profiles, and metadata information. |
Command Flags
--pytorch <VER>/--torch <VER>: Suggest specific PyTorch framework version (e.g.2.4.1,2.3.1).--cuda <VER>: Suggest specific CUDA runtime build version (e.g.12.4,12.1,11.8,cpu).--json: Output machine-readable JSON format for programmatic use.-y,--yes: Bypass interactive confirmation prompt.-p,--path <DIR>: Custom target environment path (default:./hwpilot-env).--global: Install directly into current Python environment (requires explicit opt-in).-v,--verbose: Enable debug logging.
🛡️ Safety & Security Principles
- Driver Integrity: HwPilot never modifies or replaces system graphics drivers.
- Environment Isolation: Prefers isolated project environments (
./hwpilot-env). - No Guessing: Uses strict declarative compatibility matrices.
- Empirical Verification: Verifies GPU runtime with actual tensor operations.
📁 Environment Manifest Structure
Upon successful setup, HwPilot generates an environment audit manifest:
hwpilot-env/
├── config/
│   ├── hardware.json      # Hardware specs (CPU, GPU, Driver)
│   └── environment.json   # Resolved backend, CUDA runtime, framework versions
├── logs/
│   └── install.log        # Package installation transcript
└── manifest.json          # Environment state & verification results
🧪 Testing & Development
git clone https://github.com/RudrakshRakeshZodage/hwpilot.git
cd hwpilot
pip install -e .[dev]
pytest
🤝 Contributing
Contributions to HwPilot are welcome! Whether you are reporting a bug, adding hardware compatibility rules, or improving documentation, please read our CONTRIBUTING.md guide.
Quick Workflow for Contributors
- Fork and clone the repository:
git clone https://github.com/RudrakshRakeshZodage/hwpilot.git - Create your feature branch:
git checkout -b feature/amazing-feature - Install development dependencies:
pip install -e .[dev] - Ensure test suite passes:
pytest - Open a Pull Request on GitHub.
📜 License & Copyright
This project is licensed under the terms of the MIT License.
Copyright (c) 2026 Rudraksh Rakesh Zodage

Permission is hereby granted, free of charge, to any person obtaining a copy
of this software and associated documentation files (the "Software"), to deal
in the Software without restriction, including without limitation the rights
to use, copy, modify, merge, publish, distribute, sublicense, and/or sell
copies of the Software, and to permit persons to whom the Software is
furnished to do so, subject to the following conditions:

The above copyright notice and this permission notice shall be included in all
copies or substantial portions of the Software.
For full license details, see the LICENSE file.
1 maintainer

Metadata
1 maintainer
Release files for hwpilot 0.1.2
For a detailed explanation of source distributions (sdists) and built distributions (wheels), please see the package formats documentation.
Source distribution (sdist)
| File | Size | Uploaded | |
|---|---|---|---|
| hwpilot-0.1.2.tar.gz | 32.8 kB | Details |
Built distribution (wheel)
| File | Interpreter | ABI | Platform | Reset |
|---|---|---|---|---|
| hwpilot-0.1.2-py3-none-any.whl | Python 3 | none | any | Details |
Total release size: 66.5 kB
Release files / hwpilot-0.1.2.tar.gz
| Download URL | hwpilot-0.1.2.tar.gz |
|---|---|
| Size | 32.8 kB |
| Tags | Source |
|
SHA-256 checksum How to use checksums |
6963f99a0c25f3d89618144af726e3dac6e6a2b5d5fa9d73dd2944dc853b2162
|
|
BLAKE2b-256 checksum How to use checksums |
c3cae2df4583769771fdc2a027dad434772c4145e2b0912e3ca240b8b59ec121
|
| Upload date | |
|
Uploaded using Trusted Publishing? What is trusted publishing? |
No |
| Uploaded via |
twine/7.0.0 CPython/3.13.14
|
Release files / hwpilot-0.1.2-py3-none-any.whl
| Download URL | hwpilot-0.1.2-py3-none-any.whl |
|---|---|
| Size | 33.8 kB |
| Tags | Python 3 |
|
SHA-256 checksum How to use checksums |
3b77937bf8ad92a402b21a168e81e24a2faa97c9f6f3e1797144821fc6c9e135
|
|
BLAKE2b-256 checksum How to use checksums |
5819d30931d0104f75db849938f65289f3d313df76dcc12fd365e4786f263249
|
| Upload date | |
|
Uploaded using Trusted Publishing? What is trusted publishing? |
No |
| Uploaded via |
twine/7.0.0 CPython/3.13.14
|














