
A server to run MLX models locally, optimized for code completion

Project description
MLX Dev Server
Installation | Usage | Examples
A simple solution to run LLMs locally on Macs with Apple Silicon. Optimized for code completion tasks with DeepSeek, Qwen and other models.
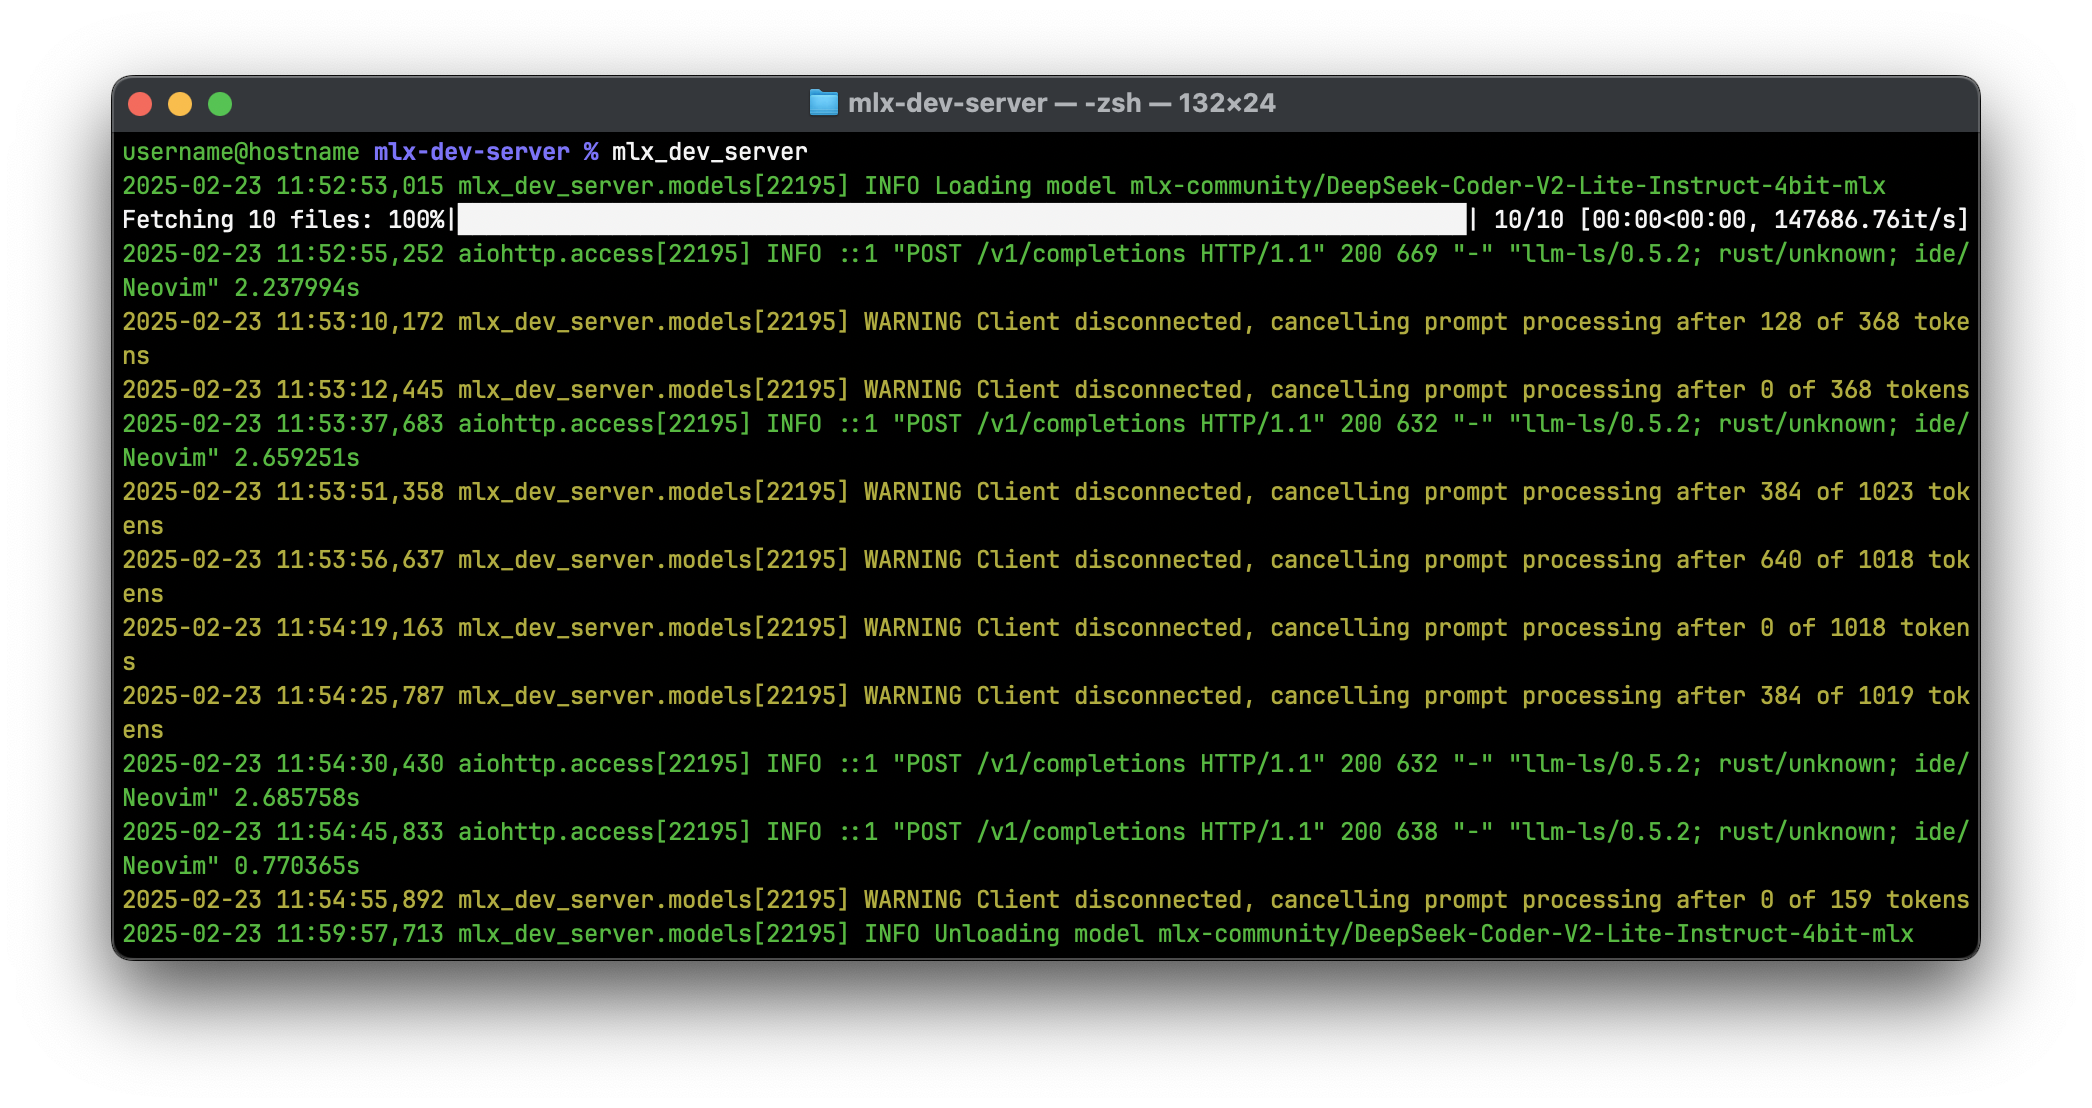
Features
- 🚀 Fast: uses Apple MLX to run models on GPU using unified memory
- 💪 Efficient: cancels generation when client disconnects (see Motivation on why it is important for code completion)
- 🧩 Compatible: provides OpenAI-like API to easily integrate with existing applications (see Examples)
- 💾 Memory Efficient: unloads models when they are not used
- 🔗 Reliable: test coverage is 97%
Motivation
While Ollama is effective for many tasks, it can be less responsive for code completion due to its handling of prompt processing.
Code completion requires quick processing of large inputs (1k+ tokens) and short output generation (<100 tokens typically). And most completions are cancelled because developers often pause for a moment and continue typing, discarding the completion. Ollama processes the entire prompt before cancellation, leading to potential delays.
MLX Dev Server addresses this by cancelling both prompt processing and generation when the client disconnects, ensuring consistent and responsive code completion.
Installation
pip install mlx-dev-server
Usage
Simply run mlx_dev_server.
Available command line arguments:
-p, --port: Port to listen on (default is8080)-k, --keep-alive: Time in seconds to keep models loaded in memory (default is300)-m, --max-loaded-models: Maximum number of models to keep loaded (default is2)--host: Host to listen on (default islocalhost)--max-tokens: Maximum tokens to generate if not specified (default is4096)--max-kv-size: Maximum size of the key-value cache (default is4096)--kv-bits: Bits for key-value cache quantization (default is8)--prefill-step-size: Step size for prompt processing (default is128)
Examples
VSCode
Install llm-vscode extension. Then add the following to settings.json:
{
    "llm.backend": "openai",
    "llm.url": "http://localhost:8080",
    "llm.modelId": "mlx-community/DeepSeek-Coder-V2-Lite-Instruct-4bit-mlx",
    "llm.configTemplate": "Custom",
    "llm.requestBody": {
        "parameters": {
            "temperature": 0.2,
            "top_p": 0.95,
            "max_tokens": 60
        }
    },
    "llm.fillInTheMiddle.prefix": "<|fim▁begin|>",
    "llm.fillInTheMiddle.middle": "<|fim▁end|>",
    "llm.fillInTheMiddle.suffix": "<|fim▁hole|>",
    "llm.tokenizer": {
        "repository": "mlx-community/DeepSeek-Coder-V2-Lite-Instruct-4bit-mlx"
    },
    "llm.contextWindow": 1024
}
[!NOTE] This configuration limits the number of generated tokens to 60. This is to speed up the response of the model if it decides to generate a multi-line code snippet.
Neovim
Add the following spec to lazy.nvim configuration to enable llm.nvim plugin:
{
  'huggingface/llm.nvim',
  opts = {
    backend = 'openai',
    url = 'http://localhost:8080',
    model = 'mlx-community/DeepSeek-Coder-V2-Lite-Instruct-4bit-mlx',
    request_body = {
      temperature = 0.2,
      top_p = 0.95,
      max_tokens = 60
    },
    fim = {
      prefix = '<|fim▁begin|>',
      middle = '<|fim▁end|>',
      suffix = '<|fim▁hole|>'
    },
    tokenizer = {
      repository = 'mlx-community/DeepSeek-Coder-V2-Lite-Instruct-4bit-mlx'
    },
    context_window = 1024
  }
}
OpenAI Python API library
from openai import OpenAI

client = OpenAI(
    base_url='http://localhost:8080/v1',
    api_key='mlx-dev-server',  # not needed but required
)

response = client.chat.completions.create(
    model='mlx-community/Mistral-Nemo-Instruct-2407-8bit',
    messages=[{
        'role': 'user',
        'content': 'say hello',
    }],
)
print(response.choices[0].message.content)
Release history Release notifications | RSS feed


Download files
Download the file for your platform. If you're not sure which to choose, learn more about installing packages.
Source Distribution
Built Distribution
Filter files by name, interpreter, ABI, and platform.
If you're not sure about the file name format, learn more about wheel file names.
Copy a direct link to the current filters
File details
Details for the file mlx_dev_server-0.1.1.tar.gz.
File metadata
- Download URL: mlx_dev_server-0.1.1.tar.gz
- Upload date:
- Size: 64.1 kB
- Tags: Source
- Uploaded using Trusted Publishing? No
- Uploaded via: uv/0.6.2
File hashes
| Algorithm | Hash digest | |
|---|---|---|
| SHA256 |
46623c23b34989a27e4c0e4cdfef1c8f13a451aeeea017df2f9baf337309ab07
|
|
| MD5 |
c34c1235cacbb6854bb8638b6783fa90
|
|
| BLAKE2b-256 |
a0013aa14e352e51a60309bb69019206fad60df53dae7e8b0725552b552c6e68
|
File details
Details for the file mlx_dev_server-0.1.1-py3-none-any.whl.
File metadata
- Download URL: mlx_dev_server-0.1.1-py3-none-any.whl
- Upload date:
- Size: 15.7 kB
- Tags: Python 3
- Uploaded using Trusted Publishing? No
- Uploaded via: uv/0.6.2
File hashes
| Algorithm | Hash digest | |
|---|---|---|
| SHA256 |
0174579afa550ad4f38b4ab04ce72ce14de4d246b7e2aaaf8c02aa9fce55c4ff
|
|
| MD5 |
8307bd433384baf156deaad3ee166286
|
|
| BLAKE2b-256 |
9316c863c91276454127160df40b9990efc9ff057ff728fdc9c554378d93a9d1
|






