




mosartwmpy
mosartwmpy is a python translation of MOSART-WM, a model for water routing and reservoir management written in Fortran. The original code can be found at IWMM and E3SM, in which MOSART is the river routing component of a larger suite of earth-science models. The motivation for rewriting is largely for developer convenience -- running, debugging, and adding new capabilities were becoming increasingly difficult due to the complexity of the codebase and lack of familiarity with Fortran. This version aims to be intuitive, lightweight, and well documented, while still being highly interoperable.
For a quick start, check out the Jupyter notebook tutorial!
getting started
Ensure you have Python >= 3.8 available (consider using a virtual environment, see the docs here for a brief tutorial), then install mosartwmpy with:
pip install mosartwmpy
Alternatively, install via conda with:
conda install -c conda-forge mosartwmpy
Download a sample input dataset spanning May 1981 by running the following and selecting option 1 for "tutorial". This will download and unpack the inputs to your current directory. Optionally specify a path to download and extract to instead of the current directory.
python -m mosartwmpy.download
Settings are defined by the merger of the mosartwmpy/config_defaults.yaml and a user specified file which can override any of the default settings. Create a config.yaml file that defines your simulation (if you chose an alternate download directory in the step above, you will need to update the paths to point at your data):
config.yamlsimulation: name: tutorial start_date: 1981-05-24 end_date: 1981-05-26 grid: path: ./input/domains/mosart_conus_nldas_grid.nc runoff: read_from_file: true path: ./input/runoff/runoff_1981_05.nc water_management: enabled: true demand: read_from_file: true path: ./input/demand/demand_1981_05.nc reservoirs: enable_istarf: true parameters: path: ./input/reservoirs/reservoirs.nc dependencies: path: ./input/reservoirs/dependency_database.parquet streamflow: path: ./input/reservoirs/mean_monthly_reservoir_flow.parquet demand: path: ./input/reservoirs/mean_monthly_reservoir_demand.parquet
mosartwmpy implements the Basic Model Interface defined by the CSDMS, so driving it should be familiar to those accustomed to the BMI. To launch the simulation, open a python shell and run the following:
from mosartwmpy import Model

# path to the configuration yaml file
config_file = 'config.yaml'

# initialize the model
mosart_wm = Model()
mosart_wm.initialize(config_file)

# advance the model one timestep
mosart_wm.update()

# advance until the `simulation.end_date` specified in config.yaml
mosart_wm.update_until(mosart_wm.get_end_time())
model input
Input for mosartwmpy consists of many files defining the characteristics of the discrete grid, the river network, surface and subsurface runoff, water demand, and dams/reservoirs.
Currently, the gridded data is expected to be provided at the same spatial resolution.
Runoff input can be provided at any time resolution; each timestep will select the runoff at the closest time in the past.
Currently, demand input is read monthly but will also pad to the closest time in the past.
Efforts are under way for more robust demand handling.
Dams/reservoirs require four different input files: the physical characteristics, the average monthly flow expected during the simulation period, the average monthly demand expected during the simulation period, and a database mapping each GRanD ID to grid cell IDs allowed to extract water from it.
These dam/reservoir input files can be generated from raw GRanD data, raw elevation data, and raw ISTARF data using the provided utility.
The best way to understand the expected format of the input files is to examine the sample inputs provided by the download utility: python -m mosartwmpy.download.
multi-file input
To use multi-file demand or runoff input, use year/month/day placeholders in the file path options like so:
- If your files look like
runoff-1999.nc, userunoff-{Y}.ncas the path - If your files look like
runoff-1999-02.nc, userunoff-{Y}-{M}.ncas the path - If your files look like
runoff-1999-02-03, userunoff-{Y}-{M}-{D}.ncas the path, but be sure to provide files for leap days as well!
model output
By default, key model variables are output on a monthly basis at a daily averaged resolution to ./output/<simulation name>/<simulation name>_<year>_<month>.nc. See the configuration file for examples of how to modify the outputs, and the ./mosartwmpy/state/state.py file for state variable names.
Alternatively, certain model outputs deemed most important can be accessed using the BMI interface methods. For example:
from mosartwmpy import Model

mosart_wm = Model()
mosart_wm.initialize()

# get a list of model output variables
mosart_wm.get_output_var_names()

# get the flattened numpy.ndarray of values for an output variable
supply = mosart_wm.get_value_ptr('supply_water_amount')
subdomains
To simulate only a subset of basins (defined here as a collection of grid cells that share the same outlet cell),
use the configuration option grid -> subdomain (see example below) and provide a list of latitude/longitude
coordinate pairs representing each basin of interest (any single coordinate pair within the basin). For example, to
simulate only the Columbia River basin and the Lake Washington regions, one could enter the coordinates for Portland and
Seattle:
config.yamlgrid: subdomain: - 47.6062,-122.3321 - 45.5152,-122.6784 unmask_output: true
By default, the output files will still store empty NaN-like values for grid cells outside the subdomain, but
for even faster simulations and smaller output files set the grid -> unmask_output option to false. Disabling
this option causes the output files to only store values for grid cells within the subdomain. These smaller files
will likely take extra processing to effectively interoperate with other models.
visualization
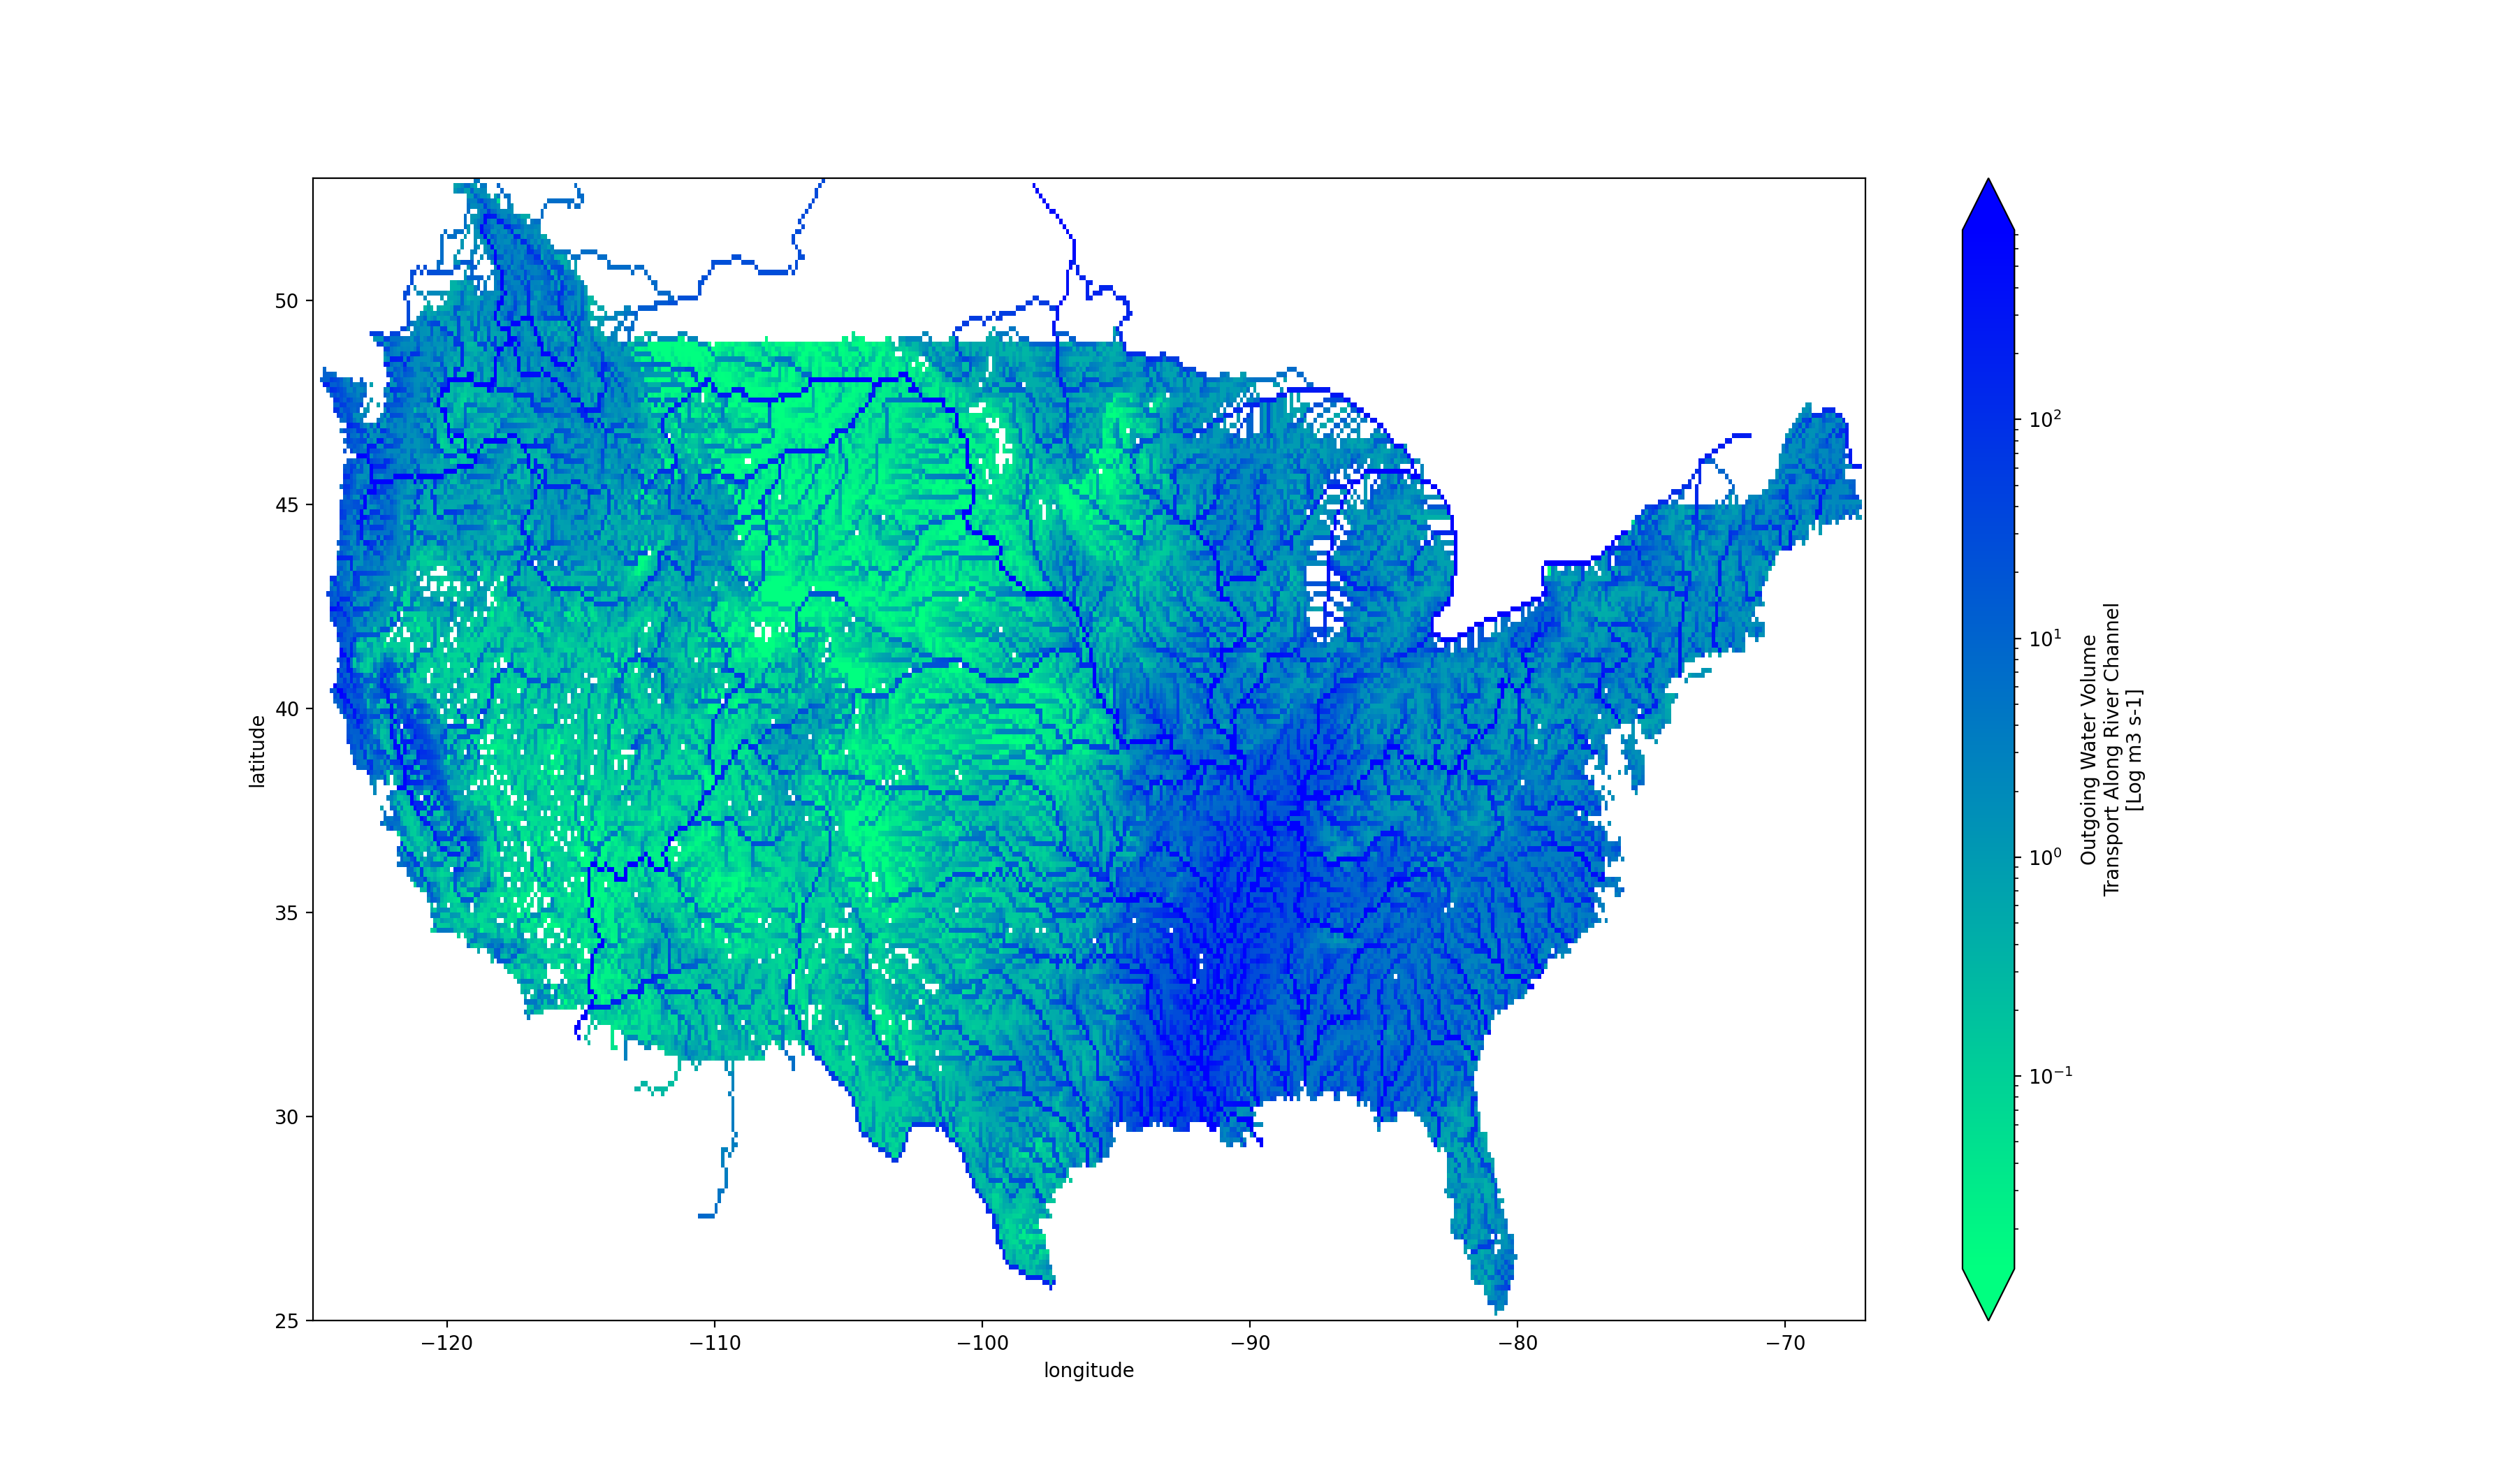
Model instances can plot the current value of certain input and output variables (those available from Model.get_output_var_name and Model.get_input_var_names):
from mosartwmpy import Model
config_file = 'config.yaml'
mosart_wm = Model()
mosart_wm.initialize(config_file)
for _ in range(8):
    mosart_wm.update()

mosart_wm.plot_variable('outgoing_water_volume_transport_along_river_channel', log_scale=True)
Using provided utility functions, the output of a simulation can be plotted as well.
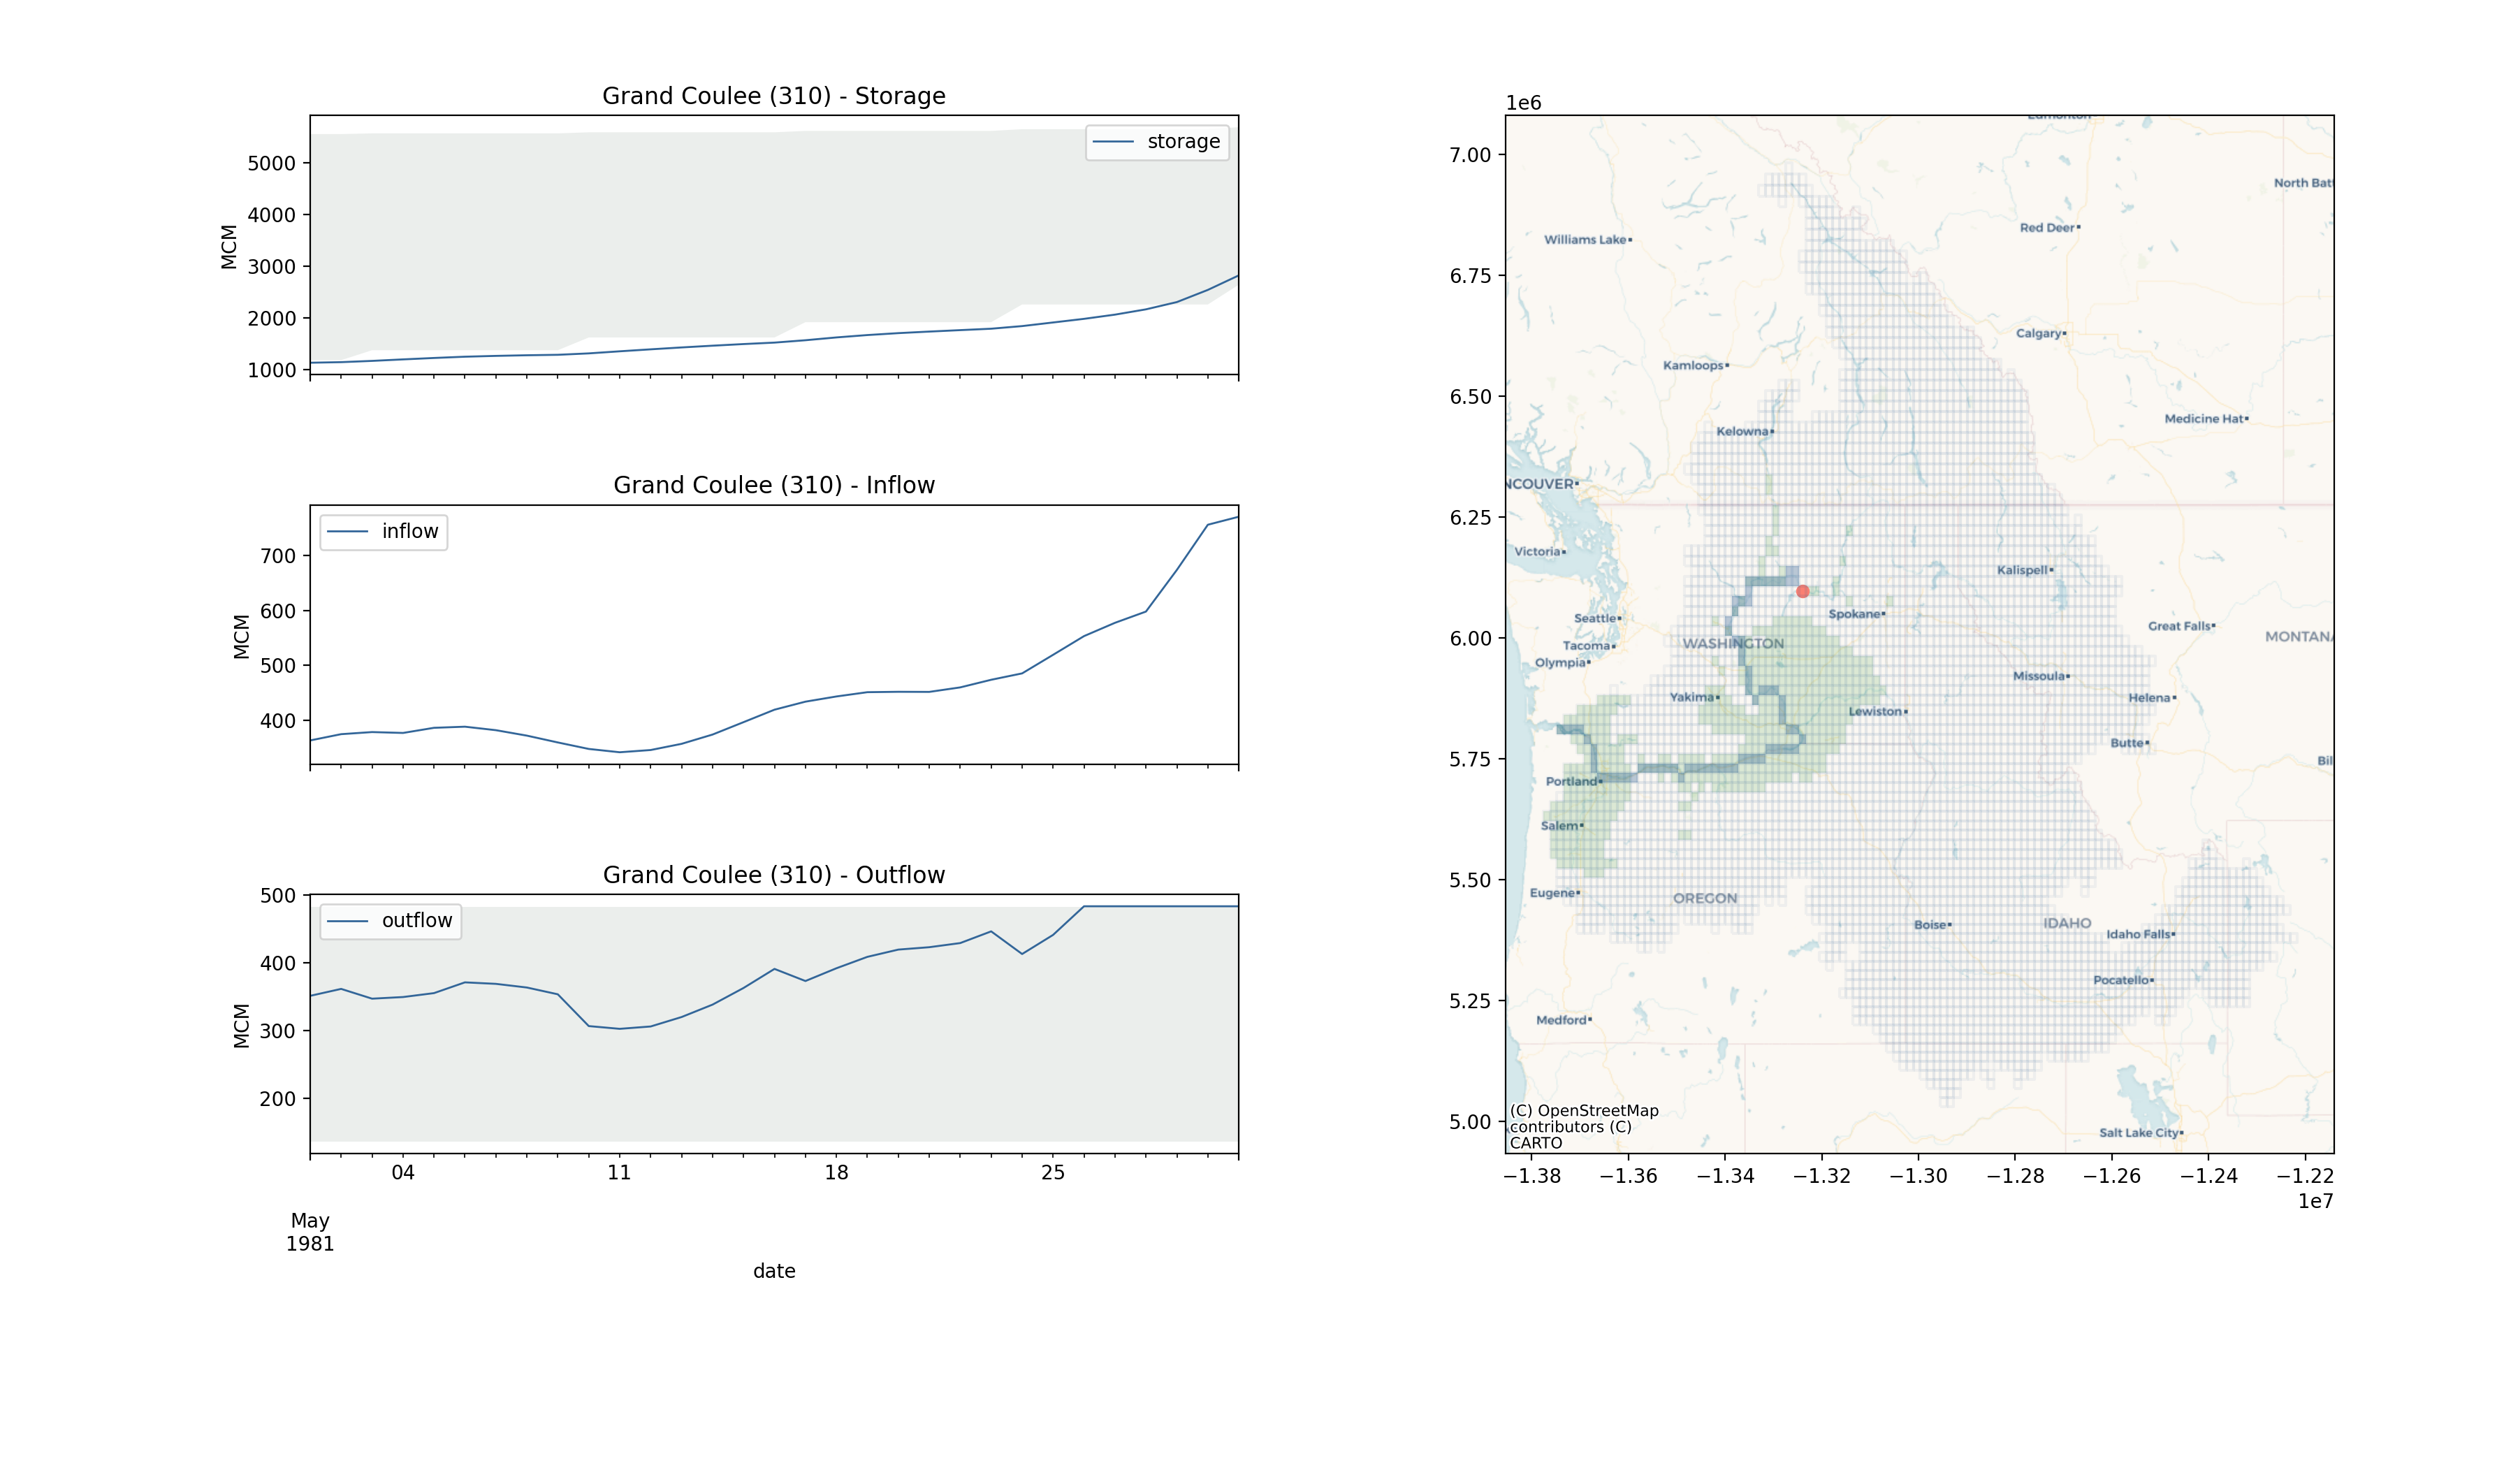
Plot the storage, inflow, and outflow of a particular GRanD dam:
from mosartwmpy import Model
from mosartwmpy.plotting.plot import plot_reservoir
config_file = 'config.yaml'
mosart_wm = Model()
mosart_wm.initialize(config_file)
mosart_wm.update_until()

plot_reservoir(
    model=mosart_wm,
    grand_id=310,
    start='1981-05-01',
    end='1981-05-31',
)
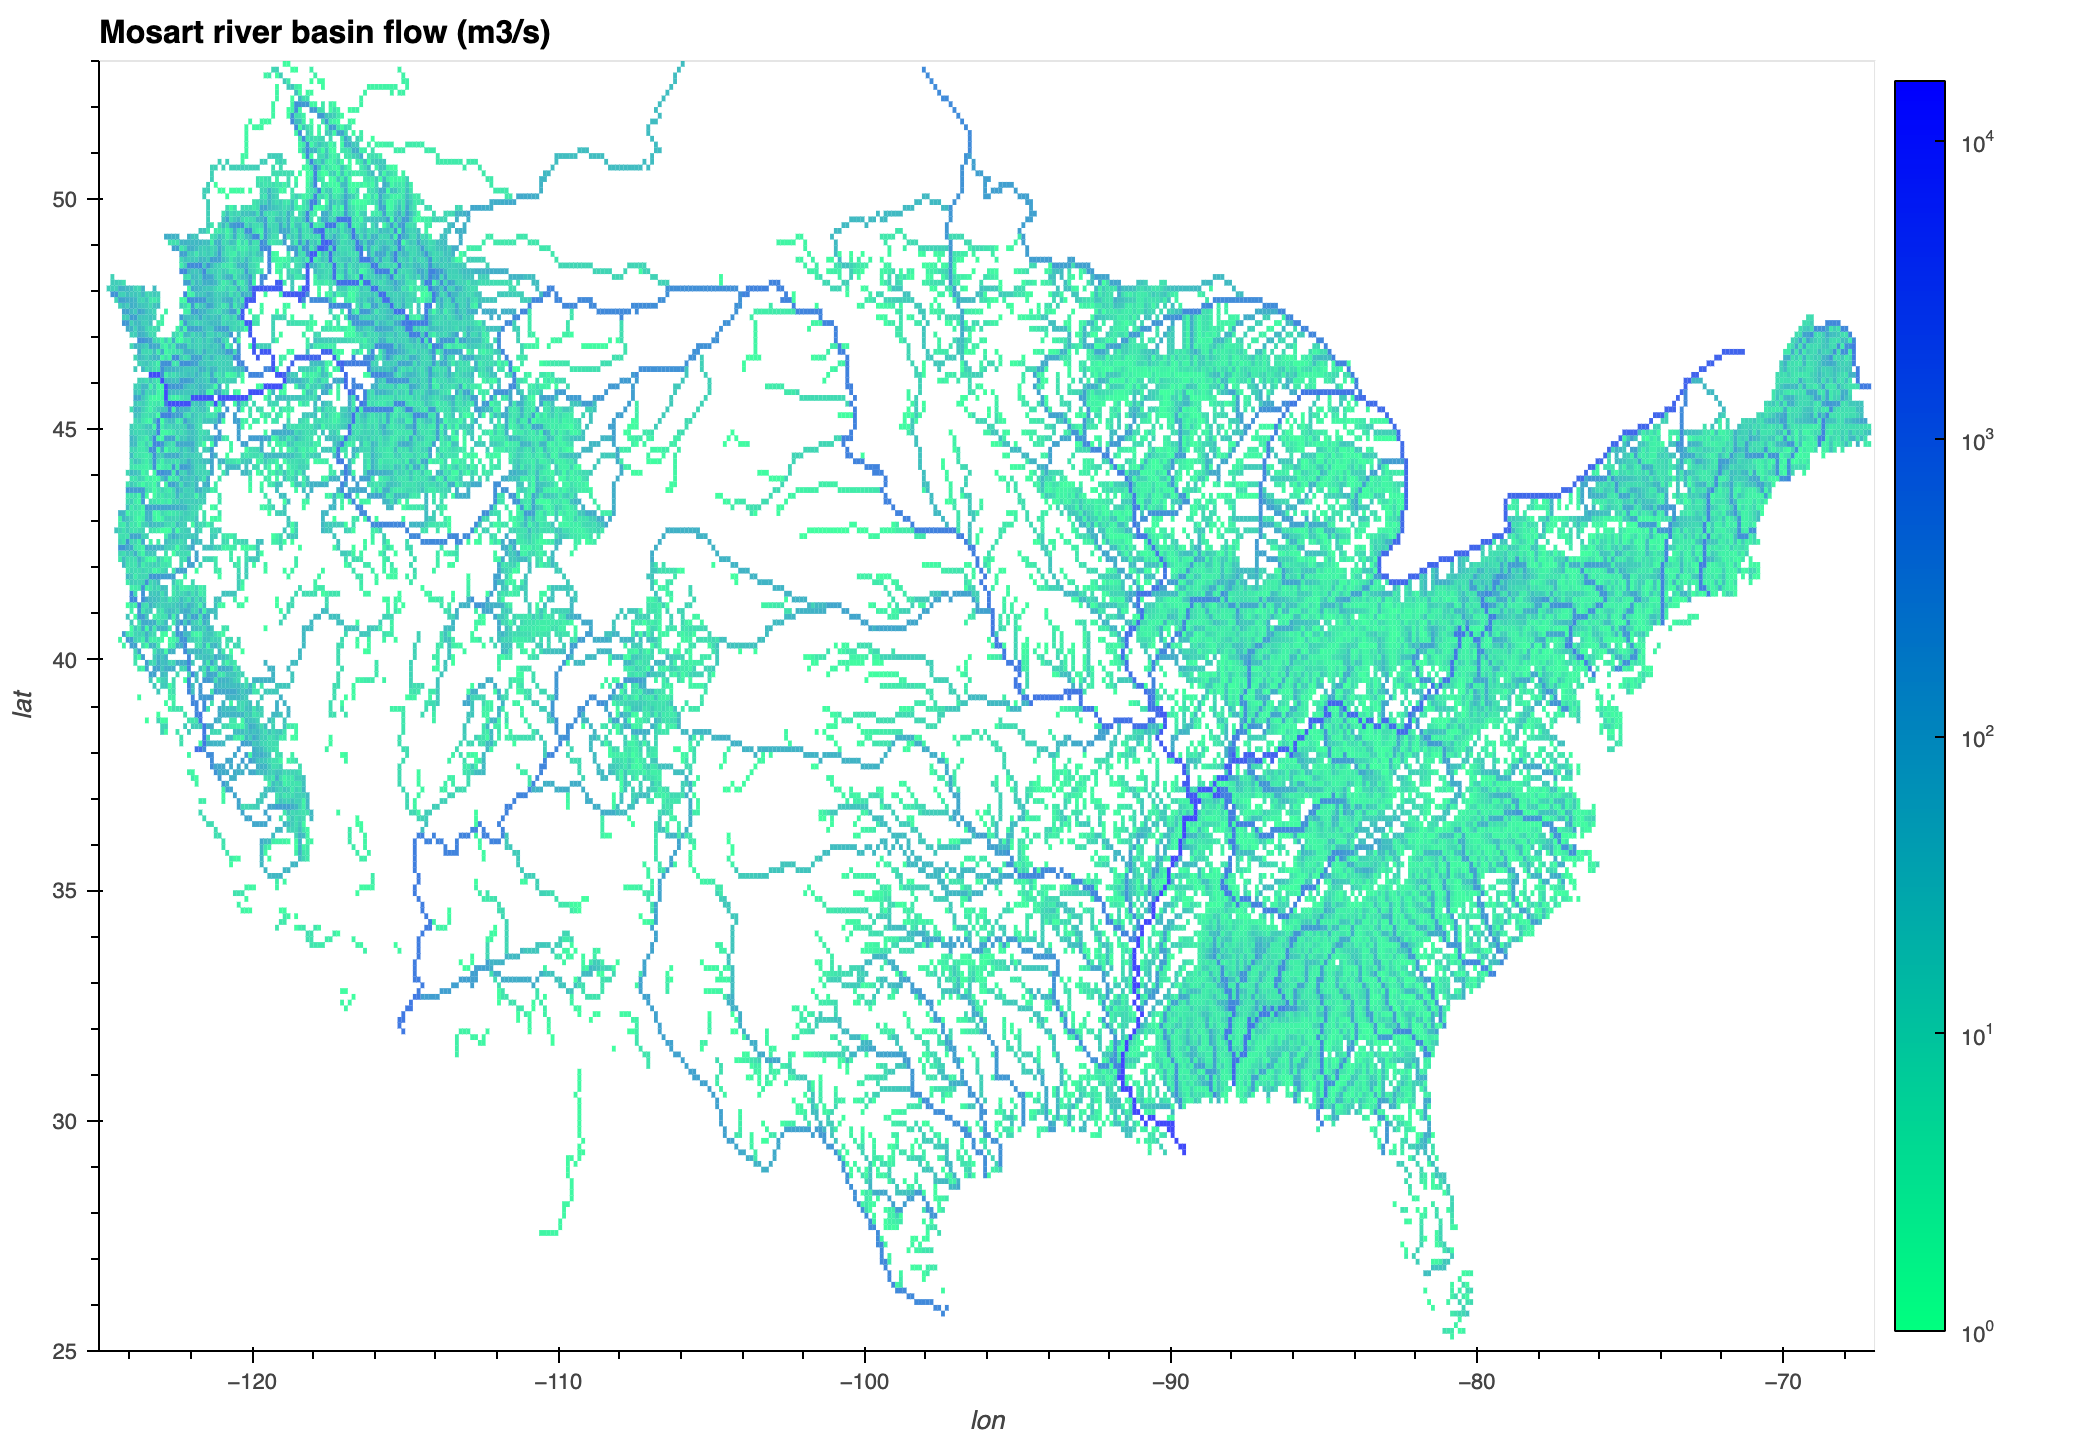
Plot a particular output variable (as defined in config.yaml) over time:
from mosartwmpy import Model
from mosartwmpy.plotting.plot import plot_variable
config_file = 'config.yaml'
mosart_wm = Model()
mosart_wm.initialize(config_file)
mosart_wm.update_until()

plot_variable(
    model=mosart_wm,
    variable='RIVER_DISCHARGE_OVER_LAND_LIQ',
    start='1981-05-01',
    end='1981-05-31',
    log_scale=True,
    cmap='winter_r',
)
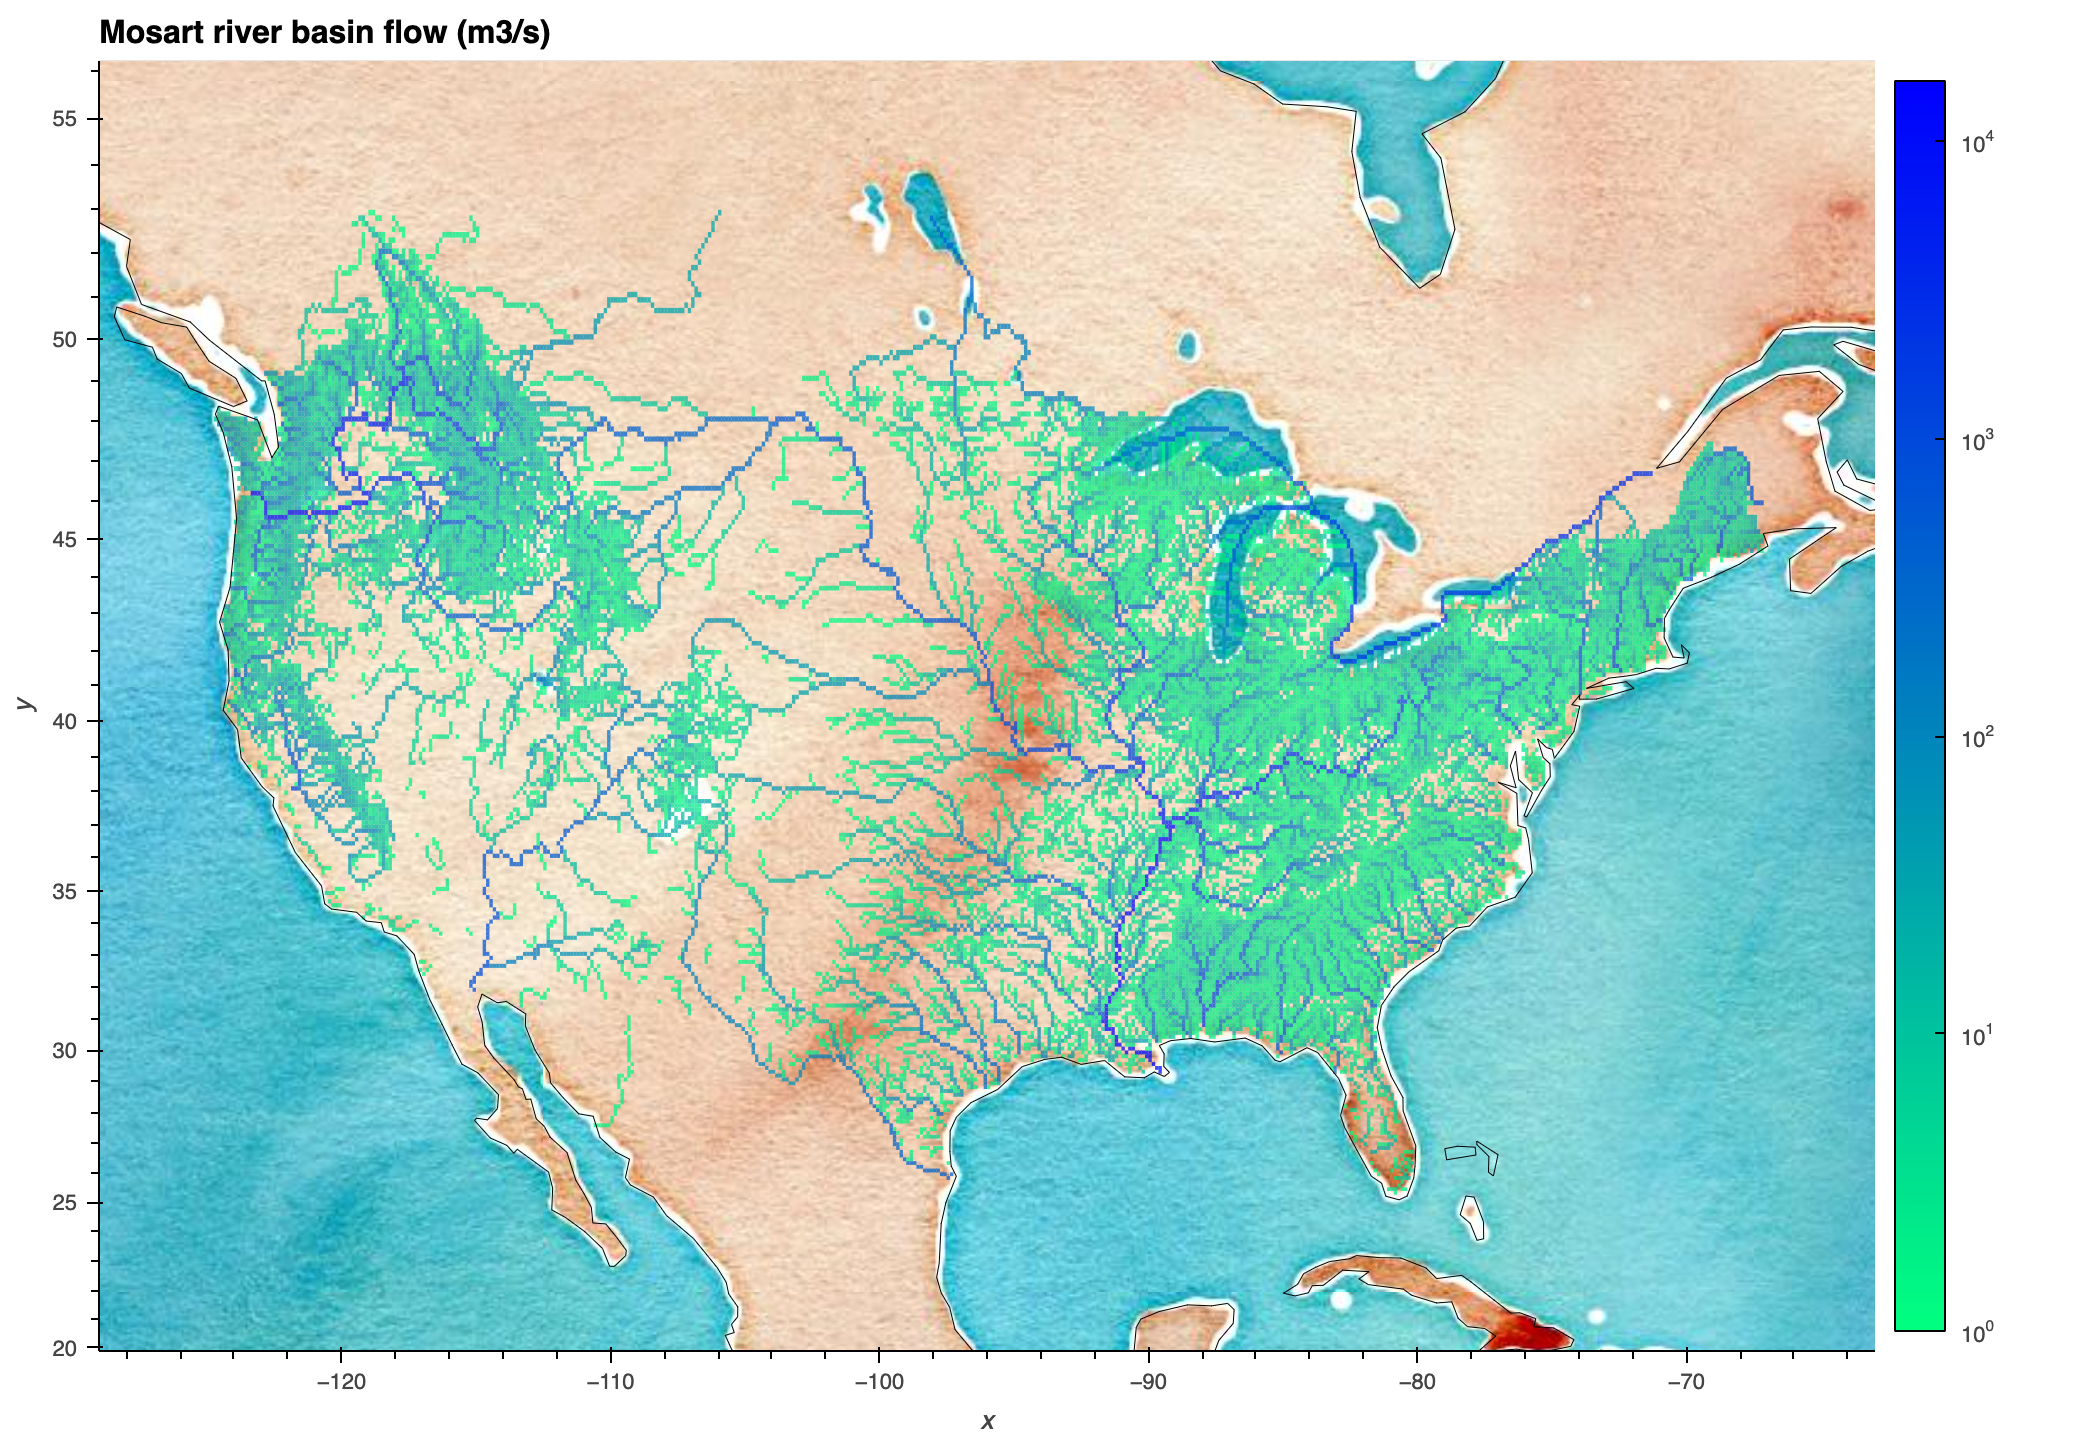
If cartopy, scipy, and geoviews are installed, tiles can be displayed along with the plot:
plot_variable(
    model=mosart_wm,
    variable='RIVER_DISCHARGE_OVER_LAND_LIQ',
    start='1981-05-01',
    end='1981-05-31',
    log_scale=True,
    cmap='winter_r',
    tiles='StamenWatercolor'
)
model coupling
A common use case for mosartwmpy is to run coupled with output from the Community Land Model (CLM). To see an example of how to drive mosartwmpy with runoff from a coupled model, check out the Jupyter notebook tutorial!
testing and validation
Before running the tests or validation, make sure to download the "sample_input" and "validation" datasets using the download utility python -m mosartwmpy.download.
To execute the tests, run ./test.sh or python -m unittest discover mosartwmpy/tests from the repository root.
To execute the validation, run a model simulation that includes the years 1981 - 1982, note your output directory, and then run python -m mosartwmpy.validate from the repository root. This will ask you for the simulation output directory, think for a moment, and then open a figure with several plots representing the NMAE (Normalized Mean Absolute Error) as a percentage and the spatial sums of several key variables compared between your simulation and the validation scenario. Use these plots to assist you in determining if the changes you have made to the code have caused unintended deviation from the validation scenario. The NMAE should be 0% across time if you have caused no deviations. A non-zero NMAE indicates numerical difference between your simulation and the validation scenario. This might be caused by changes you have made to the code, or alternatively by running a simulation with different configuration or parameters (i.e. larger timestep, fewer iterations, etc). The plots of the spatial sums can assist you in determining what changed and the overall magnitude of the changes.
If you wish to merge code changes that intentionally cause significant deviation from the validation scenario, please work with the maintainers to create a new validation dataset.
1 maintainer

Metadata
1 maintainer
Release files for mosartwmpy 0.6.2
For a detailed explanation of source distributions (sdists) and built distributions (wheels), please see the package formats documentation.
Source distribution (sdist)
| File | Size | Uploaded | |
|---|---|---|---|
| mosartwmpy-0.6.2.tar.gz | 29.5 MB | Details |
Built distribution (wheel)
| File | Interpreter | ABI | Platform | Reset |
|---|---|---|---|---|
| mosartwmpy-0.6.2-py3-none-any.whl | Python 3 | none | any | Details |
Total release size: 59.0 MB
Release files / mosartwmpy-0.6.2.tar.gz
| Download URL | mosartwmpy-0.6.2.tar.gz |
|---|---|
| Size | 29.5 MB |
| Tags | Source |
|
SHA-256 checksum How to use checksums |
4a97f3aca16e89a8e0993eaf08661732f8b426e40e5028414f2909d09508866a
|
|
BLAKE2b-256 checksum How to use checksums |
15d486f17a8e1dc6d88362e848b7fd81c6182db3c4f5b994e4e0e1157353ab04
|
| Upload date | |
|
Uploaded using Trusted Publishing? What is trusted publishing? |
No |
| Uploaded via |
twine/4.0.2 CPython/3.9.5
|
Release files / mosartwmpy-0.6.2-py3-none-any.whl
| Download URL | mosartwmpy-0.6.2-py3-none-any.whl |
|---|---|
| Size | 29.5 MB |
| Tags | Python 3 |
|
SHA-256 checksum How to use checksums |
be647dd00395cb42352c7ba87b2759ec776ca8a87351569f79db9f4be71f1a11
|
|
BLAKE2b-256 checksum How to use checksums |
b236aec6aa0ceba15e7b7127b667a7b00f85cd63578a866be08189ecde635929
|
| Upload date | |
|
Uploaded using Trusted Publishing? What is trusted publishing? |
No |
| Uploaded via |
twine/4.0.2 CPython/3.9.5
|














