MoziChem-AI brings powerful analysis tools to your browser with AI-driven workflows.

Project description
MoziChem-AI
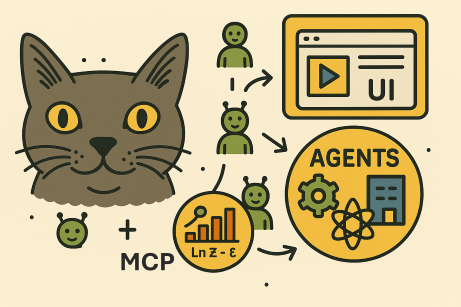


MoziChem-AI is a modern Python-powered UI for interacting with LLM agents via LangGraph. It lets you easily configure LLM model parameters, connect to multiple Model Context Protocol (MCP) tools, and track agent reasoning in real time.
Dynamic MCP Tool Management — MoziChem-AI lets you attach or detach any number of MCP tools at runtime. Once changes are made, you can restart the LangGraph agent with the updated toolset, enabling instant reconfiguration without modifying the underlying code.
🏗️ Architecture
Backend: FastAPI
- Manages the LLM agent
- Integrates MCP tools
- Streams responses and agent steps
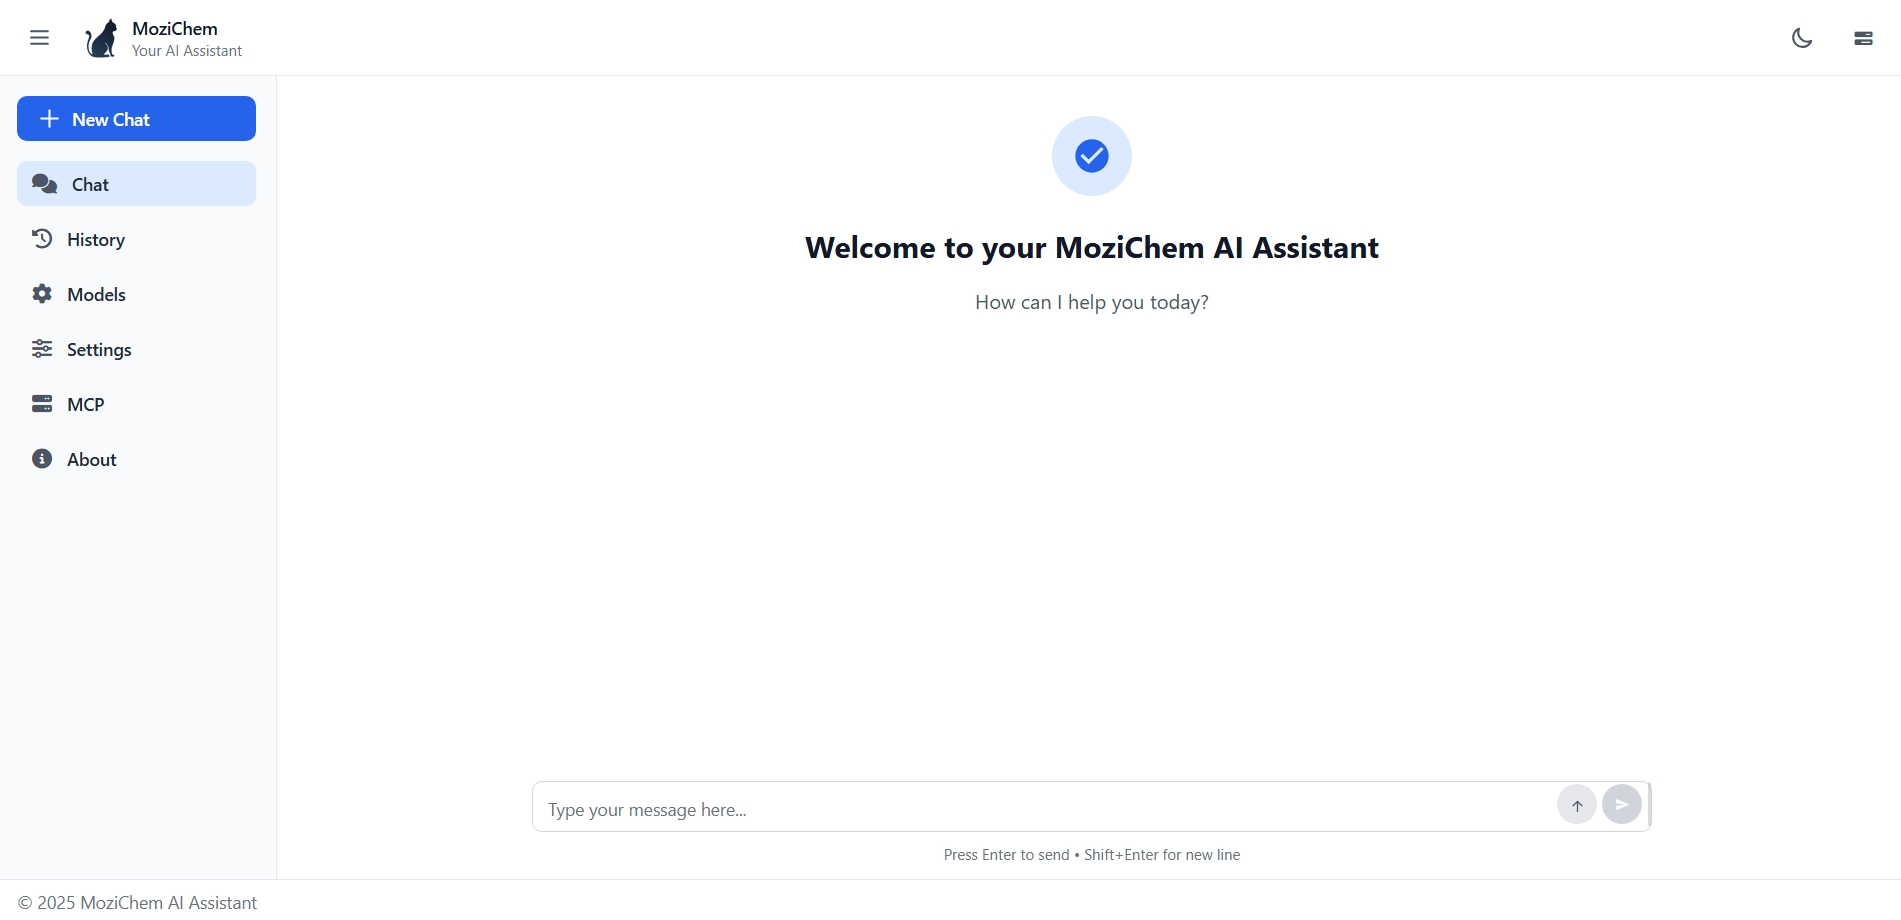
Frontend: Angular
- Fast, reactive UI
- Configure, interact, and track the agent
⚡ Key Features
Interactive LLM Configuration
- Choose model provider (OpenAI, Anthropic, Gemini, etc.)
- Select model name
- Adjust temperature, max tokens, and more
LangGraph Agent Integration
- Core agent defined with LangGraph
- Supports multi-MCP connections (attach multiple external tool APIs)
- Automatic reasoning and tool chaining
Multi-MCP Tool Support
- Works with MoziChem-Hub or any MCP-compatible server
- Tools range from chemistry models to general automation
- Call MCPs independently or in combination during conversations
Response Tracking & Streaming
- View agent steps in real time
- Monitor MCP tool calls, inputs, and outputs
- Ideal for debugging, transparency, and validation
📦 Dependencies
The main dependencies required for MoziChem-AI are:
fastapi[standard]>=0.115.14
langchain>=0.3.27
langchain-anthropic>=0.3.18
langchain-google-genai>=2.1.8
langchain-openai>=0.3.27
langchain-mcp-adapters>=0.1.8
langgraph>=0.6.3
pydantic>=2.11.7
pydantic-settings>=2.10.1
python-dotenv>=1.1.1
rich>=14.0.0
websockets>=15.0.1
These packages are automatically installed when you run:
pip install mozichem-ai
🚀 Get Started
- Install the local agent:
pip install mozichem-ai
🖥️ Launch the App
To start the MoziChem-AI agent with browser UI and MCP tool support, use the provided launch.py script:
1.Set up your environment variables
- Create a
.envfile in the project root and add your API keys (e.g.,OPENAI_API_KEY,LANGCHAIN_API_KEY,TAVILY_API_KEY).
2.Run the launch script
- From the
examplesdirectory, execute:
uv run launch.py
This will:
- Load your environment variables
- Configure the agent and MCP sources
- Start the FastAPI backend
- Automatically open the browser UI for interaction
You can customize the agent prompt, model provider, and MCP sources by editing examples/launch.py.
⚙️ launch.py Method Details
The launch.py script uses the mozichem_chat method to start the agent and UI. Here are the main arguments and how to set them:
Arguments for mozichem_chat
model_provider (str)
LLM provider to use (e.g., OpenAI, Anthropic, Gemini). Example:
"openai"
model_name (str)
Model name to use for the agent. Example:
"gpt-4o-mini"
agent_name (str)
Name for the agent instance. Example:
"MoziChemAgent"
agent_prompt (str)
System prompt for agent behavior. Example: see
launch.pyfor a template.
mcp_source (dict)
MCP tool sources (API endpoints or remote configs). Example: see
launch.pyfor details.
memory_mode (bool)
Enable/disable agent memory (conversation history). Example:
True
open_browser (bool)
Automatically open browser UI when app starts. Example:
True
How to Set Arguments
- Edit
examples/launch.py: Change values directly in the script before running. - Environment Variables: API keys and some config (e.g.,
OPENAI_API_KEY,LANGCHAIN_API_KEY) should be set in a.envfile. - MCP Source: You can configure MCP endpoints or remote tools by editing the
mcp_sourcedictionary inlaunch.py.
Example Usage
mozichem_chat(
  model_provider="openai",
  model_name="gpt-4o-mini",
  agent_name="MoziChemAgent",
  agent_prompt="You are a helpful assistant...",
  mcp_source=None,  # or your MCP config
  memory_mode=True,
  open_browser=True,
)
Refer to examples/launch.py for a full template and customize as needed for your use case.
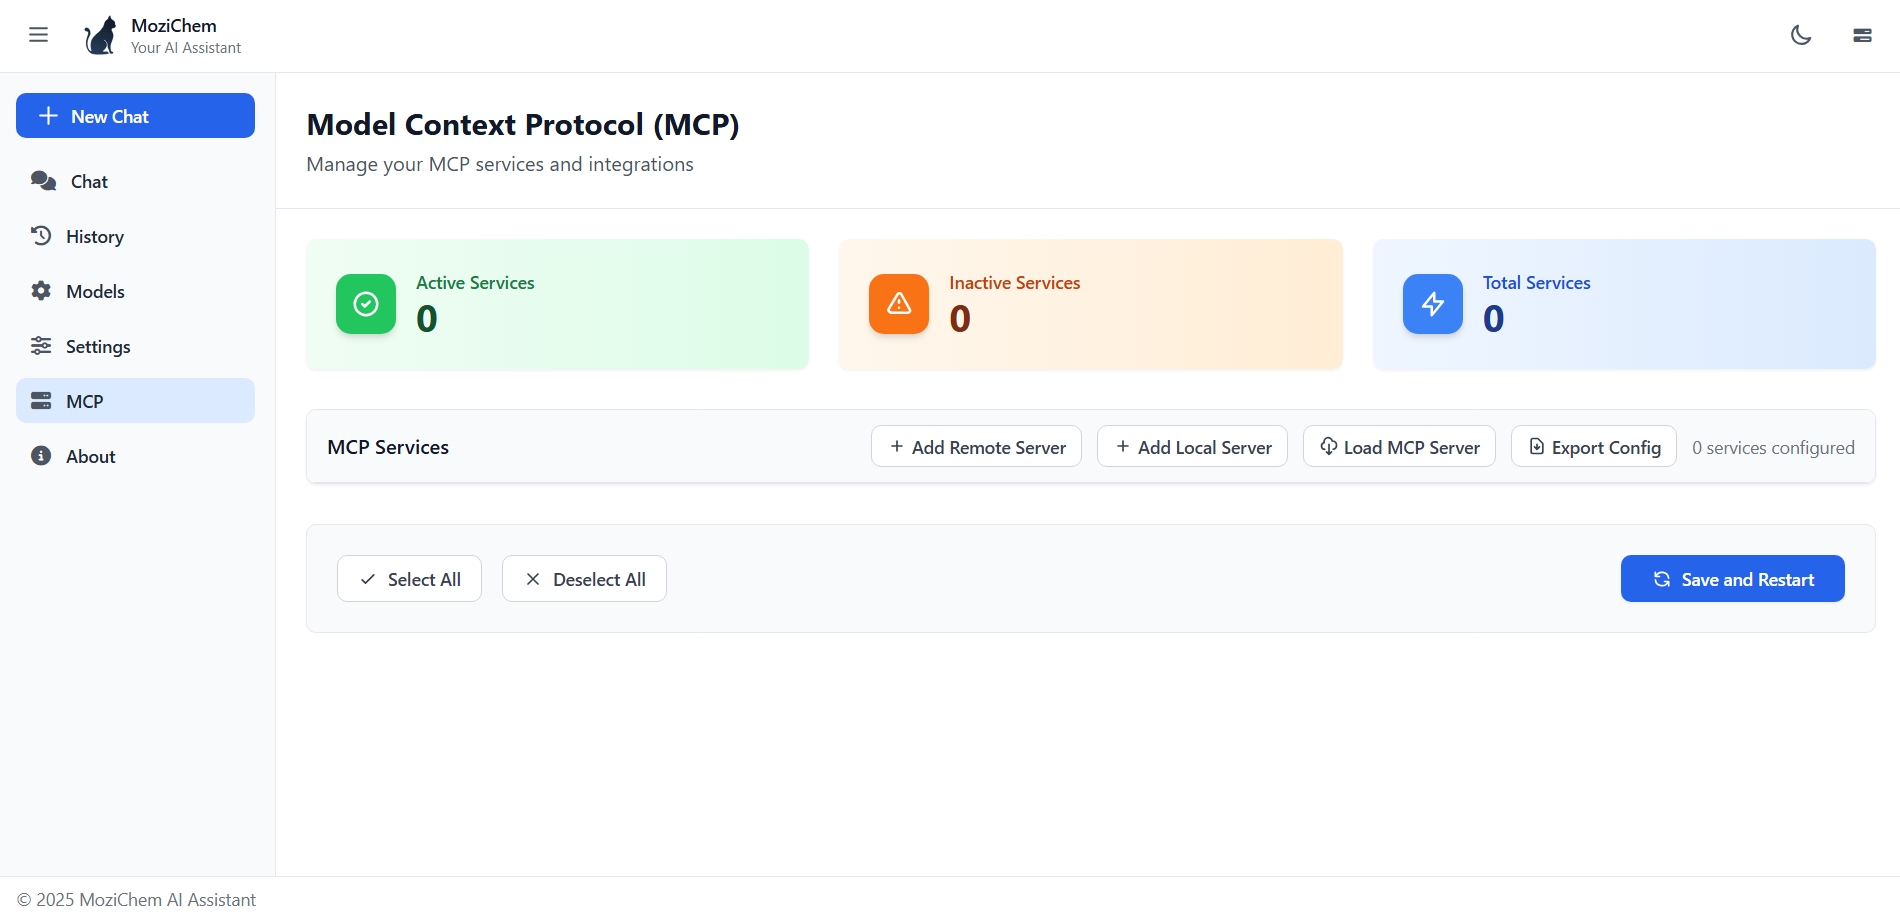
🔧 MCP Configuration Files
MoziChem-AI supports loading MCP (Model Context Protocol) tools from JSON configuration files. These files define both remote HTTP servers and local stdio-based servers that can be attached to your agent.
Configuration File Structure
MCP configuration files follow a standardized JSON structure with two main sections:
remoteServers: HTTP-based MCP servers accessible via URLstdioServers: Local command-line based MCP servers
Creating Remote Server Configurations
Remote servers are MCP tools accessible via HTTP endpoints. Here's the structure:
{
  "remoteServers": [
    {
      "name": "your-server-name",
      "transport": "streamable_http",
      "url": "http://localhost:8001/your-mcp-endpoint/",
      "description": "Description of your MCP server",
      "enabled": true,
      "env": {
        "API_KEY": "your-api-key",
        "CUSTOM_CONFIG": "value"
      }
    }
  ],
  "stdioServers": []
}
Field Descriptions:
name: Unique identifier for the servertransport: Set to"streamable_http"for remote serversurl: Full HTTP endpoint URL for the MCP serverdescription: Human-readable descriptionenabled: Boolean to enable/disable the serverenv: Optional environment variables (e.g., API keys)
Example Configuration Files
The examples/ directory contains several sample configurations:
1. mozichem-mcp-servers.json - Chemistry-focused remote servers:
{
  "remoteServers": [
    {
      "name": "eos-models-mcp",
      "transport": "streamable_http",
      "url": "http://127.0.0.1:8001/eos-models-mcp/mcp/",
      "description": "EOS models server for thermodynamic calculations",
      "enabled": true
    }
  ],
  "stdioServers": []
}
2. tavily-mcp-servers.json - External API integration:
{
  "remoteServers": [],
  "stdioServers": [
    {
      "name": "tavily-search-mcp",
      "transport": "stdio",
      "command": "npx",
      "args": ["-y", "mcp-remote", "https://mcp.tavily.com/mcp/?tavilyApiKey=<API_KEY>"],
      "enabled": true,
      "description": "Tavily search MCP server"
    }
  ]
}
You can load these JSON configuration files directly through the MoziChem-AI UI. Simply go to the MCP menu and select your desired configuration file to attach MCP tools at runtime.
Using Your Configuration File
To directly use your custom MCP configuration:
# mcp source 1
mcp_source = {
    "eos-models-mcp": {
        "transport": "streamable_http",
        "url": "http://127.0.0.1:8001/eos-models-mcp/mcp/",
        "env": {}
    },
    "flash-calculations-mcp": {
        "transport": "streamable_http",
        "url": "http://127.0.0.1:8001/flash-calculations-mcp/mcp/",
        "env": {}
    },
    "thermodynamic-properties-mcp": {
        "transport": "streamable_http",
        "url": "http://127.0.0.1:8001/thermodynamic-properties-mcp/mcp/",
        "env": {}
    }
}

# mcp source 2
mcp_source = {
    "tavily-remote": {
        "command": "npx",
        "args": [
            "-y",
            "mcp-remote",
            f"https://mcp.tavily.com/mcp/?tavilyApiKey={os.getenv('TAVILY_API_KEY')}"
        ],
        "transport": "stdio",
        "env": {}
    }
}

# no mcp
mcp_source = None

# init
mozichem_chat(
    model_provider="openai",
    model_name="gpt-4o-mini",
    agent_name="MoziChemAgent",
    mcp_source=mcp_source,  # Use your configuration
    # ... other parameters
)
🤝 Contributing
Contributions are welcome! Please feel free to submit a Pull Request to improve the project.
📝 License
This project is licensed under the MIT License. You are free to use, modify, and distribute this software in your own applications or projects. However, if you choose to use this app in another app or software, please ensure that my name, Sina Gilassi, remains credited as the original author. This includes retaining any references to the original repository or documentation where applicable. By doing so, you help acknowledge the effort and time invested in creating this project.
❓ FAQ
For any questions, contact me on LinkedIn.
👨💻 Authors
Release history Release notifications | RSS feed


Download files
Download the file for your platform. If you're not sure which to choose, learn more about installing packages.
Source Distribution
Built Distribution
Filter files by name, interpreter, ABI, and platform.
If you're not sure about the file name format, learn more about wheel file names.
Copy a direct link to the current filters
File details
Details for the file mozichem_ai-0.1.1.tar.gz.
File metadata
- Download URL: mozichem_ai-0.1.1.tar.gz
- Upload date:
- Size: 229.7 kB
- Tags: Source
- Uploaded using Trusted Publishing? No
- Uploaded via: uv/0.8.3
File hashes
| Algorithm | Hash digest | |
|---|---|---|
| SHA256 |
2654e5b3818710c710178d114b97d092e6cc203358b89b6eb6f97592fffa9b75
|
|
| MD5 |
883c7b9d225770c8030c18b71aca19ca
|
|
| BLAKE2b-256 |
0dc2c7e756f01e3af93f050621d084d2b0adeccf58ae7b74ea3a3e6058d3a80d
|
File details
Details for the file mozichem_ai-0.1.1-py3-none-any.whl.
File metadata
- Download URL: mozichem_ai-0.1.1-py3-none-any.whl
- Upload date:
- Size: 231.0 kB
- Tags: Python 3
- Uploaded using Trusted Publishing? No
- Uploaded via: uv/0.8.3
File hashes
| Algorithm | Hash digest | |
|---|---|---|
| SHA256 |
59795a51e2f24e29feb5f1740a4e47c25f7a8fa1419aeaba1df360a5685a2720
|
|
| MD5 |
234719f41accbeed7806c2f9f938cfe6
|
|
| BLAKE2b-256 |
c4054ab7067f1efa1a065cad5fccb5e4d17d4ce8501a4bab5ad4ce0b62586b31
|


