

Stock Barcodes





This module provides a barcode reader interface for stock module.
This module contains a base wizard read barcode that can be extended by other modules.
This module also makes use of this wizard for providing barcode support for doing inventories and picking operations.
This module provides configuring barcodes for barcode actions.
Table of contents
Usage
Barcode interface for inventory operations
Option 1: To use the barcode interface on inventory
Go to Inventory > operations > Inventory Adjustments.
Create new inventory with “Select products manually” option.
Start inventory.
Click to “Scan barcodes” smart button.
Start reading barcodes.
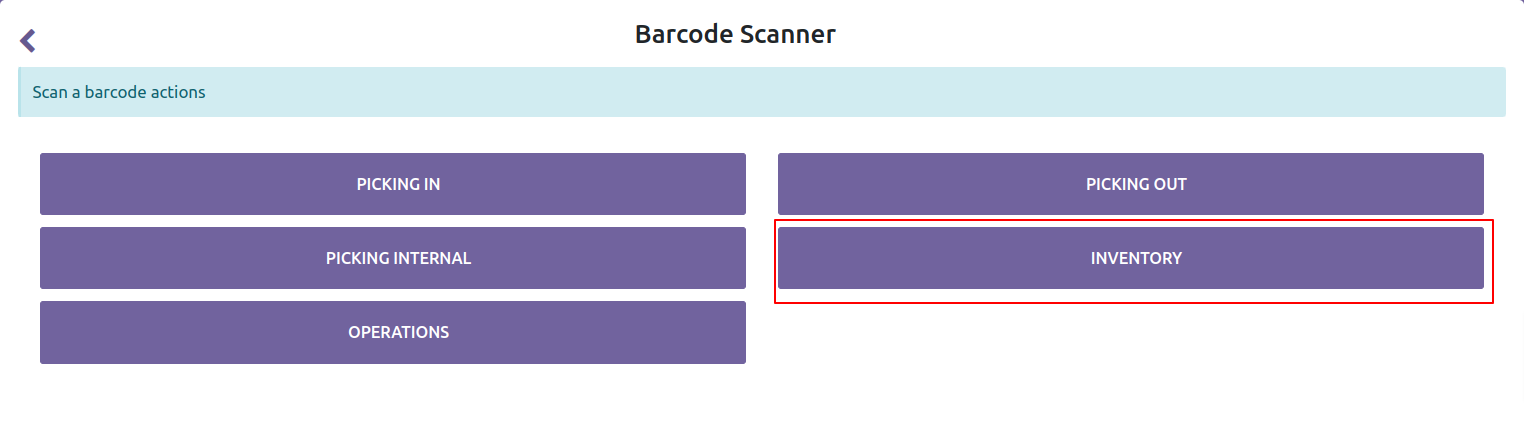
- Option 2: Use the barcode interface inventory directly from the Barcodes application
Go to Barcodes.
Select the Inventory option.
Start scanning barcodes.
- Actions
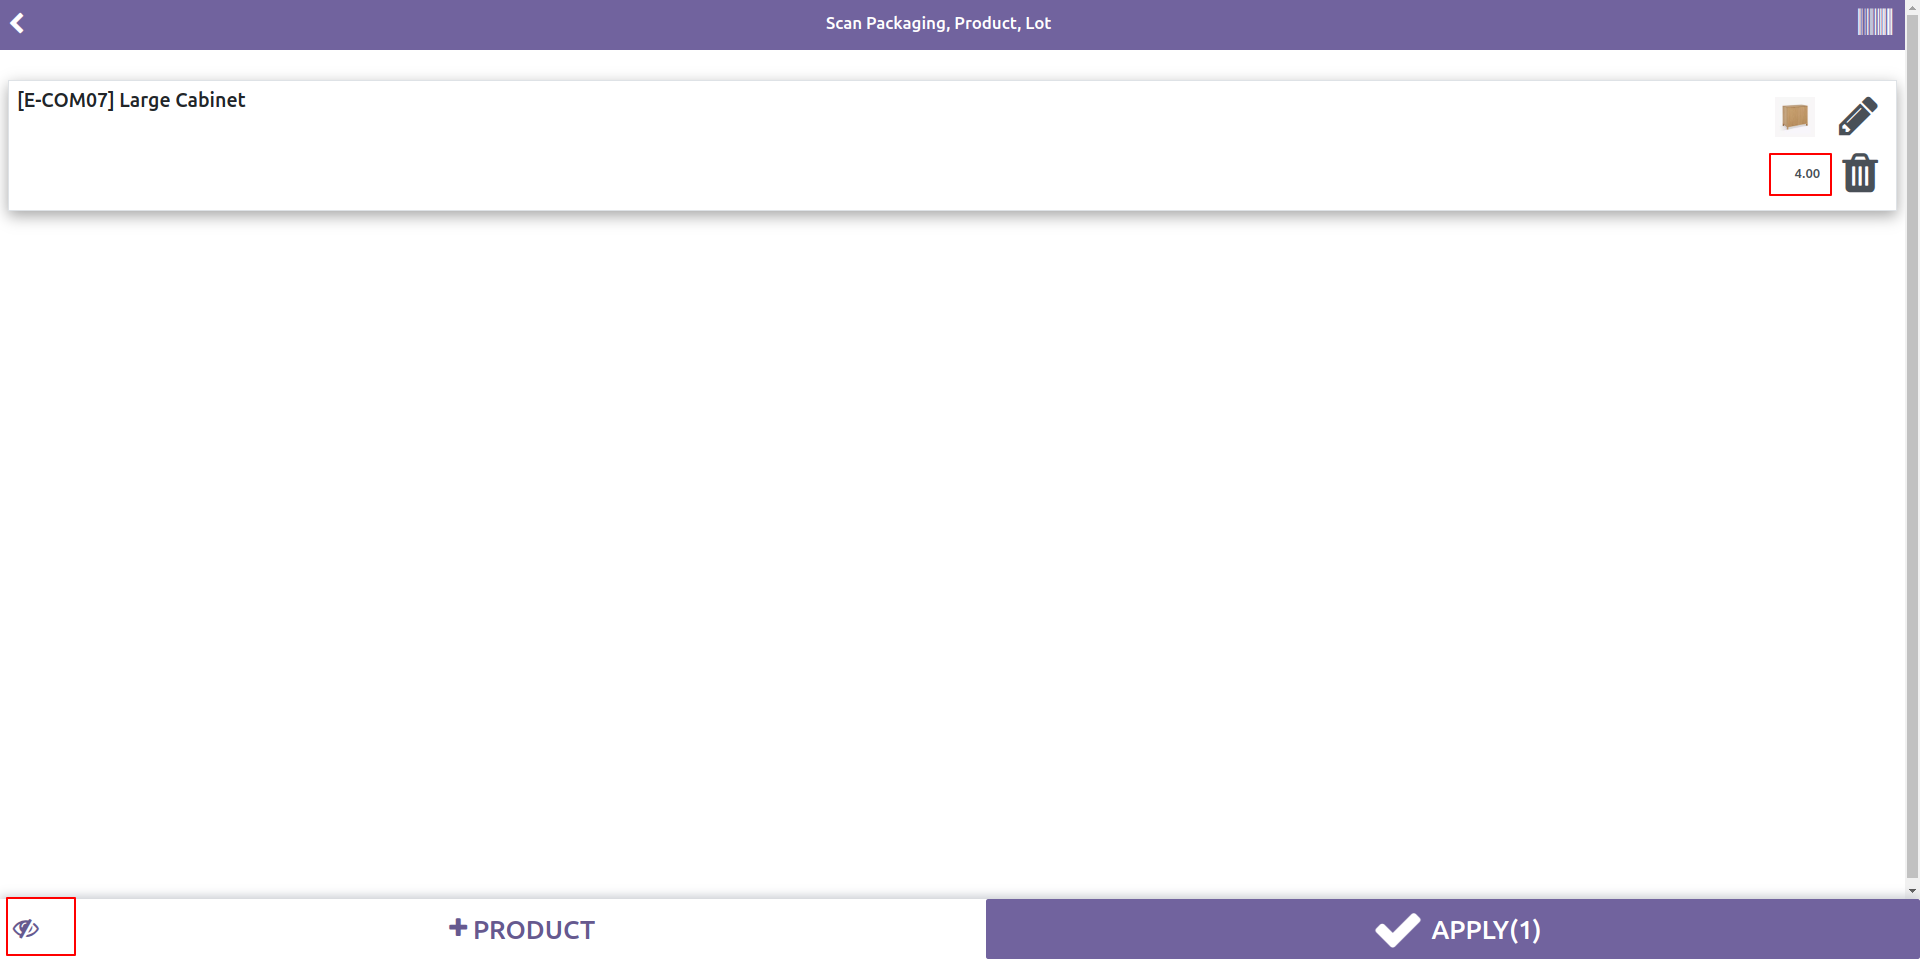
# Press the + Product button to display the form for the new item.
# When you select a product, a numeric field is displayed to add the quantity.
# When you press the button with the trash can icon, the values of the form are reset (except for the location) without closing it.
# When you press the Clean values button, all fields are reset and the form is closed. # When you press the Confirm button, the new item is added and the form is closed. # When the eye icon is closed, the created items greater than zero are displayed, and if not, those less than or equal to zero.
# In the list, the trash can icon allows you to reset the quantity to zero and the edit icon allows you to change the item values.
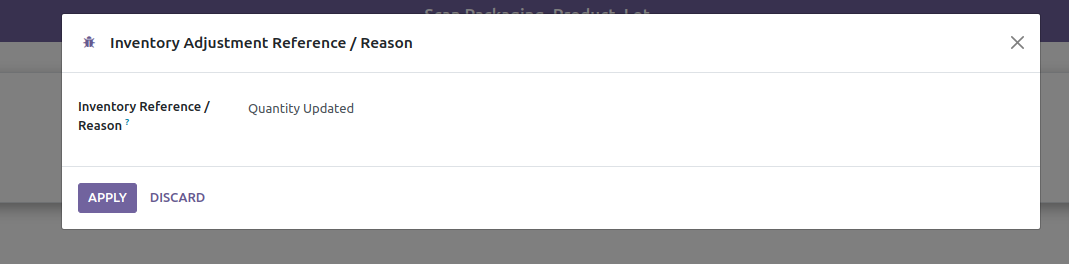
# The Apply button is only displayed if there are items with quantities greater than zero, regardless of whether they were scanned or entered manually; If you press all the defined quantities will be processed after defining the reason for the inventory adjustment and then the main barcode menu will be displayed.





Barcode interface for picking operations
You can use the barcode interface in a picking or an operation type, the main difference is that if you open the barcode interface from a picking, this picking is locked and you read products for it.
To use the barcode interface on picking operations:
Go to Inventory.
Click on scanner button on any operation type.
Start reading barcodes.
Option 1: To use the barcode interface on a picking:
Go to Inventory > Transfers.
Click to “Scan barcodes” smart button.
Start reading barcodes.
- Option 2: Use the barcode interface picking directly from the Barcodes application
Go to Barcodes.
Select the option OPERATIONS.
# Select the type of picking. # The pickings in ready status are displayed, select the one you want to start scanning.
Start scanning barcodes.
- Actions
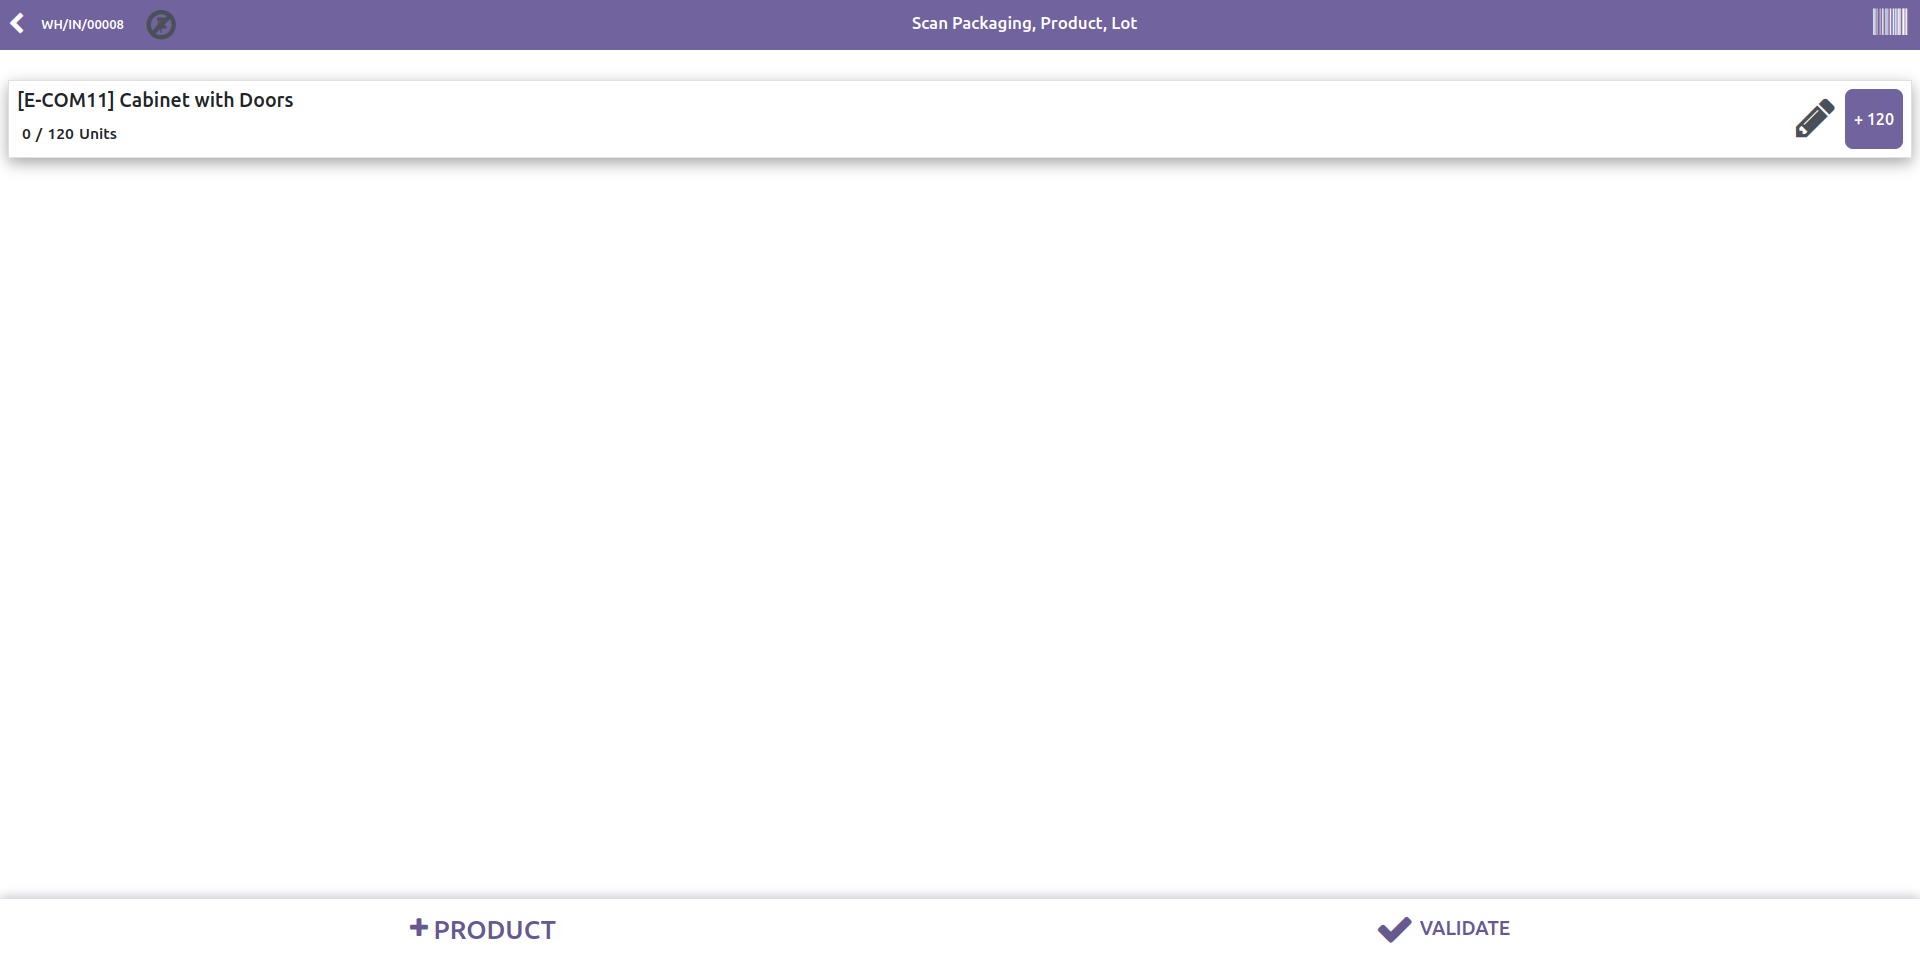
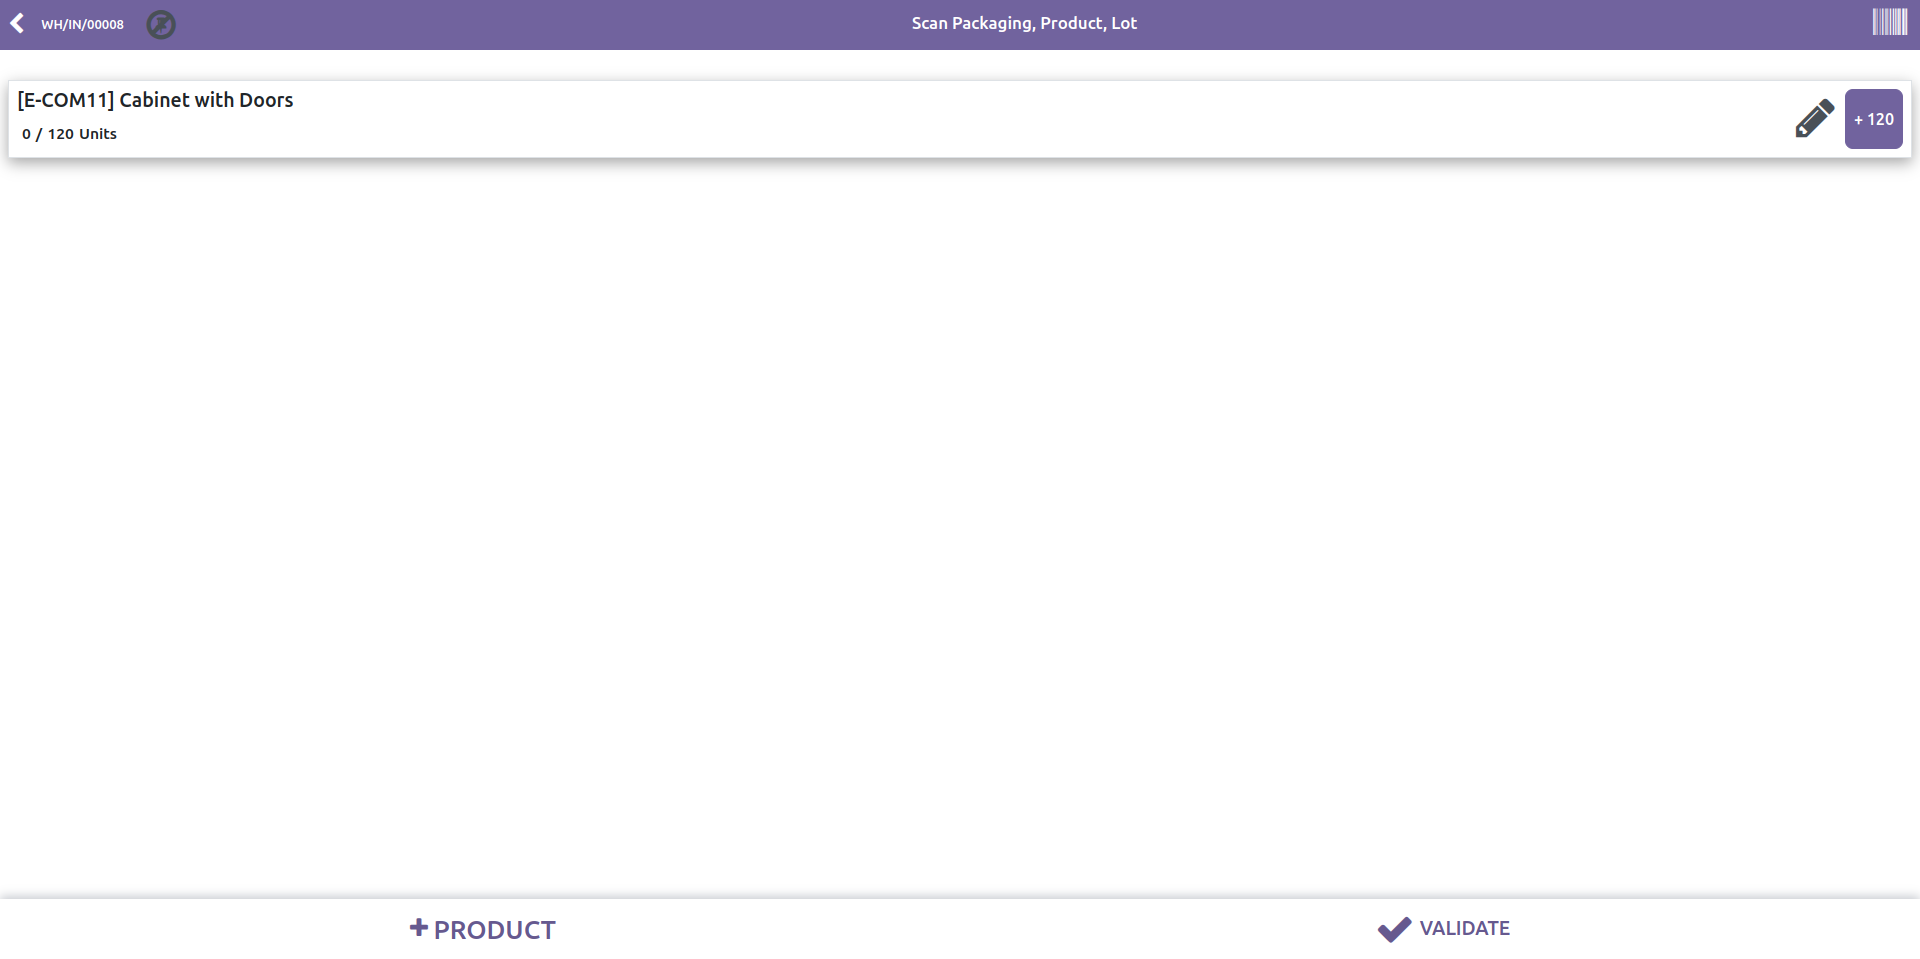
# All the items that have been configured for the selected picking are listed.
# The edit icon in the list allows you to modify the data.
- # The button that contains a +120 (in this case), allows you to define all the
remaining quantities. Once defined, this button disappears and if you want to change the quantities, press the edit button.
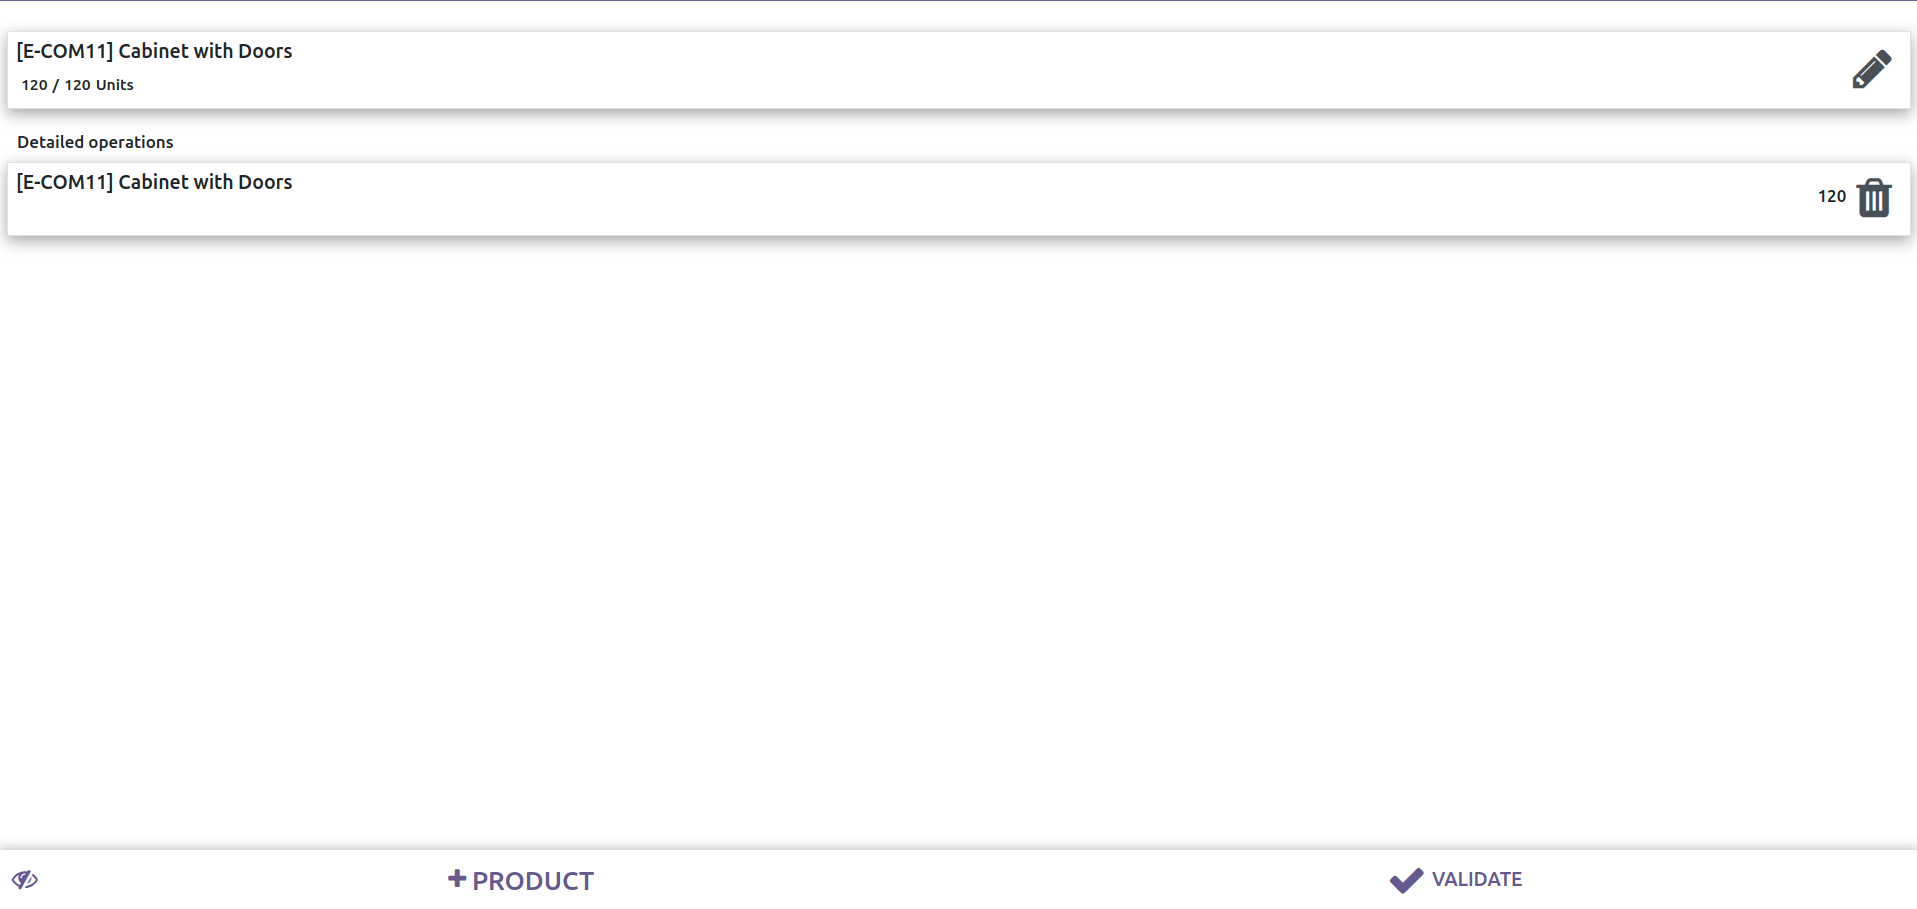
- # If there is at least one item with a quantity already defined, an eye icon is displayed,
which if closed shows the items and their quantities already scanned.
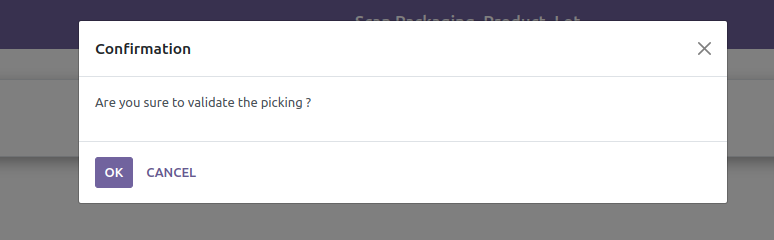
- # When you press the Validate button, a wizard will be displayed to confirm the action.
If everything is correct, it is validated and you return to the picking list mentioned above.
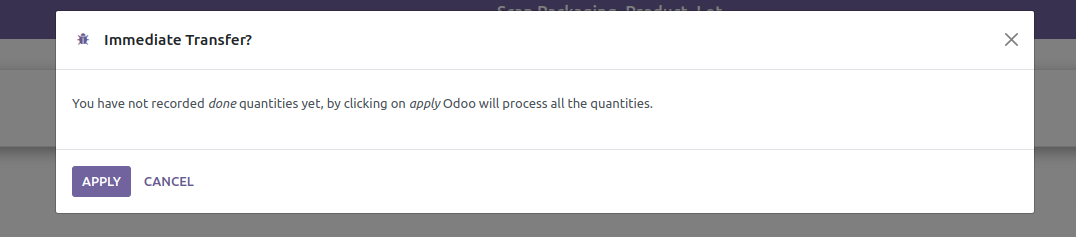
- # If there is an item whose quantity is zero, a wizard will be displayed after the one mentioned
above, to confirm if you want to process all the quantities. If positive, you will proceed and be directed to the list mentioned above in the previous point.
# Press the + Product button to display the form for the new item.
# When you select a product, a numeric field is displayed to add the quantity.
# When you press the button with the trash can icon, the values of the form are reset (except for the location) without closing it.
# When you press the Clean values button, all fields are reset and the form is closed. # When you press the Confirm button, the new item is added and the form is closed. # When adding the new item all the quantities are assigned to it, if you want to modify it, press the edit icon.



The barcode scanner interface has two operation modes. In both of them user can scan:
Warehouse locations with barcode.
Product packaging with barcode.
Product with barcode.
Product Lots (The barcode is name field in this case).
Automatic operation mode
This is the default mode, all screen controls are locked to avoid scan into fields.
The user only has to scan barcode in physical warehouse locations with a scanner hardward, the interface read the barcode and do operations in this order:
Try search a product, if found, is assigned to product_id field and creates or update inventory line with 1.0 unit. (If product has tracking by lots the interface wait for a lot to be scanned).
Try search a product packaging, if found, the product_id related is set, product quantities are updated and create or update inventory line with product quantities defined in the product packaging.
Try search a lot (The product is mandatory in this case so you first scan a product and then scann a lot), this lot field is not erased until that product change, so for each product scann the interface add or update a inventory line with this lot.
Try to search a location, if found the field location is set and next scan action will be done with this warehouse location.
If barcode has not found, when message is displayed you can create this lot scanning the product.
Manual entry mode
You can change to “manual entry” to allow to select data without scanner hardware, but hardward scanner still active on, so a use case would be when user wants set quantities manually instead increment 1.0 unit peer scan action.
Scan logs
All scanned barcodes are saved into model. Barcode scanning interface display 10 last records linked to model, the goal of this log is show to user other reads with the same product and location done by other users. User can remove the last read scan.
Barcode interface for barcode actions
To use the barcode interface for actions:
Go to Inventory > Configuration > Barcode Actions.
Create a new barcode action and configure the barcode.

Select the barcode actions you want to use, a button (PRINT BARCODES) will appear that allows you to print the configured barcodes to PDF.
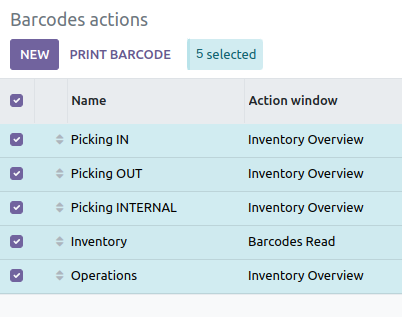
Go to Barcodes.
Start scanning barcodes from actions.
Known issues / Roadmap
Excute action_done() method outside onchange environment.
Allow create product when a barcode has not been found.
Allow to select picking reading its barcode.
Allow to select multiple pickings to process scanned products.
Changelog
11.0.1.1.0 (2019-09-24)
[ADD] New feature. User can uses barcode interface in picking operations.
13.0.1.1.1 (2021-02-06)
[ADD] New feature. Add option to get lots automatically based on removal strategy in inventory.
14.0.1.0.0 (2021-04-05)
[ADD] New feature. Add security for users.
16.0.1.0.0 (2025-01-23)
[IMP] Improved views to optimize navigation and functionality. Intuitive and mobile-friendly views. Visual improvement of the main view accessed from the Barcodes menu.
[ADD] New feature. Barcode reading to barcode actions. Generate PDF document for the barcodes of the selected barcode actions.
Bug Tracker
Bugs are tracked on GitHub Issues. In case of trouble, please check there if your issue has already been reported. If you spotted it first, help us to smash it by providing a detailed and welcomed feedback.
Do not contact contributors directly about support or help with technical issues.
Credits
Contributors
Maintainers
This module is maintained by the OCA.

OCA, or the Odoo Community Association, is a nonprofit organization whose mission is to support the collaborative development of Odoo features and promote its widespread use.
This module is part of the OCA/stock-logistics-barcode project on GitHub.
You are welcome to contribute. To learn how please visit https://odoo-community.org/page/Contribute.
1 maintainer

Release files for odoo-addon-stock-barcodes 16.0.2.2.4.4
For a detailed explanation of source distributions (sdists) and built distributions (wheels), please see the package formats documentation.
Built distribution (wheel)
| File | Interpreter | ABI | Platform | Reset |
|---|---|---|---|---|
| odoo_addon_stock_barcodes-16.0.2.2.4.4-py3-none-any.whl | Python 3 | none | any | Details |
Release files / odoo_addon_stock_barcodes-16.0.2.2.4.4-py3-none-any.whl
| Download URL | odoo_addon_stock_barcodes-16.0.2.2.4.4-py3-none-any.whl |
|---|---|
| Size | 695.0 kB |
| Tags | Python 3 |
|
SHA-256 checksum How to use checksums |
937836e206984865860ee17c449a5ed574948184ab44a1233468a398a51b8b5f
|
|
BLAKE2b-256 checksum How to use checksums |
ca0cb4e01781951ddda085a6d398937e944f5b723ea668cc901d0590f248ee17
|
| Upload date | |
|
Uploaded using Trusted Publishing? What is trusted publishing? |
No |
| Uploaded via |
twine/7.0.0 CPython/3.14.4
|














