CoPaw is a **personal assistant** that runs in your own environment. It talks to you over multiple channels (DingTalk, Feishu, QQ, Discord, iMessage, etc.) and runs scheduled tasks according to your configuration. **What it can do is driven by Skills — the possibilities are open-ended.** Built-in skills include cron, PDF/Office handling, news digest, file reading, and more; you can add custom skills. All data and tasks run on your machine; no third-party hosting.

Project description
A customized project based on CoPaw designed to support precise AI automation requirements. To reduce unnecessary token consumption, the message structure was optimized, resulting in a measured 90% reduction in token usage. Compared with OpenClaw, it achieves even greater token savings.


🚀 Quick Install (OpenCentra)
Windows (PowerShell):
irm https://raw.githubusercontent.com/opencentra/opencentra/main/scripts/install.ps1 | iex
macOS / Linux:
curl -fsSL https://raw.githubusercontent.com/opencentra/opencentra/main/scripts/install.sh | bash
pip install:
pip install opencentra
After installation:
copaw init --defaults   # or: opencentra init --defaults
copaw app               # or: opencentra app
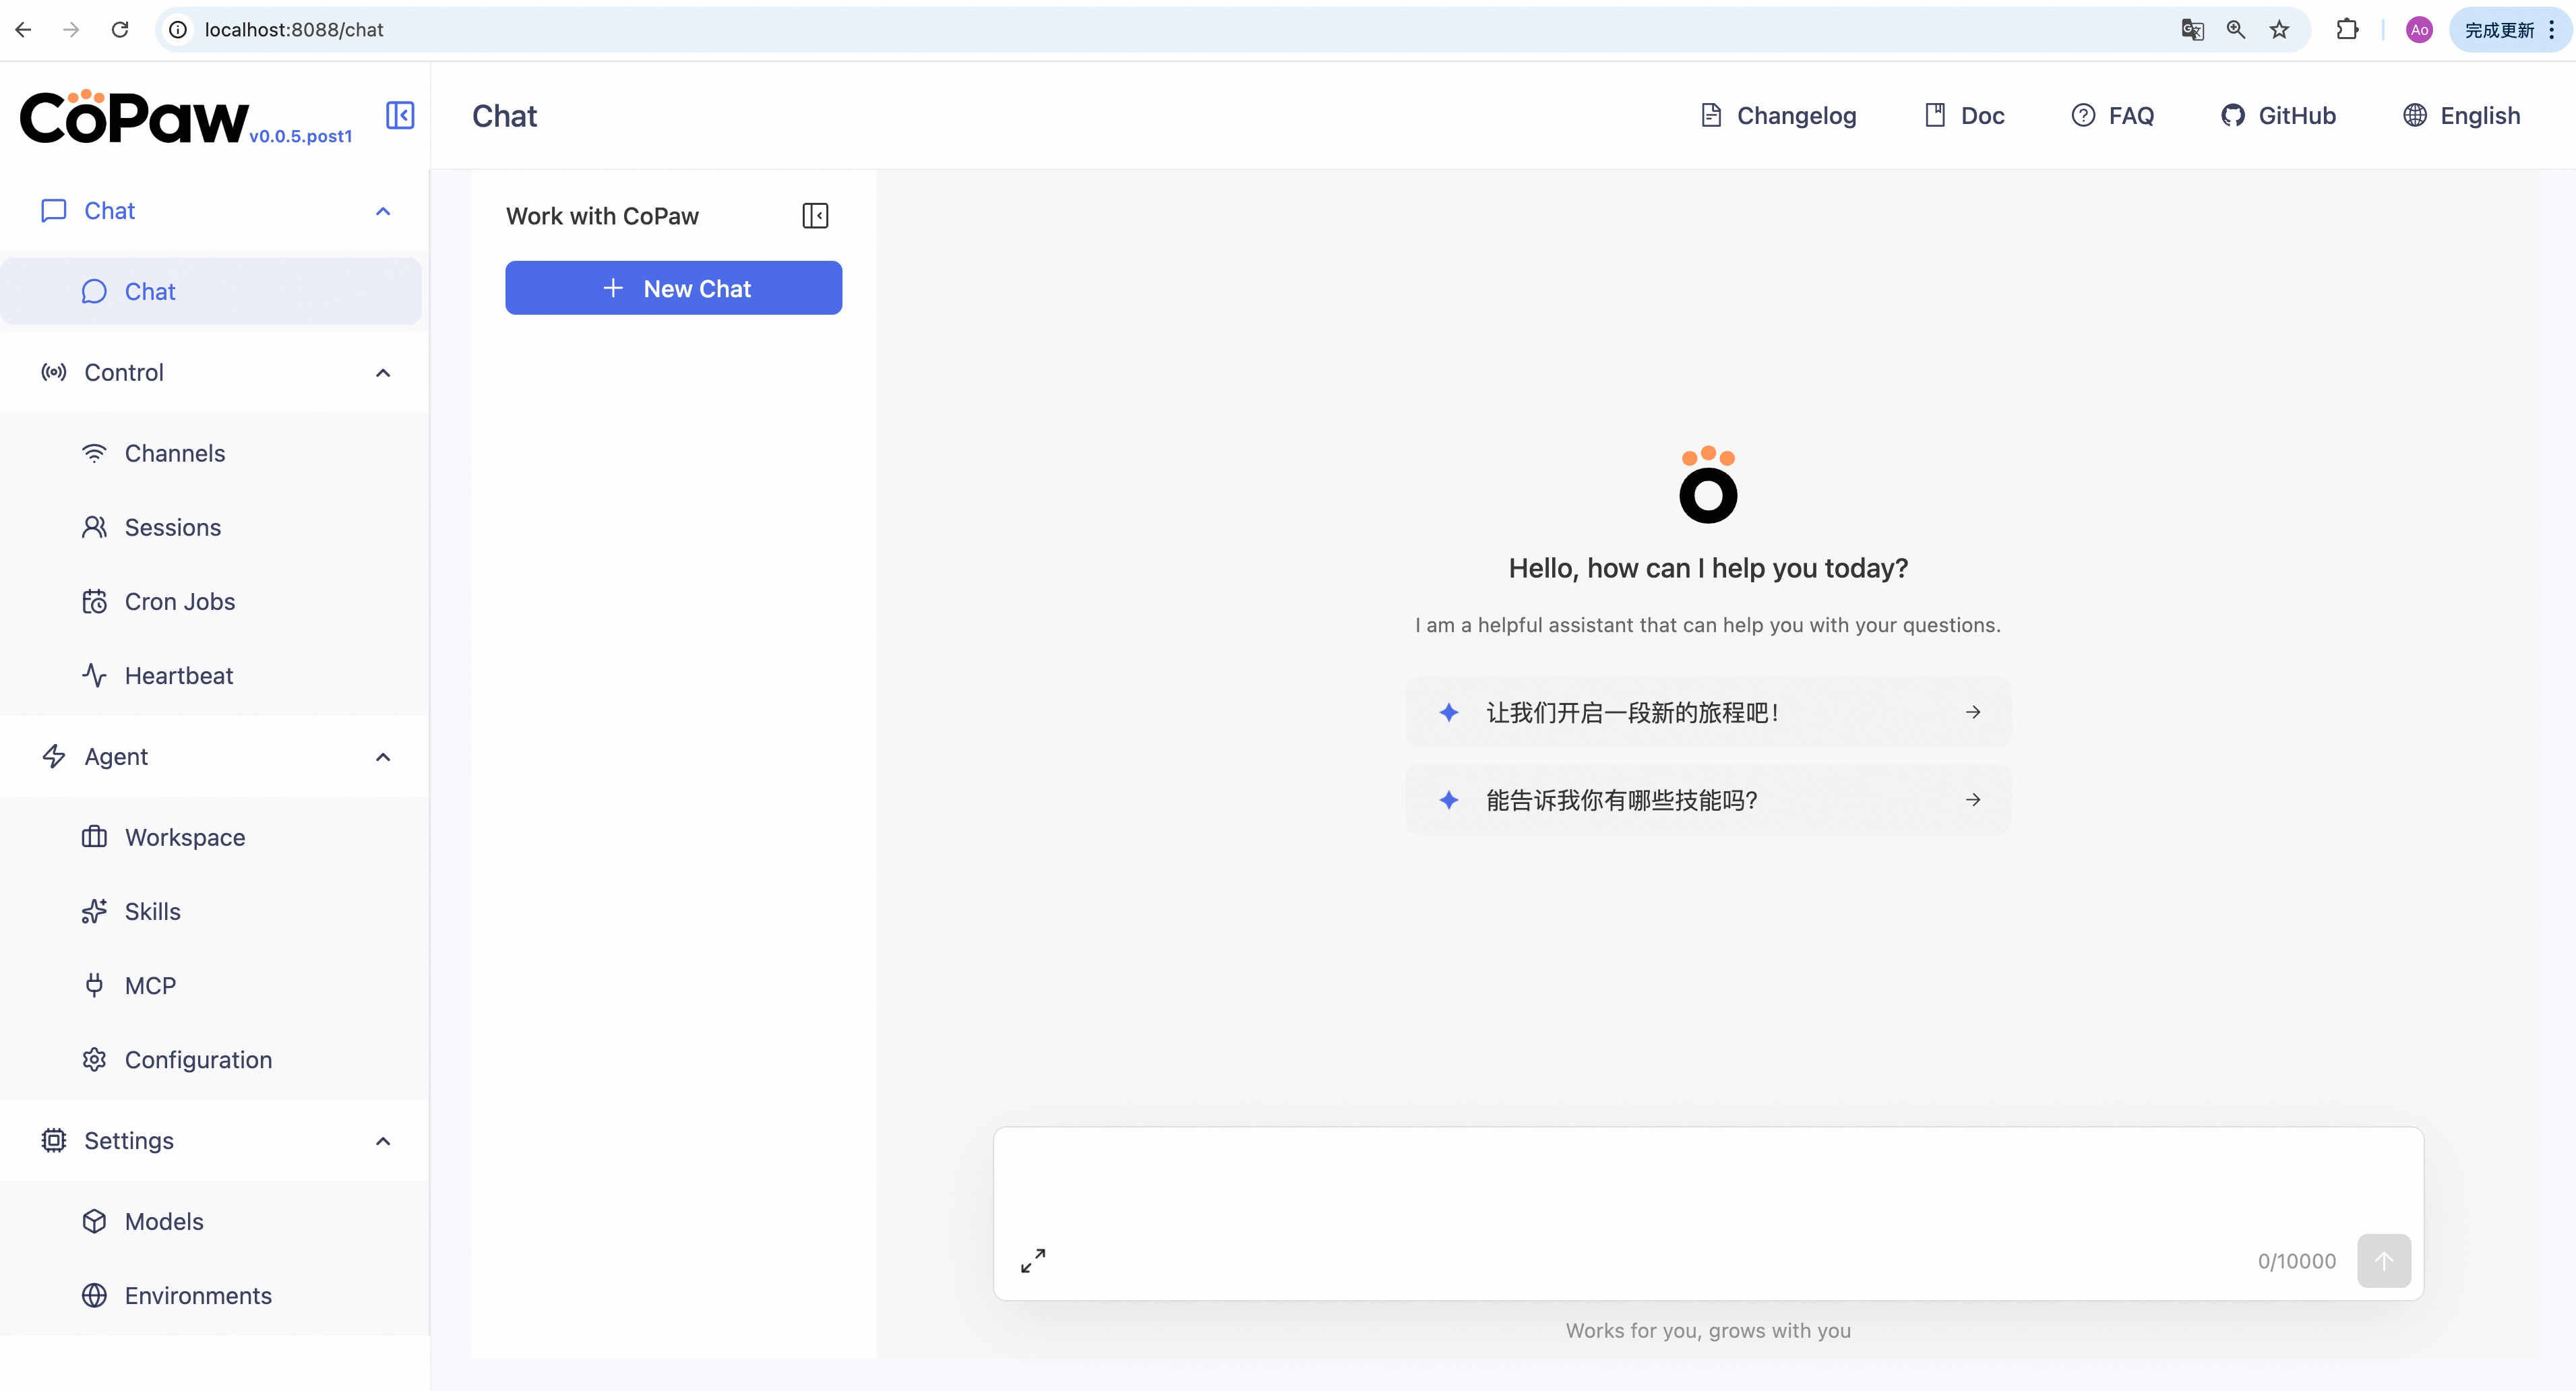
Then open http://127.0.0.1:8088/ in your browser.

Works for you, grows with you.
Your Personal AI Assistant; easy to install, deploy
on your own machine or on the cloud; supports multiple chat apps with easily extensible capabilities.
Core capabilities:
Every channel — DingTalk, Feishu, QQ, Discord, iMessage, and more. One assistant, connect as you need.
Under your control — Memory and personalization under your control. Deploy locally or in the cloud; scheduled reminders to any channel.
Skills — Built-in cron; custom skills in your workspace, auto-loaded. No lock-in.
What you can do
- Social: daily digest of hot posts (Xiaohongshu, Zhihu, Reddit), Bilibili/YouTube summaries.
- Productivity: newsletter digests to DingTalk/Feishu/QQ, contacts from email/calendar.
- Creative: describe your goal, run overnight, get a draft next day.
- Research: track tech/AI news, personal knowledge base.
- Desktop: organize files, read/summarize docs, request files in chat.
- Explore: combine Skills and cron into your own agentic app.
News
[2026-03-06] We released v0.0.5! See the v0.0.5 Release Notes for the full changelog.
- [v0.0.5] Added: Daemon mode; Twilio voice channel; DeepSeek Reasoner support; agent interruption API; version update notifications; optional display of thinking and tool calls.
- [v0.0.5] Improved: Memory system upgrade; console UI improvements; optional channel lazy loading; Windows one-click installation script.
- [v0.0.5] Fixed: Docker configuration persistence; Ollama base URL; channel fixes; Windows compatibility; MCP client stability.
- [v0.0.5] Docs: Release notes; improved model and channel configuration guides; Docker + Ollama connection guide.
- [v0.0.5] Contributors: Thanks to new contributors: @qoli, @qbc2016, @yunlzheng, @BlueSkyXN, @sidonsoft, @lishengzxc, @pikaxinge, @linshengli, @eltociear, @liuxiaopai-ai, @Leirunlin, @pan-x-c, @garyzhang99, @celestialhorse51D, @wwx814, @nszhsl, @DavdGao, @zhangckcup.
[2026-03-02] We released v0.0.4! See the v0.0.4 Release Notes for the full changelog.
Table of Contents
Recommended reading:
- I want to run CoPaw in 3 commands: Quick Start → open Console in browser.
- I want to chat in DingTalk / Feishu / QQ: Configure channels in the Console.
- I don’t want to install Python: One-line install handles Python automatically, or use ModelScope one-click for cloud deployment.
- News
- Quick Start
- API Key
- Local Models
- Documentation
- FAQ
- Roadmap
- Contributing
- Install from source
- Why CoPaw?
- Built by
- License
Quick Start
pip install (recommended)
If you prefer managing Python yourself:
pip install copaw
copaw init --defaults
copaw app
Then open http://127.0.0.1:8088/ in your browser for the Console (chat with CoPaw, configure the agent). To talk in DingTalk, Feishu, QQ, etc., add a channel in the docs.
One-line install (beta, continuously improving)
No Python required — the installer handles everything for you:
macOS / Linux:
curl -fsSL https://copaw.agentscope.io/install.sh | bash
To install with Ollama support:
curl -fsSL https://copaw.agentscope.io/install.sh | bash -s -- --extras ollama
To install with multiple extras (e.g., Ollama + llama.cpp):
curl -fsSL https://copaw.agentscope.io/install.sh | bash -s -- --extras ollama,llamacpp
Windows (CMD):
curl -fsSL https://copaw.agentscope.io/install.bat -o install.bat && install.bat
Windows (PowerShell):
irm https://copaw.agentscope.io/install.ps1 | iex
Note: The installer will automatically check the status of uv. If it is not installed, it will attempt to download and configure it automatically. If the automatic installation fails, please follow the on-screen prompts or execute
python -m pip install -U uv, then rerun the installer.
⚠️ Special Notice for Windows Enterprise LTSC Users
If you are using Windows LTSC or an enterprise environment governed by strict security policies, PowerShell may run in Constrained Language Mode, potentially causing the following issue:
If using CMD (.bat): Script executes successfully but fails to write to
PathThe script completes file installation. Due to Constrained Language Mode, it cannot automatically update environment variables. Manually configure as follows:
- Locate the installation directory:
- Check if
uvis available: Enteruv --versionin CMD. If a version number appears, only configure the CoPaw path. If you receive the prompt'uv' is not recognized as an internal or external command, operable program or batch file,configure both paths.- uv path (choose one based on installation location; use if
uvfails): Typically%USERPROFILE%\.local\bin,%USERPROFILE%\AppData\Local\uv, or theScriptsfolder within your Python installation directory- CoPaw path: Typically located at
%USERPROFILE%\.copaw\bin.- Manually add to the system's Path environment variable:
- Press
Win + R, typesysdm.cpland press Enter to open System Properties.- Click “Advanced” -> “Environment Variables”.
- Under “System variables”, locate and select
Path, then click “Edit”.- Click “New”, enter both directory paths sequentially, then click OK to save.
If using PowerShell (.ps1): Script execution interrupted
Due to Constrained Language Mode, the script may fail to automatically download
uv.
- Manually install uv: Refer to the GitHub Release to download
uv.exeand place it in%USERPROFILE%\.local\binor%USERPROFILE%\AppData\Local\uv; or ensure Python is installed and runpython -m pip install -U uv.- Configure
uvenvironment variables: Add theuvdirectory and%USERPROFILE%\.copaw\binto your system'sPathvariable.- Re-run the installation: Open a new terminal and execute the installation script again to complete the
CoPawinstallation.- Configure the
CoPawenvironment variable: Add%USERPROFILE%\.copaw\binto your system'sPathvariable.
Once installed, open a new terminal and run:
copaw init --defaults   # or: copaw init (interactive)
copaw app
Install options
macOS / Linux:
# Install a specific version
curl -fsSL ... | bash -s -- --version 0.0.2

# Install from source (dev/testing)
curl -fsSL ... | bash -s -- --from-source

# With local model support
bash install.sh --extras llamacpp    # llama.cpp (cross-platform)
bash install.sh --extras mlx         # MLX (Apple Silicon)
bash install.sh --extras llamacpp,mlx

# Upgrade — just re-run the installer
curl -fsSL ... | bash

# Uninstall
copaw uninstall          # keeps config and data
copaw uninstall --purge  # removes everything
Windows (PowerShell):
# Install a specific version
irm ... | iex; .\install.ps1 -Version 0.0.2

# Install from source (dev/testing)
.\install.ps1 -FromSource

# With local model support
.\install.ps1 -Extras llamacpp      # llama.cpp (cross-platform)
.\install.ps1 -Extras mlx           # MLX
.\install.ps1 -Extras llamacpp,mlx

# Upgrade — just re-run the installer
irm ... | iex

# Uninstall
copaw uninstall          # keeps config and data
copaw uninstall --purge  # removes everything
Using Docker
Images are on Docker Hub (agentscope/copaw). Image tags: latest (stable); pre (PyPI pre-release).
docker pull agentscope/copaw:latest
docker run -p 127.0.0.1:8088:8088 -v copaw-data:/app/working agentscope/copaw:latest
Also available on Alibaba Cloud Container Registry (ACR) for users in China: agentscope-registry.ap-southeast-1.cr.aliyuncs.com/agentscope/copaw (same tags).
Then open http://127.0.0.1:8088/ for the Console. Config, memory, and skills are stored in the copaw-data volume. To pass API keys (e.g. DASHSCOPE_API_KEY), add -e VAR=value or --env-file .env to docker run.
Connecting to Ollama or other services on the host machine
Inside a Docker container,
localhostrefers to the container itself, not your host machine. If you run Ollama (or other model services) on the host and want CoPaw in Docker to reach them, use one of these approaches:Option A — Explicit host binding (all platforms):
docker run -p 127.0.0.1:8088:8088 \
  --add-host=host.docker.internal:host-gateway \
  -v copaw-data:/app/working agentscope/copaw:latest
Then in CoPaw Settings → Models → Ollama, change the Base URL to
http://host.docker.internal:11434/v1or your corresponding port.Option B — Host networking (Linux only):
docker run --network=host -v copaw-data:/app/working agentscope/copaw:latestNo port mapping (
-p) is needed; the container shares the host network directly. Note that all container ports are exposed on the host, which may cause conflicts if the port is already in use.
The image is built from scratch. To build the image yourself, please refer to the Build Docker image section in scripts/README.md, and then push to your registry.
Using ModelScope
No local install? ModelScope Studio one-click cloud setup. Set your Studio to non-public so others cannot control your CoPaw.
Deploy on Alibaba Cloud ECS
To run CoPaw on Alibaba Cloud (ECS), use the one-click deployment: open the CoPaw on Alibaba Cloud (ECS) deployment link and follow the prompts. For step-by-step instructions, see Alibaba Cloud Developer: Deploy your AI assistant in 3 minutes.
API Key
If you use a cloud LLM (e.g. DashScope, ModelScope), you must configure an API key before chatting. CoPaw will not work until a valid key is set. See the official docs for details.
How to configure:
- Console (recommended) — After running
copaw app, open http://127.0.0.1:8088/ → Settings → Models. Choose a provider, enter the API Key, and enable that provider and model. copaw init— When you runcopaw init, it will guide you through configuring the LLM provider and API key. Follow the prompts to choose a provider and enter your key.- Environment variable — For DashScope you can set
DASHSCOPE_API_KEYin your shell or in a.envfile in the working directory.
Tools that need extra keys (e.g. TAVILY_API_KEY for web search) can be set in Console Settings → Environment variables, or see Config for details.
Using local models only? If you use Local Models (llama.cpp or MLX), you do not need any API key.
Local Models
CoPaw can run LLMs entirely on your machine — no API keys or cloud services required. See the official docs for details.
| Backend | Best for | Install |
|---|---|---|
| llama.cpp | Cross-platform (macOS / Linux / Windows) | pip install 'copaw[llamacpp]' or bash install.sh --extras llamacpp |
| MLX | Apple Silicon Macs (M1/M2/M3/M4) | pip install 'copaw[mlx]' or bash install.sh --extras mlx |
| Ollama | Cross-platform (requires Ollama service) | pip install 'copaw[ollama]' or bash install.sh --extras ollama |
After installing, you can download and manage local models in the Console UI. You can also use the command line:
copaw models download Qwen/Qwen3-4B-GGUF
copaw models # select the downloaded model
copaw app # start the server
Documentation
| Topic | Description |
|---|---|
| Introduction | What CoPaw is and how to use it |
| Quick start | Install and run (local or ModelScope Studio) |
| Console | Web UI: chat and agent configuration |
| Models | Configure cloud, local, and custom providers |
| Channels | DingTalk, Feishu, QQ, Discord, iMessage, and more |
| Skills | Extend and customize capabilities |
| MCP | Manage MCP clients |
| Memory | Context and long-term memory |
| Magic commands | Control conversation state without waiting for the AI |
| Heartbeat | Scheduled check-in and digest |
| Config & working dir | Working directory and config file |
| CLI | Init, cron jobs, skills, clean |
| FAQ | Common questions and troubleshooting |
Full docs in this repo: website/public/docs/.
FAQ
For common questions, troubleshooting tips, and known issues, please visit the FAQ page.
Roadmap
| Area | Item | Status |
|---|---|---|
| Horizontal Expansion | More channels, models, skills, MCPs — community contributions welcome | Seeking Contributors |
| Existing Feature Extension | Display optimization, download hints, Windows path compatibility, etc. — community contributions welcome | Seeking Contributors |
| Console Web UI | Expose more info/config in the Console | In Progress |
| Compatibility & Ease of Use | App-level packaging (.dmg, .exe) | In Progress |
| Self-healing | Magic commands and daemon capabilities (CLI, status, restart, logs) | In Progress |
| DaemonAgent: autonomous diagnostics, self-healing, and recovery | Planned | |
| Multi-agent | Background task support | In Progress |
| Multi-agent isolation | Planned | |
| Inter-agent contention resolution | Planned | |
| Multi-agent communication | Planned | |
| Multimodal | Voice/video calls and real-time interaction | In Progress |
| Release & Contributing | Contributing guidance for vibe coding agents | Planned |
| Bugfixes & Enhancements | Skills and MCP runtime install, hot-reload improvements | Planned |
| Security | Shell execution confirmation | Planned |
| Tool/skills security | Planned | |
| Configurable security levels (user-configurable) | Planned | |
| Sandbox | Deeper integration with AgentScope Runtime sandboxes | Long-term Planning |
| CoPaw-optimized local models | LLMs tuned for CoPaw's native skills and common tasks; better local personal-assistant usability | Long-term Planning |
| Small + large model collaboration | Local LLMs for sensitive data; cloud LLMs for planning and coding; balance of privacy, performance, and capability | Long-term Planning |
| Cloud-native | Deeper integration with AgentScope Runtime; leverage cloud compute, storage, and tooling | Long-term Planning |
| Skills Hub | Enrich the AgentScope Skills repository and improve discoverability of high-quality skills | Long-term Planning |
Status: In Progress — actively being worked on; Planned — queued or under design, also welcome contributions; Seeking Contributors — we strongly encourage community contributions; Long-term Planning — longer-horizon roadmap.
Get involved
We are building CoPaw in the open and welcome contributions of all kinds! Check the Roadmap above (especially items marked Seeking Contributors) to find areas that interest you, and read CONTRIBUTING to get started. We particularly welcome:
- Horizontal expansion — new channels, model providers, skills, MCPs.
- Existing feature extension — display and UX improvements, download hints, Windows path compatibility, and the like.
Join the conversation on GitHub Discussions to suggest or pick up work.
Install from source
git clone https://github.com/agentscope-ai/CoPaw.git
cd CoPaw

# Build console frontend first (required for web UI)
cd console && npm ci && npm run build
cd ..

# Copy console build output to package directory
mkdir -p src/copaw/console
cp -R console/dist/. src/copaw/console/

# Install Python package
pip install -e .
- Dev (tests, formatting):
pip install -e ".[dev]" - Then: Run
copaw init --defaults, thencopaw app.
Why CoPaw?
CoPaw represents both a Co Personal Agent Workstation and a "co-paw"—a partner always by your side. More than just a cold tool, CoPaw is a warm "little paw" always ready to lend a hand (or a paw!). It is the ultimate teammate for your digital life.
Built by
AgentScope team · AgentScope · AgentScope Runtime · ReMe
Contact us
| Discord | X (Twitter) | DingTalk |
|---|---|---|
 |
 |
 |
License
CoPaw is released under the Apache License 2.0.
Contributors
All thanks to our contributors:

Release history Release notifications | RSS feed

Download files
Download the file for your platform. If you're not sure which to choose, learn more about installing packages.
Source Distribution
Built Distribution
Filter files by name, interpreter, ABI, and platform.
If you're not sure about the file name format, learn more about wheel file names.
Copy a direct link to the current filters
File details
Details for the file opencentra-0.0.5.post1.tar.gz.
File metadata
- Download URL: opencentra-0.0.5.post1.tar.gz
- Upload date:
- Size: 7.9 MB
- Tags: Source
- Uploaded using Trusted Publishing? Yes
- Uploaded via: twine/6.1.0 CPython/3.13.7
File hashes
| Algorithm | Hash digest | |
|---|---|---|
| SHA256 |
0a63f9b5f0ce5dfaedf8f3ca46a5c46a2891b9855f0dc80830fd53c587d1e967
|
|
| MD5 |
6390248c89aa6b95c88b10aa57614c80
|
|
| BLAKE2b-256 |
ae0b33fda7ce0b395d69f499979ec774204c3207bf6a3f6e6a78be8b3ce124d5
|
Provenance
The following attestation bundles were made for opencentra-0.0.5.post1.tar.gz:
Publisher:
publish-pypi.yml on opencentra/opencentra
-
Statement:
-
Statement type:
https://in-toto.io/Statement/v1 -
Predicate type:
https://docs.pypi.org/attestations/publish/v1 -
Subject name:
opencentra-0.0.5.post1.tar.gz -
Subject digest:
0a63f9b5f0ce5dfaedf8f3ca46a5c46a2891b9855f0dc80830fd53c587d1e967 - Sigstore transparency entry: 1108448980
- Sigstore integration time:
-
Permalink:
opencentra/opencentra@f49b2b7f6c2aae1a2cd2acb6da6262f5800fe4e5 -
Branch / Tag:
refs/heads/main - Owner: https://github.com/opencentra
-
Access:
public
-
Token Issuer:
https://token.actions.githubusercontent.com -
Runner Environment:
github-hosted -
Publication workflow:
publish-pypi.yml@f49b2b7f6c2aae1a2cd2acb6da6262f5800fe4e5 -
Trigger Event:
workflow_dispatch
-
Statement type:
File details
Details for the file opencentra-0.0.5.post1-py3-none-any.whl.
File metadata
- Download URL: opencentra-0.0.5.post1-py3-none-any.whl
- Upload date:
- Size: 8.2 MB
- Tags: Python 3
- Uploaded using Trusted Publishing? Yes
- Uploaded via: twine/6.1.0 CPython/3.13.7
File hashes
| Algorithm | Hash digest | |
|---|---|---|
| SHA256 |
b04f6fda1fdbc1331c39900f0fc8b9fcc604fa58aea5897a398abe3a55077209
|
|
| MD5 |
f8590429e9da6d0bf7336557fa3c0b72
|
|
| BLAKE2b-256 |
4b0e9a38b2820823a74a08053e7188f94db74cd6c4e53f72da3402c87b2b2afb
|
Provenance
The following attestation bundles were made for opencentra-0.0.5.post1-py3-none-any.whl:
Publisher:
publish-pypi.yml on opencentra/opencentra
-
Statement:
-
Statement type:
https://in-toto.io/Statement/v1 -
Predicate type:
https://docs.pypi.org/attestations/publish/v1 -
Subject name:
opencentra-0.0.5.post1-py3-none-any.whl -
Subject digest:
b04f6fda1fdbc1331c39900f0fc8b9fcc604fa58aea5897a398abe3a55077209 - Sigstore transparency entry: 1108448982
- Sigstore integration time:
-
Permalink:
opencentra/opencentra@f49b2b7f6c2aae1a2cd2acb6da6262f5800fe4e5 -
Branch / Tag:
refs/heads/main - Owner: https://github.com/opencentra
-
Access:
public
-
Token Issuer:
https://token.actions.githubusercontent.com -
Runner Environment:
github-hosted -
Publication workflow:
publish-pypi.yml@f49b2b7f6c2aae1a2cd2acb6da6262f5800fe4e5 -
Trigger Event:
workflow_dispatch
-
Statement type:


