
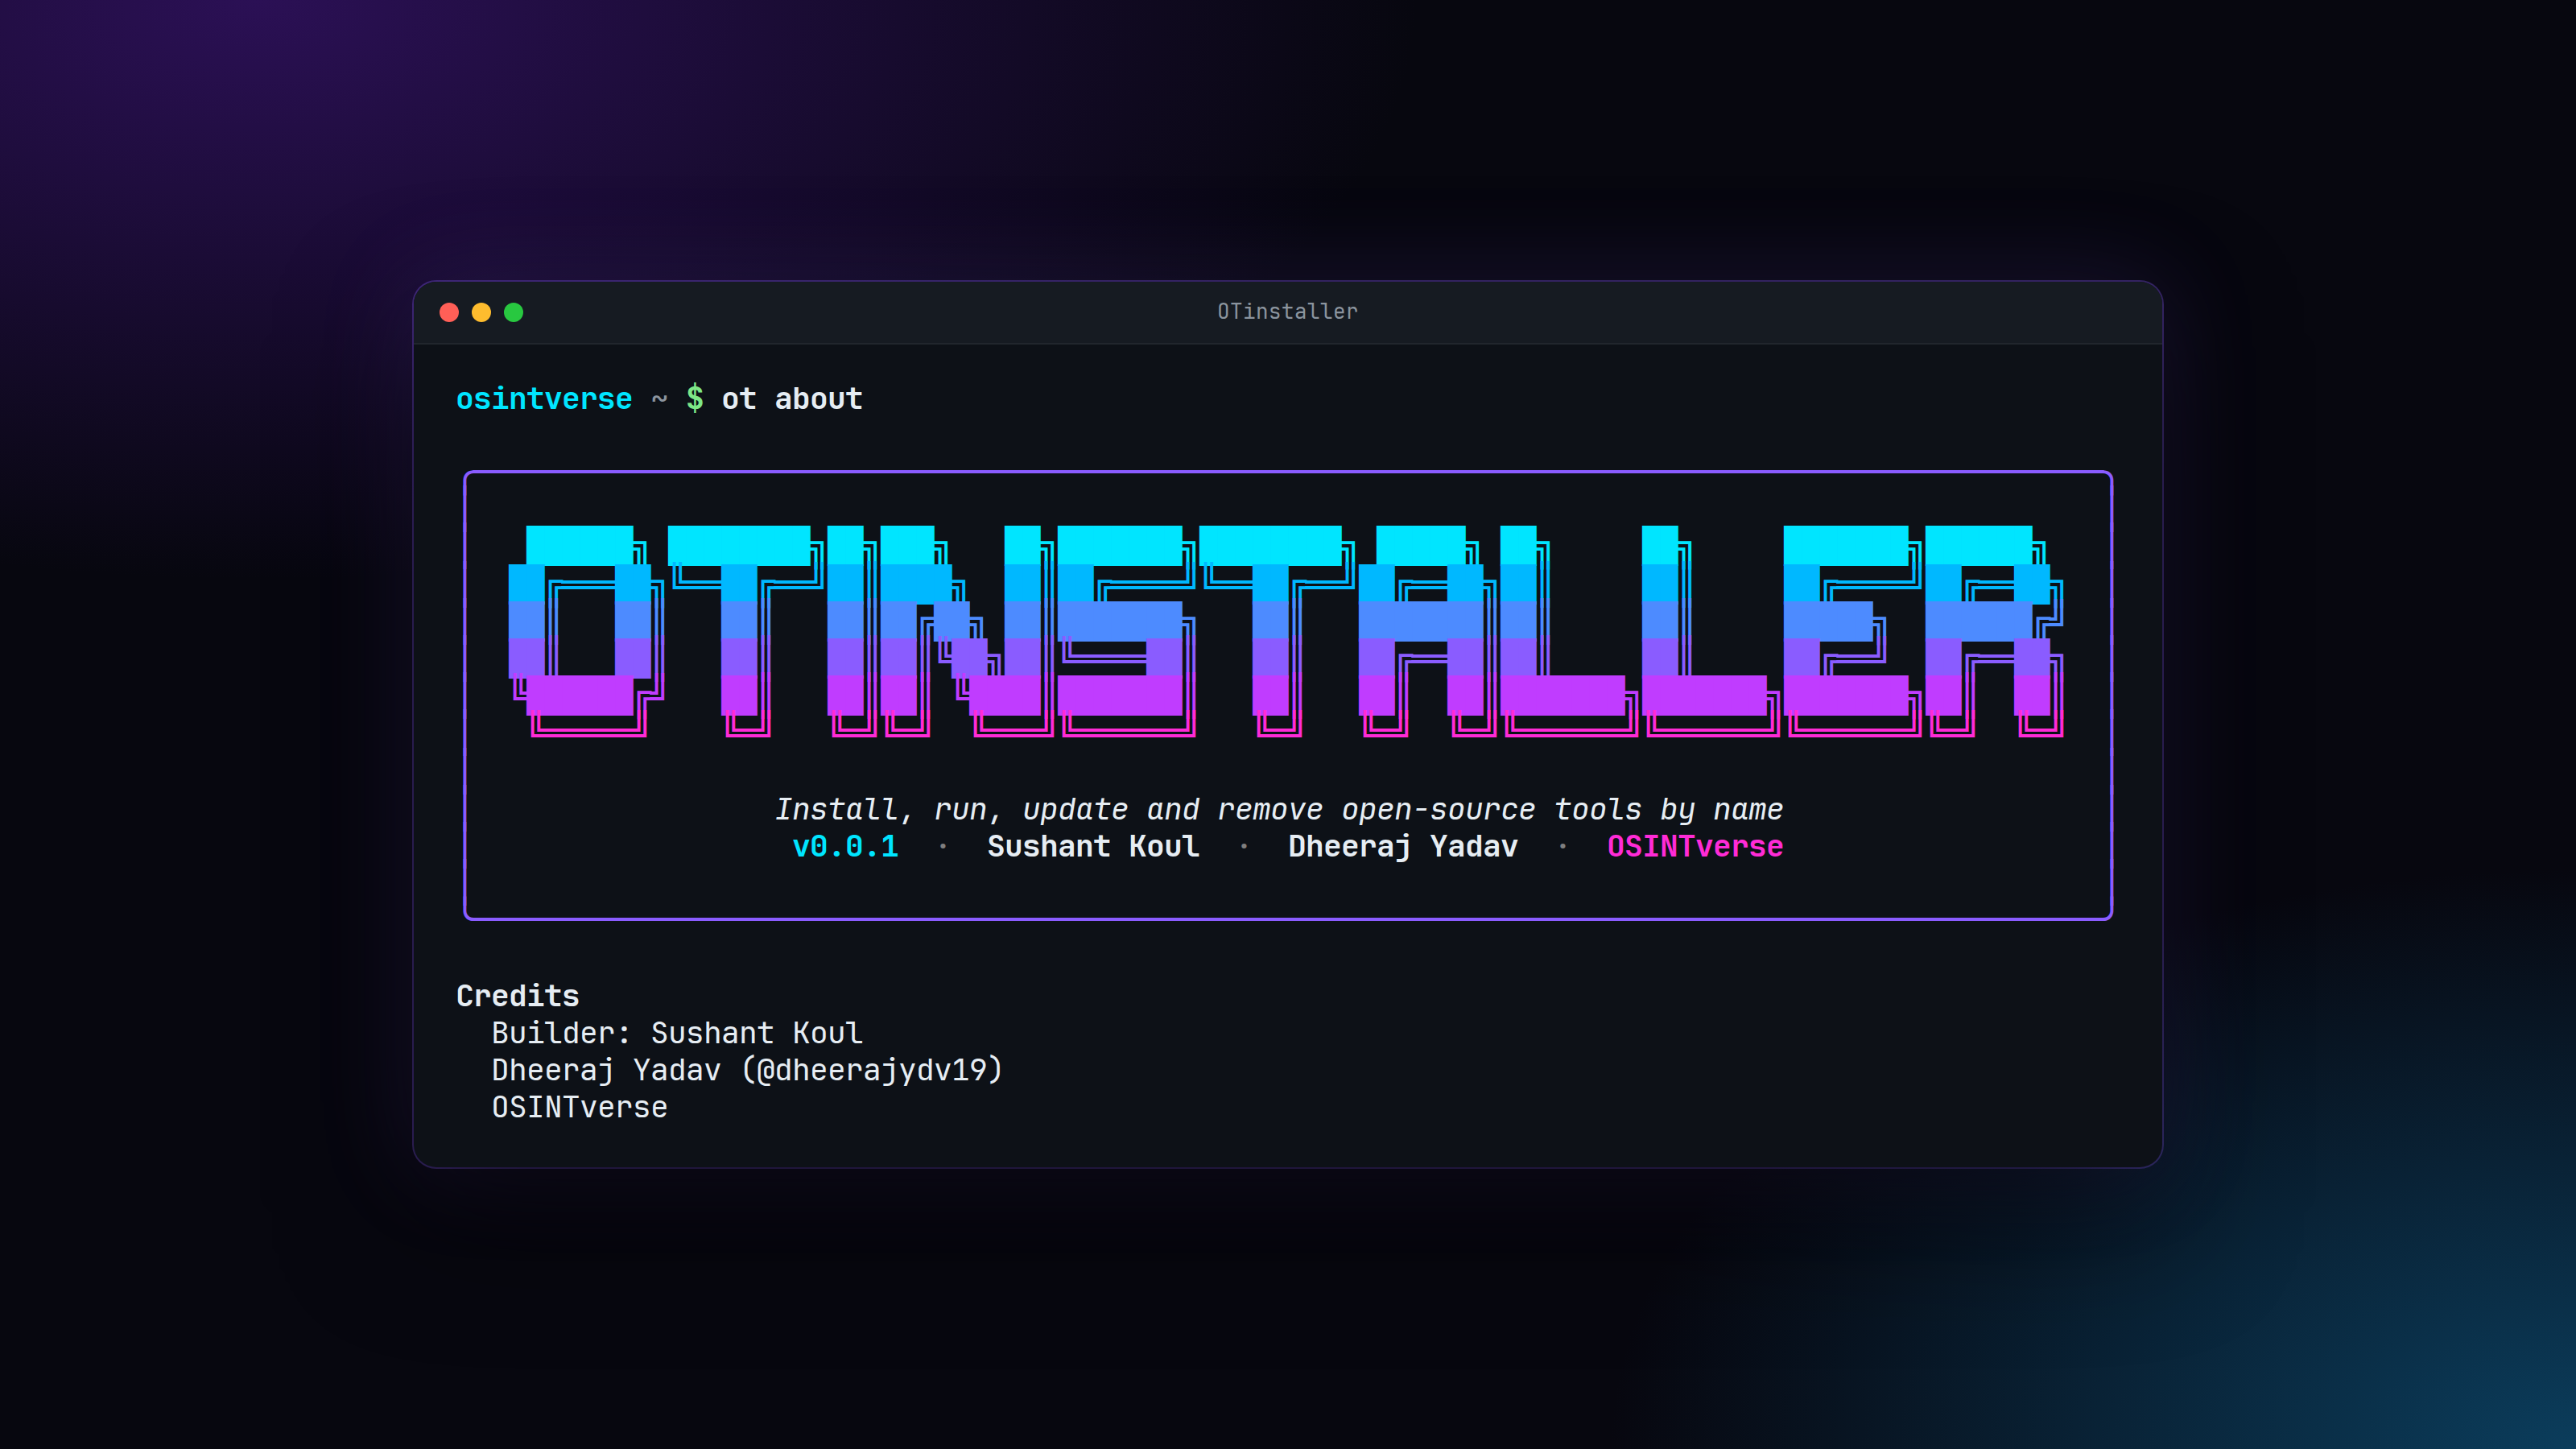
Install, run, update and remove open-source tools by name.
One command interface for dozens of open-source intelligence (OSINT) tools, each in its own virtualenv.





Documentation · Quick start · Typed inputs · Commands · Team
What it does
Every open-source tool installs and runs a little differently. OTinstaller gives them one interface:
- Install by name.
ot install sherlockcreates an isolated virtualenv for the tool. Nothing touches your system Python. - Run with typed inputs.
u:johndoe,e:john@example.comord:example.comare translated into each tool's own flags. - Run many tools at once.
ot run --all u:johndoeruns every installed tool that accepts a username, in parallel. - Keep every result. Output is saved under
./results/<tool>/<target>/with a.meta.jsonsidecar (command, timing, exit code, SHA-256). - Update and remove cleanly. One command each, for one tool or all of them.
- Script it. Every command supports
--json, and nothing prompts when--yesis given.
ot is a short alias for otinstaller. Both work everywhere.
Quick start
pipx install otinstaller
ot init
ot install sherlock
ot run sherlock -- u:johndoe
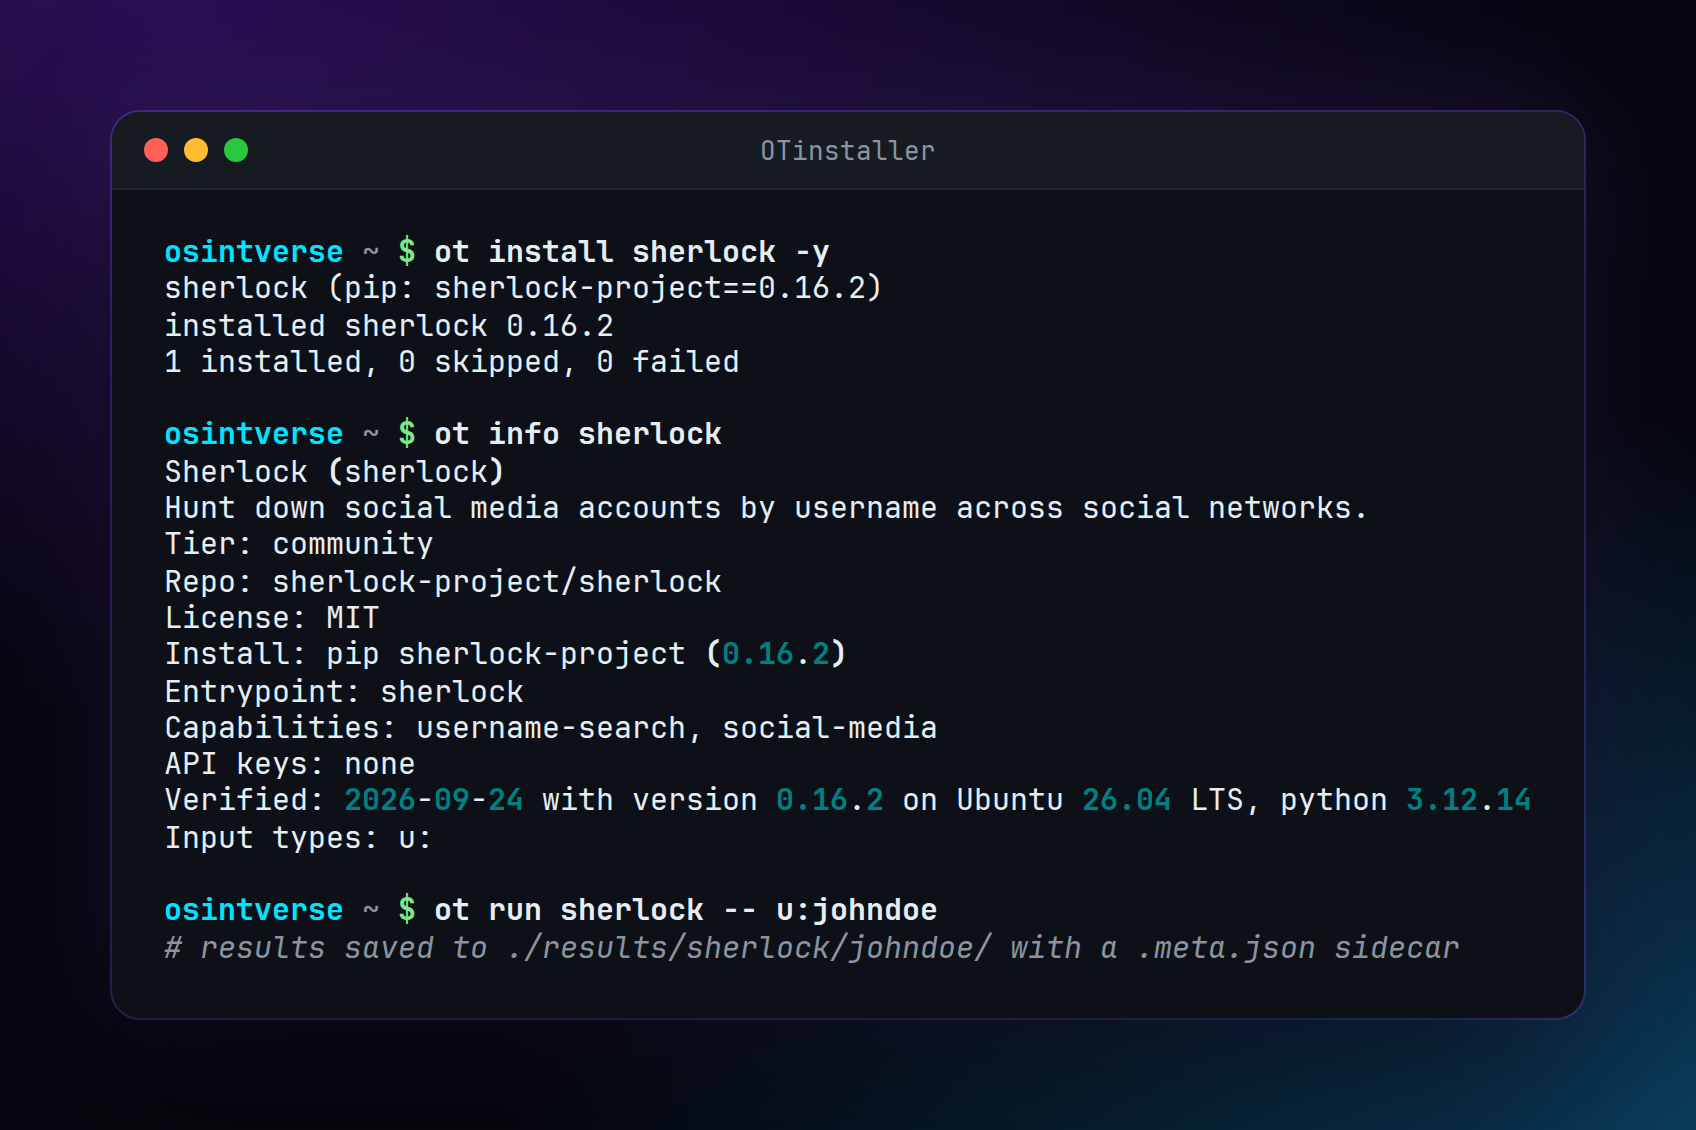
The full install options, including Python 3.13+ systems, are below.
Requirements
A Linux machine. Tested on Ubuntu 22.04 and 24.04, Debian 12, and Arch Linux. Kali Linux is checked by hand before a release.
Python 3.10 to 3.12, git, and the venv module. On Debian, Ubuntu and Kali, install that module with:
sudo apt install python3-venv git
Ubuntu 26.04 LTS and other systems with Python 3.13+
Ubuntu 26.04 LTS ships Python 3.14 by default, and other distributions now ship Python 3.13+ too. otinstaller and some of its managed tools require Python 3.10–3.12, so on these systems install Python 3.12 explicitly and run otinstaller inside a virtualenv made with it:
curl -LsSf https://astral.sh/uv/install.sh | sh
source $HOME/.local/bin/env
uv venv --python 3.12 ~/.otinstaller-venv
source ~/.otinstaller-venv/bin/activate
uv pip install otinstaller
A uv-created virtualenv has no pip, so the install command is uv pip install otinstaller. Run source ~/.otinstaller-venv/bin/activate again in any new terminal before using otinstaller. otinstaller doctor prints the Python version it is running under and flags any registered tool that needs a different one.
The system Python on Ubuntu 22.04 and 24.04 already works. The uv method was tested on Ubuntu 26.04 only.
Python version caveats
Some managed tools do not yet support Python 3.13+. The test matrix covers Python 3.10–3.12. Known affected tools:
auto-archiver: requires Python <3.13 (dependencypdqhashneeds a C++ compiler, no wheel for 3.13+)telepathy: requires Python <3.13 (dependencygoogletrans/httpxuses removedcgimodule)
If you encounter install failures on Python 3.13+, run otinstaller in a Python 3.12 virtualenv.
Install OTinstaller
For system-wide installation, use pipx install otinstaller. This provides the otinstaller and ot commands on your PATH without a virtualenv.
Alternatively, create a virtualenv and install from PyPI:
python3 -m venv ~/.otinstaller-venv
source ~/.otinstaller-venv/bin/activate
pip install otinstaller
Run source ~/.otinstaller-venv/bin/activate again in any new terminal before using otinstaller.
Install from source
To install from this repository (for development):
python3 -m venv .venv
source .venv/bin/activate
pip install -e .
Run source .venv/bin/activate again from this folder in any new terminal if the next command says otinstaller: command not found.
Check the machine with:
otinstaller doctor
doctor prints [ok] or [problem] for Linux, Python, git, and venv. Fix any [problem] line before you continue. It often tells you the package to install.
Run your first tool
init creates ~/.otinstaller/ and shows a responsible-use notice. It asks Do you accept? [y/N]. Type y and press Enter. Nothing can be installed until you do.
otinstaller init
Sherlock searches for a username. The install asks Install? [y/N]. The capital N means Enter alone means no, so type y to continue.
otinstaller install sherlock
otinstaller run sherlock -- someexampleuser123
The -- marks where otinstaller's own options end. Everything after it is passed to Sherlock. When the run finishes, otinstaller prints a path under results/ in the folder where you ran the command. That file is the tool's output.
To try a different tool, run otinstaller list and use its name in place of sherlock. Each tool has its own page in the documentation.
Typed inputs
Instead of remembering each tool's flags, use a typed input prefix:
| Prefix | Input | Example |
|---|---|---|
u: |
username | u:johndoe |
e: |
e:john@example.com |
|
p: |
phone | p:+15551234567 |
d: |
domain | d:example.com |
url: |
URL | url:https://example.com |
q: |
text query | q:search terms |
geo: |
coordinates | geo:32.22,-110.97 |
tg: |
Telegram channel | tg:channelname |
lat: |
latitude | lat:37.7749 |
lng: |
longitude | lng:-122.4194 |
otinstaller run sherlock -- u:johndoe
otinstaller run holehe -- e:john@example.com
otinstaller run dnstwist -- d:example.com
Each tool declares which input types it supports. Run otinstaller info <tool> to see its mapping. Plain arguments after -- are always passed to the tool unchanged, so every flag of the original tool still works.
Run every matching tool
otinstaller run --all u:johndoe
otinstaller run --all --live e:john@example.com
--all runs every installed tool that supports the given input type. Only u, e, p, d and url work with --all. Tools that need API keys or a login are skipped unless --include-credentialed is passed. Tools that monitor a target continuously (such as instagram-monitor) never run under --all or auto, because they do not exit on their own.
otinstaller auto <target> detects whether the target is an email, domain, IP, URL or username and runs the matching tools.
Command reference
| Command | What it does |
|---|---|
otinstaller init |
Create config and directories, accept the notice |
otinstaller list / --installed |
List tools |
otinstaller search <query> |
Search tools |
otinstaller info <tool> or otinstaller <tool> |
Show tool details |
otinstaller install <tool>... / --all |
Install tools |
otinstaller run <tool>... -- <args> |
Run tools |
otinstaller run --all u:... |
Run all matching tools |
otinstaller run --live |
Live status table for parallel runs |
otinstaller run --case <name> |
Group runs under a named case |
otinstaller auto <target> |
Detect the target type and run matching tools |
otinstaller playbook [name] [target] / --list |
Run or list playbooks |
otinstaller example <tool> |
Show example output |
otinstaller extract <target> |
Extract indicators from saved results |
otinstaller diff <tool> <target> |
Compare the two most recent runs |
otinstaller update / --all / --check-only |
Update tools |
otinstaller check-updates |
Check for updates (read-only) |
otinstaller remove <tool>... / --all |
Remove tools |
otinstaller keys check |
Check API keys |
otinstaller resume |
Handle interrupted jobs |
otinstaller doctor |
Check the machine |
otinstaller about |
Show the banner and credits |
Scripts and AI agents
Every command supports --json. Commands never prompt when --yes or -y is given, or when stdin is not a terminal. otinstaller's own errors exit with 1 (error), 2 (invalid input) or 130 (interrupted). For a single-tool run, the tool's own exit code is returned and also recorded in the .meta.json file.
The startup banner is only shown in an interactive terminal. It is never printed with --json or when output is piped, and OTINSTALLER_NO_BANNER=1 turns it off completely.
For AI agents, see llms.txt.
Results
Results are saved to ./results/<tool>/<target>/ using the filename pattern <YYYYmmdd-HHMMSS>_<tool>_<target>_<runid>.<ext> plus a .meta.json sidecar. Results go to ./results/ in the folder where the command is run, so run it from the same folder each time, or set OTINSTALLER_RESULTS_DIR to a fixed path.
results/sherlock/testuser/20260929-123456_sherlock_testuser_abc123.txt
results/sherlock/testuser/20260929-123456_sherlock_testuser_abc123.meta.json
Results can contain personal data. Store and share them accordingly.
API keys
One env file holds all API keys: ~/.otinstaller/.env, permissions 600. From that file, each tool only receives the keys it declares in its registry entry. Tools also inherit your shell environment, so do not export secrets you do not want tools to see. Run otinstaller keys check to verify your keys.
Resume
If a run or install is cut off by a crash, a kill or a power loss, otinstaller leaves a job marker in ~/.otinstaller/jobs/. Run otinstaller resume to handle it:
- For installs: cleans up partial state and retries the install.
- For runs: reports the interrupted run and prints the command to rerun.
Pressing Ctrl+C stops cleanly and removes the marker, so there is nothing to resume. Use otinstaller resume --dry-run to preview, and --json for machine-readable output. Partial output from interrupted runs is always kept.
Responsible use
OTinstaller installs and runs third-party open-source tools. It does not create, own or verify them. Many are dual-use: used for fraud investigations, journalism, security research and compliance, but capable of misuse.
Use them only on targets you are authorized to investigate, and follow the laws that apply to you and the terms of the services you query. Do not use them to harass, stalk or harm anyone.
Tools tagged dual-use in the registry print a notice and ask for confirmation before installing, unless --yes is given. The full notice is accepted on first otinstaller init, and otinstaller init shows it again any time.
Team
 Sushant Koul Builder GitHub · LinkedIn |
 Dheeraj Yadav OSINTverse GitHub · X |
Built by OSINTverse. Contributions, bug reports and new tool suggestions are welcome through issues.
License
MIT. See LICENSE.
1 maintainer

Metadata
1 maintainer
Release files for otinstaller 0.0.2
For a detailed explanation of source distributions (sdists) and built distributions (wheels), please see the package formats documentation.
Source distribution (sdist)
| File | Size | Uploaded | |
|---|---|---|---|
| otinstaller-0.0.2.tar.gz | 1.1 MB | Details |
Built distribution (wheel)
| File | Interpreter | ABI | Platform | Reset |
|---|---|---|---|---|
| otinstaller-0.0.2-py3-none-any.whl | Python 3 | none | any | Details |
Total release size: 1.1 MB
Release files / otinstaller-0.0.2.tar.gz
| Download URL | otinstaller-0.0.2.tar.gz |
|---|---|
| Size | 1.1 MB |
| Tags | Source |
|
SHA-256 checksum How to use checksums |
144243ea743ce04d0650ab5815ed49bbba9808b6db47b4c77c66fdc4b36e0c12
|
|
BLAKE2b-256 checksum How to use checksums |
2fcd8149a3ae4138a949d3abeb012c9a637ceca8ac60ff460a0e3c90e9a49fa0
|
| Upload date | |
|
Uploaded using Trusted Publishing? What is trusted publishing? |
No |
| Uploaded via |
twine/7.0.0 CPython/3.13.7
|
Release files / otinstaller-0.0.2-py3-none-any.whl
| Download URL | otinstaller-0.0.2-py3-none-any.whl |
|---|---|
| Size | 73.3 kB |
| Tags | Python 3 |
|
SHA-256 checksum How to use checksums |
6b90a6a0d70b79811180fcfd175393dca8b70f1c63fc3df7254259d200dca22a
|
|
BLAKE2b-256 checksum How to use checksums |
5b9d4b7ceb151cb8bf10f617f946e51a7d45b7ba172de6a891c4aba934b54588
|
| Upload date | |
|
Uploaded using Trusted Publishing? What is trusted publishing? |
No |
| Uploaded via |
twine/7.0.0 CPython/3.13.7
|














