IBL rendering module supporting real-time reflections and post-processing effects in Panda3D

Project description
panda3d-complexpbr
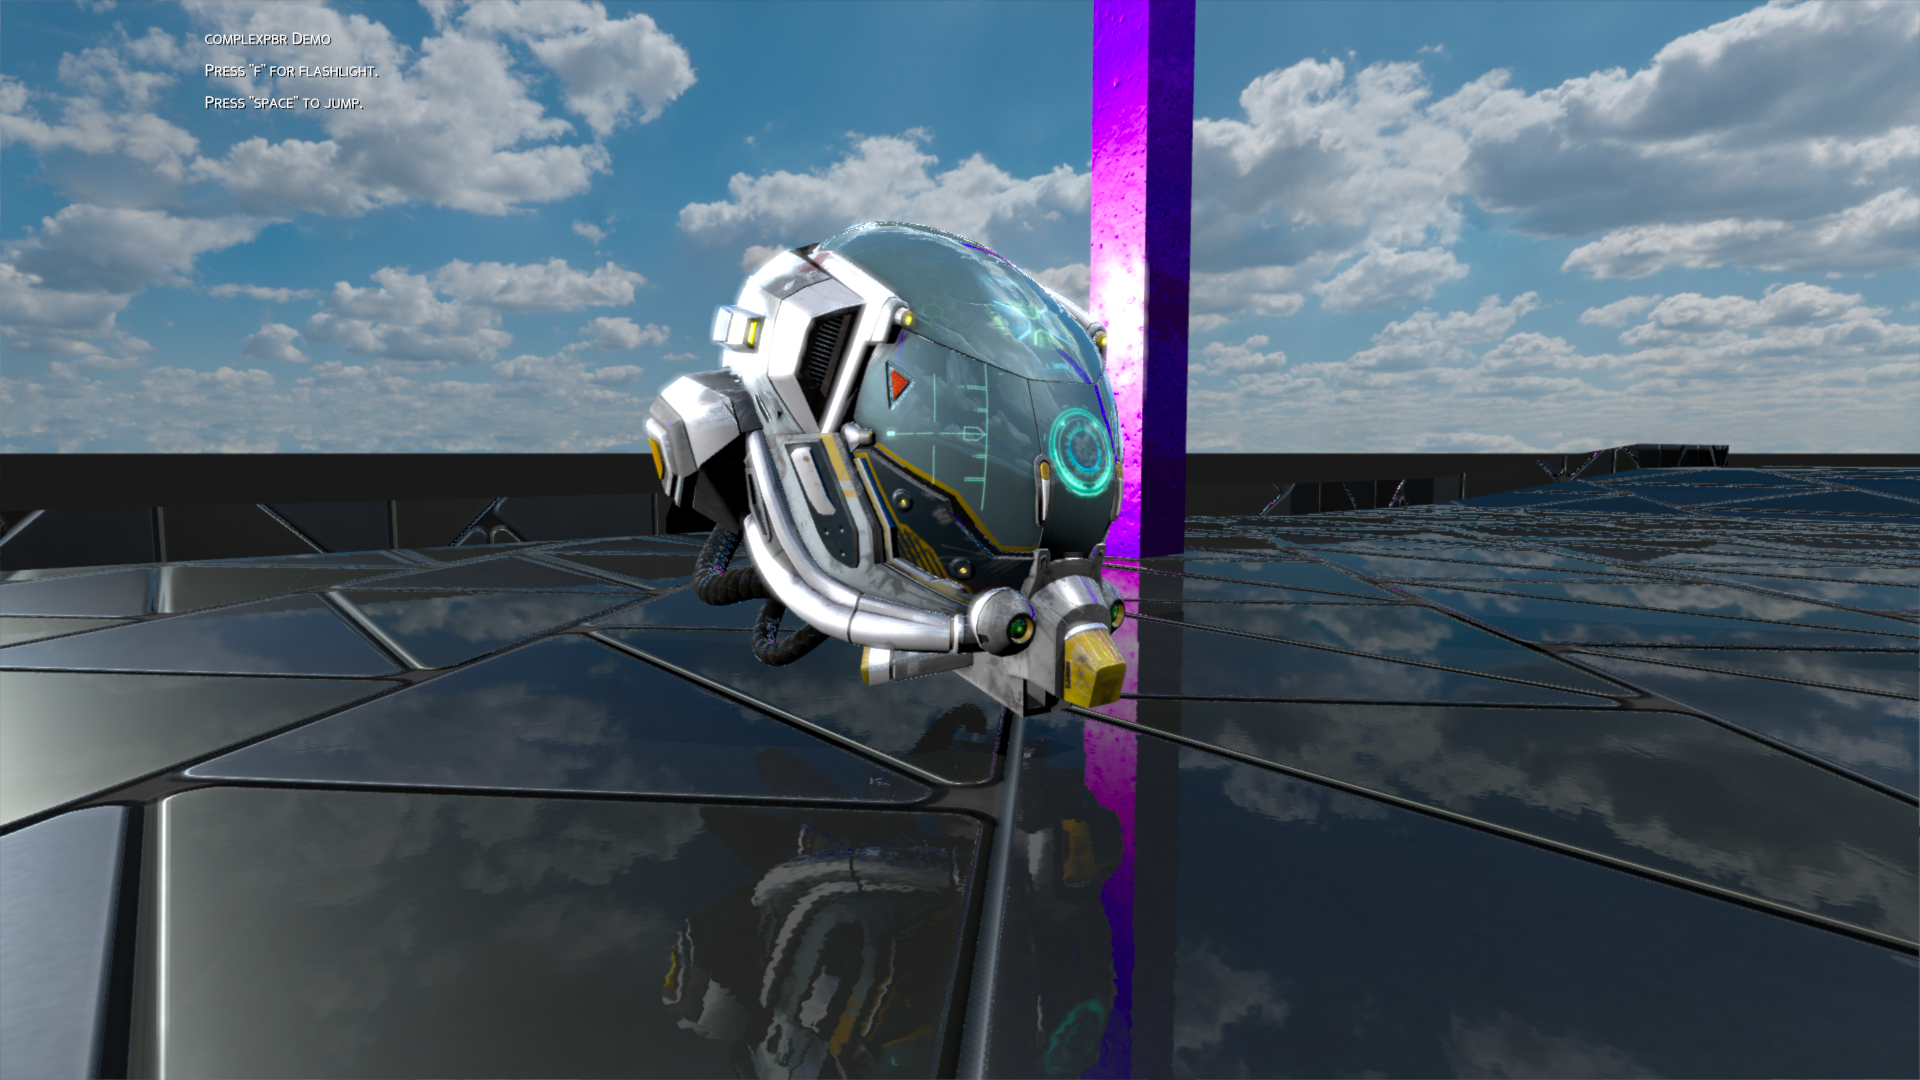
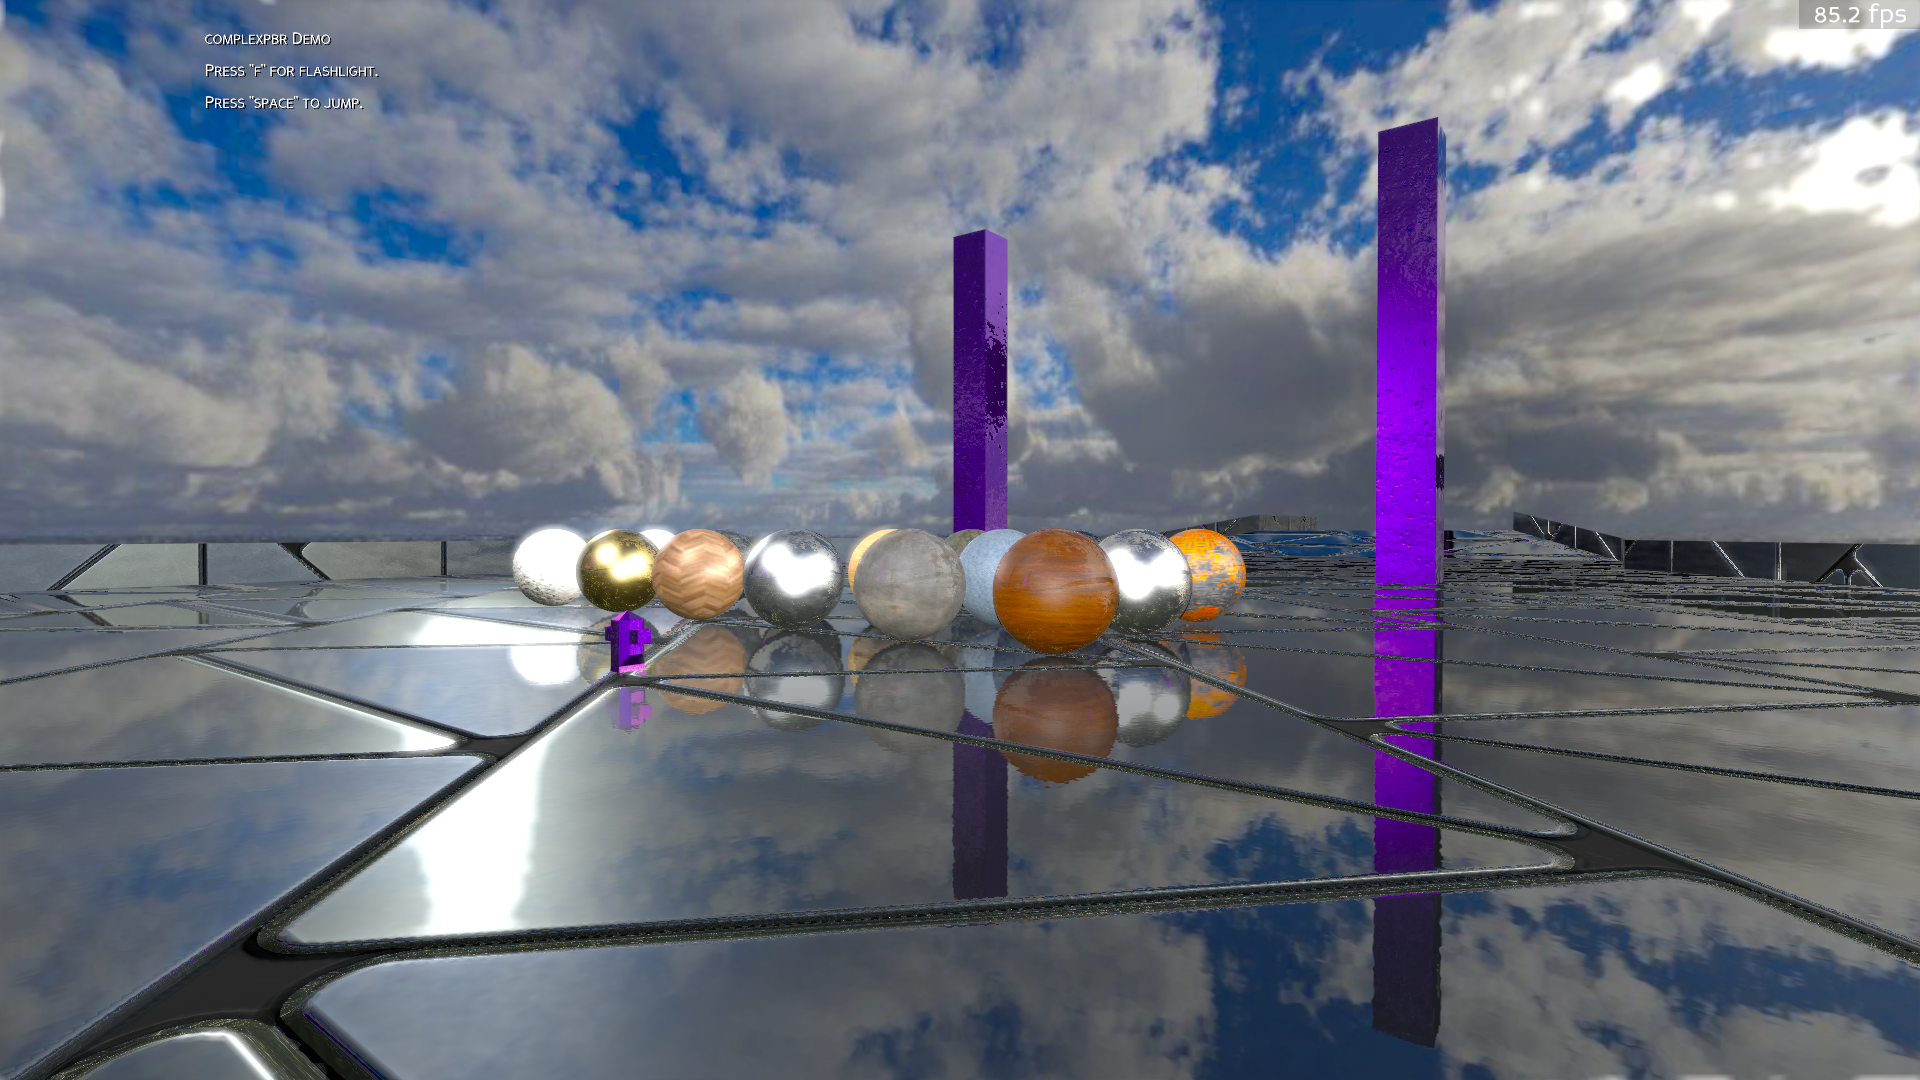
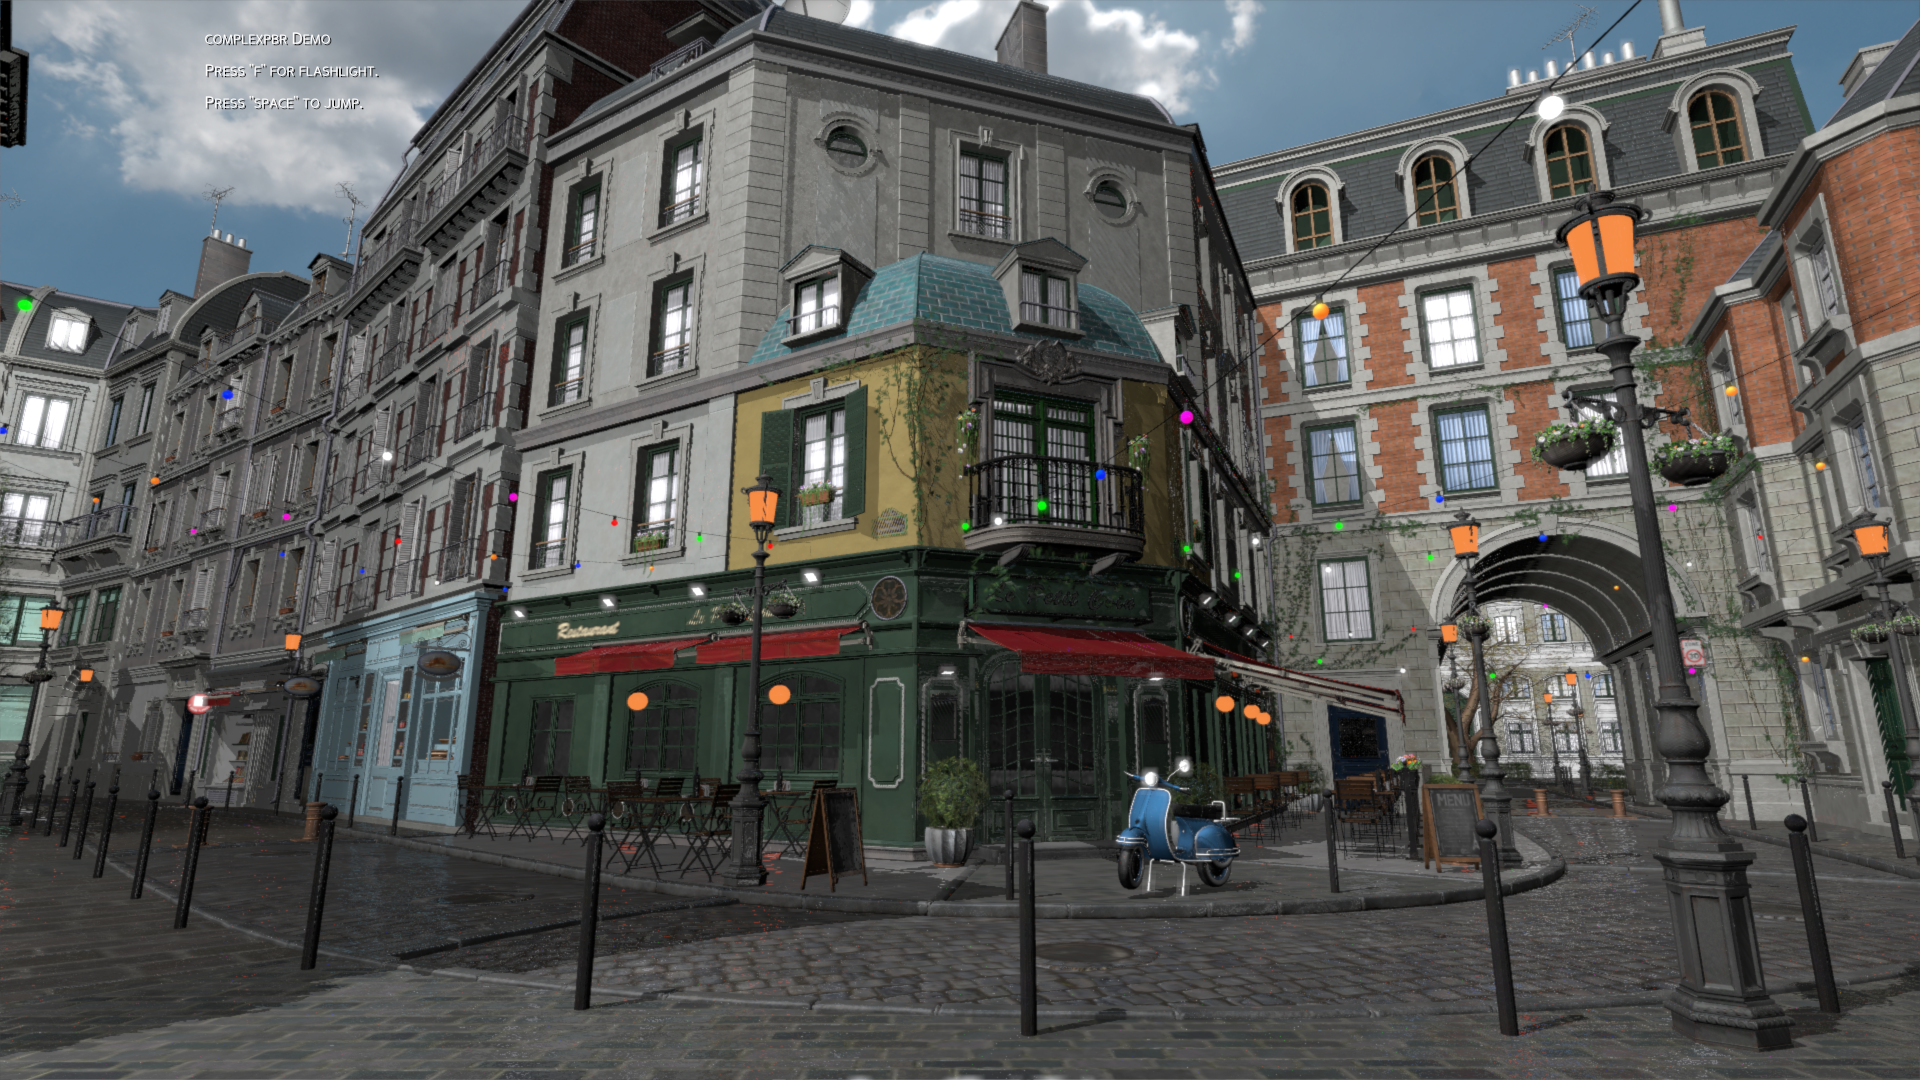
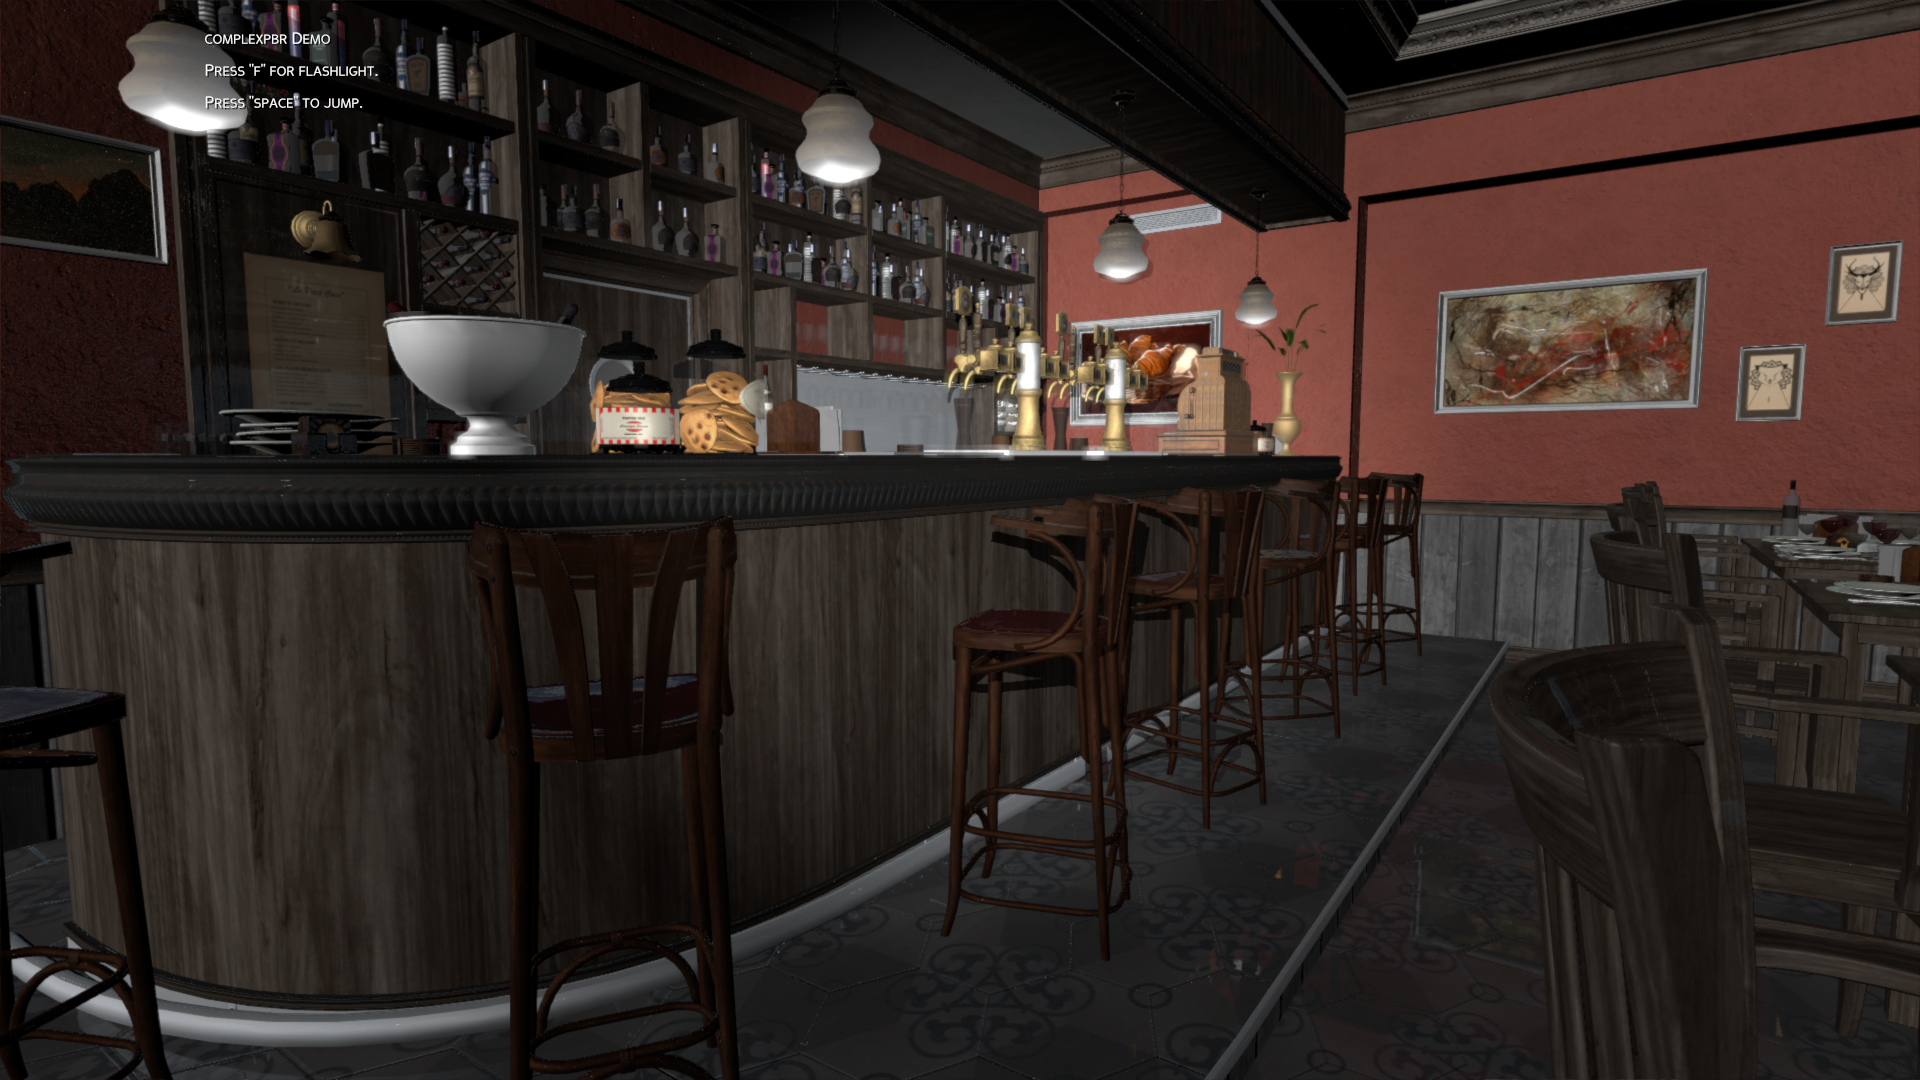
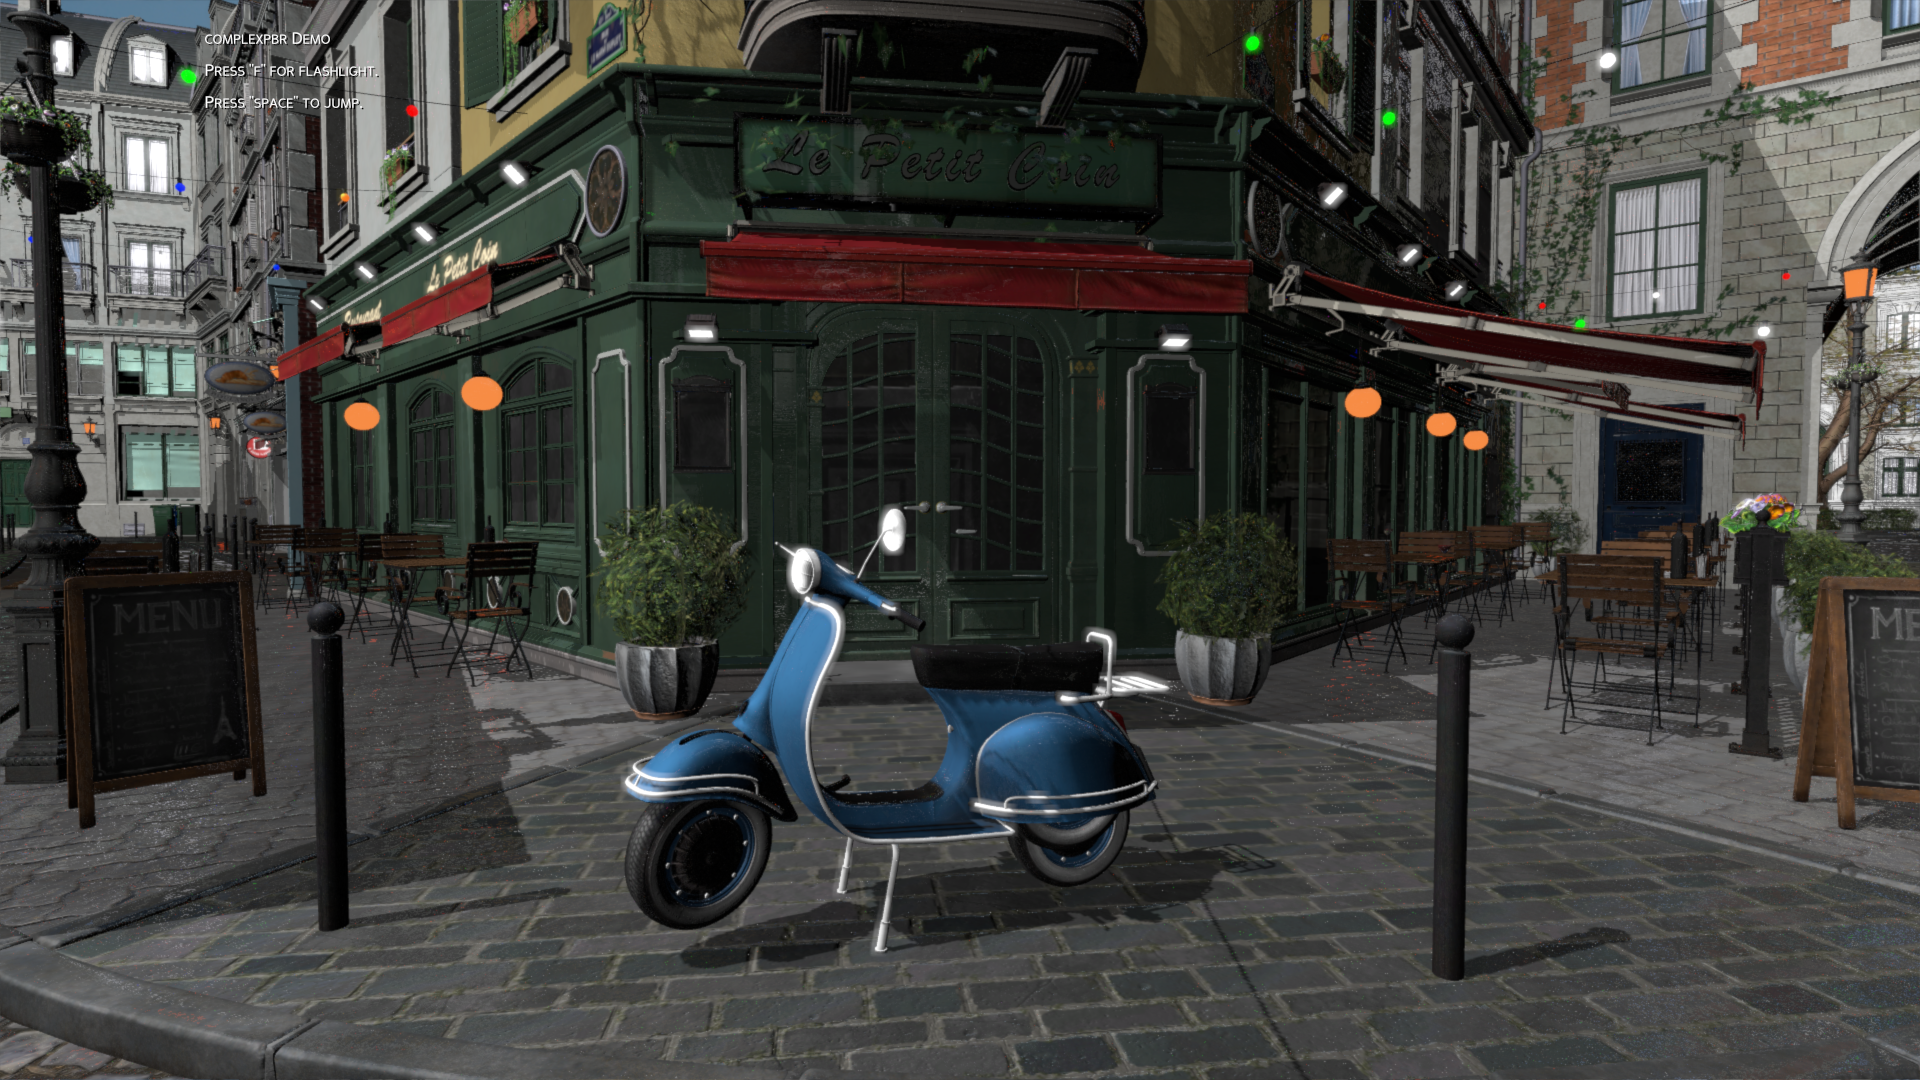
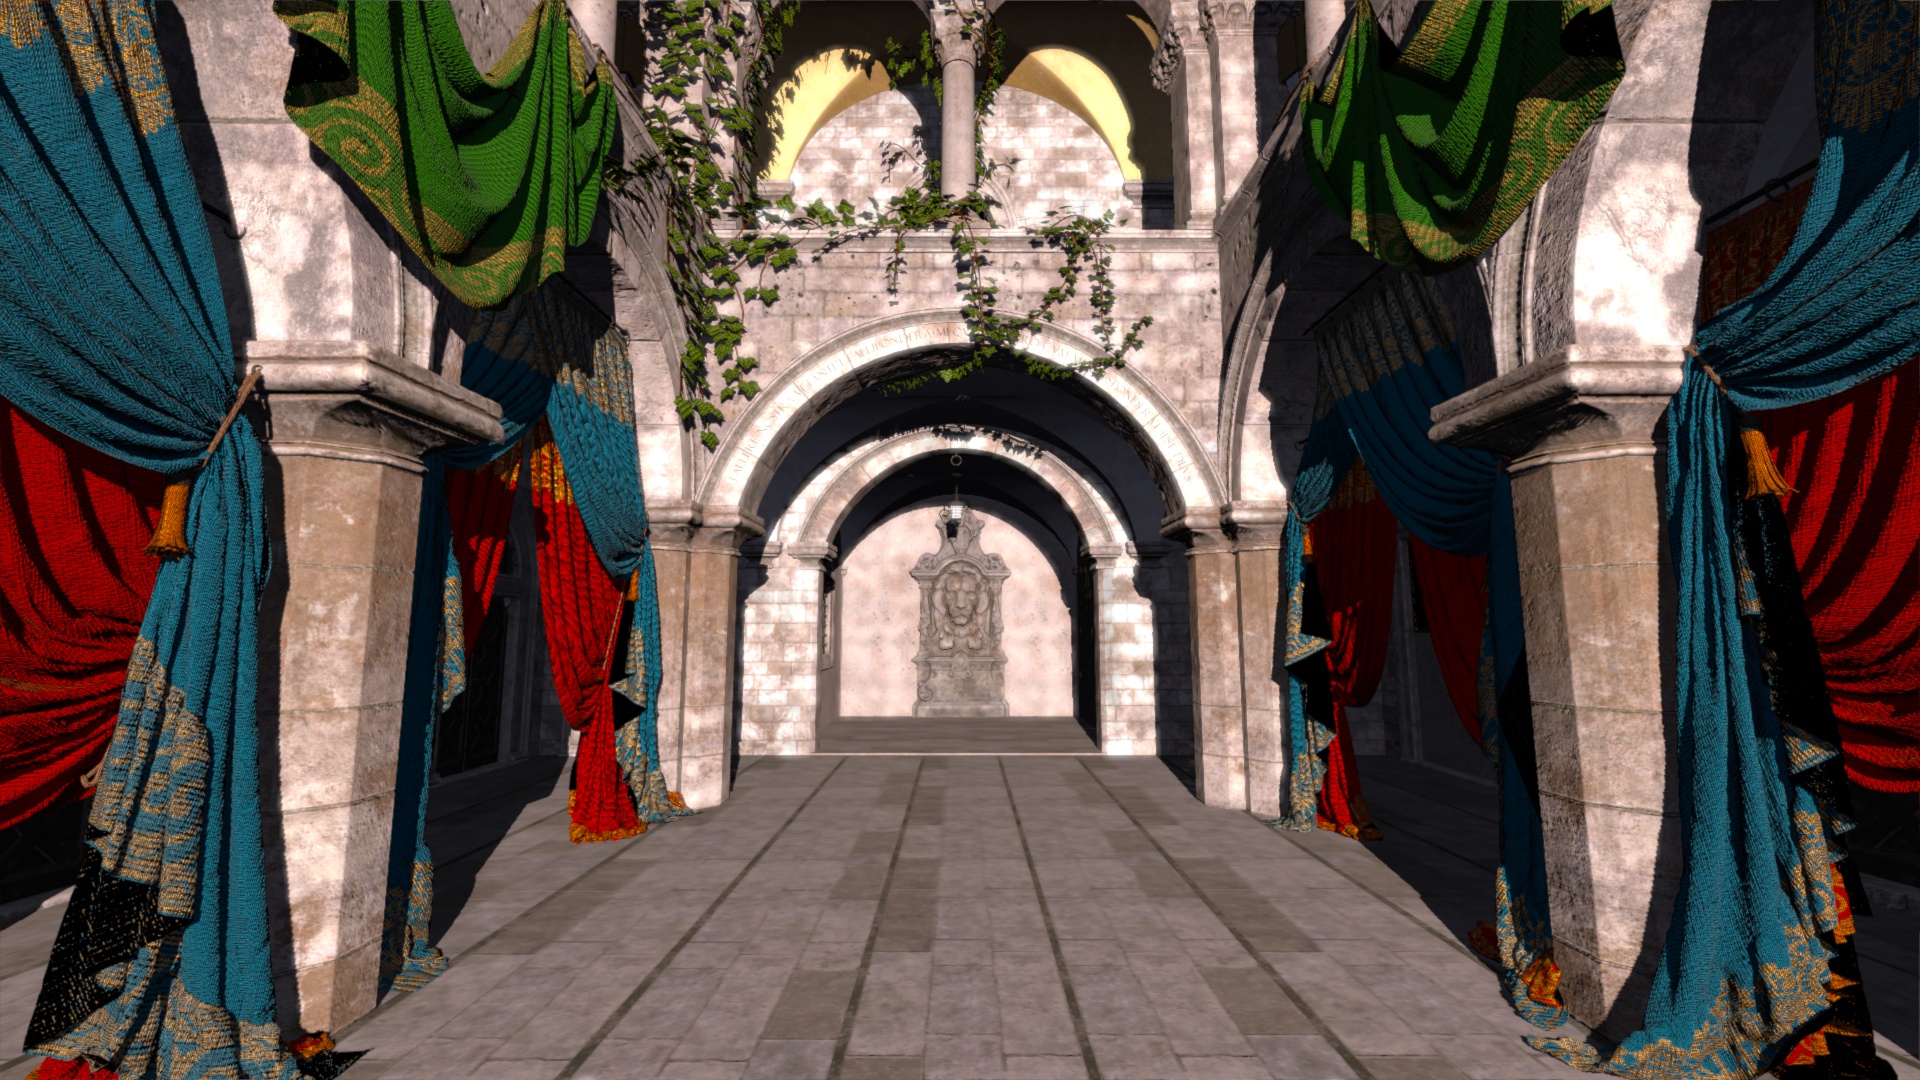
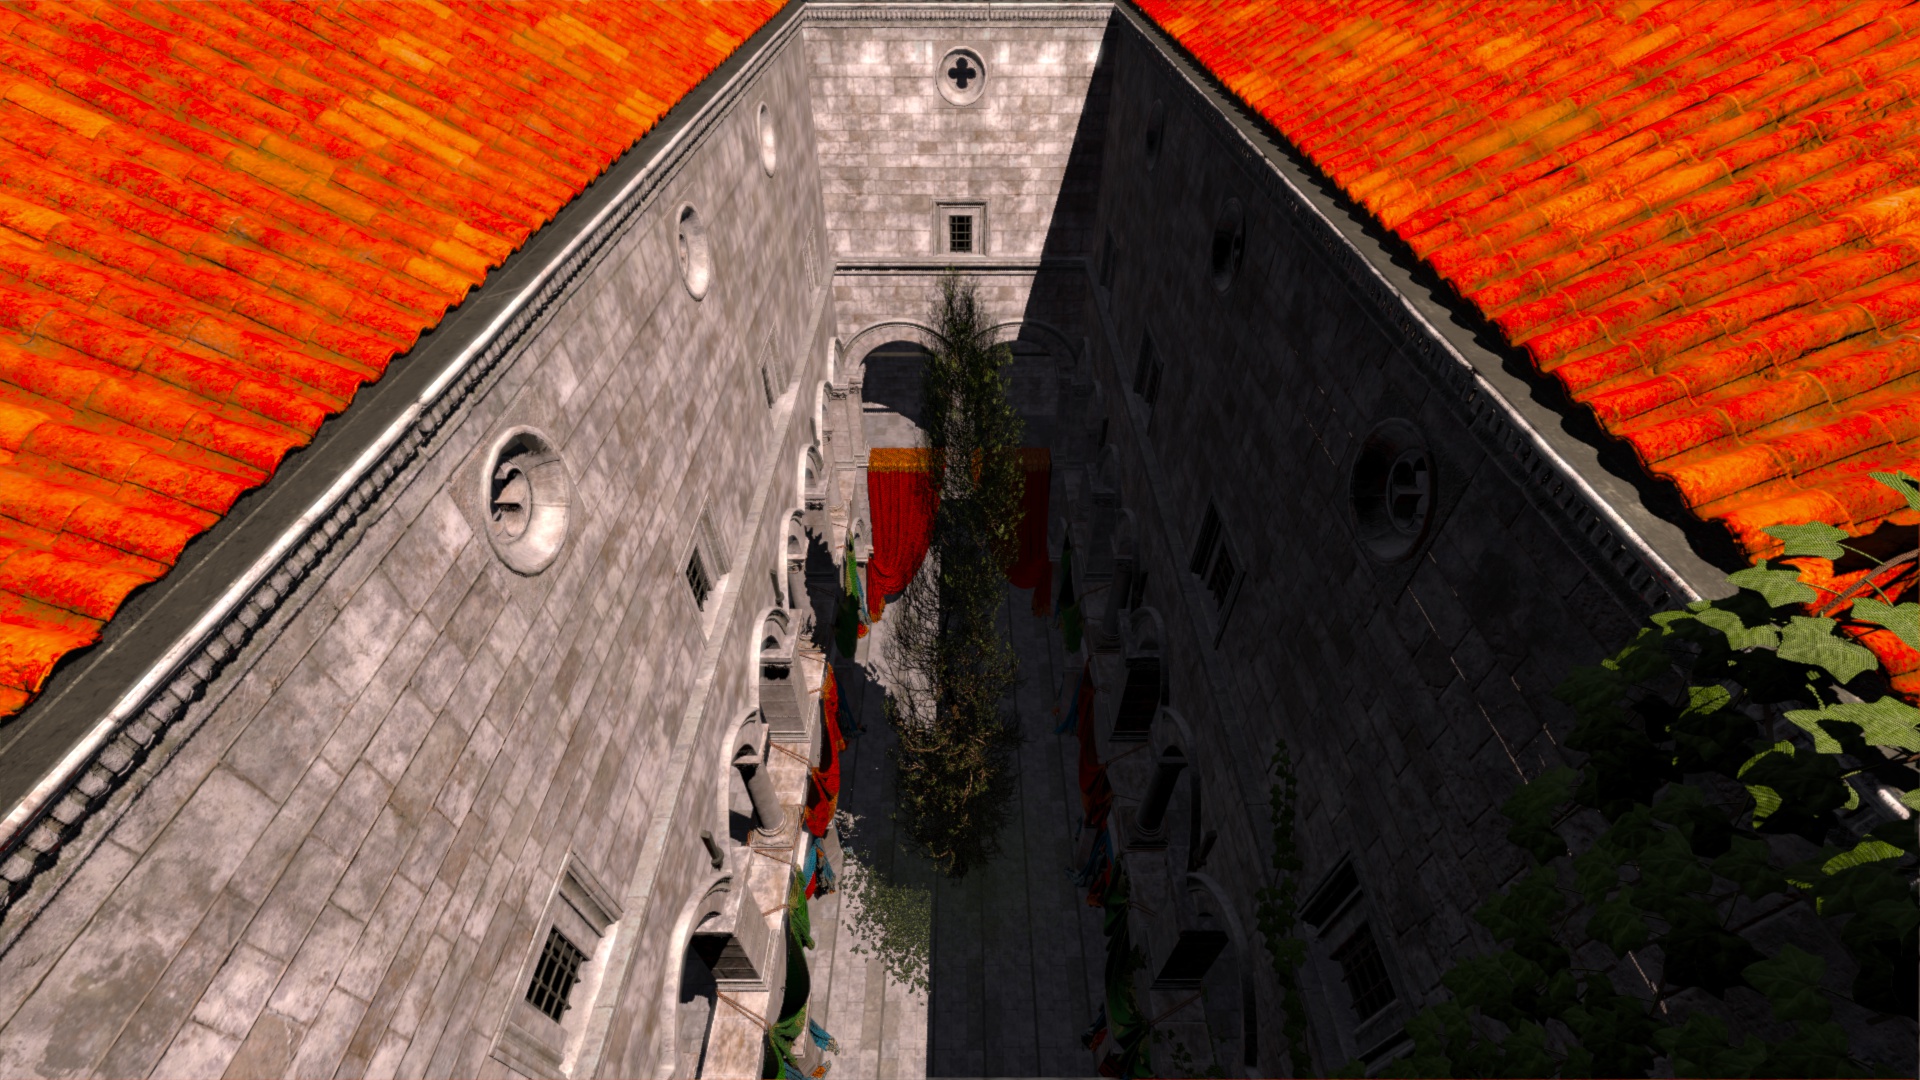
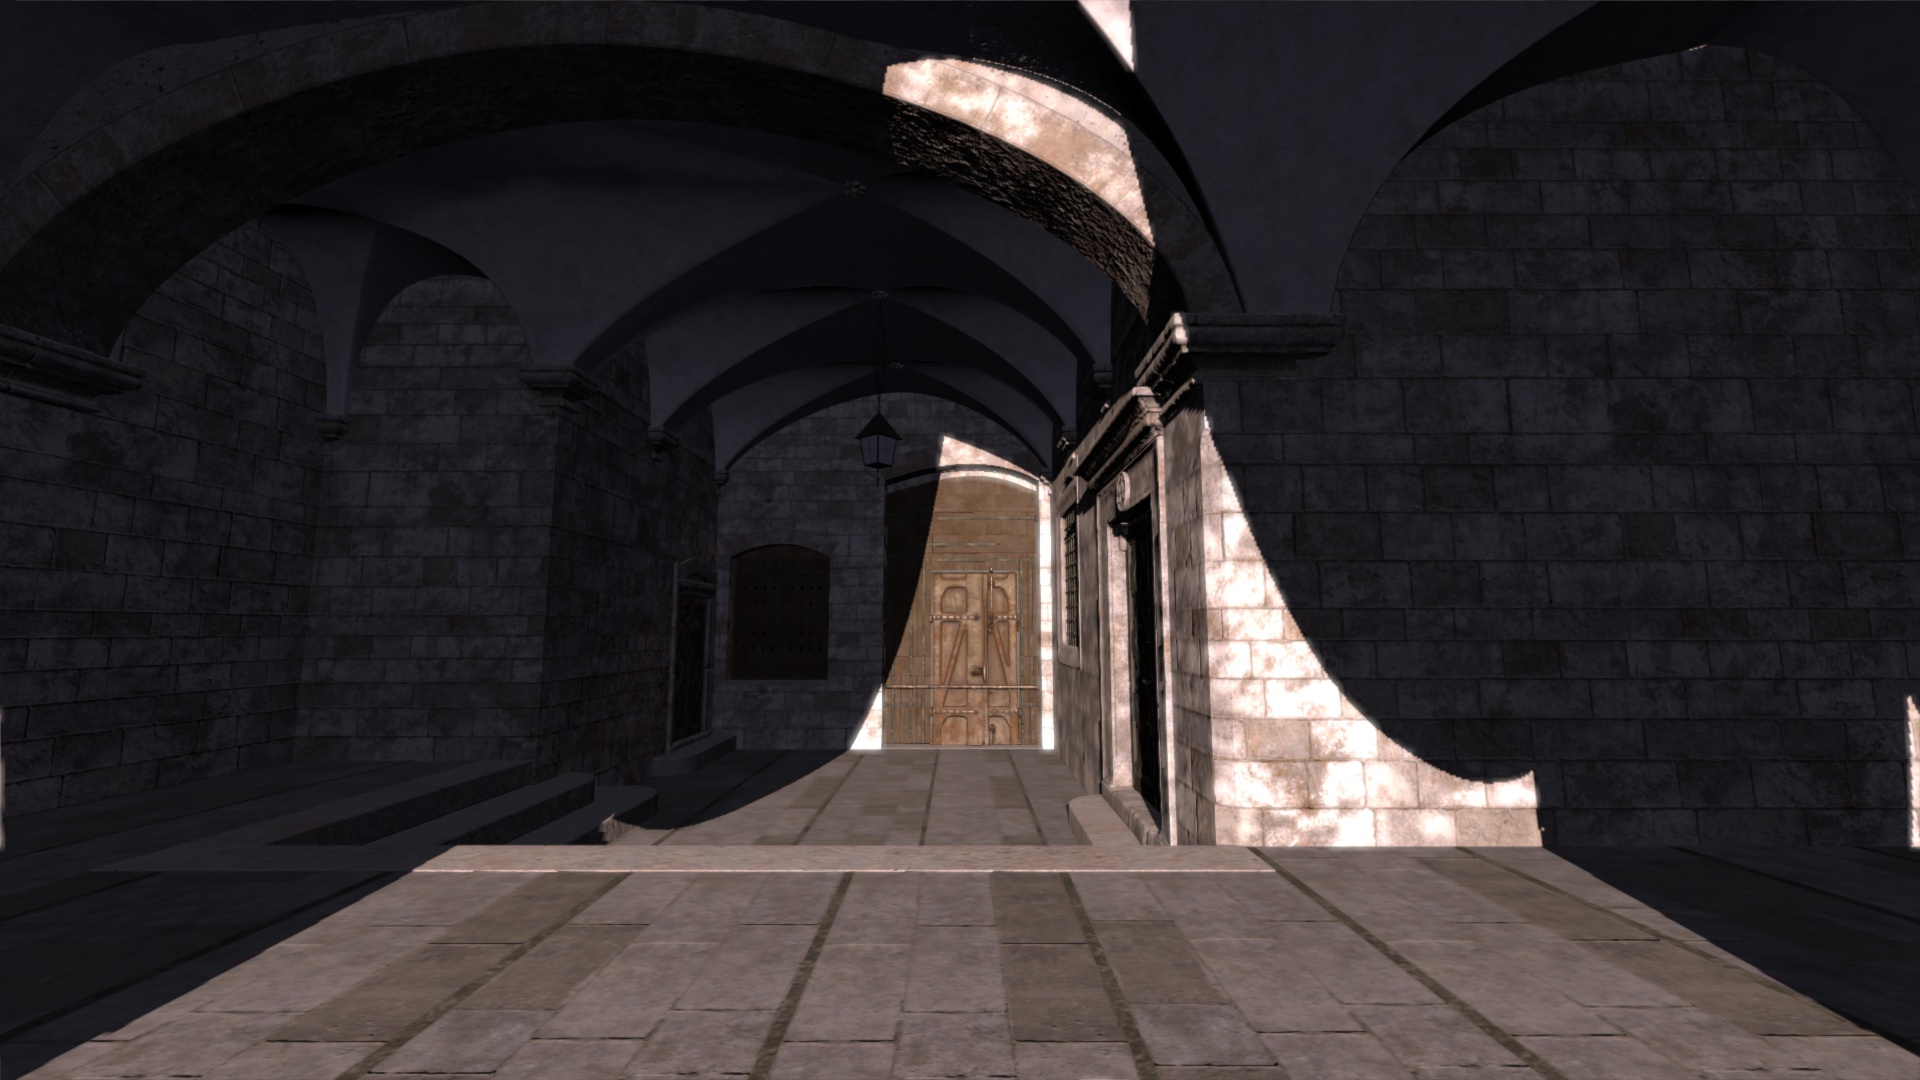
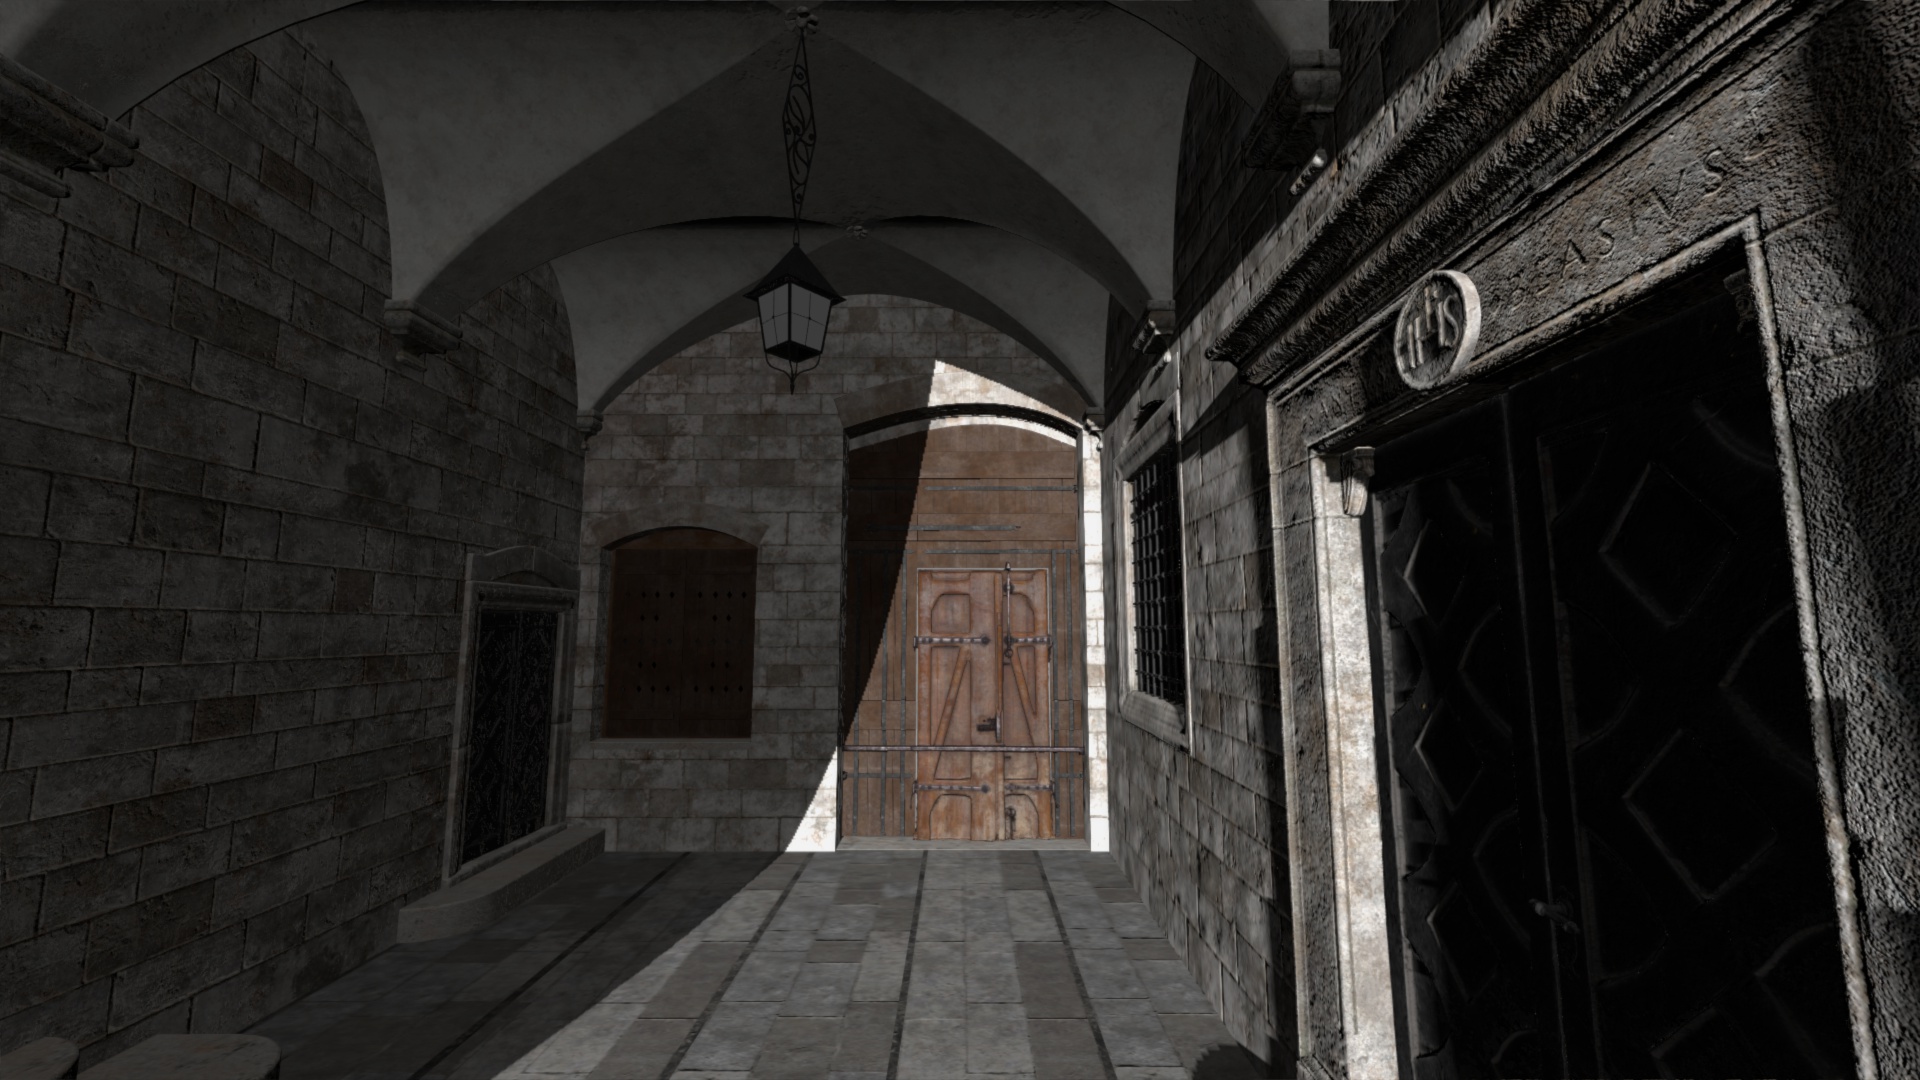
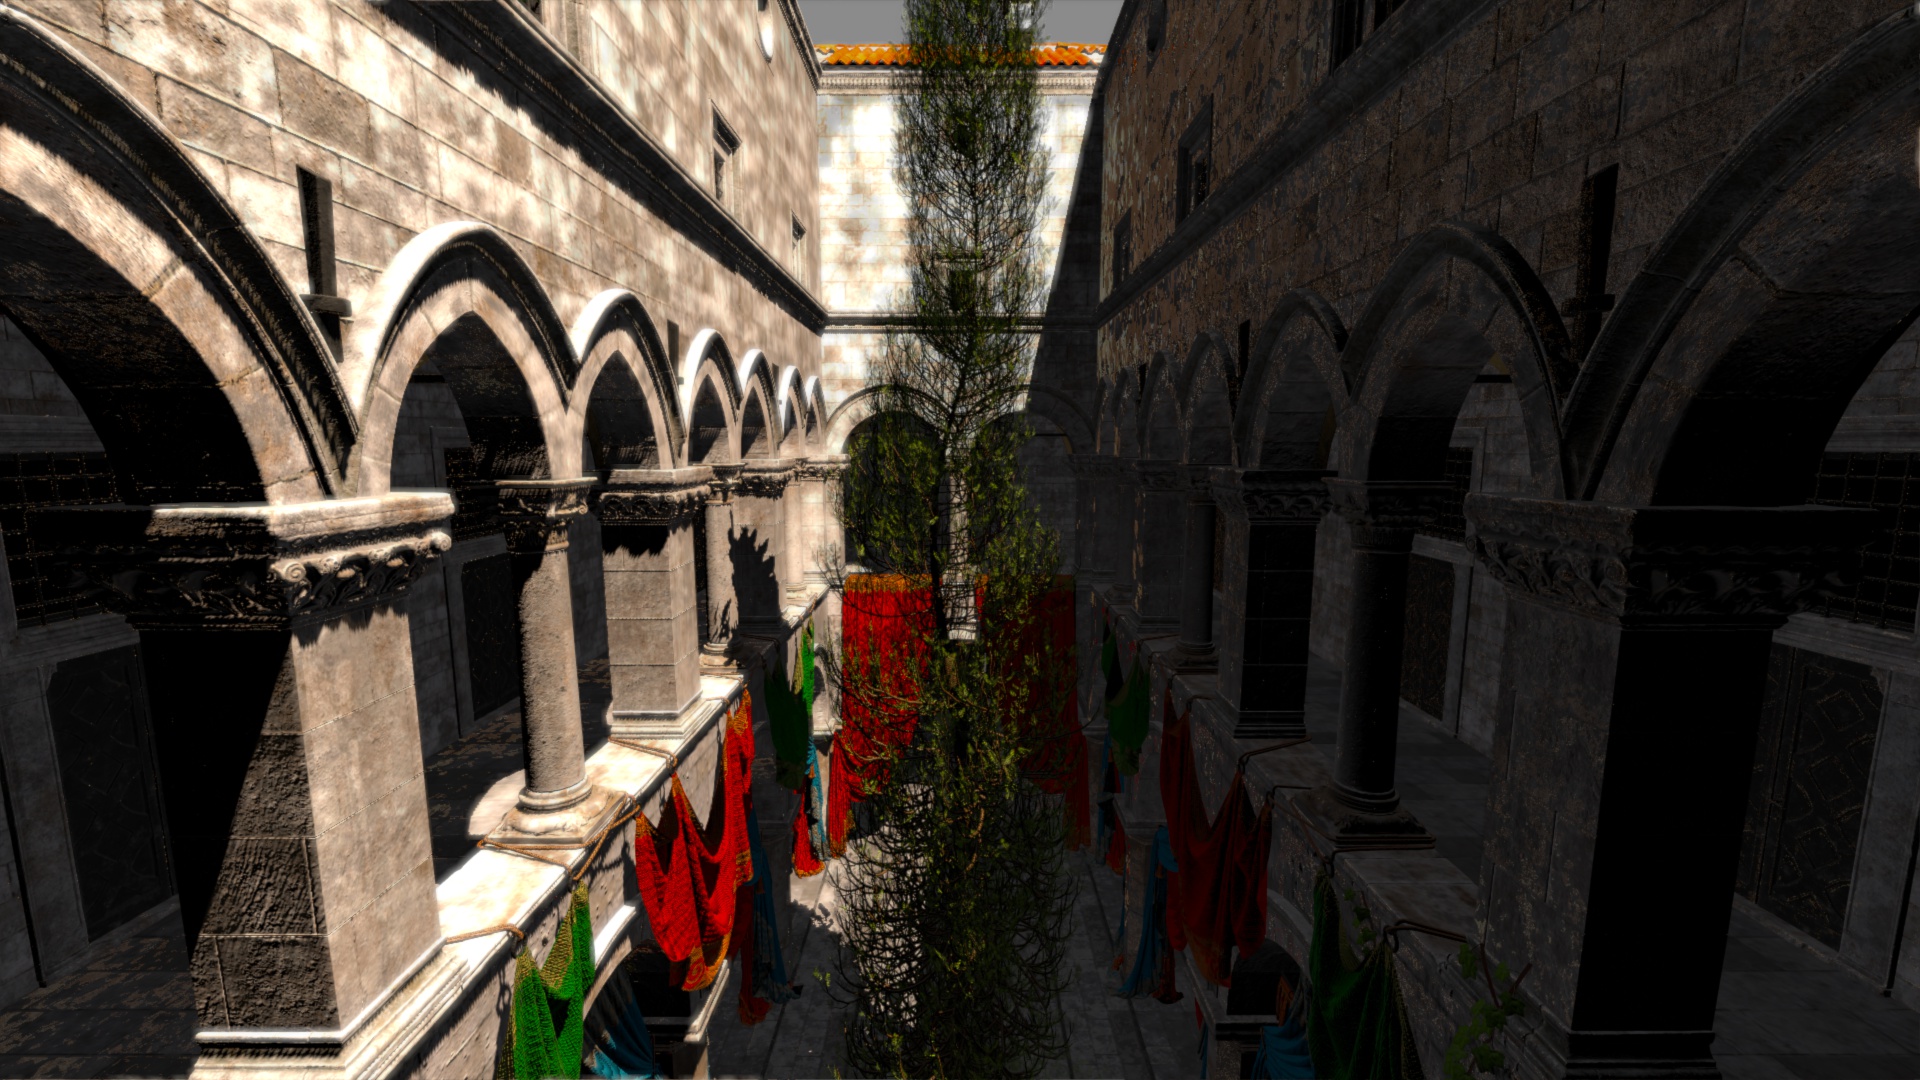
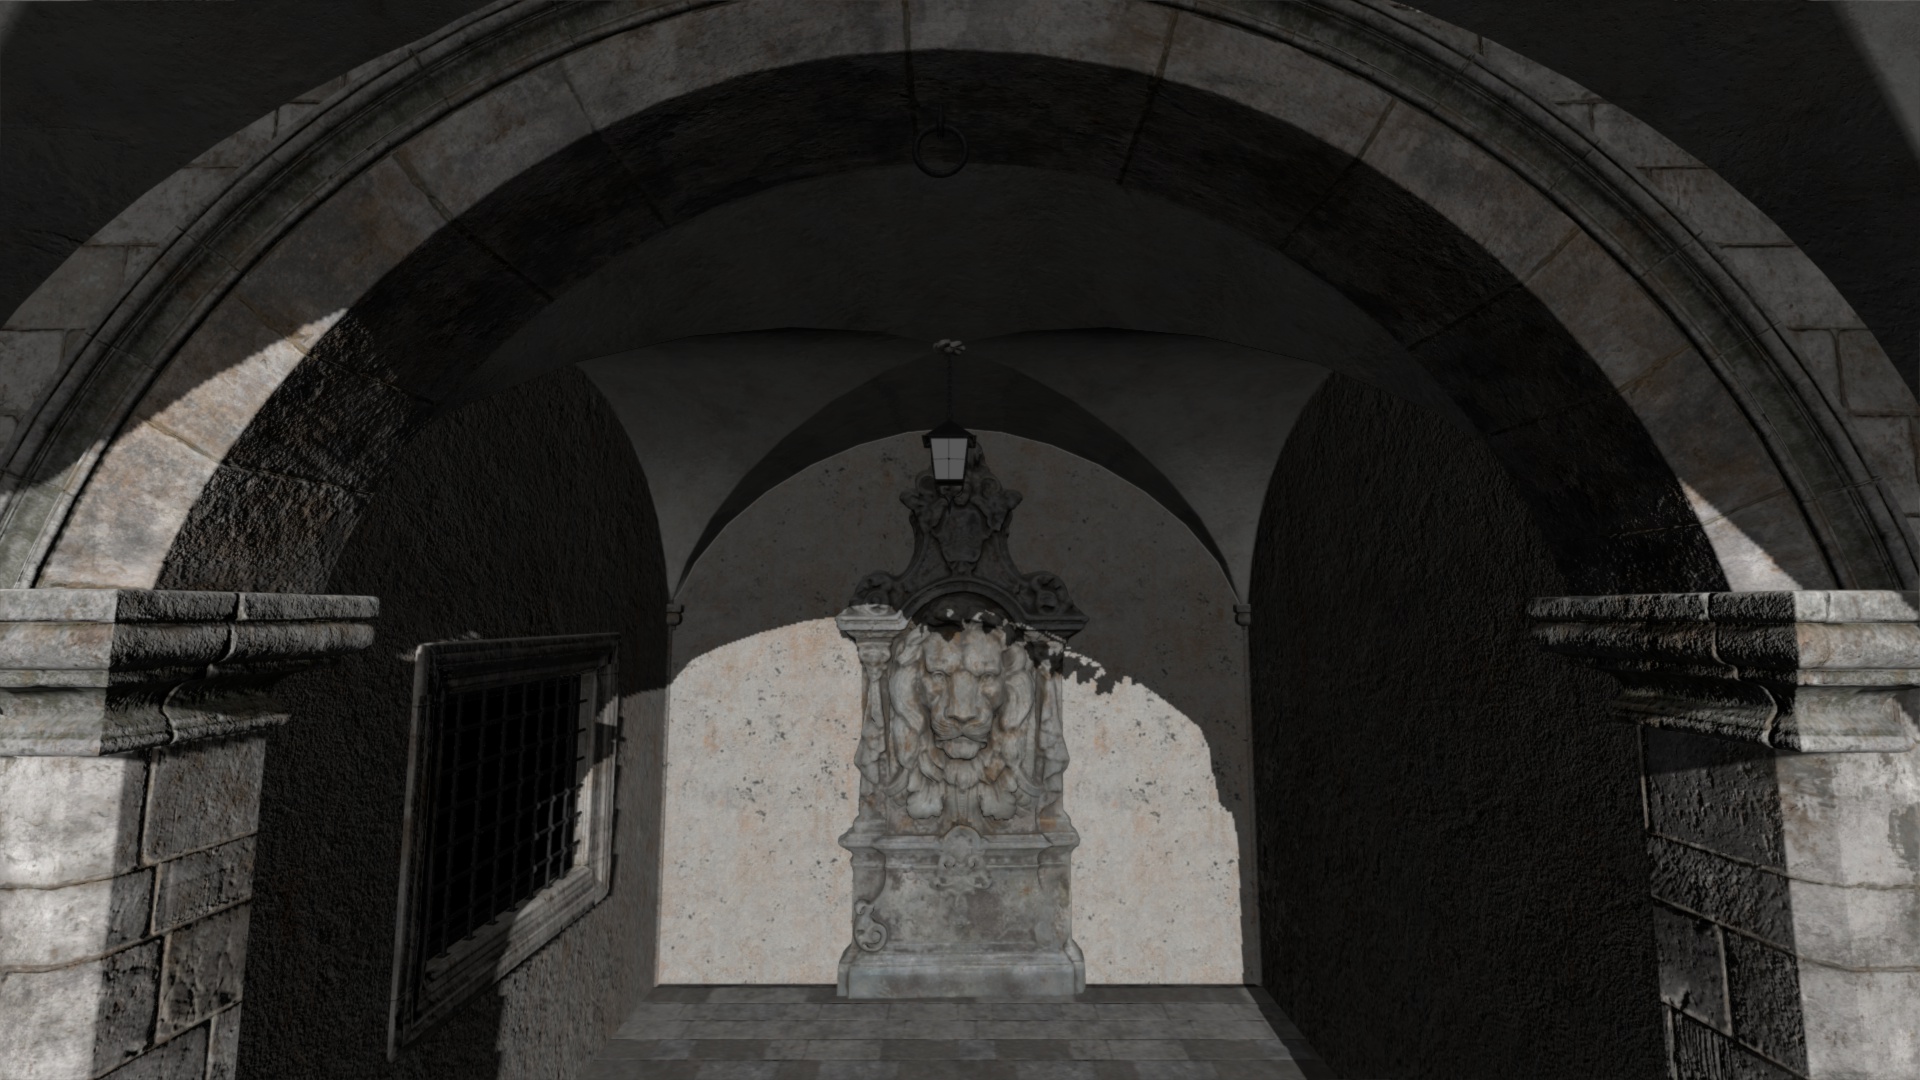
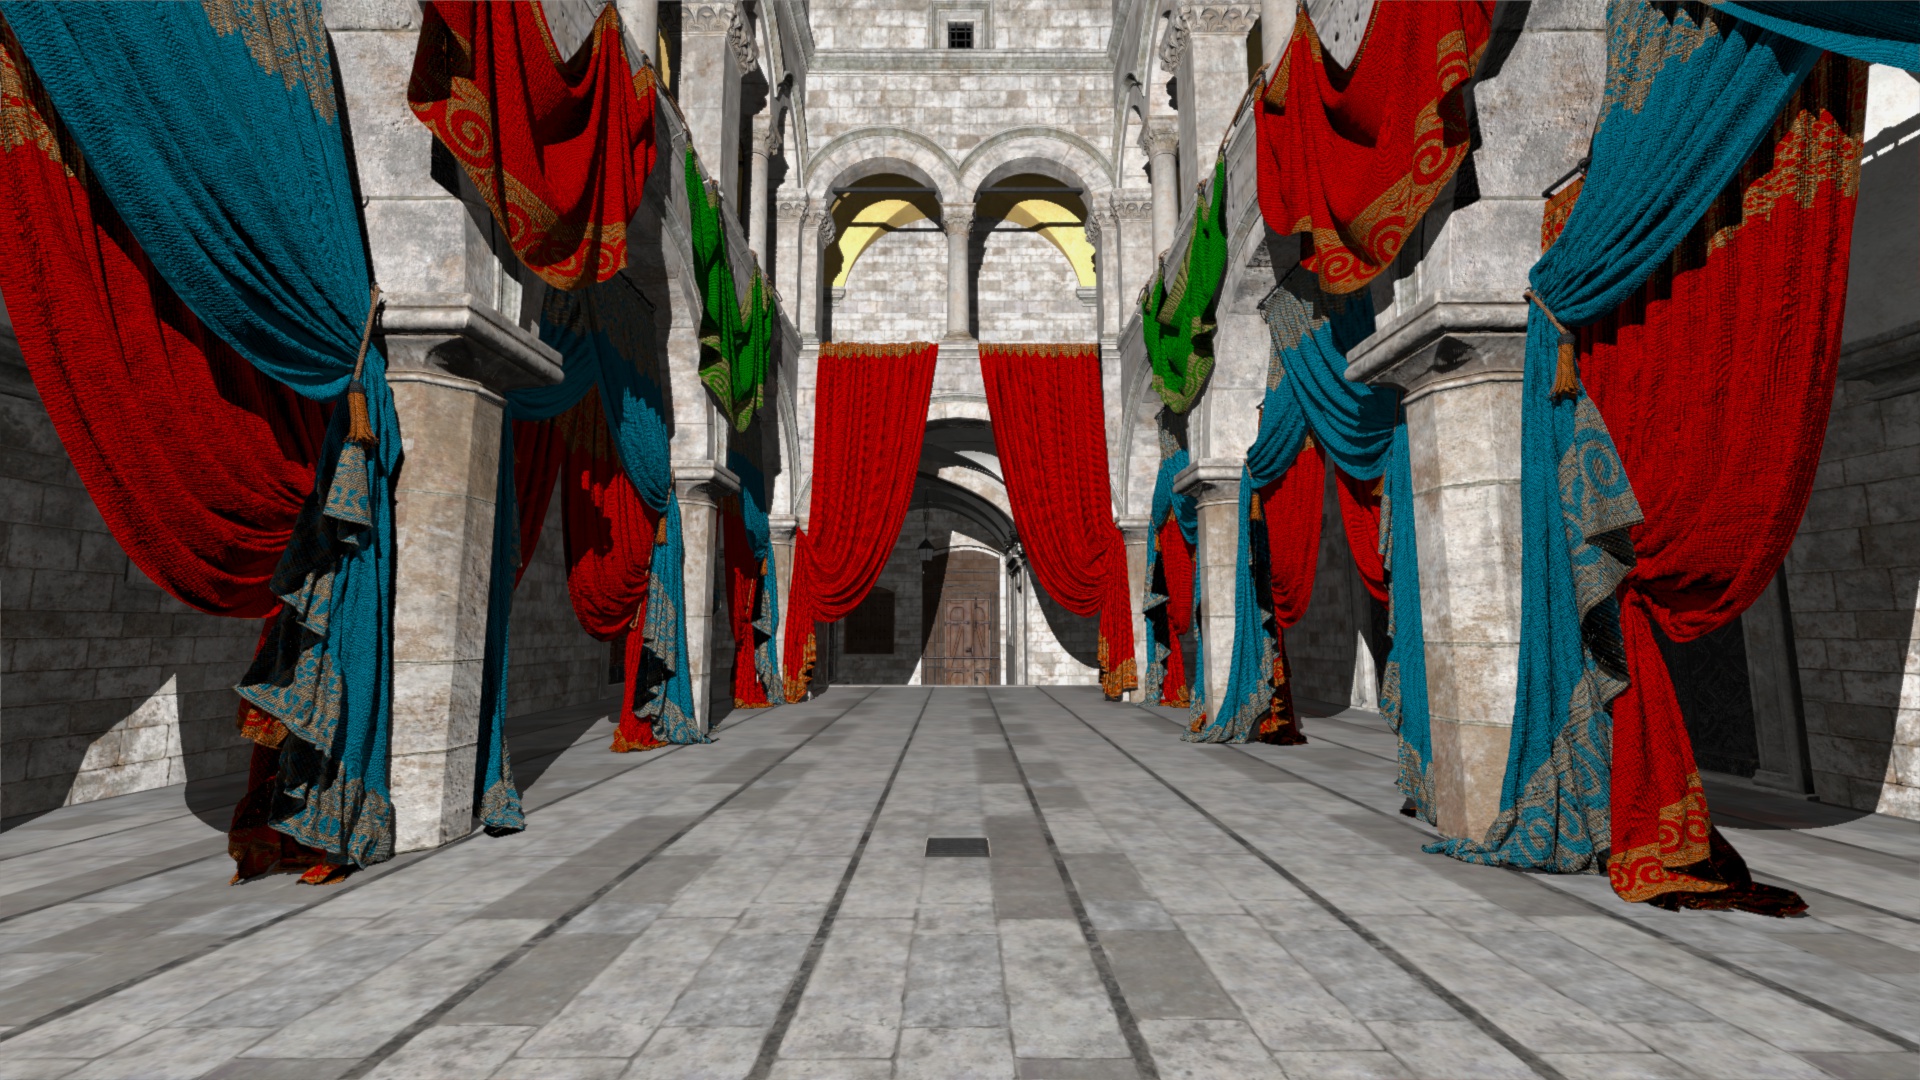
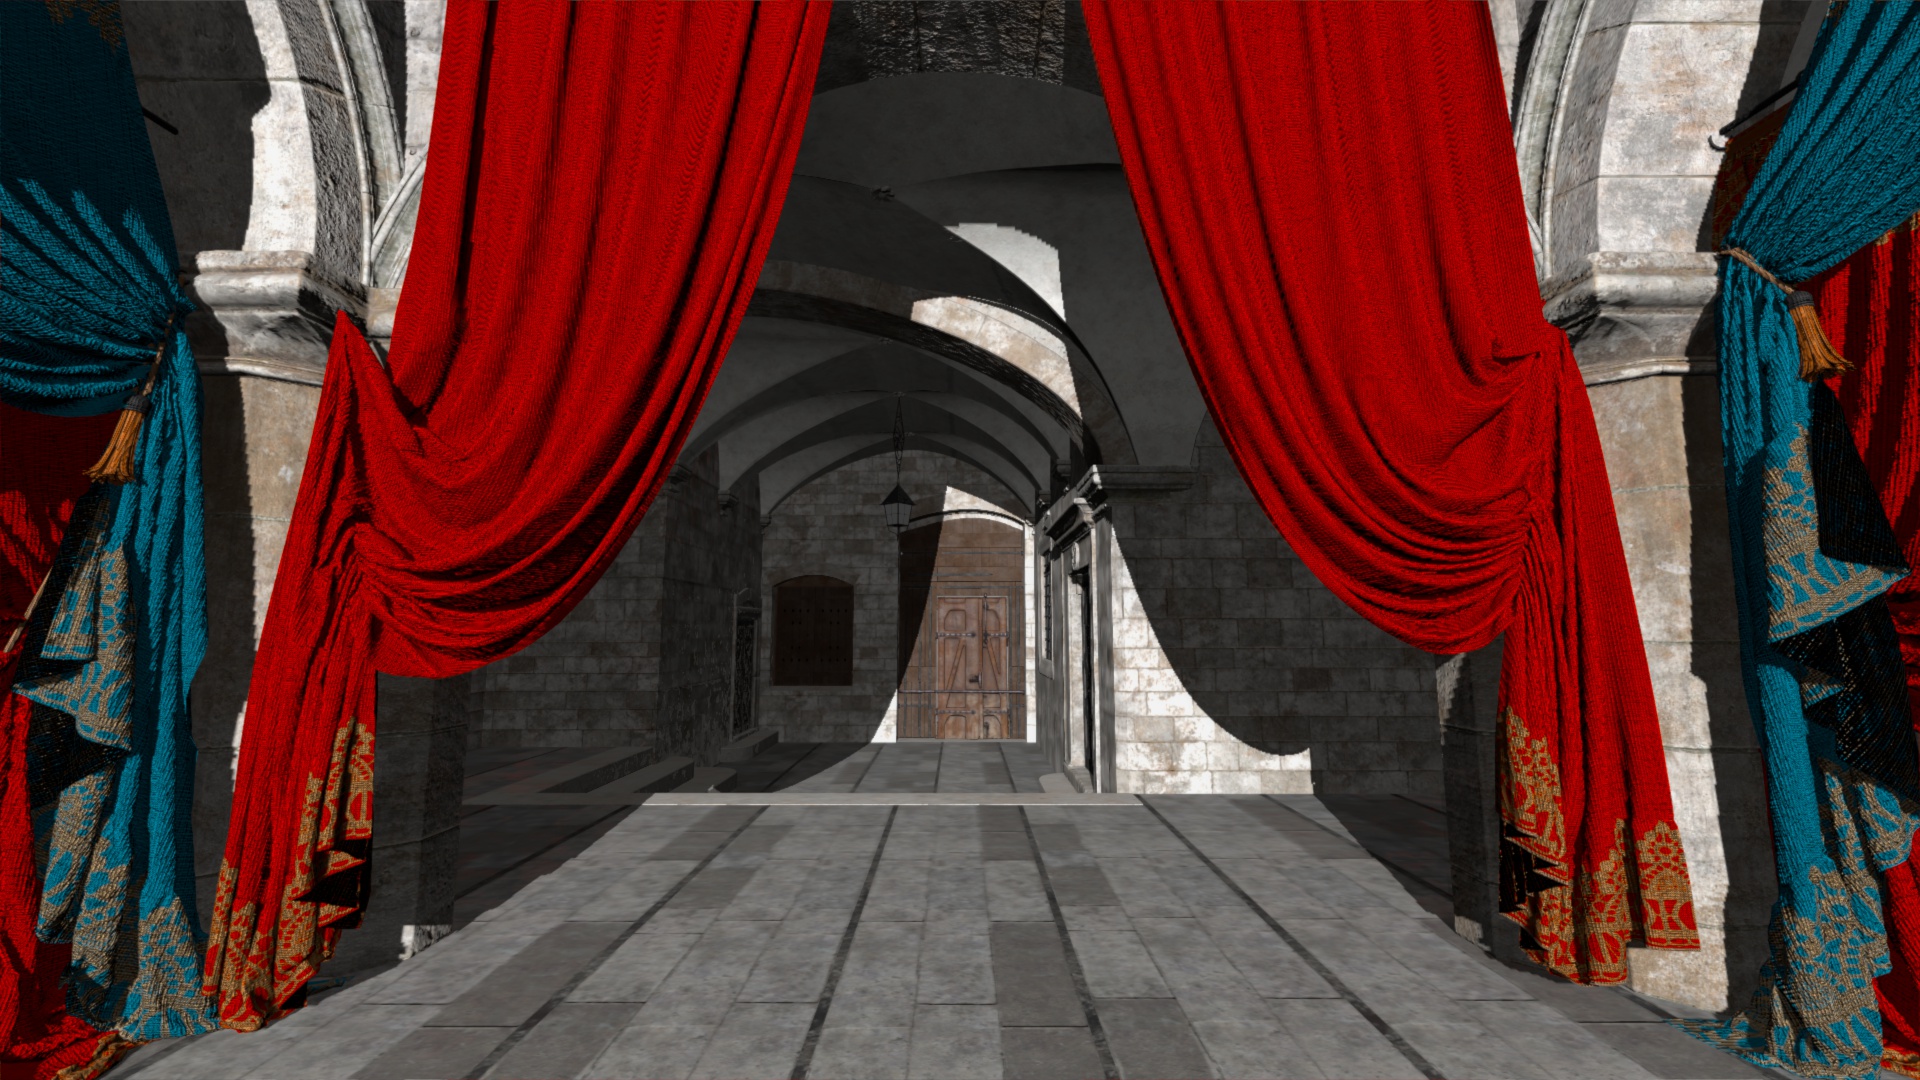
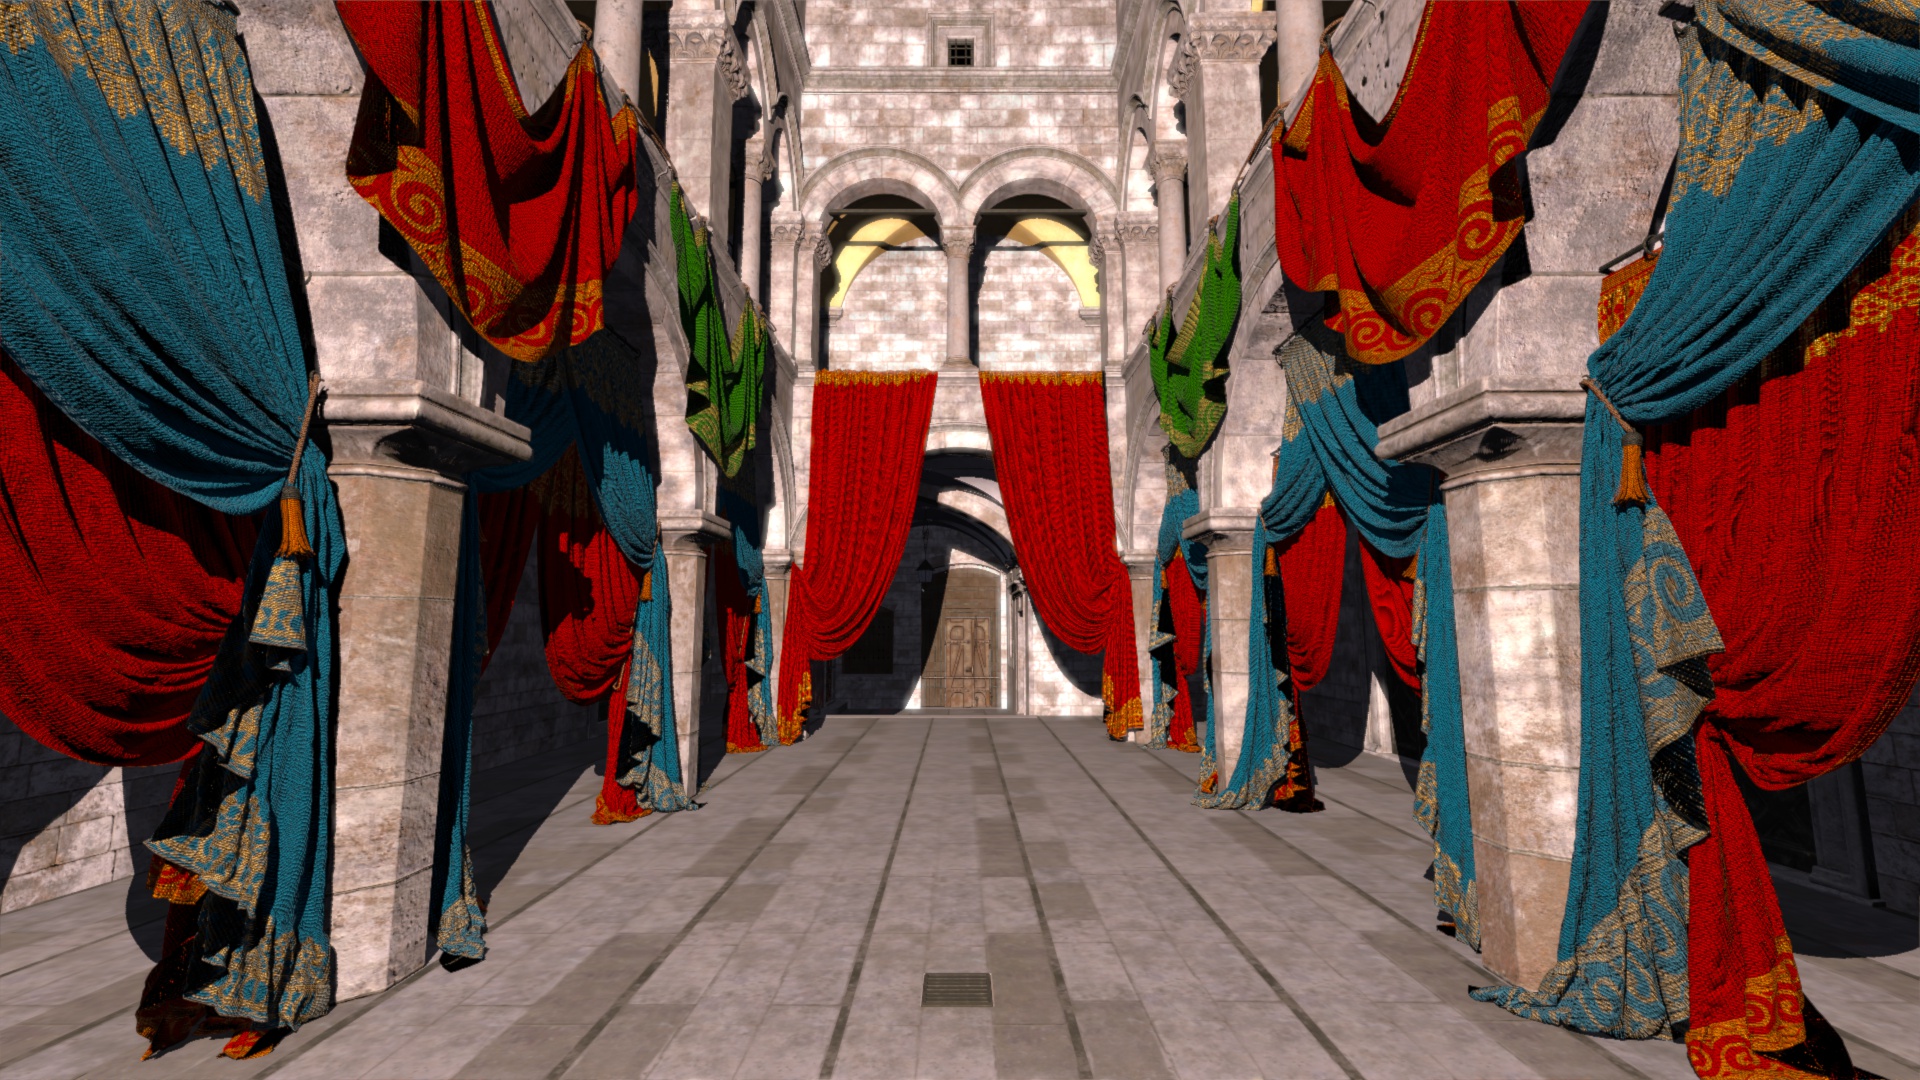
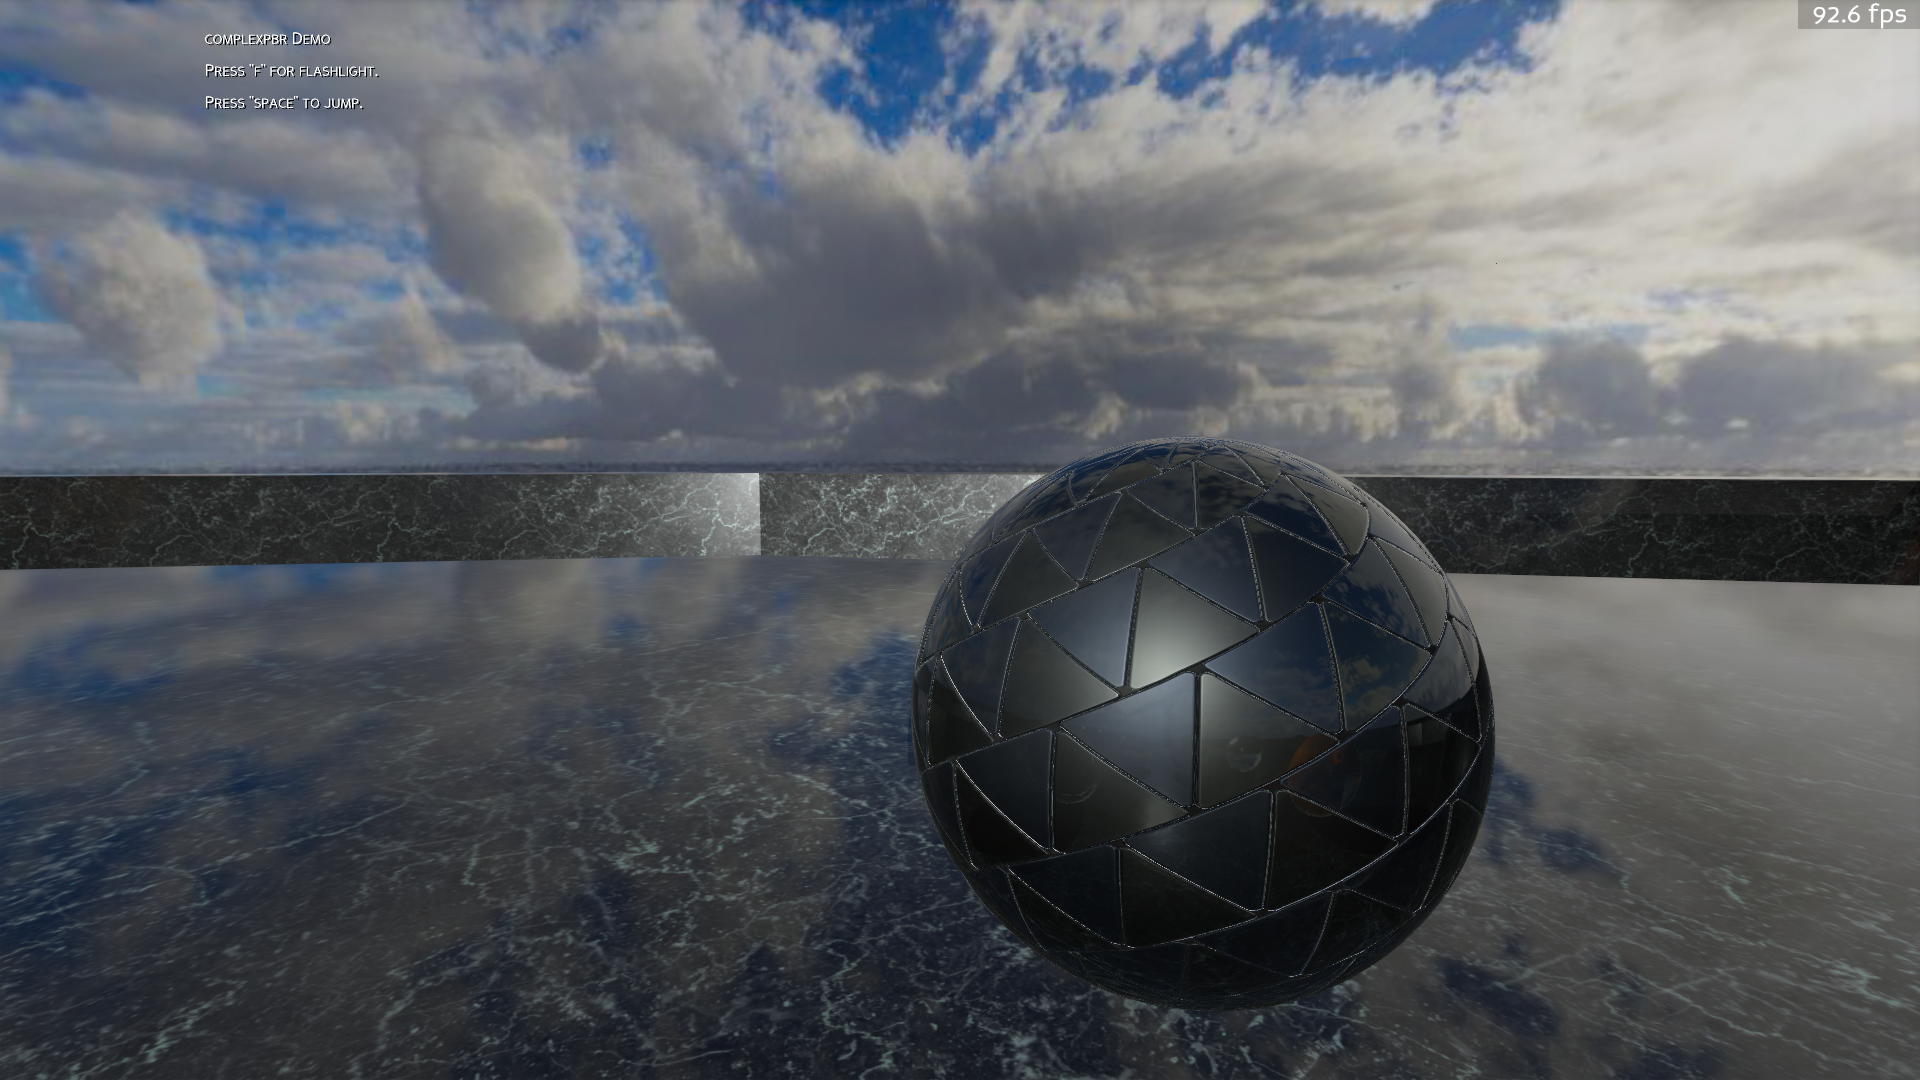
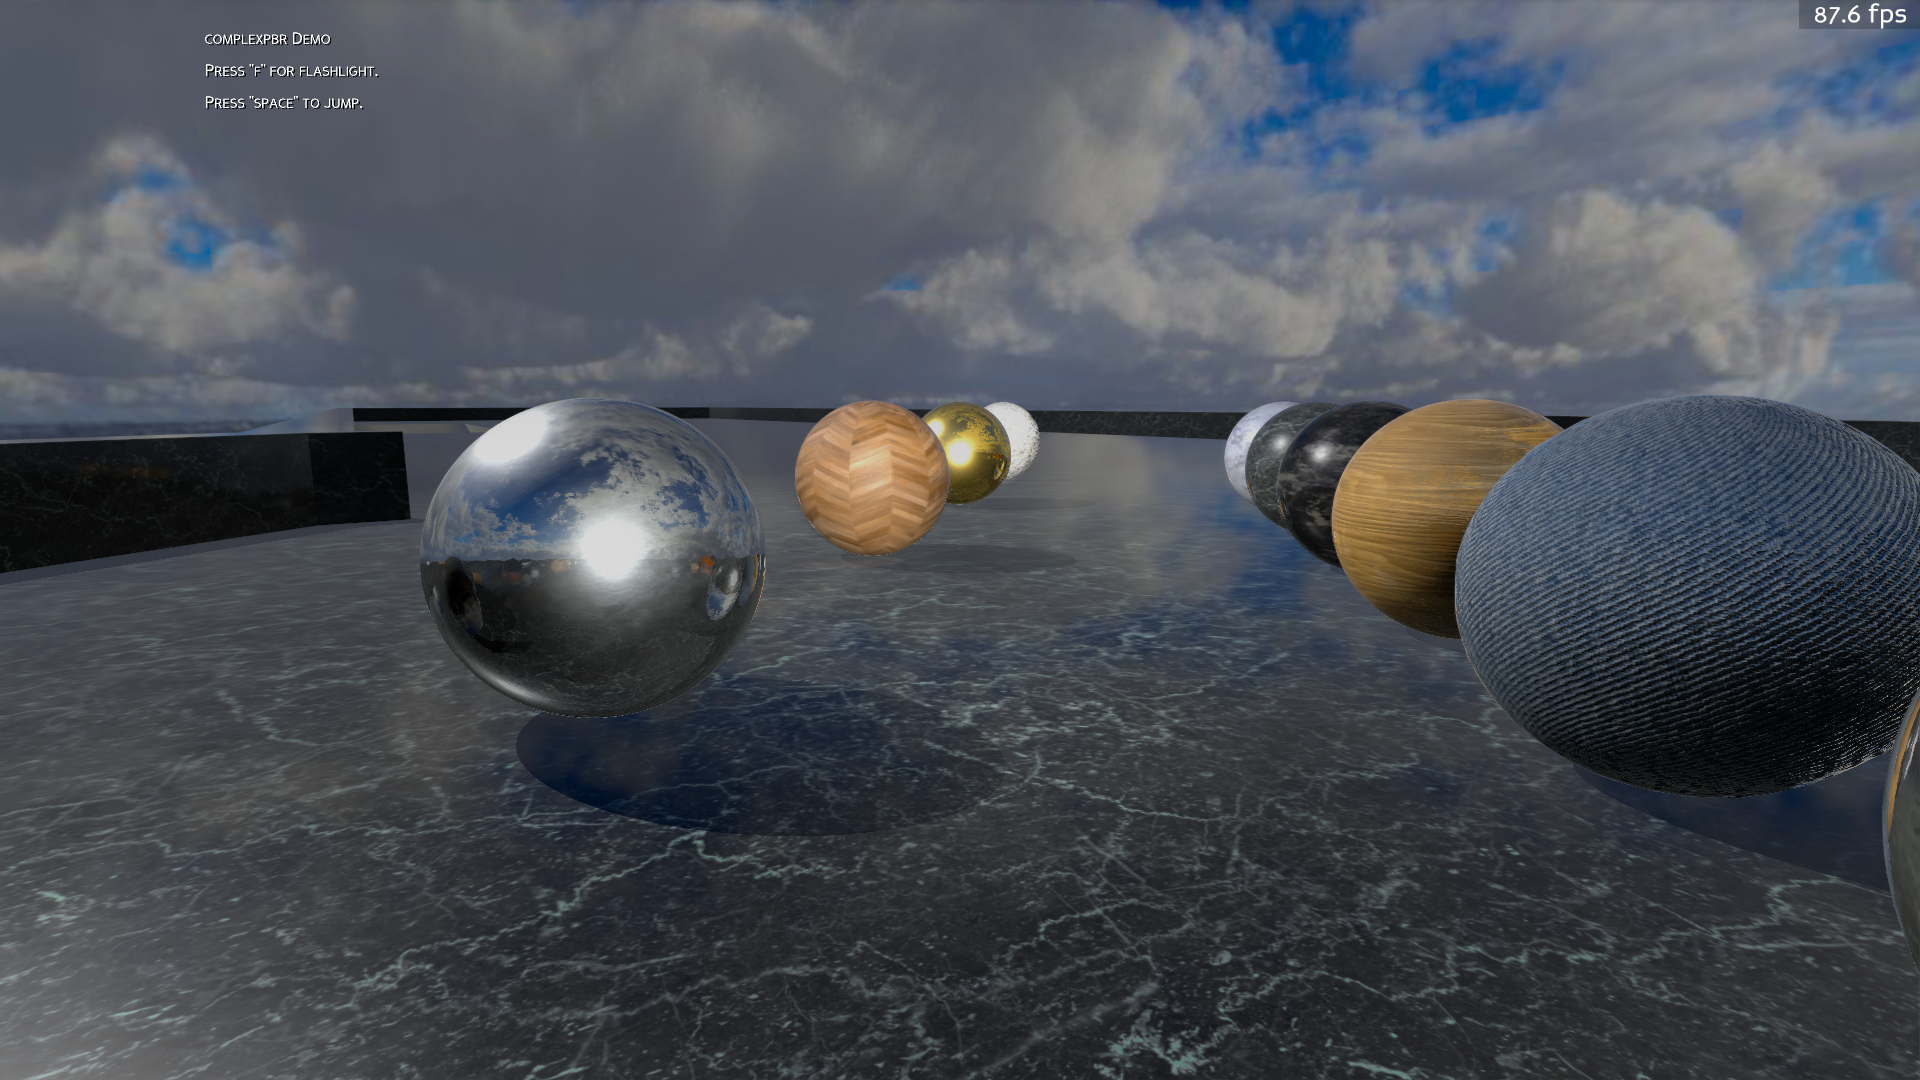
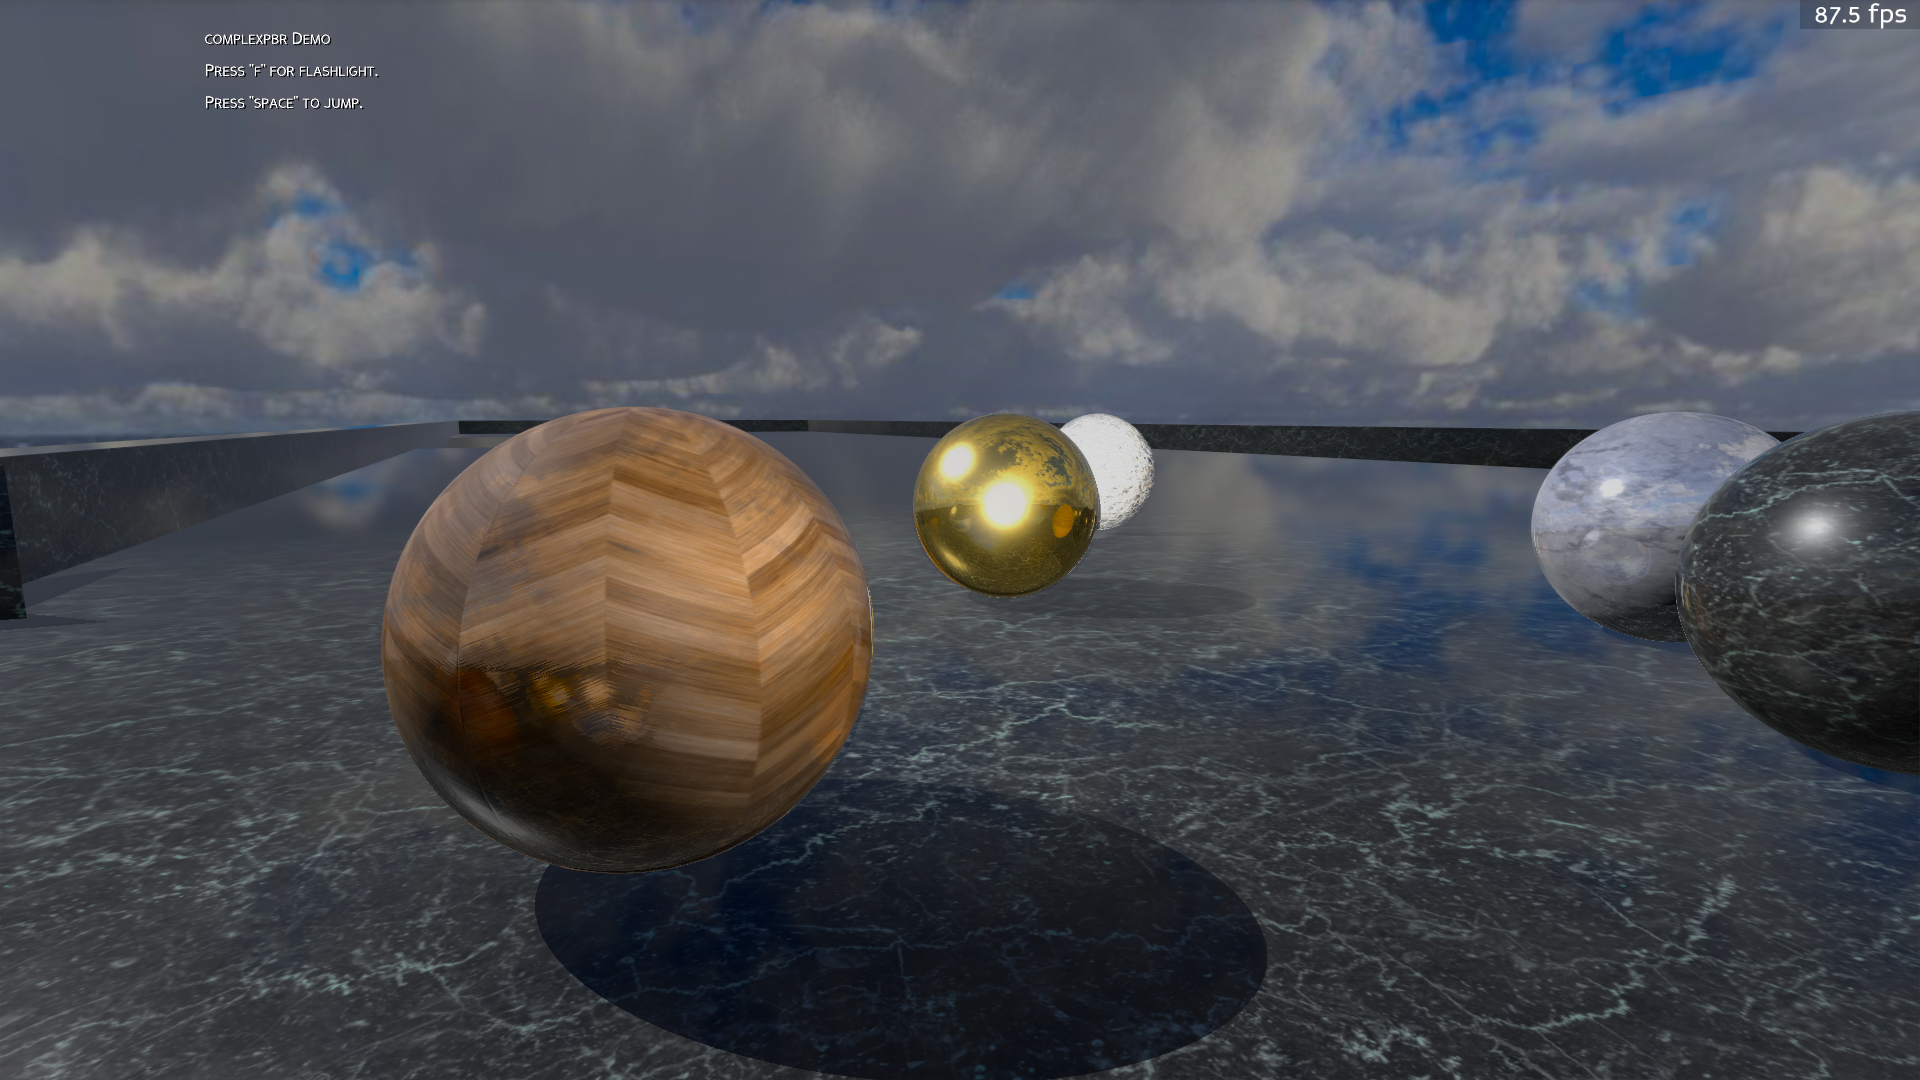
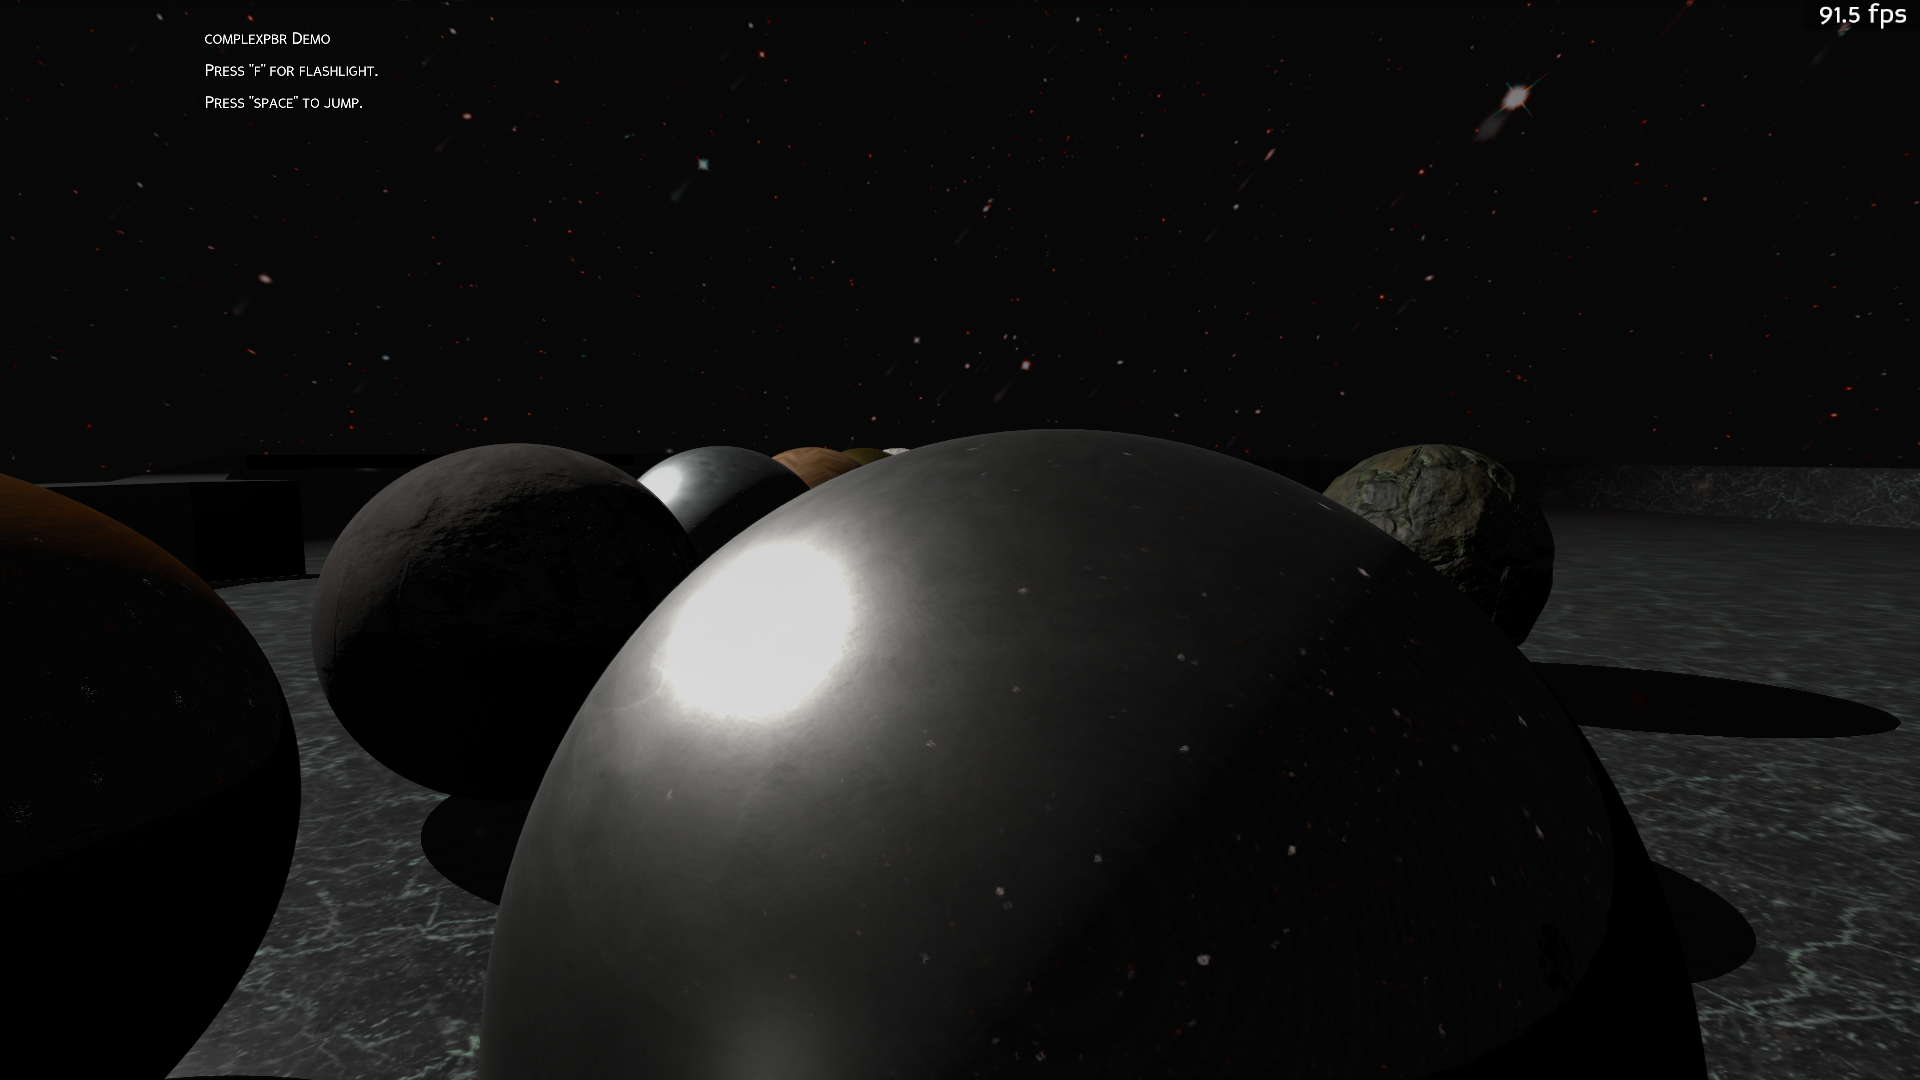
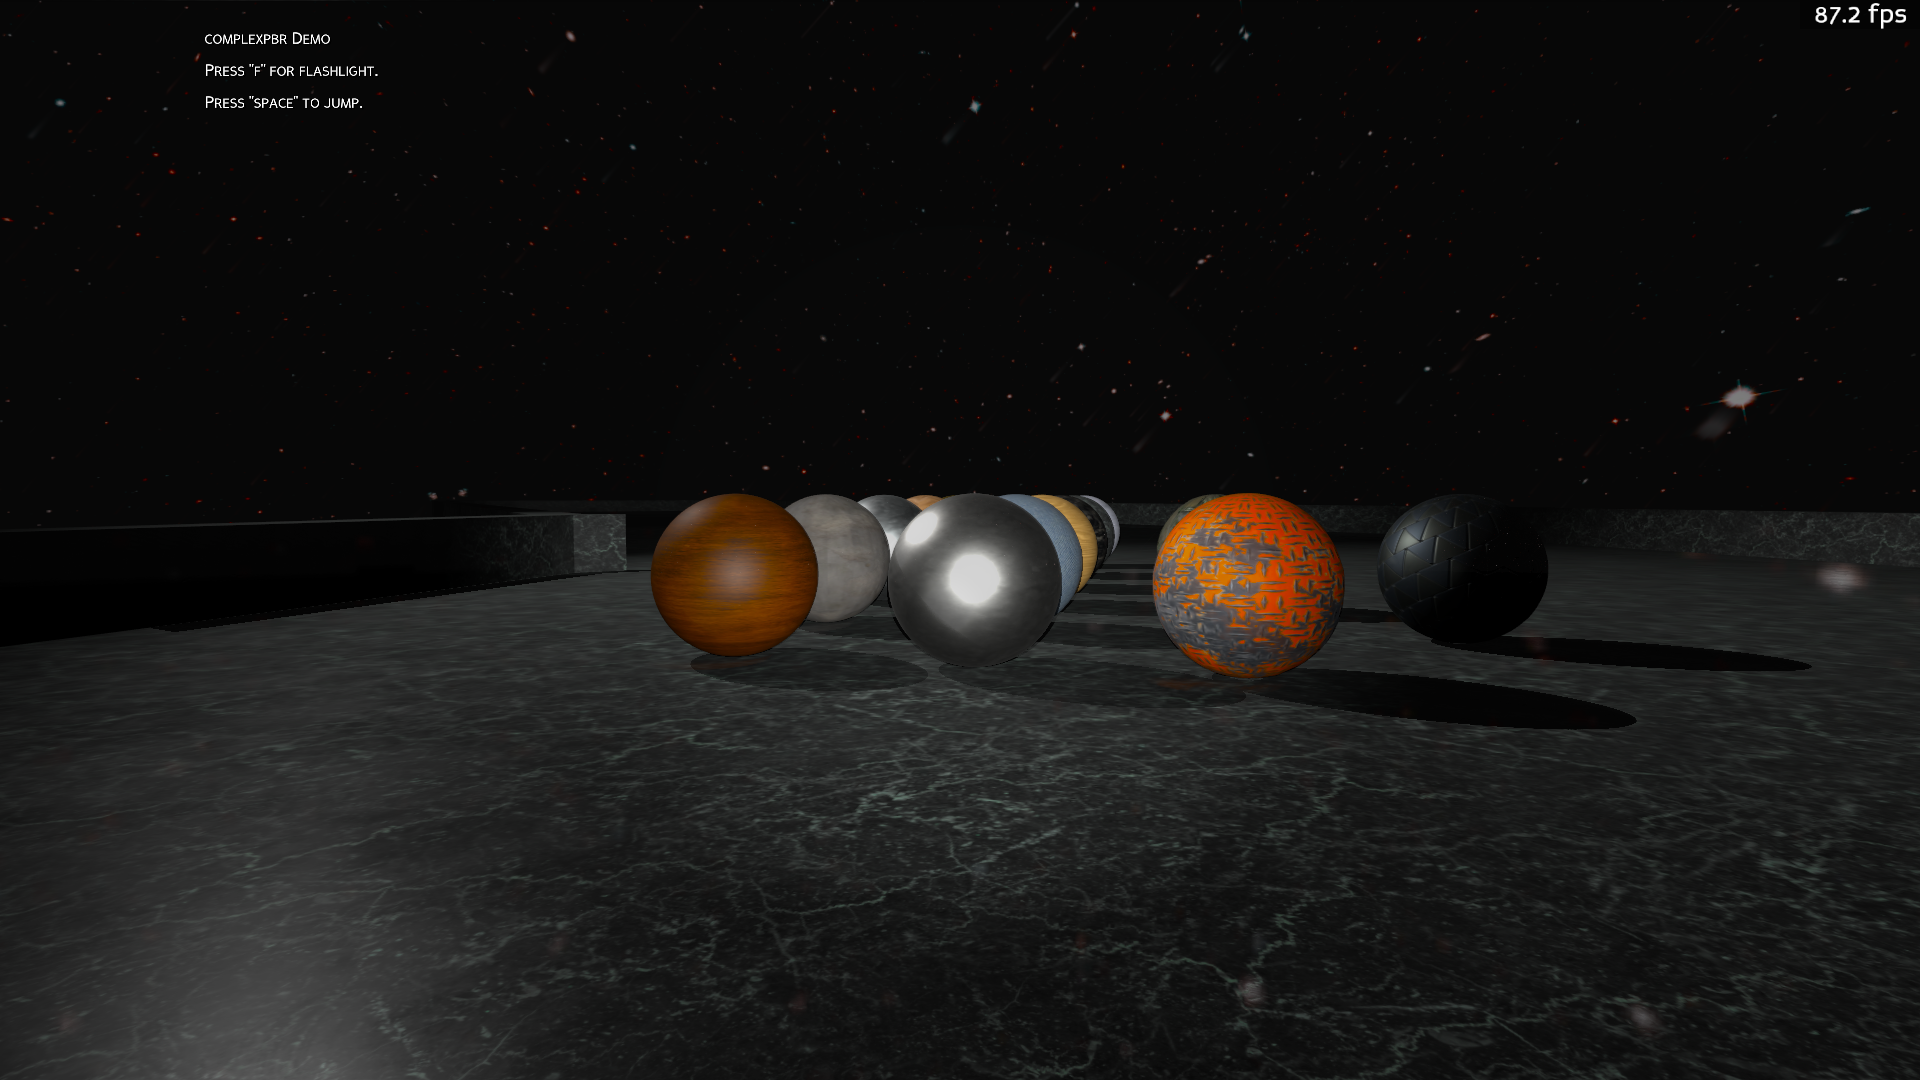
complexpbr is an IBL (Image-Based Lighting) rendering module which supports real-time reflections and post-processing effects in Panda3D. complexpbr supports realtime environment reflections for BSDF materials (the industry standard). Your machine must support GLSL version 430 or higher. Sample screenshots and minimum usage examples below.
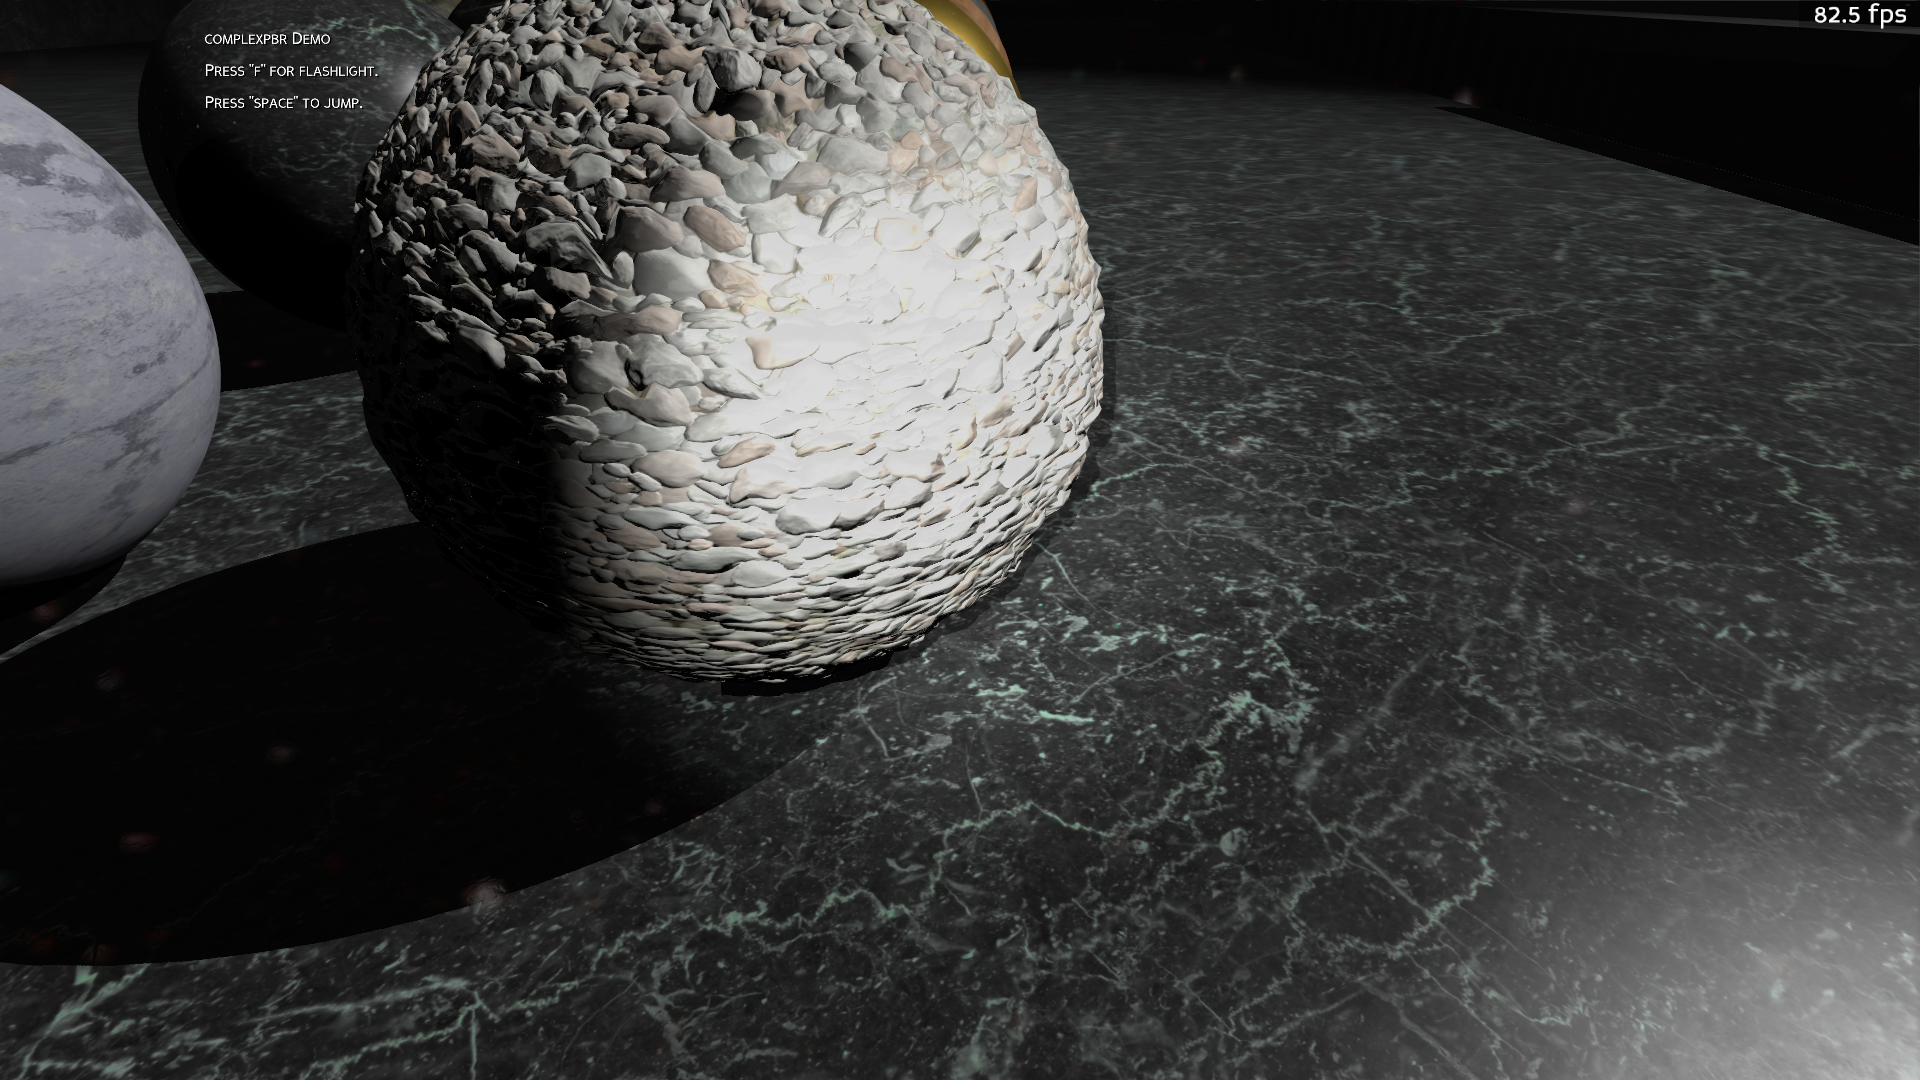
Featuring support for vertex displacement mapping, SSAO (Screen Space Ambient Occlusion), HSV color correction, Bloom, and Sobel based antialiasing in a screenspace kernel shader, which approximates temporal antialiasing. complexpbr.screenspace_init() automatically enables the AA, SSAO, and HSV color correction. To use the vertex displacement mapping, provide your displacement map as a shader input to your respective model node -- example below in the Usage section.
By default, the environment reflections dynamically track the camera view. You may set a custom position with the 'env_cam_pos' apply_shader() input variable to IE fix the view to a skybox somewhere on the scene graph. This env_cam_pos variable can be updated live afterwards by setting base.env_cam_pos = Vec3(some_pos). The option to disable or re-enable dynamic reflections is available.
The goal of this project is to provide extremely easy to use scene shaders to expose the full functionality of Panda3D rendering, including interoperation with CommonFilters and setting shaders on a per-node basis.
10/30/23 Project Naer (Project Naer complexpbr)
7/6/23 Lumberyard Bistro (Amazon Lumberyard Bistro | NVIDIA Developer)
6/1/23 Sponza (Intel GPU Research Samples)
Minimal Usage:
from direct.showbase.ShowBase import ShowBase
from panda3d.core import *
import complexpbr

class main(ShowBase):
    def __init__(self):
        super().__init__()

        complexpbr.apply_shader(self.render)
        # complexpbr.screenspace_init()  # optional, starts the screenspace effects

app = main()
app.run()
Expanded Usage:
from direct.showbase.ShowBase import ShowBase
import complexpbr

class main(ShowBase):
    def __init__(self):
        super().__init__()

        # apply a scene shader with PBR IBL
        # node can be base.render or any model node, intensity is the desired AO
        # (ambient occlusion reflection) intensity (float, 0.0 to 1.0)
        # you may wish to define a specific position in your scene where the
        # cube map is rendered from, to IE have multiple skyboxes preloaded
        # somewhere on the scene graph and have their reflections map to your
        # models -- to achieve this, set env_cam_pos=Vec3(your_pos)
        # you may set base.env_cam_pos after this, and it will update in realtime
        # env_res is the cube map resolution, can only be set once upon first call

        complexpbr.apply_shader(self.render)
        # complexpbr.screenspace_init()  # optional, starts the screenspace effects

        # apply_shader() with optional inputs
        # complexpbr.apply_shader(self.render, intensity=0.9, env_cam_pos=None, env_res=256, lut_fill=[1.0,0.0,0.0], custom_dir='shaders/')

        # initialize complexpbr's screenspace effects (SSAO, SSR, AA, HSV color correction)
        # this replaces CommonFilters functionality
        complexpbr.screenspace_init()

        # make the cubemap rendering static (performance boost)
        complexpbr.set_cubebuff_inactive()

        # make the cubemap rendering dynamic (this is the default state)
        complexpbr.set_cubebuff_active()

        # adjustment factors for the cubemap rendering height (as of version 0.5.5)
        base.complexpbr_map_z = 2.1  # manual additive/subtractive factor on the rendering height
        # automatically adjust the environment reflections such that they
        # update relative to the base.cam position during movement
        base.complexpbr_z_tracking = True  # defaults to False
        base.env_cam_pos = Vec3(50, -50, 50)  # fix the cubemap buffer cam somewhere on the scene graph
        base.env_cam_pos = None  # return the cubemap buffer cam position to default tracking state

        # clean up the shader files (not recommended for distributable builds)
        # complexpbr.remove_shader_files()

        # example of how to apply hardware skinning
        fp_character = actor_data.player_character  # this is an Actor() model
        fp_character.reparent_to(self.render)
        fp_character.set_scale(1)
        # set hardware skinning for the Actor()
        complexpbr.skin(fp_character)

        # example of how to use the vertex displacement mapping
        wood_sphere_3 = loader.load_model('assets/models/wood_sphere_3.gltf')
        wood_sphere_3.reparent_to(base.render)
        wood_sphere_3.set_pos(0,0,1)
        dis_tex = Texture()
        dis_tex.read('assets/textures/WoodFloor057_2K-PNG/WoodFloor057_2K_Displacement.png')
        wood_sphere_3.set_shader_input('displacement_map', dis_tex)
        wood_sphere_3.set_shader_input('displacement_scale', 0.1)

        # example of how to use the shader composition functionality
        complexpbr.apply_shader(test_sphere)  # example sphere model
        # call the append_shader() function, you may modify just 1 or all of the 4 shader files
        custom_body_mod = 'float default_noise(vec2 n)\n{\nfloat n2  = fract(sin(dot(n.xy,vec2(11.78,77.443)))*44372.7263);\nreturn n2;\n}'
        custom_main_mod = 'o_color += default_noise(vec2(2.3,3.3));'
        custom_vert_body_mod = 'float default_noise(vec2 n)\n{\nreturn n[0];\n}'
        custom_vert_main_mod = 'float whatever = default_noise(vec2(2.3,3.3));'
        complexpbr.append_shader(test_sphere, custom_body_mod, custom_main_mod, custom_vert_body_mod, custom_vert_main_mod)

        # example of how to turn on Global Illumination (GI)
        self.main_bridge_tunnel.set_shader_input('shadow_boost', 0.3)  # increases intrinsic brightness of a tunnel model

        # example of how to specify a custom shader directory (you must have created the folder first)
        complexpbr.apply_shader(self.render, custom_dir='shaders/')

        # example of how to set up bloom -- complexpbr.screenspace_init() must have been called first
        screen_quad = base.screen_quad

        screen_quad.set_shader_input("bloom_intensity", 0.25)
        screen_quad.set_shader_input("bloom_threshold", 0.3)
        screen_quad.set_shader_input("bloom_blur_width", 20)
        screen_quad.set_shader_input("bloom_samples", 4)

        # example of how to customize SSR
        screen_quad.set_shader_input('ssr_intensity', 2.0)
        screen_quad.set_shader_input('reflection_threshold', 1.6)  # subtracts from intensity
        screen_quad.set_shader_input('ssr_step', 5.75)  # helps determine reflect height
        screen_quad.set_shader_input('screen_ray_factor', 0.06)  # detail factor
        screen_quad.set_shader_input('ssr_samples', 1)  # determines total steps
        screen_quad.set_shader_input('ssr_depth_cutoff', 0.52)
        screen_quad.set_shader_input('ssr_depth_min', 0.49)

        # example of how to customize SSAO
        screen_quad.set_shader_input("ssao_radius", 0.99)
        screen_quad.set_shader_input("ssao_bias", 0.005)
        screen_quad.set_shader_input("ssao_samples", 32)  # ssao_samples defaults to 0

        # example of how to HSV adjust the final image
        screen_quad.set_shader_input("hsv_g", 1.3)  # hsv_g (saturation factor) defaults to 1.0
        screen_quad.set_shader_input("final_brightness", 1.3)  # the final multiplicative brightness in screenspace

        # example of how to modify the specular contribution
        self.render.set_shader_input("specular_factor", 10.0)  # the specular_factor defaults to 1.0

        # example of how to directly fill your BRDF LUT texture instead of providing one in your game folder
        complexpbr.apply_shader(base.render, 1.0, env_res=1024, lut_fill=[1.0,0.0,0.0])  # lut_fill=[red, green, blue]

        # if complexpbr.screenspace_init() has not been called, you may use CommonFilters
        # scene_filters = CommonFilters(base.win, base.cam)
        # scene_filters.set_bloom(size='medium')
        # scene_filters.set_exposure_adjust(1.1)
        # scene_filters.set_gamma_adjust(1.1)
        # scene_filters.set_blur_sharpen(0.9)
Usage in a Distributable Application:
from direct.showbase.ShowBase import ShowBase
import complexpbr

class main(ShowBase):
    def __init__(self):
        super().__init__()

        complexpbr.apply_shader(self.render, dist=True)  # set dist=True for distributable program
        # complexpbr.copy_to_dist()  # call this once before distributing to copy over shader files
Installing with PyPI:
pip install panda3d-complexpbr
Building:
The module may be built using build.
python -m build
pip install 'path/to/panda3d-complexpbr.whl'
Relase Notes:
As of version 0.5.2, complexpbr will default to a dummy BRDF LUT which it creates on the fly. complexpbr will remind you that you may create a custom BRDF LUT with the provided 'brdf_lut_calculator.py' script or copy the sample one provided. This feature is automatic, so if you provide the output_brdf_lut.png file in your program directory, it will default to that .png image ignoring the lut_fill input. The sample 'output_brdf_lut.png' and the creation script can be found in the panda3d-complexpbr git repo. For advanced users there is an option to set the LUT image RGB fill values via apply_shader(lut_fill=[r,g,b]) . See Usage section for an example of lut_fill.
As of version 0.5.3, hardware skinning support is provided via complexpbr.skin(your_actor) for models with skeletal animations. See Usage section for an example of hardware skinning.
As of version 0.5.4, panda3d-complexpbr may be considered mature and ready for production use. complexpbr will endeavor to continue supporting CommonFilters, which is still receiving some contemporary updates. complexpbr is still open to pull requests, feature requests, and so forth to continue expanding the filtering capabilities of screenspace_init() within reason.
As of version 0.5.6, dynamic environmental Z-tracking functionality has been expanded, and a function has been added to optionally clean up the created shader files.
As of version 0.5.7, shader composition functionality has been expanded. Using "append_shader()", you may provide custom model-level fragment shader functions and modifications to the main loop.
As of version 0.5.8, an approximation of Global Illumination (GI) is provided via the "shadow_boost" (float) shader input. This feature allows node level objects to partially self-illuminate to remain visible all around even when shadowed. Secondly, you may now specify a custom directory for complexpbr-generated shader files, IE complexpbr.apply_shader(..., custom_dir='shaders/') . Thirdly, a default lighting setup is provided as an option to apply_shader(..., default_lighting=True) . Lastly, the node-level vertex shader is now available for modification using "append_shader()".
As of version 0.6.0, new shader inputs have been made available which increase the usability of scene color adjustment, brightness, and SSR. The remove_shader_files() function has been enhanced, and complexpbr now automatically keeps the shader directory clean while regenerating shader files.
Requirements:
- panda3d
6/1/23 Sponza (Intel GPU Research Samples)

Vertex Displacement Mapping:
Release history Release notifications | RSS feed


Download files
Download the file for your platform. If you're not sure which to choose, learn more about installing packages.
Source Distribution
Built Distribution
Filter files by name, interpreter, ABI, and platform.
If you're not sure about the file name format, learn more about wheel file names.
Copy a direct link to the current filters
File details
Details for the file panda3d_complexpbr-0.6.4.tar.gz.
File metadata
- Download URL: panda3d_complexpbr-0.6.4.tar.gz
- Upload date:
- Size: 309.3 kB
- Tags: Source
- Uploaded using Trusted Publishing? No
- Uploaded via: twine/6.2.0 CPython/3.12.3
File hashes
| Algorithm | Hash digest | |
|---|---|---|
| SHA256 |
f6a40d6426cdeeb399db245ef18cab4e91c59f99cf211916ac8a51a1cd38f0d0
|
|
| MD5 |
e2f2212d2fb3f8dfb40043a14dfad1e4
|
|
| BLAKE2b-256 |
85352ab0691bc5bbf039544e874cff5e917c3e591e3c8db7b1f25f5b5d9644ad
|
File details
Details for the file panda3d_complexpbr-0.6.4-py3-none-any.whl.
File metadata
- Download URL: panda3d_complexpbr-0.6.4-py3-none-any.whl
- Upload date:
- Size: 304.4 kB
- Tags: Python 3
- Uploaded using Trusted Publishing? No
- Uploaded via: twine/6.2.0 CPython/3.12.3
File hashes
| Algorithm | Hash digest | |
|---|---|---|
| SHA256 |
b85865e28f11d5c70b158ab7e34132feb6fc376a18be547ad8e463f937b54b70
|
|
| MD5 |
823d586ebdfc9abbc1e4961d114f2e47
|
|
| BLAKE2b-256 |
8c89d57d9565ad4222d04cf08f60c9cbb97c516bc500f90b36c07d15f72d4134
|


