Static photography website generator

Project description
Photog!
Photog! turns a directory tree of source images into a beautiful photography website that maximizes the ease of both viewing and downloading the pictures.
Photog! was created by Return to the Source for Super Formosa Photography and provided here for everyone to use under the terms of the AGPL license as part of our free and open source philosophy.
Features
Photog! stands on the shoulders of giants.
-
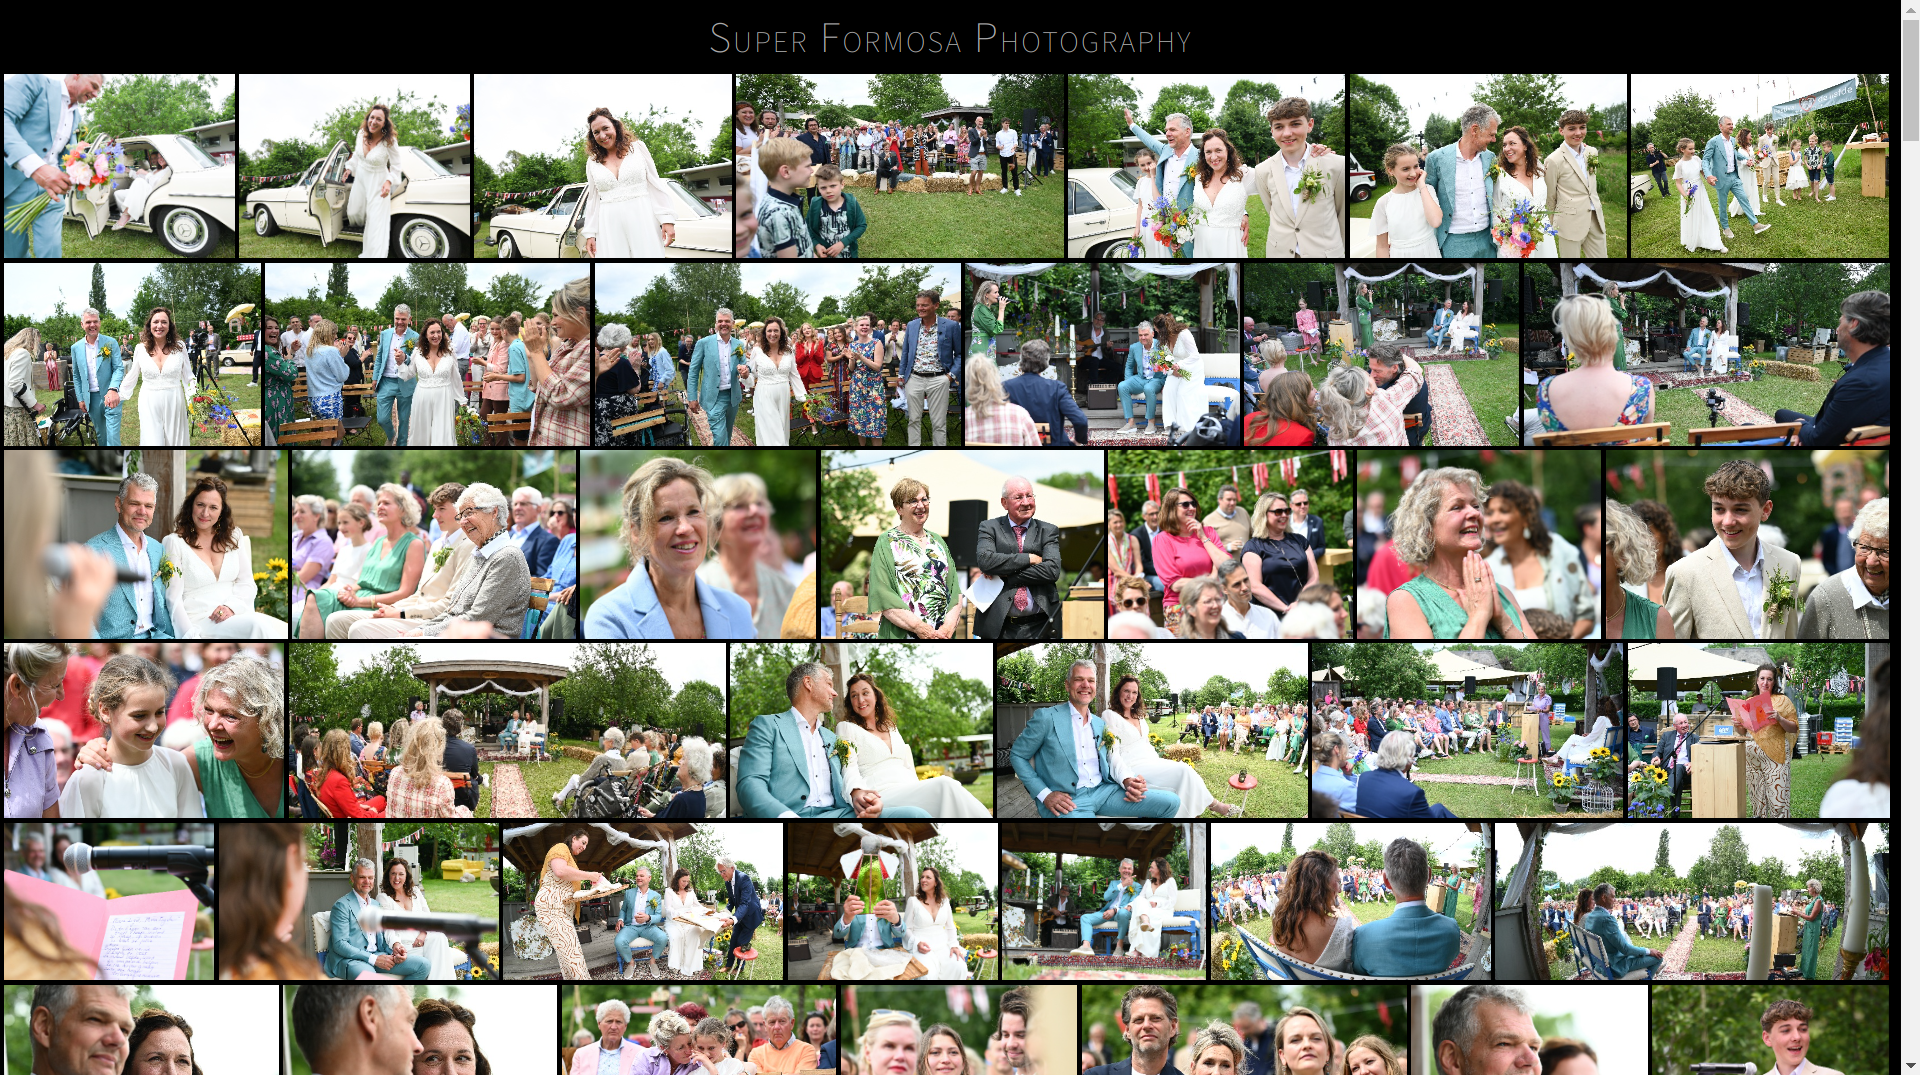
The thumbnails are displayed in a responsive gallery that recalculates the correct image dimensions in an aesthetically pleasing way, thanks to the algorithm from https://github.com/ptgamr/google-image-layout.
-
Clicking a thumbnail opens the PhotoSwipe gallery by @dimsemenov, with the following features of its own:
- Touch gestures
- Browser History API
- Progressive loading
- Fullscreen support
- Share button
-
Adding
/all.zipto the end of the URL will download a ZIP file containing all the images in two different resolutions:- The original images, unmodified, in the subfolder "print"
- Images scaled to a width of 2000 pixels, in the subfolder "web"
-
The default template shows the logo Super Formosa Photography at the top and license terms at the bottom. To override this, see the section "Customization" below.
Installation
Photog! requires Python 3.8 or higher. You can check if this is available on your system by running the following command:
$ python3 --version
Now you can install Photog! with pip:
$ python3 -m pip install photog
Usage
First, navigate to your Pictures directory:
$ cd ~/Pictures
Now, run the photog command, specifying the current directory (.)
as its argument:
$ photog .
Photog! will now traverse your pictures folder and generate HTML files
, image thumbnails, and zipfiles. If you want to only update a
specific subdirectory and not regenerate the entire website, run
photog without arguments inside that directory:
$ cd ~/Pictures/wedding
$ photog
The difference is that without arguments, Photog! will not create a
static directory to hold the static files. Otherwise the two
previous commands are identical.
After Photog! has completed its run, you can use Python's built-in webserver to view your website:
$ python3 -m http.server
Your website will now be available at the following URL:
http://localhost:8000/
Configuration
You can configure the behavior of Photog! in a file called
photog.ini. This file holds the configuration variables per
directory. The configuration variables are:
Sorting
sort = ascendingto sort photos ascending according to EXIF datesort = descendingto sort photos descending according to EXIF datesort = randomto randomize the order of photos
Zipping
zip = truecreates a zipfile calledall.zipzip = falsedisables the creation of zipfiles
Customization
It is expected that you customize the default template. Save this
file as template.html in the root of your Pictures folder and edit
as needed. Then, run photog to use your customized template instead
of the default one.
Release history Release notifications | RSS feed

Download files
Download the file for your platform. If you're not sure which to choose, learn more about installing packages.
Source Distribution
File details
Details for the file photog-3.0.0.tar.gz.
File metadata
- Download URL: photog-3.0.0.tar.gz
- Upload date:
- Size: 1.3 MB
- Tags: Source
- Uploaded using Trusted Publishing? No
- Uploaded via: twine/4.0.0 CPython/3.10.4
File hashes
| Algorithm | Hash digest | |
|---|---|---|
| SHA256 |
c2d7ac94003071d15097c3a870642232d502398eacbc062a27940bd2f8930dc1
|
|
| MD5 |
04bd79e62d013c50e8dc523b2d7aa47f
|
|
| BLAKE2b-256 |
a4f307cefecb38bebd0ec2ff3d8d1a67da00442600b8b8bb889c0b53bb72fc68
|


