Street art by clustering.

Project description

Street art by clustering.
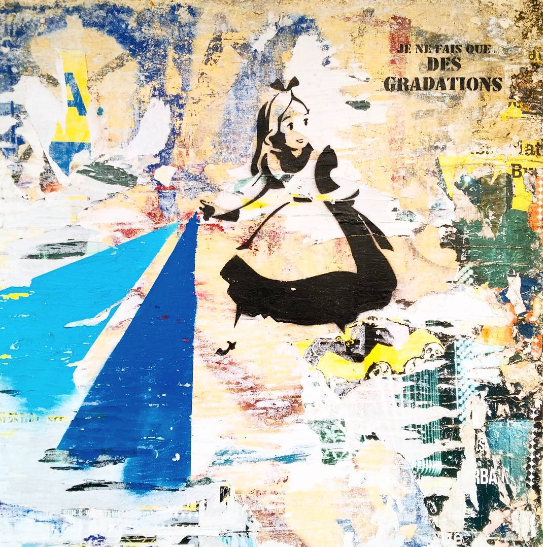
Pics by @alys.cheshire
⚡️ Quick start
Take a nice picture :

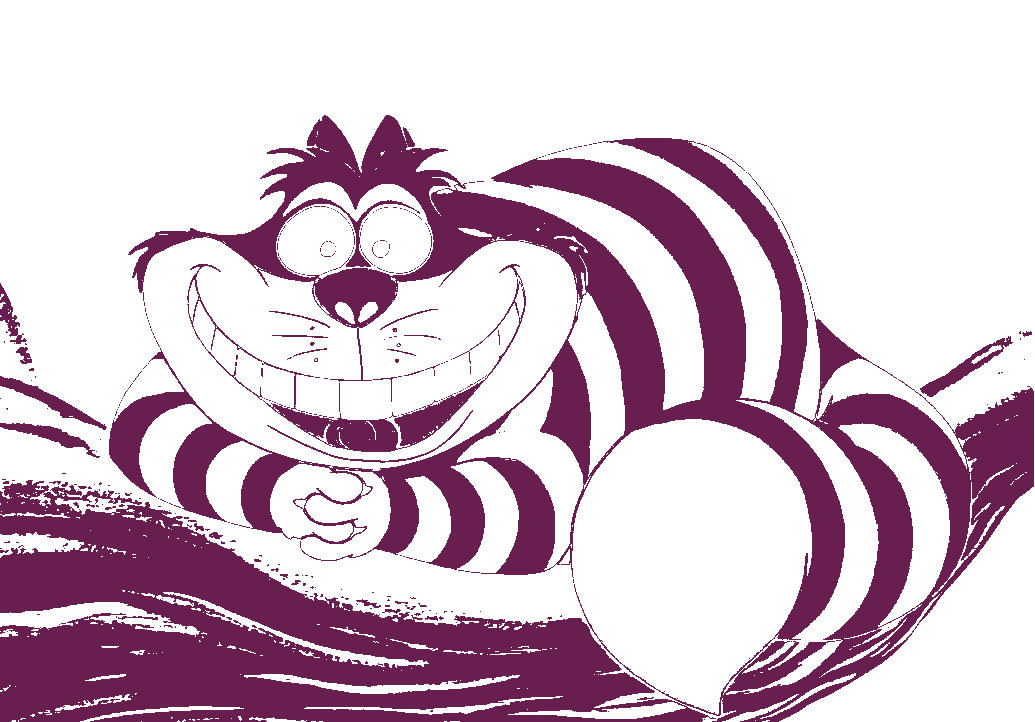
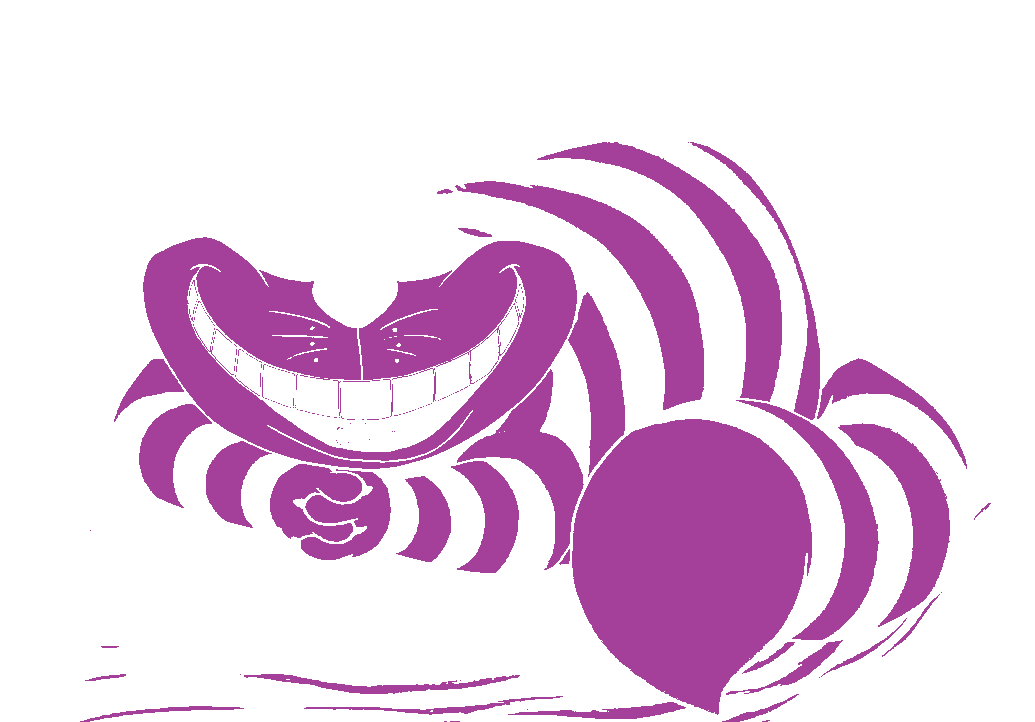
Generate a 5 colors stencil model :
>>> import pycht

>>> pycht.stencil('cat.jpg', 5)
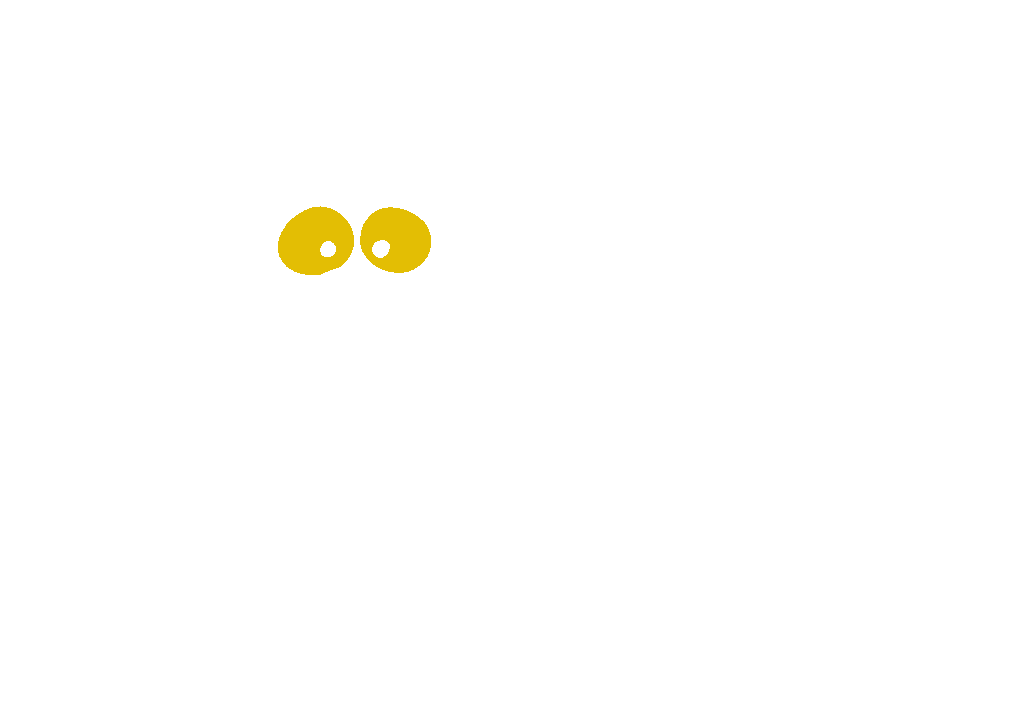
| Stencil 1 | stencil 2 | stencil 3 | stencil 4 | stencil 5 |
|---|---|---|---|---|
 |
 |
 |
 |
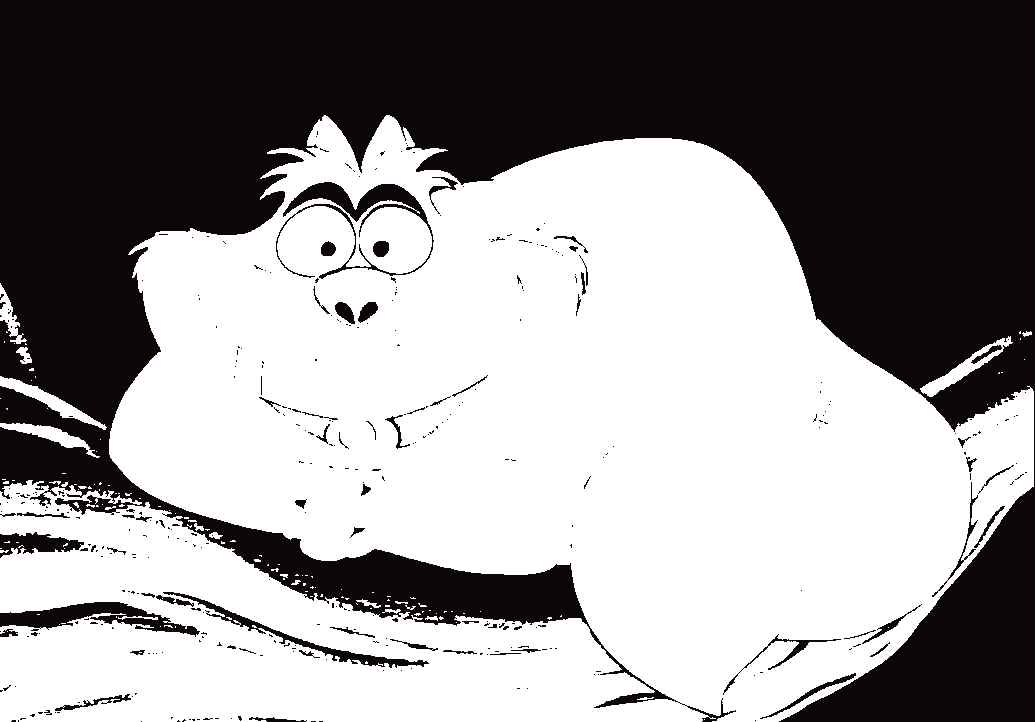 |
Final result rendering with all stencils :

Cut it, paint it, stare at it. Enjoy !
📚 Documentation
The full documentation for this project is available at:
👉 https://tlentali.github.io/pycht/
It includes installation instructions, usage examples, and the API reference.
🛠 Installation
🐍 You need to install Python 3.12 or above.
Installation can be done by using pip.
There are wheels available for Linux, MacOS, and Windows.
pip install pycht
You can also install the latest development version as so:
pip install git+https://github.com/tlentali/pycht

# Or, through SSH:
pip install git+ssh://git@github.com/tlentali/pycht.git
🥄 How Does It Work?
Imagine pycht as your personal digital street artist. Here's what happens under the hood, step-by-step:
-
🖼️ Image loading
pychtgrabs your input image and flattens it like a pancake — every pixel becomes a 3-value row (B, G, R) in a giant NumPy array. Think of it as turning your photo into a spreadsheet of colors. -
🎯 K-Means clustering Then comes the science. Using Scikit-Learn’s
kmeans, we ask: “Hey, what are theNmost dominant colors in this image?” The algorithm groups similar pixels intonb_colorsclusters and assigns each one a centroid — like reducing a rainbow into just a few paint buckets. -
🎨 Color mapping Every pixel in your image is replaced by its cluster's centroid. Boom — you've got a stylized version of your image with just
Nbold, poster-style colors. -
🔍 Color separation Now the magic: for each color,
pychtcreates a mask. All pixels that don’t belong to the current color cluster are set to black (and later transparent). Each color gets its own PNG file — like cutting stencils for spray-painting layers IRL. -
📁 File drop Your output includes:
output.png→ The clustered imagestencil_1.png,stencil_2.png, ... → Transparent layers, one per color
It's like building silkscreen layers, but with Python, pixels, and zero mess.
Ready to turn your cat photo into street art? Let pycht paint it.
🧑💻 Development
You can use pip or uv. From the pycht root folder, do:
uv venv --python /path/to/3.12.x/python. Tips: you can use pyenv to manage and install multiple Python versions. You can find a specific version at~/.pyenv/versions/3.12.2/bin/pythonfor instance.source .venv/bin/activateto activate the virtualenv.venvcreated byuvuv sync --inexactto install all dependenciespre-commit install(just one time). The pre-commit hook will run black, isort and pylint before your commit :)
You're ready to hack!
🧰 Command-Line Interface (CLI)
You can use pycht as a command-line tool to generate stencil layers from an image — perfect for street art, posters, or digital illustration.
🖥️ Installation
Install in editable mode (dev mode) with uv or pip:
uv pip install -e .
Make sure you have the required dependencies listed in pyproject.toml.
🚀 Usage
pycht <input-img> [OPTIONS]
Arguments:
<input-img>: Path to the input image (JPEG, PNG, etc.)
Options:
--output-path TEXT– Directory where output layers will be saved (default:./output)--nb-colors INTEGER– Number of stencil layers to generate (default:3)
✅ Example
pycht misc/cat.jpg --nb-colors 4 --output-path .
This will create 4 stencil layers and save them in the current folder.
🖖 Contributing
Feel free to contribute in any way you like, we're always open to new ideas and approaches. If you want to contribute to the code base please check out the CONTRIBUTING.md file. Also take a look at the issue tracker and see if anything takes your fancy.
This project follows the all-contributors specification. Again, contributions of any kind are welcome!
📜 License
pycht is free and open-source software licensed under the MIT license.
Release history Release notifications | RSS feed


Download files
Download the file for your platform. If you're not sure which to choose, learn more about installing packages.
Source Distribution
Built Distribution
Filter files by name, interpreter, ABI, and platform.
If you're not sure about the file name format, learn more about wheel file names.
Copy a direct link to the current filters
File details
Details for the file pycht-0.1.23.tar.gz.
File metadata
- Download URL: pycht-0.1.23.tar.gz
- Upload date:
- Size: 8.7 kB
- Tags: Source
- Uploaded using Trusted Publishing? No
- Uploaded via: twine/6.2.0 CPython/3.12.13
File hashes
| Algorithm | Hash digest | |
|---|---|---|
| SHA256 |
9cb2130cc10845d32ded7687ca831007f34d9f8b58217cecc5d57e32f9a44a04
|
|
| MD5 |
3ba36daac259e9b1fa1b73c063ac6c54
|
|
| BLAKE2b-256 |
b5ce9fb43abe1ec8617d76d8ae3a9be3900f4ee81a2a597e5cdbe3006dce4254
|
File details
Details for the file pycht-0.1.23-py3-none-any.whl.
File metadata
- Download URL: pycht-0.1.23-py3-none-any.whl
- Upload date:
- Size: 8.4 kB
- Tags: Python 3
- Uploaded using Trusted Publishing? No
- Uploaded via: twine/6.2.0 CPython/3.12.13
File hashes
| Algorithm | Hash digest | |
|---|---|---|
| SHA256 |
f035bfdf92a9484a499b74ed60072b4cfa7ab2eccc0d74b9b98e309fba57cee8
|
|
| MD5 |
ba95678b79be0f4861ce8a9a17cf4fc9
|
|
| BLAKE2b-256 |
50825be940933e51905f077dbb839dcfa7aede50e8f82b69efbfcab07672da30
|


