Base kernel for pydantic-ai kernels

Project description
Pydantic AI Kernel
This is wrapper around pydantic-ai agent, that allows to requests it through jupyter kernel messaging protocol.
Instead of re-writing an other CLI for a chatbot, use Jupyter one. This gives you a free UI, as well as the API to implement access the agent through well known and proven Jupyter Messaging Protocol. This allow for example the spawning of multiple instances of kernels through jupyter kernel gateway, for free - and allows to access the agent through a web socket.
It is meant to be subclassed to create new kernel-based agent, for adding tools or any special application.
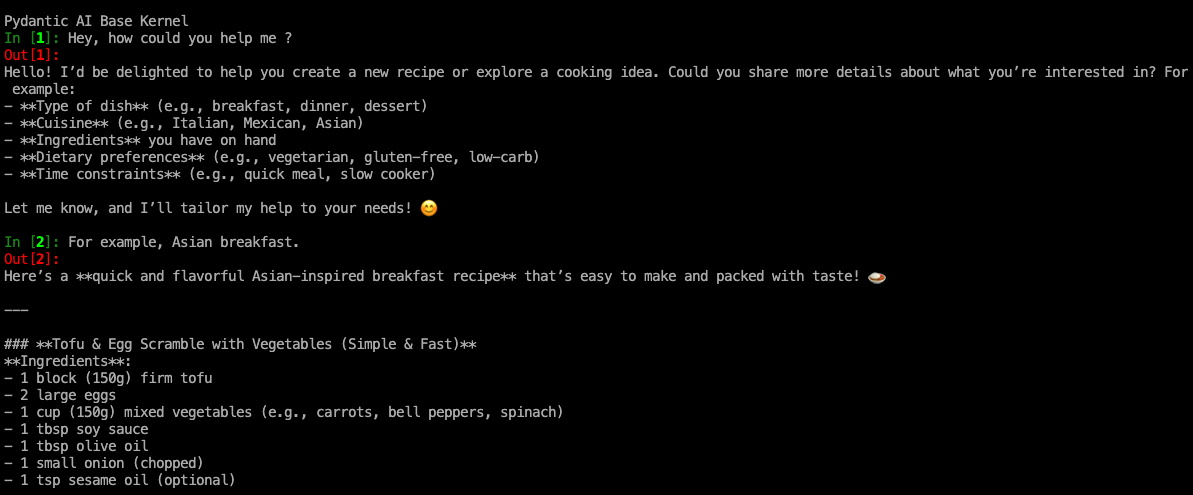
For a basic usage of agents (chatbot), without tools, you can use any instance of this kernel and initialize it with a config file.
Features coming natively from jupyter messaging protocol :
-
language-agnostic protocol,
-
streamed output (with asynchronous support for python implementation),
-
configuration of the agent (set system prompt, inference provider, ...), through nearly all the inference providers (thanks to pydantic-ai)
-
display the history and tool calling of the agent (with magic command %agent_history)
-
user validation for tools that requires it, with input request messages from Jupyter Messaging
Getting started
Within a python venv,
pip install pydantic-ai-kernel
Any jupyter frontend should be able to dialog with this kernel, for example :
• CLI : Install jupyter-console (pip install jupyter-console); and run jupyter console --kernel pydantic_ai
• Notebook (you might need to restart the IDE) : select 'pydantic_ai' on top right of the notebook
• Jupyter Lab : see Jupyter Lab
• Silik Signal Messaging : Access the kernel through Signal Message Application, see here
For example :
jupyter console --kernel pydantic_ai
In the kernel, send :
%config
to create the config file, and start chat. See below for more informations.
%help <magic_name>and%magicwill give you appropriate documentation
Magics
Magics command are implemented, here is a sample :
%config
By default, kernel starts by looking for a configuration file here :
~/.jupyter/jupyter_pydantic_ai_kernel_config.yaml
But you can also run the kernel as is; and specify the path to a config file by executing the following message in a cell :
%config --path <path_to_kernel_config_file>
This allows to have different instances of the same kernel, each with its own system prompt and / or inference provider.
You can also run the magic : %config --edit to create and edit the config file from the kernel itself. Give it a flag --template (ollama, open_web_ui, openai) to save time.
Detailed description of the configuration file
The configuration standard is a little bit cumbersome but is made to match the description of agents in pydantic-ai. We describe hereafter this standard.
An Pydantic AI agent is made of :
-
a model
-
information about the agent : tools, system prompt, agent name
The model itself, is composed of several parts :
-
a model name (p.e.
qwen3:1.7b) -
the "type" of the model, meaning here the pydantic-AI class used to make request following a specific LLM API ('Models' in https://ai.pydantic.dev/models/overview/#models-and-providers). We mean here for example 'openai' for all openai compatible endpoints; but 'anthropic' would work too.
-
the provider of the model ('Provider' in https://ai.pydantic.dev/models/overview/#models-and-providers).
Here is an example for a local ollama instance :
agent_name: pydantic_ai
system_prompt: You are a specialist in cooking, and you are always ready to help people creating new cooking recipees.
model:
  model_name: qwen3:1.7b
  model_type: openai
  model_provider:
    name: ollama
    params:
      base_url: http://localhost:11434/v1
If you just need to use an external open-ai provider, put :
model:
  model_name: openai:gpt-4o
and specify API key in environment variable.
Scheme can be found here.
For an access through OpenWebUI API :
agent_name: agent
system_prompt: Blabla
model:
  model_name: qwen3:1.7b
  model_type: openai
  model_provider:
    name: openai
    params:
      api_key: <api-key>
      base_url: https://the_open_web_ui_instance/api
%agent_history
With the magic command %agent_history, you can see the history of the agent (to check for tool calling, ...) :
In [1]: Hey ! Which tools do you have access to ?
I have access to a few tools to assist you. Currently, the available tool is:

- **Add**: This tool allows you to add two numbers together.

Let me know how I can assist you! 😊
In [2]: Add 673763 and 92830
The sum of 673,763 and 92,830 is **766,593**. 😊
In [3]: %agent_history
   ...:
  System Prompt :
    │   You are an AI assistant designed to provide concise, accurate, and relevant information. Respond directly to user queries while ensuring clarity and understanding. Engage users in a conversational manner, demonstrating empathy and adaptability to their needs. Avoid unnecessary details, repetition, or embellishments, and focus on delivering solutions efficiently.
    ╰───────────────────────────────
  User Prompt :
    │   Hey ! Which tools do you have access to ?
    ╰───────────────────────────────

  Text :
    │   I have access to a few tools to assist you. Currently, the available tool is:
    │
    │   - **Add**: This tool allows you to add two numbers together.
    │
    │   Let me know how I can assist you! 😊
    ╰───────────────────────────────

  User Prompt :
    │   Add 673763 and 92830
    ╰───────────────────────────────

  Tool Calling :
    │   Name :add
    │   Args :{"x": 673763, "y": 92830}
    ╰───────────────────────────────

  Tool Return :
    │   add : 766593
    ╰───────────────────────────────

  Text :
    │   The sum of 673,763 and 92,830 is **766,593**. 😊
    ╰───────────────────────────────
%mcp and %fastmcp
Allows to add an mcp server to the tools of the agent
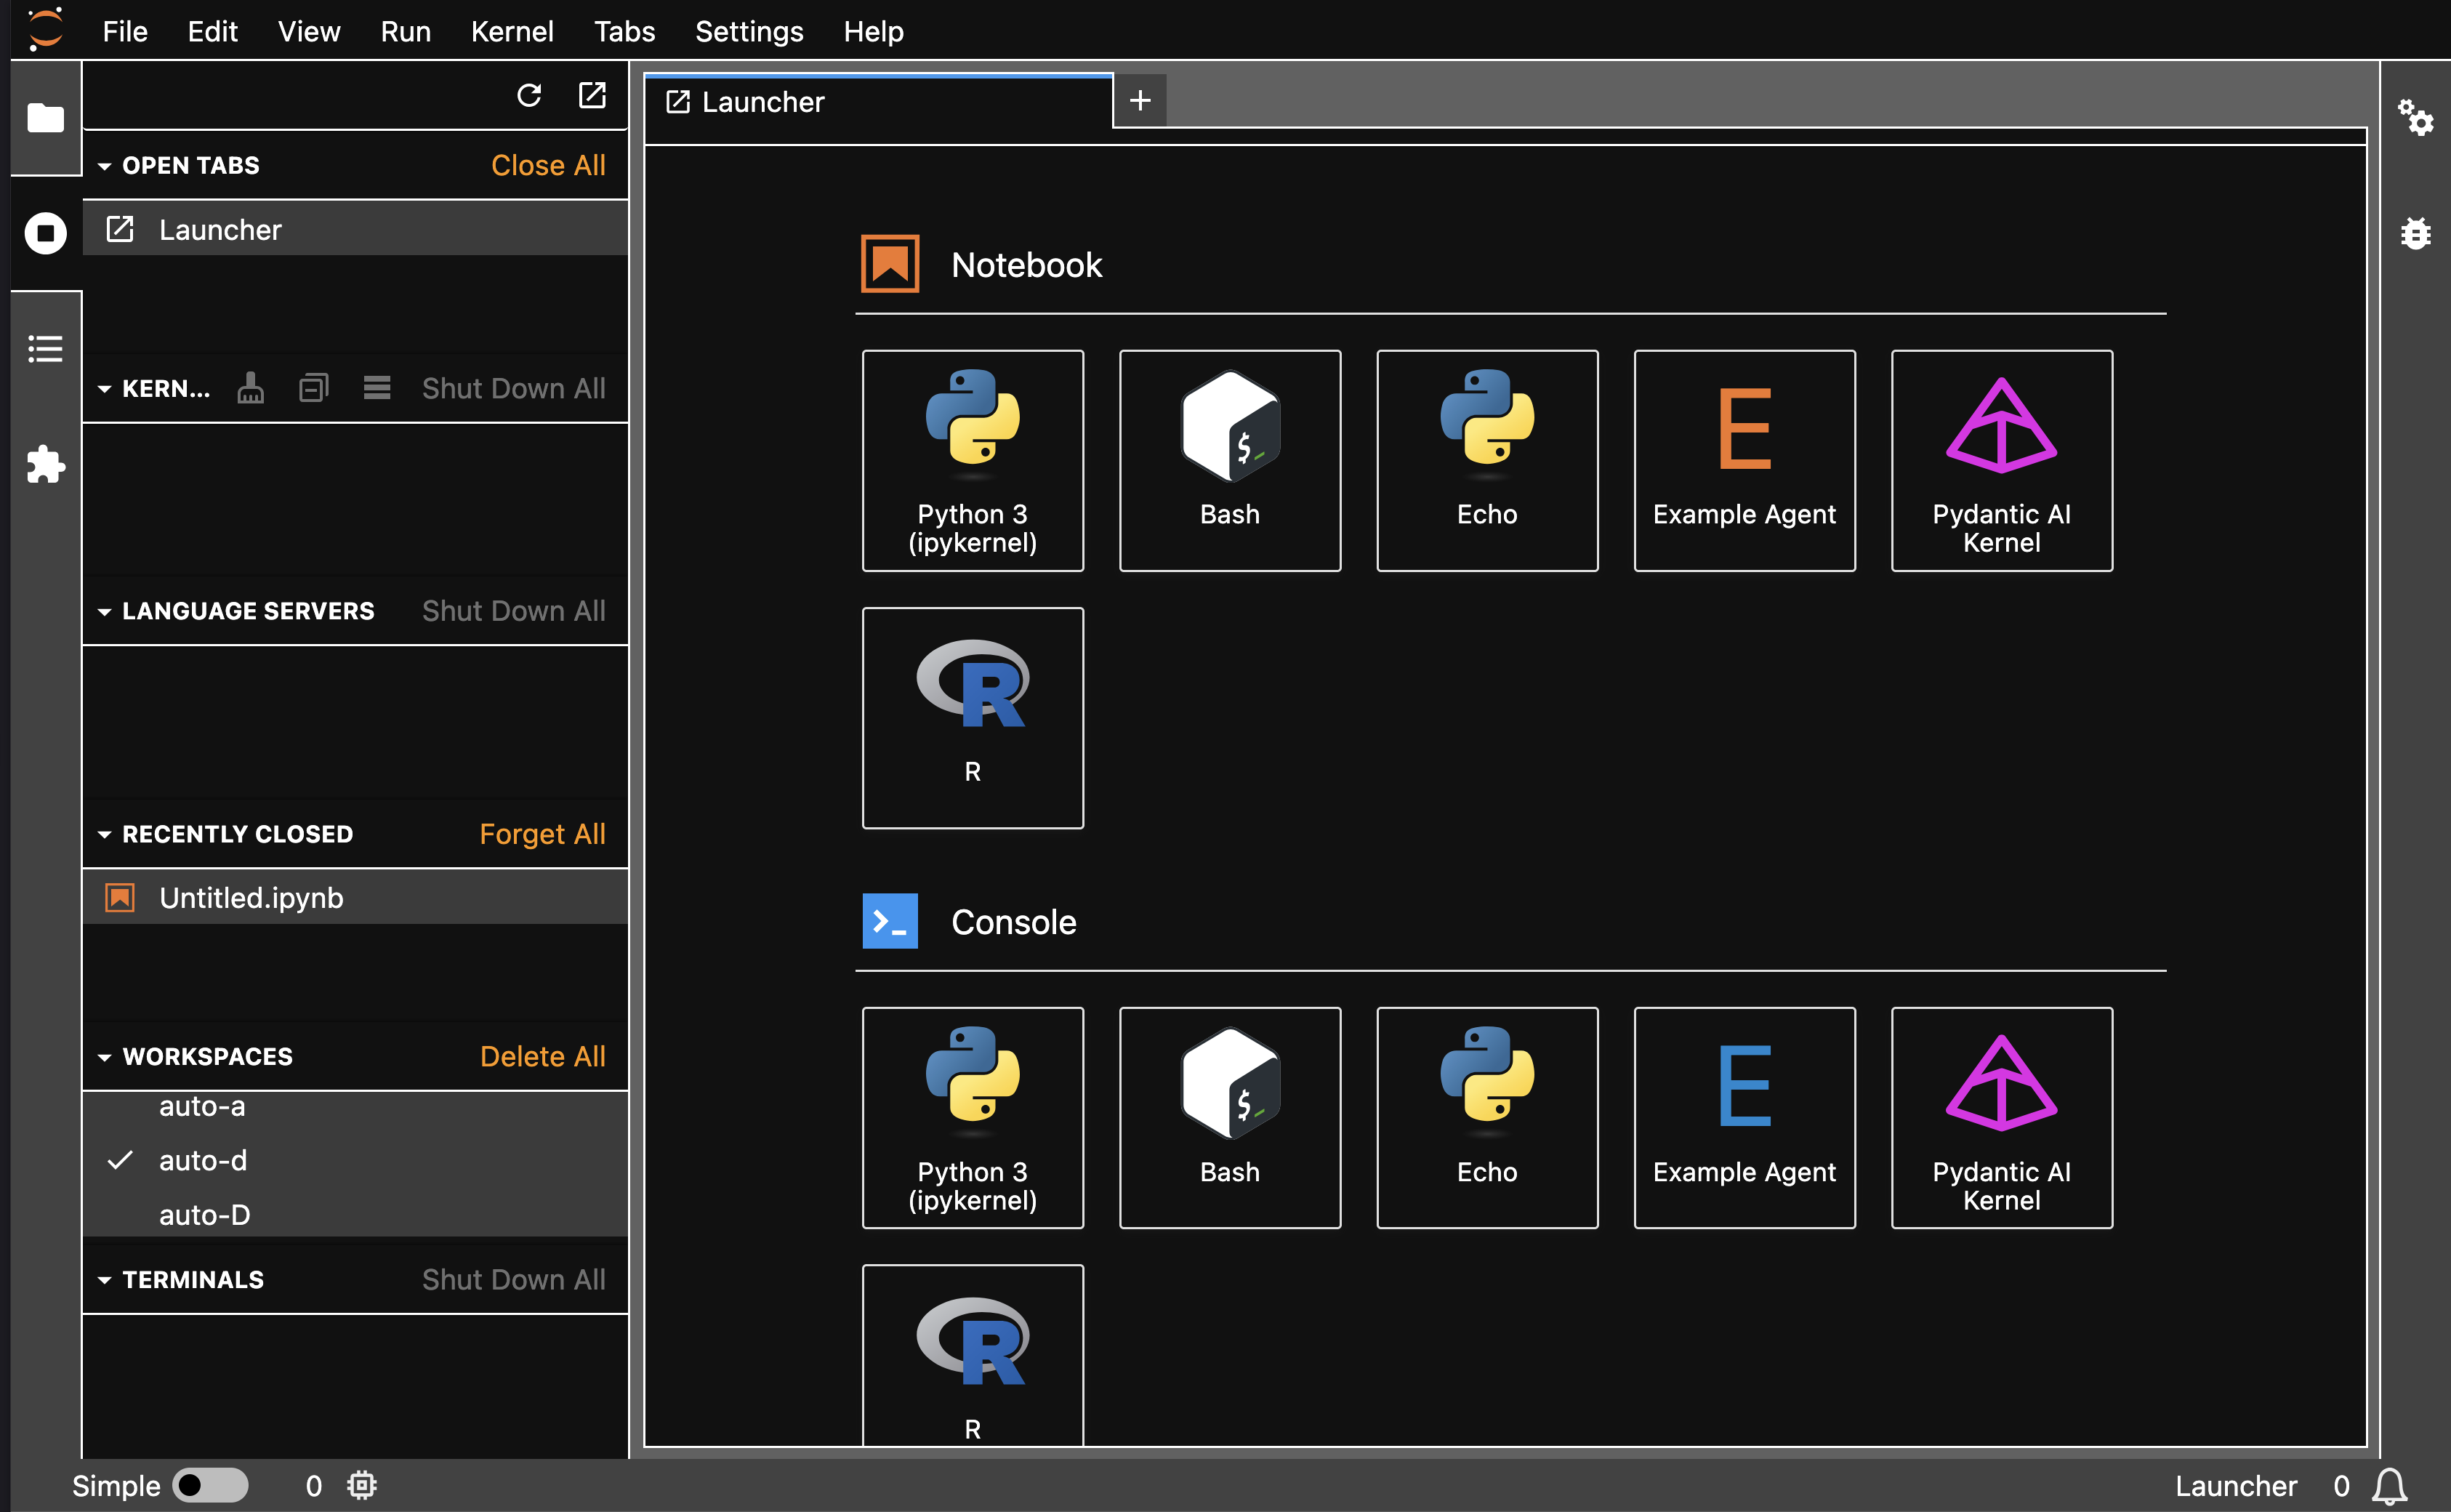
Integration in Jupyter Lab
You can use agent in jupyter lab, without any other extension, since we're using jupyter kernel machinery.
Just install the python package pip install pydantic_ai_kernel as above, inside jupyter lab.
You should be able to run the chatbot as you would run a kernel, either in console or notebook :
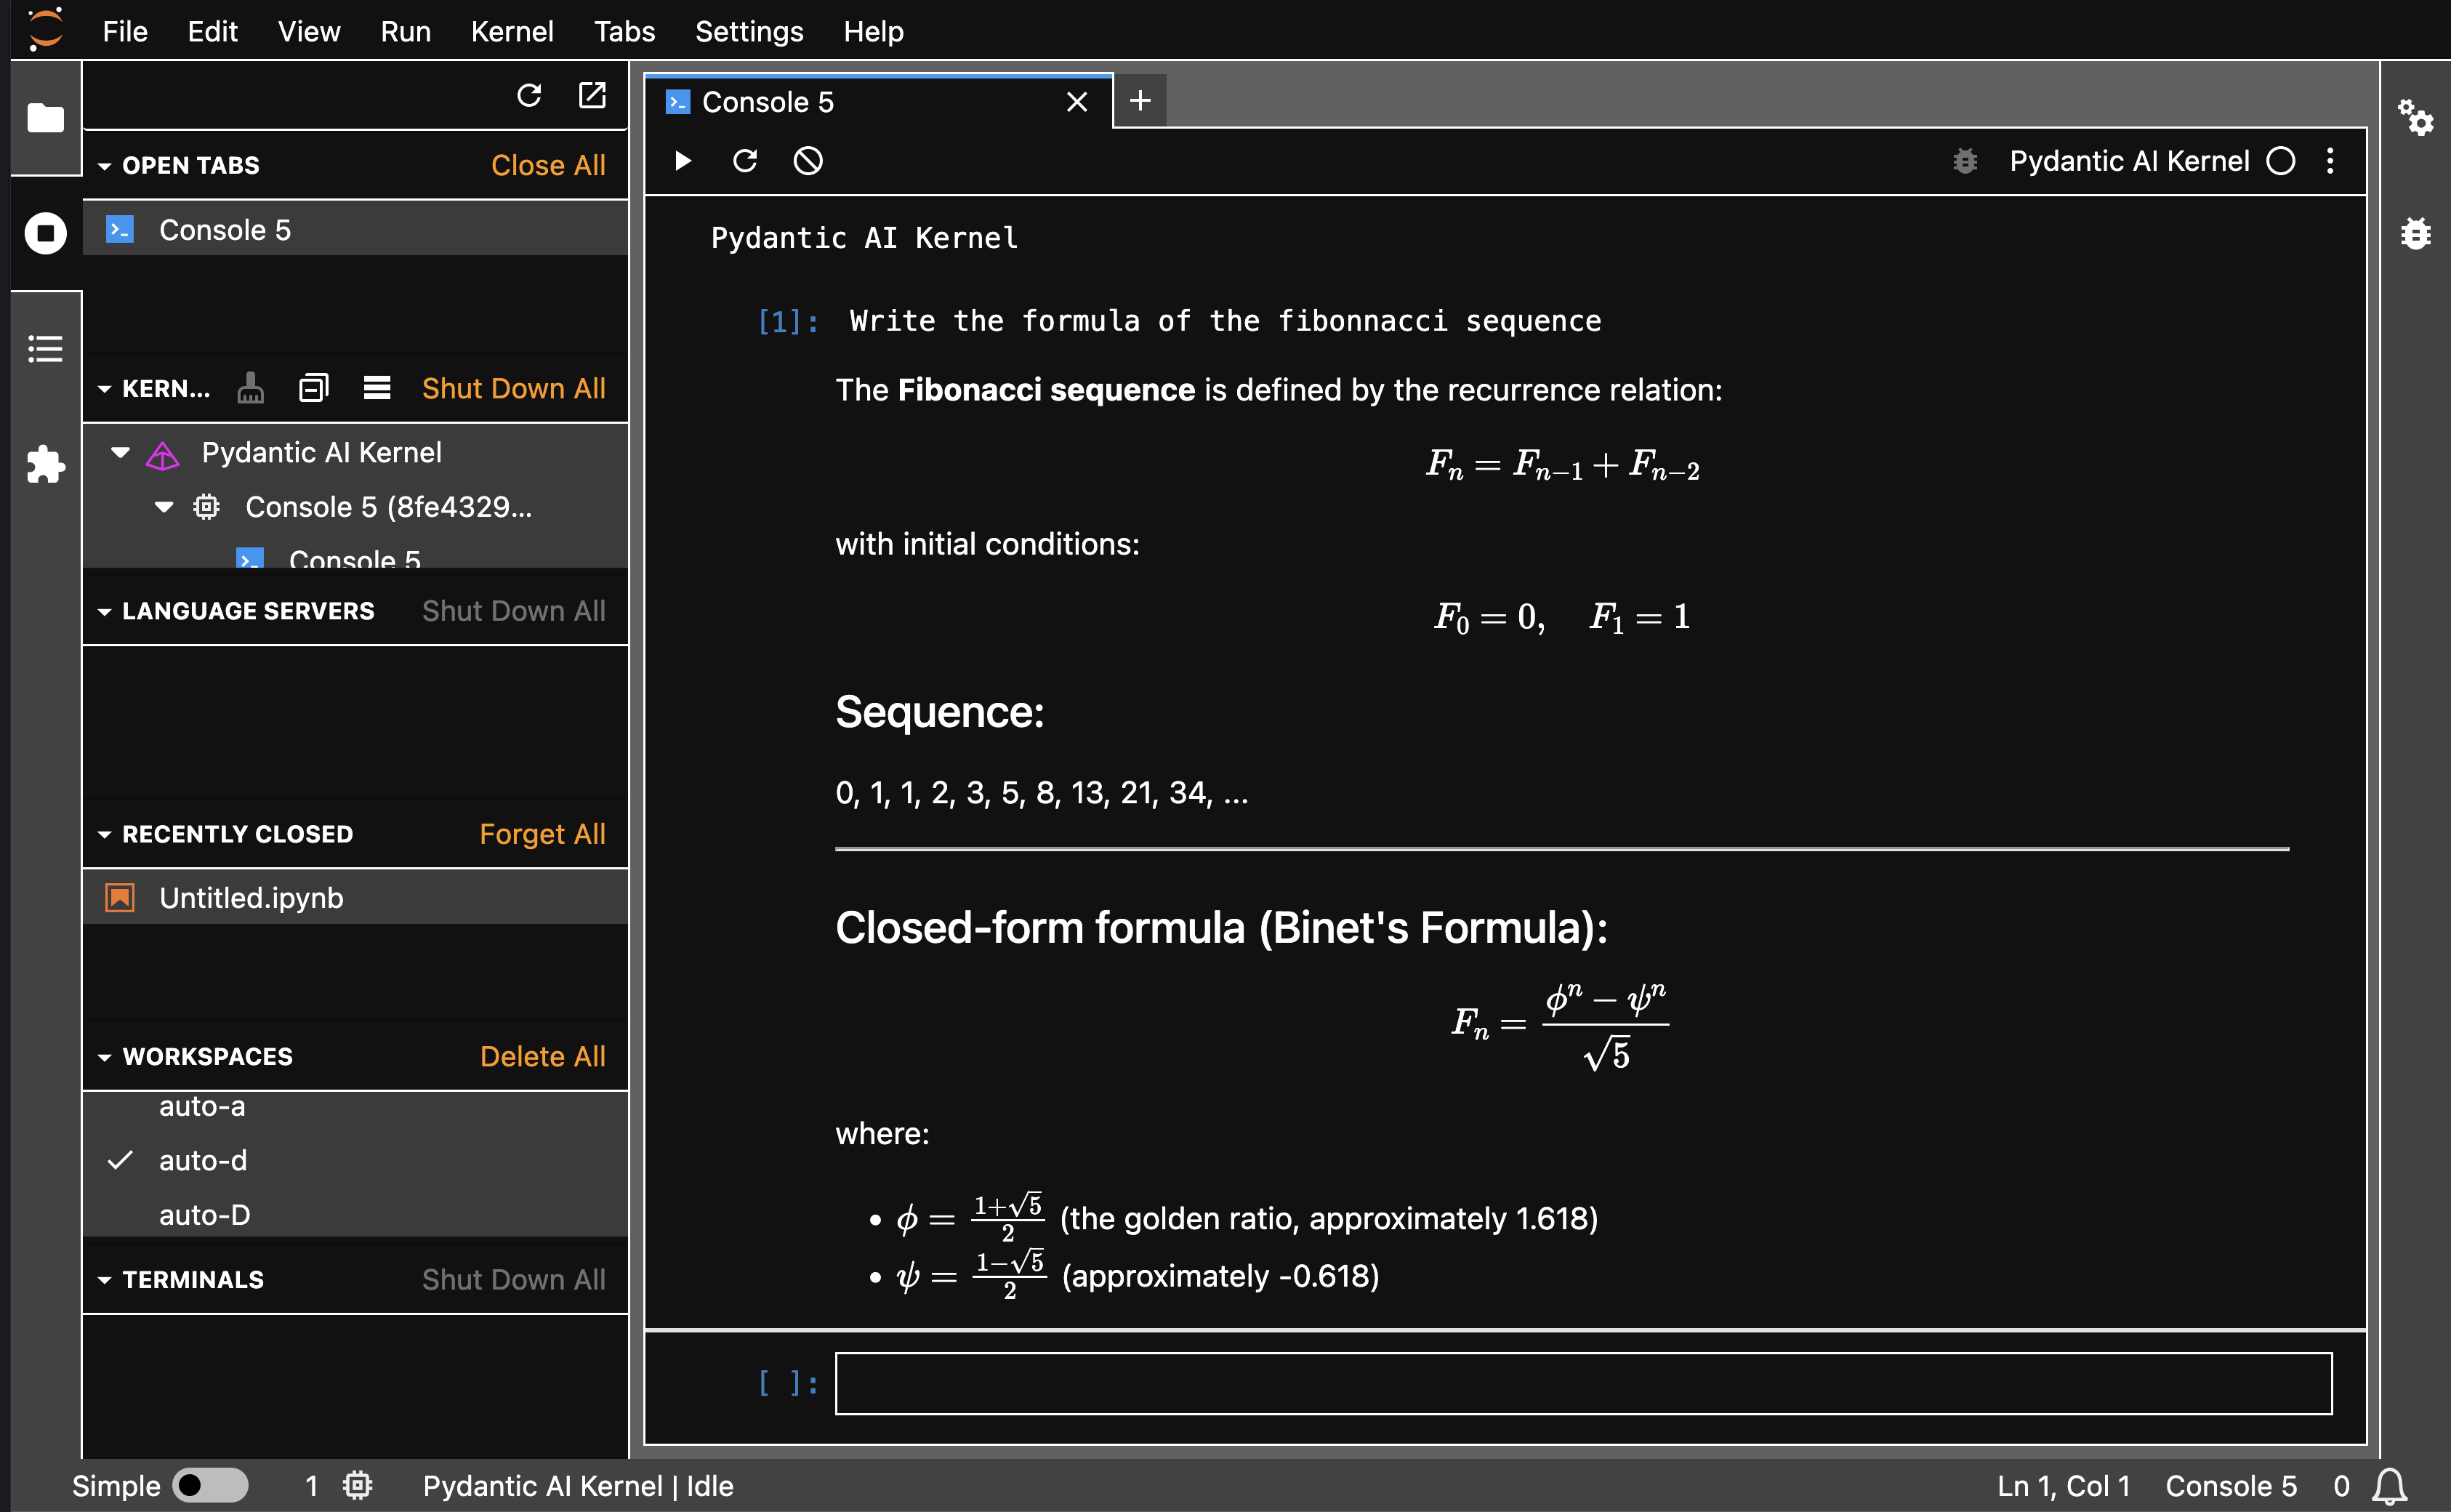
Pydantic AI Agent streams output as text/plain, and when the generation is ended, a display_data message is sent to replace with text/markdown.
Creating your own agents
In order to create custom agents, you just need to create a new kernel, and subclass PydanticAIBaseKernel from this library. See an example here : agentikernel, or here example_agent.
You can then create tools, or any mechanism you want. We provide here juste the communication protocol between agent and user, through well known and proven jupyter kernels.
The default configuration file for any subclass of PydanticAIBaseKernel will be fetched from : ~/.jupyter/jupyter_<app_name>_config.yaml; and must follows the same scheme as the one of pydantic_ai_kernel. But it can also be specified by sending a message to the kernel : %config <path_to_config_file>
Adding magic commands
Thanks to metakernel, you can add magic commands in any subclass of pydantic-ai-kernel. You just need to create a _magic.py in a magics directory (see https://metakernel.readthedocs.io/en/latest/new_magic/).
To add the magic to the whitelisted magics of the kernel, append the class name to self.authorized_magics_names in the initialization of the subclass, after having initialized the super class.
Add tools
In any agent subclass, you can define tools, and give them to the super class initializer (see example_agent).
If some tools requires user approval before being executed, you just have to specify it with usual pydantic-ai way :
def __init__(self, **kwargs):
    add_tool = Tool(add)
    mul_tool = Tool(mul, requires_approval=True)  # all tool call
    # will send an input_request message from frontend
    super().__init__(
        kernel_name="example_agent",
        authorized_magics_names=[
            "ExampleAdditionalMagic",
        ],
        tools=[add_tool, mul_tool],
        **kwargs,
    )
Developer
Logger
If you want to see the logs of the kernel; export the environment variable PYDANTIC_AI_KERNEL_LOG_LEVEL to 'DEBUG', 'INFO', ...
You can set PYDANTIC_AI_KERNEL_LOG_DIR to specify where the log file is saved. Default is ~/.jupyter/logs.
For subclasses, logger can be accessed with self.log(e.g.self.log.debug('hey')).
Without any of these environment variables, the ipykernel base logger is used (self.log).
Running kernel in separate process
You can also start the kernel without frontend, and connect any frontend to it in a separate process :
jupyter kernel --kernel pydantic_ai --KernelManager.connection_file ./pydantic_ai_kernel.json
Then, for example (this would work with notebooks or any jupyter frontend) :
jupyter console --ConnectionFileMixin.connection_file ./pydantic_ai_kernel.json
Release history Release notifications | RSS feed


Download files
Download the file for your platform. If you're not sure which to choose, learn more about installing packages.
Source Distribution
File details
Details for the file pydantic_ai_kernel-1.3.8.tar.gz.
File metadata
- Download URL: pydantic_ai_kernel-1.3.8.tar.gz
- Upload date:
- Size: 24.7 kB
- Tags: Source
- Uploaded using Trusted Publishing? No
- Uploaded via: twine/6.2.0 CPython/3.13.9
File hashes
| Algorithm | Hash digest | |
|---|---|---|
| SHA256 |
7f2b2e004564234921d6c5b2b3a6d4e1e80b9d03dbc8795f3c27e7eab127279e
|
|
| MD5 |
515530004b43ebeb073d9cf0a3853604
|
|
| BLAKE2b-256 |
d55a0b2f248b2aa6bcefbc5cb0fce4f16ee8cd05d0cd9c07a13916d5d4204051
|


