Transfer data through a unidirectional network (i.e., a data diode)

Project description
pydiode
Transfer data through a unidirectional network (i.e., a data diode).
Installation
First, ensure you have Python version 3.11 or greater.
To install from PyPI:
pip install pydiode
Or to install from source, clone the repo then run:
pip install .
To run the GUI, Tk must be installed.
- On macOS:
sudo port install py311-tkintersudo port install tk -x11 +quartz
- On Linux:
sudo apt install python3.11-tk
Secure Configuration
The GUI supports using PGP encryption in two ways. First, to encrypt and decrypt all data sent through the GUI. Second, to automatically decrypt PGP-encrypted files (i.e., files ending in .gpg). To use these features, you must install GnuPG.
- On macOS:
sudo port install gnupg2 - On Linux:
sudo apt install gnupg2
I recommend reading the EFF's guide to public key encryption to get familiar with the terminology used by PGP.
PGP's security depends on keeping your secret key secure. Since decryption is performed by the receiving computer, it is best to only store your secret key on that computer. Thus, we suggest generating a key pair on the receiver. It is okay to accept the default options, though you should specify your name.
gpg --full-generate-key
Next, export your public key. The name specified during key generation (e.g., Peter Story) can be used to identify the key (i.e., the name serves as a key identifier).
gpg --armor --export "Peter Story" > story_public.asc
Then, copy the public key to the sending computer, and import it:
gpg --import story_public.asc
In the pydiode GUI, add the key's identifier to the "PGP Key ID" field in the "Settings" tab on the sender and receiver. It is easiest to use your name, assuming you specified it during key generation (e.g., Peter Story). If you also want to automatically decrypt files ending in .gpg, check the "Decrypt received files" checkbox.
Finally, ensure the gpg command is on your PATH, so the pydiode GUI can invoke it. On macOS, this can be accomplished using launchctl:
sudo launchctl config user path /usr/bin:/bin:/usr/sbin:/sbin:/opt/local/bin
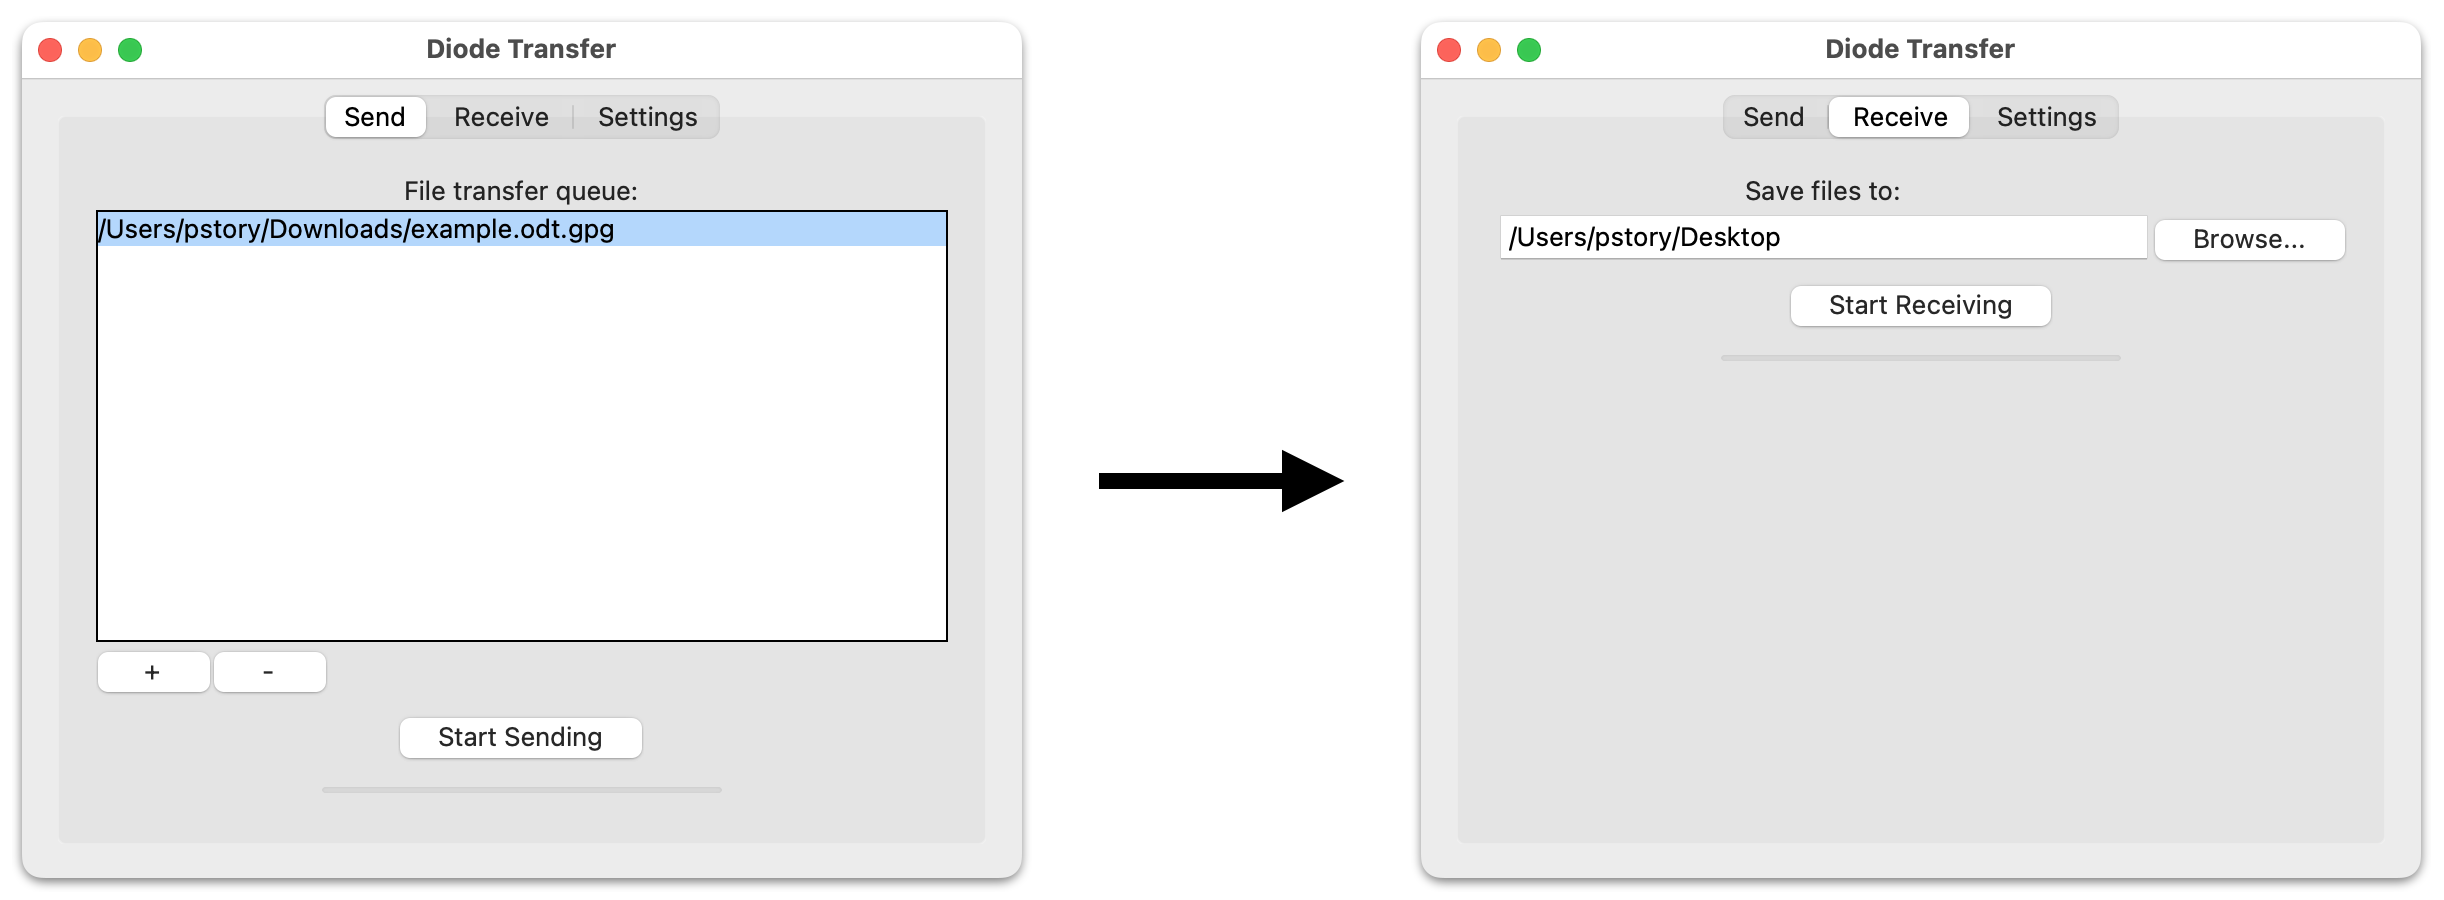
GUI Usage
The pydiode-gui command will launch the GUI. The GUI can also be run from a frozen executable (see packaging instructions below).
Command-Line Usage
Documentation:
pydiode --help
pydiode send --help
pydiode receive --help
Start a receiver on localhost:
pydiode --debug receive 127.0.0.1
Send data to the receiver, from localhost to localhost:
pydiode --debug send 127.0.0.1 127.0.0.1
Type some information into the receiver. When finished, press enter, then type Control-D to signal the end-of-file. The receiver should print the received information.
With debug-level logging, you will see details about each packet sent and received. Omit the --debug paramater when sending large amount of data, since debug-level logging incurs significant CPU usage.
Development
Run Unit Tests
python -m unittest discover
Since the unit tests run on the installed code, remember to install the latest version of the code before running the unit tests.
Packaging Frozen Executables
Follow the instructions in freeze/README.md
Speed Up Local Installs
To speed up local installs (i.e., pip install .), remove large files from the repo (e.g., build, dist, and random_data). When installing, pip makes a copy of everything, so large files slow it down.
Citation
If you use this code as part of a publication, please cite our PEP '23 paper:
Peter Story, “Building an Affordable Data Diode to Protect Journalists,” Workshop on Privacy Engineering in Practice (PEP '23), August 2023


Download files
Download the file for your platform. If you're not sure which to choose, learn more about installing packages.
Source Distribution
Built Distribution
Filter files by name, interpreter, ABI, and platform.
If you're not sure about the file name format, learn more about wheel file names.
Copy a direct link to the current filters
File details
Details for the file pydiode-1.0.0.tar.gz.
File metadata
- Download URL: pydiode-1.0.0.tar.gz
- Upload date:
- Size: 33.0 MB
- Tags: Source
- Uploaded using Trusted Publishing? No
- Uploaded via: Hatch/1.16.5 cpython/3.11.13 HTTPX/0.28.1
File hashes
| Algorithm | Hash digest | |
|---|---|---|
| SHA256 |
552830434b5d8ba7bcb46adba7f91e86a86631b59c59e41c8f56810a06d5a7e2
|
|
| MD5 |
1025b07c3f216fc1f312e06321e72dc1
|
|
| BLAKE2b-256 |
8543442c2563761d079923030a6d4bba80d6d0ff6704a86fd3ec4fdcfe6460e5
|
File details
Details for the file pydiode-1.0.0-py3-none-any.whl.
File metadata
- Download URL: pydiode-1.0.0-py3-none-any.whl
- Upload date:
- Size: 27.7 kB
- Tags: Python 3
- Uploaded using Trusted Publishing? No
- Uploaded via: Hatch/1.16.5 cpython/3.11.13 HTTPX/0.28.1
File hashes
| Algorithm | Hash digest | |
|---|---|---|
| SHA256 |
69050877c6bd830c54f5dcd2a9ca8c495ff7f5ca827de5eacd4db58b68f93527
|
|
| MD5 |
b3a467fa8daa1ddb5b8228cf83fce571
|
|
| BLAKE2b-256 |
7bf108b87dc0e0712aefd9bdefc7457936b48d3c1d5e70c0ad59e82640c9f310
|


