
PynamicUI
PynamicUI is a lightweight Python library that provides a dynamic user interface (UI) framework for creating interactive and responsive applications. It simplifies the process of building user interfaces by abstracting away the complexities of working directly with a UI toolkit like Tkinter. With PynamicUI, you can create dynamic web-like UIs using a declarative syntax, making it easy to define and manage the UI components and their interactions.
Features
- Declarative Syntax: Define UI components using a declarative syntax similar to HTML, making it intuitive and easy to manage.
- Dynamic Rendering: Efficiently render virtual elements as tkinter widgets, ensuring responsiveness and interactivity.
- State Management: Manage the state of your application and automatically update the UI when state changes occur.
- Hooks and Effects: Utilize hooks and effects to add custom logic and side effects to elements, enhancing interactivity.
- Styling Capabilities: Apply styles to UI elements with ease, allowing for seamless customization of appearance.
- Responsive and Interactive UIs: Build dynamic and responsive user interfaces with web-like interactions.
Installation
PynamicUI requires the CustomTkinter library. To install PynamicUI and its dependencies, you can use pip:
pip install pynamicui
Documentation
For detailed documentation and usage examples, please refer to the PynamicUI Wiki.
Examples
Check out the examples folder for practical examples building an application with PynamicUI.
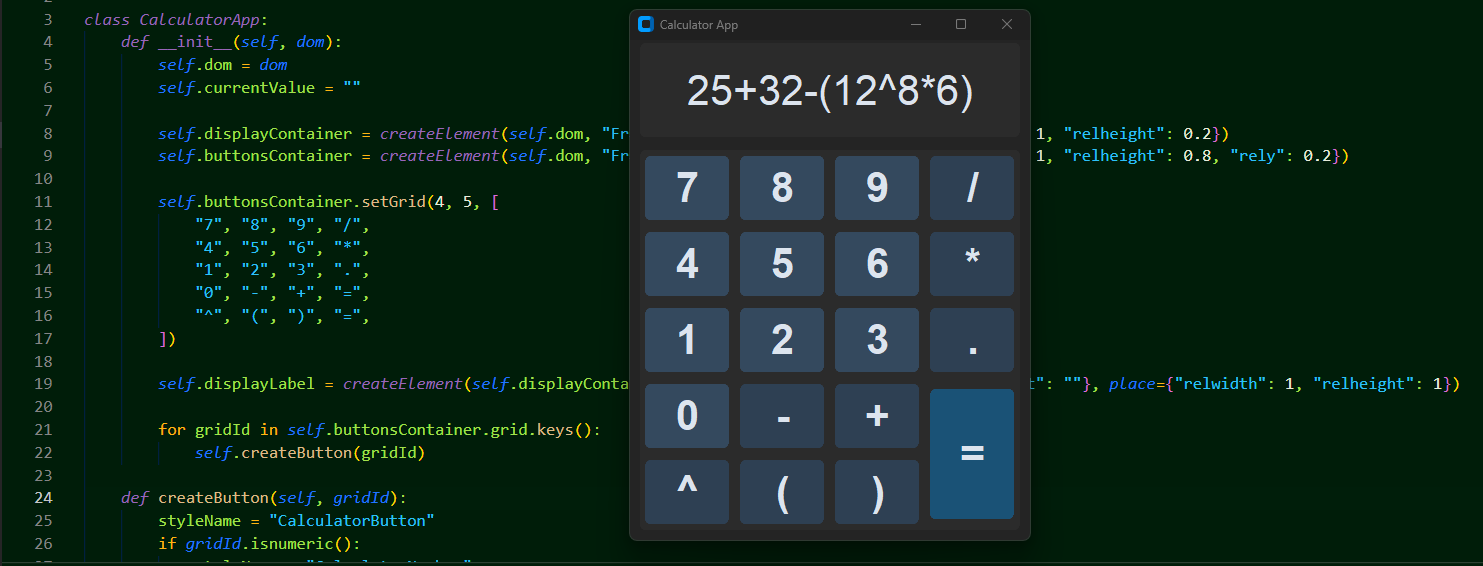
Example Calculator App
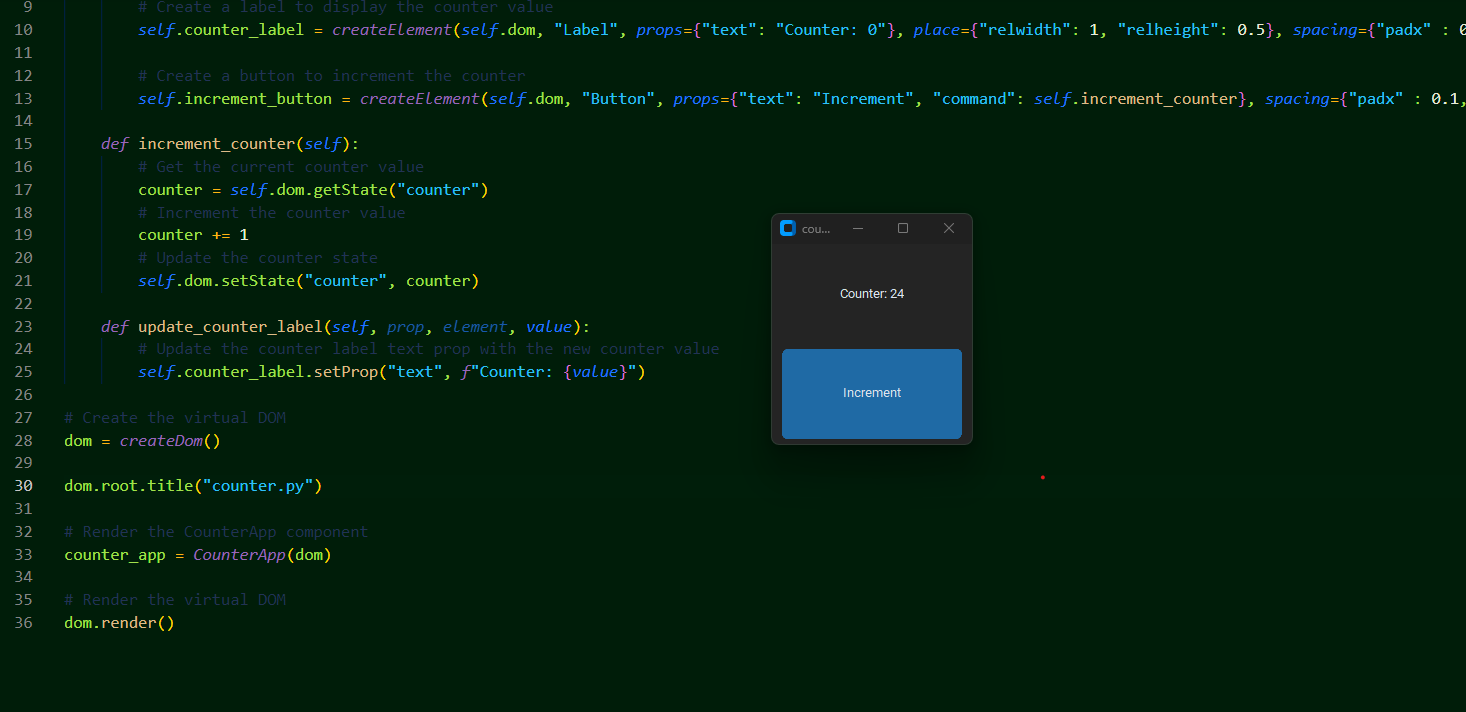
Example Counter App
Example Dynamic List
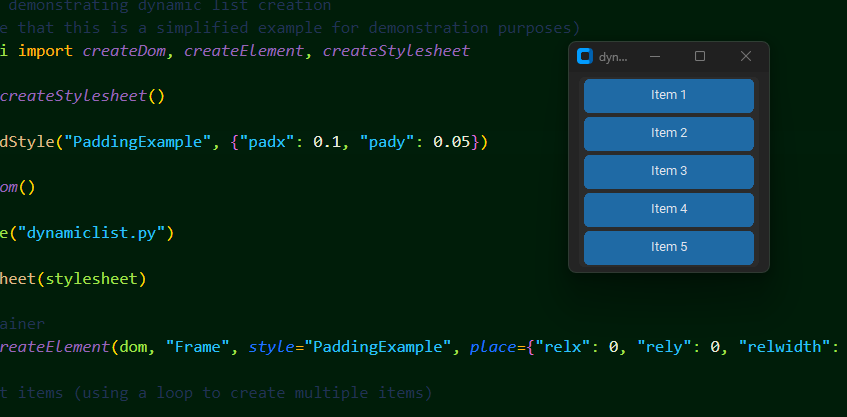
place method for flexible and responsive UI elements.
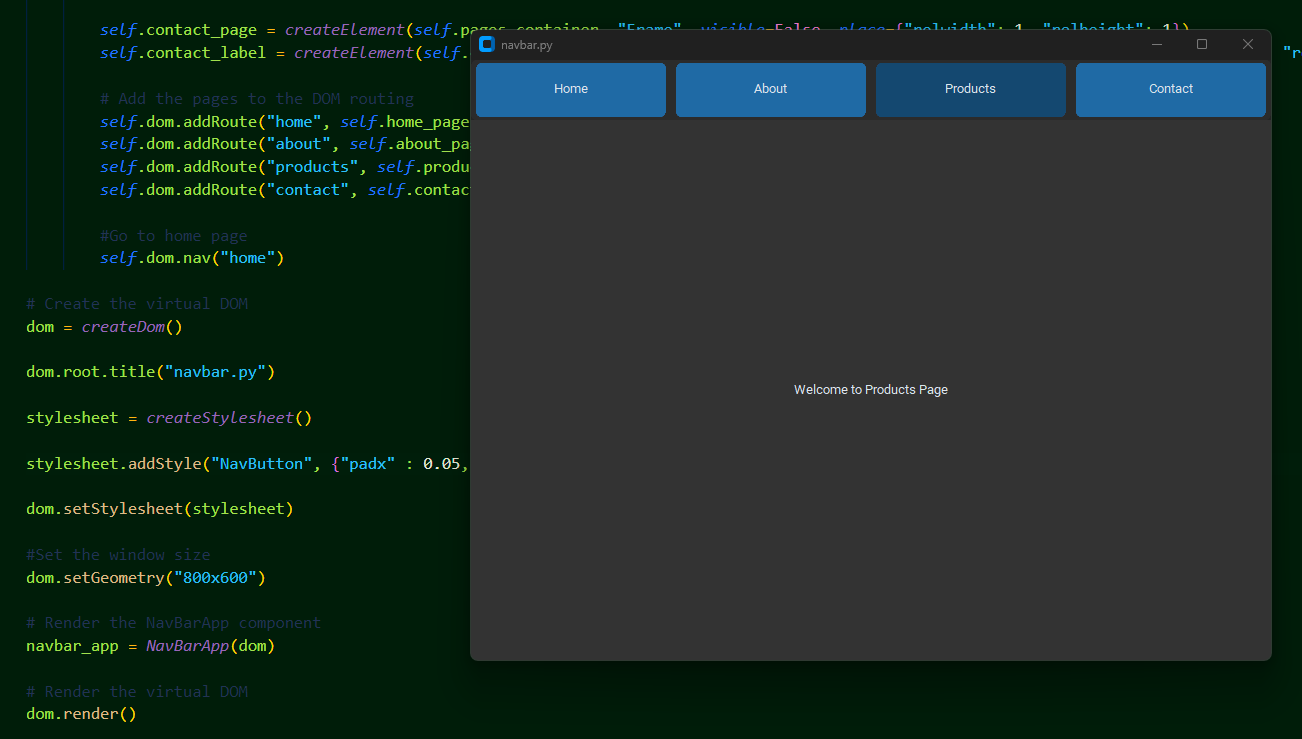
Example NavBar App
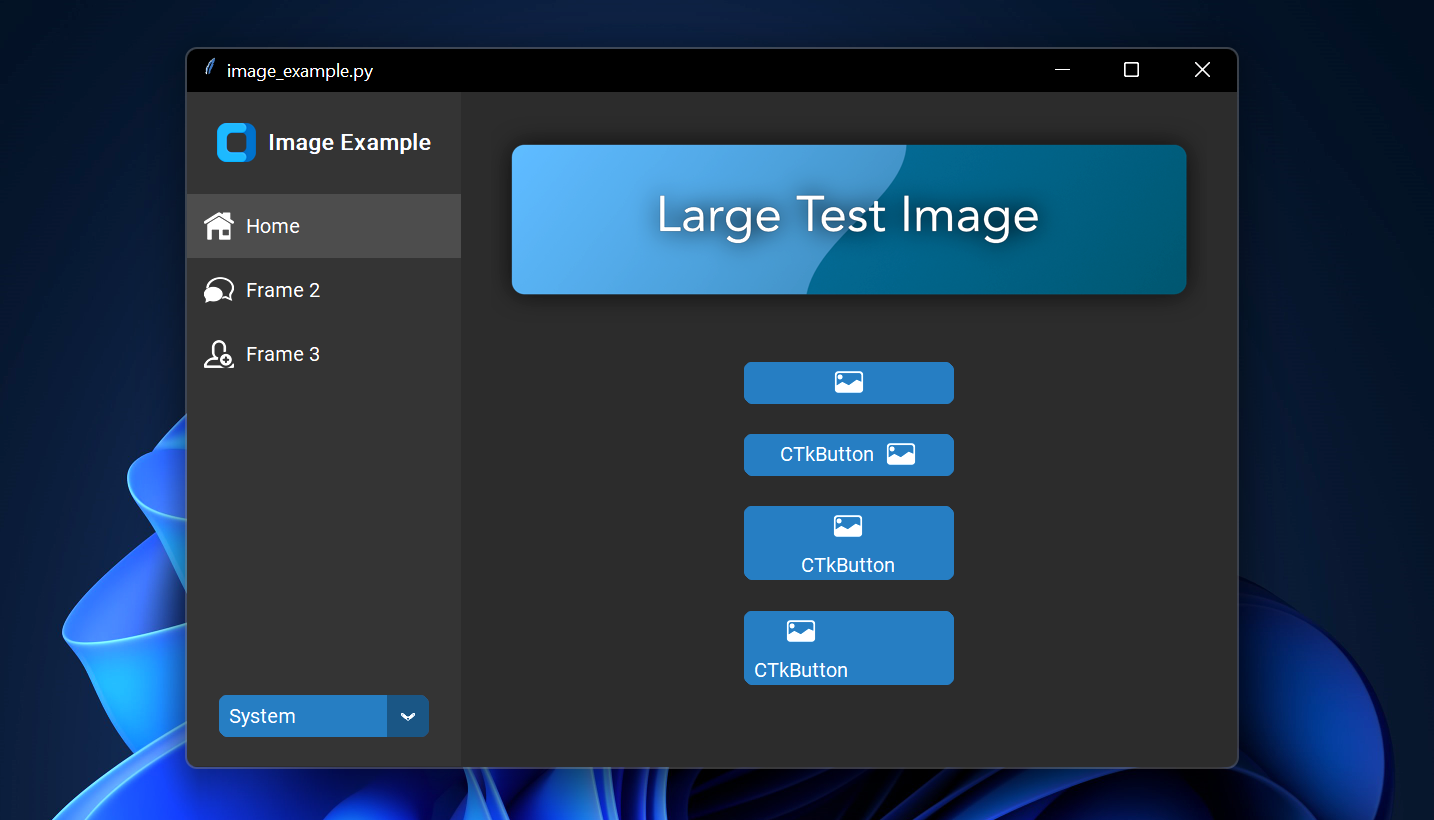
An abstraction of CustomTkinter
PynamicUI supports nearly all the same elements as CustomTkinter.
Getting Started
Using PynamicUI in a New Project
To start using PynamicUI in a new project, follow these steps:
- Import the required classes and functions from PynamicUI:
from pynamicui import createStylesheet, createDom, createElement, setAppearanceMode
import customtkinter as tk
- Define your UI components using the
createElementclass:
class CounterApp:
    def __init__(self, dom):
        self.dom = dom
        # Create the counter state using dom.useState
        self.dom.useState("counter", 0, self.update_counter_label)

        # Create a label to display the counter value
        self.counter_label = createElement(self.dom, "Label", props={"text": "Counter: 0"}, place={"relwidth": 1, "relheight": 0.5})

        # Create a button to increment the counter
        self.increment_button = createElement(self.dom, "Button", style="PrimaryButton", props={"text": "Increment", "command": self.increment_counter}, place={"relwidth": 1, "relheight": 0.5, "rely": 0.5})

    def increment_counter(self):
        # Get the current counter value
        counter = self.dom.getState("counter")
        # Increment the counter value
        counter += 1
        # Update the counter state
        self.dom.setState("counter", counter)

    def update_counter_label(self, prop, element, value):
        # Update the counter label text prop with the new counter value
        self.counter_label.setProp("text", f"Counter: {value}")
- Add styles using the
createStylesheetclass:
styles = createStylesheet()

styles.addStyle("PrimaryButton", {
    "font": ("Arial", 14, "normal"),
    "fg_color": "grey",
    "bg_color": "blue"
})

styles.addStyle("SecondaryButton", {
    "font": ("Arial", 14, "normal"),
    "fg_color": "black",
    "bg_color": "green"
})
- Render the virtual DOM and launch your application:
if __name__ == "__main__":
    dom = createDom()
    dom.setStylesheet(styles)

    CounterApp(dom)

    dom.render()
Integrating PynamicUI in an Existing Project
To integrate PynamicUI into an existing project, follow these steps:
-
Install PynamicUI and its dependencies as described in the Installation section.
-
Import the required classes and functions from PynamicUI:
from pynamicui import createStylesheet, createDom, createElement, setAppearanceMode
import customtkinter as tk
-
Identify the parts of your application where you want to use PynamicUI and create virtual elements accordingly.
-
Add styles using the
createStylesheetclass to customize the appearance of the UI elements. -
Implement state management and hooks to add interactivity and custom logic to your application.
-
Render the virtual DOM and launch your application:
if __name__ == "__main__":
    dom = createDom(root=existingCustomTkinterRoot)
Contributions
Contributions to PynamicUI are welcome! If you find any issues or have suggestions for improvements, please open an issue or submit a pull request on GitHub.
Issue Tracking
This wiki page explains the proper procedures for submitting an issue related to PynamicUI Issue Tracking with PynamicUI
License
PynamicUI is licensed under the Apache License. Feel free to use, modify, and distribute this library as permitted by the license.
Acknowledgments
PynamicUI is built upon the foundation of CustomTkinter by Tom Schimansky. Special thanks to the developers of CustomTkinter for their valuable contributions.
1 maintainer

Metadata
1 maintainer
Release files for pynamicui 0.1.0
For a detailed explanation of source distributions (sdists) and built distributions (wheels), please see the package formats documentation.
Source distribution (sdist)
| File | Size | Uploaded | |
|---|---|---|---|
| pynamicui-0.1.0.tar.gz | 15.9 kB | Details |
Built distribution (wheel)
| File | Interpreter | ABI | Platform | Reset |
|---|---|---|---|---|
| pynamicui-0.1.0-py3-none-any.whl | Python 3 | none | any | Details |
Total release size: 30.8 kB
Release files / pynamicui-0.1.0.tar.gz
| Download URL | pynamicui-0.1.0.tar.gz |
|---|---|
| Size | 15.9 kB |
| Tags | Source |
|
SHA-256 checksum How to use checksums |
a53d8754b0f1b6fda25e73b82189b5f7f46eb1ce37fdd62e732c6b9b4298edde
|
|
BLAKE2b-256 checksum How to use checksums |
21327c71cb64572ec83badf013f698ed1e1e878ed34ab5bb10e59d9461868b81
|
| Upload date | |
|
Uploaded using Trusted Publishing? What is trusted publishing? |
No |
| Uploaded via |
twine/4.0.2 CPython/3.11.3
|
Release files / pynamicui-0.1.0-py3-none-any.whl
| Download URL | pynamicui-0.1.0-py3-none-any.whl |
|---|---|
| Size | 14.9 kB |
| Tags | Python 3 |
|
SHA-256 checksum How to use checksums |
a3e8af02277966722eac11ab513e09af95f70c32572a0d7698a388dc2aa48357
|
|
BLAKE2b-256 checksum How to use checksums |
06e21a994bbffd9597cf1b45482527c79dce5fcf423abdaa619ce9de9f3dbc7c
|
| Upload date | |
|
Uploaded using Trusted Publishing? What is trusted publishing? |
No |
| Uploaded via |
twine/4.0.2 CPython/3.11.3
|














