

|
PyRatThis repository contains the software used in the The course is available at this address: The documentation is available at this address: |
Prerequisites
-
This installation procedure assumes that you have basic knowledge about shell manipulation.
-
PyRat uses uv to manage Python and the libraries it needs.
You do not need to install Python yourself: uv takes care of it, and PyRat workspaces are configured to use Python 3.13 (Python 3.12 is also supported). -
Finally, we will test PyRat installation using Visual Studio Code (VSCode), as this is the main tool we use in the associated course. Please make sure it is already installed, or install it from the official website. Note that you can use a different tool if you want, but we just provide indications for that one here.
Install uv
If uv is not installed on your machine yet, install it as follows:
- Linux:
curl -LsSf https://astral.sh/uv/install.sh | sh. - MacOS:
curl -LsSf https://astral.sh/uv/install.sh | sh. - Windows (PowerShell):
powershell -ExecutionPolicy ByPass -c "irm https://astral.sh/uv/install.ps1 | iex".
Other installation methods are described in the uv documentation.
Then, close and reopen your terminal, and check that uv is available by running uv --version.
Setup your PyRat workspace
We are now going to create a workspace for PyRat.
This is a directory that contains minimal working examples to get started, and in which PyRat is installed.
To do so, follow these steps:
- Open a terminal, and navigate (use the
cdcommand) to the directory where you want to create your PyRat workspace. - Run the following command (it is the same on all systems):
uvx --from pyrat-game pyrat-init.
You should see something like this:
Workspace created in /path/to/pyrat_workspace, as a uv project using Python >=3.12,<3.14
Git repository created for the workspace
Using CPython 3.13.13
Creating virtual environment at: .venv
Resolved 20 packages in 178ms
Installed 19 packages in 45ms
Virtual environment created, with PyRat installed in it
Your workspace is ready! You can now start coding your players and run games.
To run a game, go to the workspace using 'cd pyrat_workspace', then use for instance 'uv run games/sample_game.py'.
You should have a new directory called pyrat_workspace in the directory where you ran the command.
It contains a players directory and a games directory, which is where your own programs live.
If you prefer another name for the workspace, pass it to the command, as in uvx --from pyrat-game pyrat-init my_project.
Check your installation
Now, we are going to verify that PyRat works properly.
To do so, follow these steps:
- Open a terminal, and navigate to your workspace using
cd pyrat_workspace. - Run the sample game as follows:
uv run games/sample_game.py.
You can also run your games from VSCode.
To do so, follow these steps:
- Open VSCode, and add your
pyrat_workspacedirectory in your VSCode workspace. - Open the file
sample_game.pyin directorygames/. - Make sure VSCode is using the interpreter located in the
.venvdirectory of your workspace. - Run
sample_game.py.
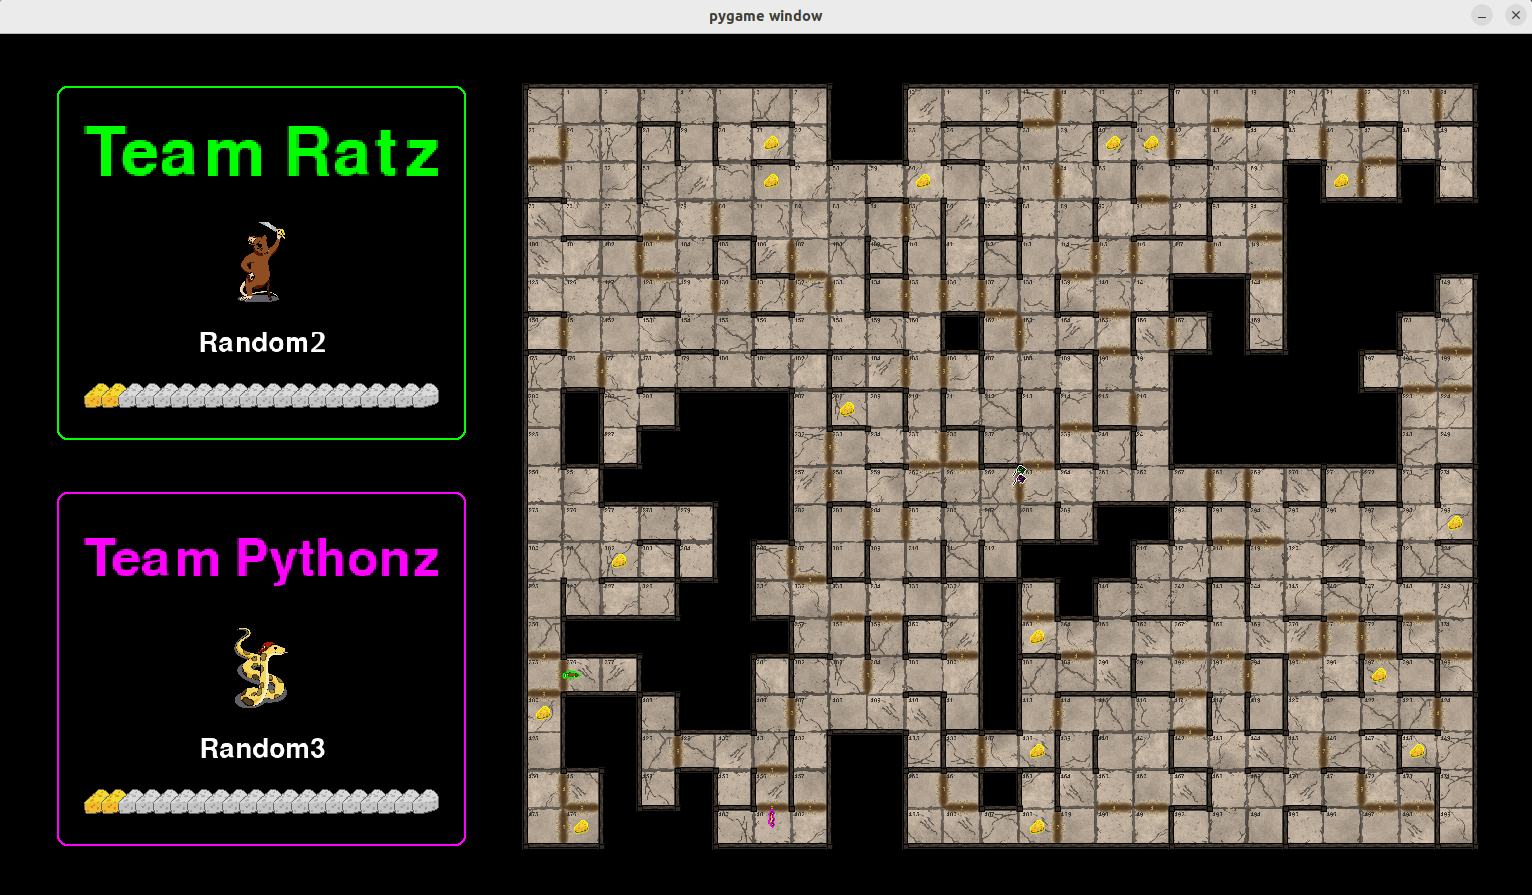
In both cases, you should see something like this:
Add other libraries to your workspace
Your workspace is a uv project, so you can add any library you need to it.
To do so, run uv add from your workspace, as in uv add numpy.
The library is then available in your players and games, with no need to activate anything.
Rebuild your workspace
A workspace describes everything it needs in its pyproject.toml and uv.lock files, so it can always be rebuilt.
Run this from the workspace, for instance after cloning it on another machine, or if one of its libraries goes missing:
uv sync
This installs again everything the workspace declares, in a virtual environment created for the machine it runs on.
Renaming or moving a workspace needs nothing: its programs keep importing each other, wherever the workspace is.
Troubleshooting
-
In case of a problem, please check the existing GitHub issues first.
-
If the problem persists, you can add an issue of your own.
-
For students at IMT Atlantique, you can also ask your questions on the Discord server of the course.
-
Finally, you can contact Bastien Pasdeloup directly.
1 maintainer

Metadata
1 maintainer
Release files for pyrat-game 6.5.3
For a detailed explanation of source distributions (sdists) and built distributions (wheels), please see the package formats documentation.
Source distribution (sdist)
| File | Size | Uploaded | |
|---|---|---|---|
| pyrat_game-6.5.3.tar.gz | 11.4 MB | Details |
Built distribution (wheel)
| File | Interpreter | ABI | Platform | Reset |
|---|---|---|---|---|
| pyrat_game-6.5.3-py3-none-any.whl | Python 3 | none | any | Details |
Total release size: 15.7 MB
Release files / pyrat_game-6.5.3.tar.gz
| Download URL | pyrat_game-6.5.3.tar.gz |
|---|---|
| Size | 11.4 MB |
| Tags | Source |
|
SHA-256 checksum How to use checksums |
6bafafb2fb0646640a28cc726bad7d4fb49da7fbd56d26de047e9efe2d108175
|
|
BLAKE2b-256 checksum How to use checksums |
f5da0528f5bfba1d1c453958ef5c995d81700b9b504085e42ac804e3054539e4
|
| Upload date | |
|
Uploaded using Trusted Publishing? What is trusted publishing? |
Yes |
| Uploaded via |
twine/7.0.0 CPython/3.13.14
|
Provenance
Provenance describes where a file came from. On PyPI, provenance is shared via attestations, which provide a verifiable record of the build or publishing details. View details, limitations and caveats.


PyPI Publish Attestation
PyPI verified that this artifact, at this checksum, originated from the publisher listed below.
Signed by GitHub Actions, verified by PyPI on Sep 23, 2026.
Transparency logRelease files / pyrat_game-6.5.3-py3-none-any.whl
| Download URL | pyrat_game-6.5.3-py3-none-any.whl |
|---|---|
| Size | 4.3 MB |
| Tags | Python 3 |
|
SHA-256 checksum How to use checksums |
5e4b8e756dd7b86ab337dcd1aadf1e2dc2c9208d91f659283daf8f40c71f53da
|
|
BLAKE2b-256 checksum How to use checksums |
90b78d1abdfcaadf0e27184e567b7c7af06c0b71b2725ed4b08a253ec9be4a95
|
| Upload date | |
|
Uploaded using Trusted Publishing? What is trusted publishing? |
Yes |
| Uploaded via |
twine/7.0.0 CPython/3.13.14
|
Provenance
Provenance describes where a file came from. On PyPI, provenance is shared via attestations, which provide a verifiable record of the build or publishing details. View details, limitations and caveats.
PyPI Publish Attestation
PyPI verified that this artifact, at this checksum, originated from the publisher listed below.
Signed by GitHub Actions, verified by PyPI on Sep 23, 2026.
Transparency log













