Control software for remote Fischertechnik Maker Car with SFZ PCB.

Reason this release was yanked:
installation instruction is wrong; python 3.7 is not needed, it also works with later versions.
Project description
SFZ-PiTechCar (Python Package)
|
Python-based software for controlling a Fischertechnik Maker Kit car via a custom-built PCB and
Raspberry Pi. Provides precise motor control (forward/backward) and steering via a servo. Supports
the official 8.4V Fischertechnik NiMH battery. |
Required Hardware

|
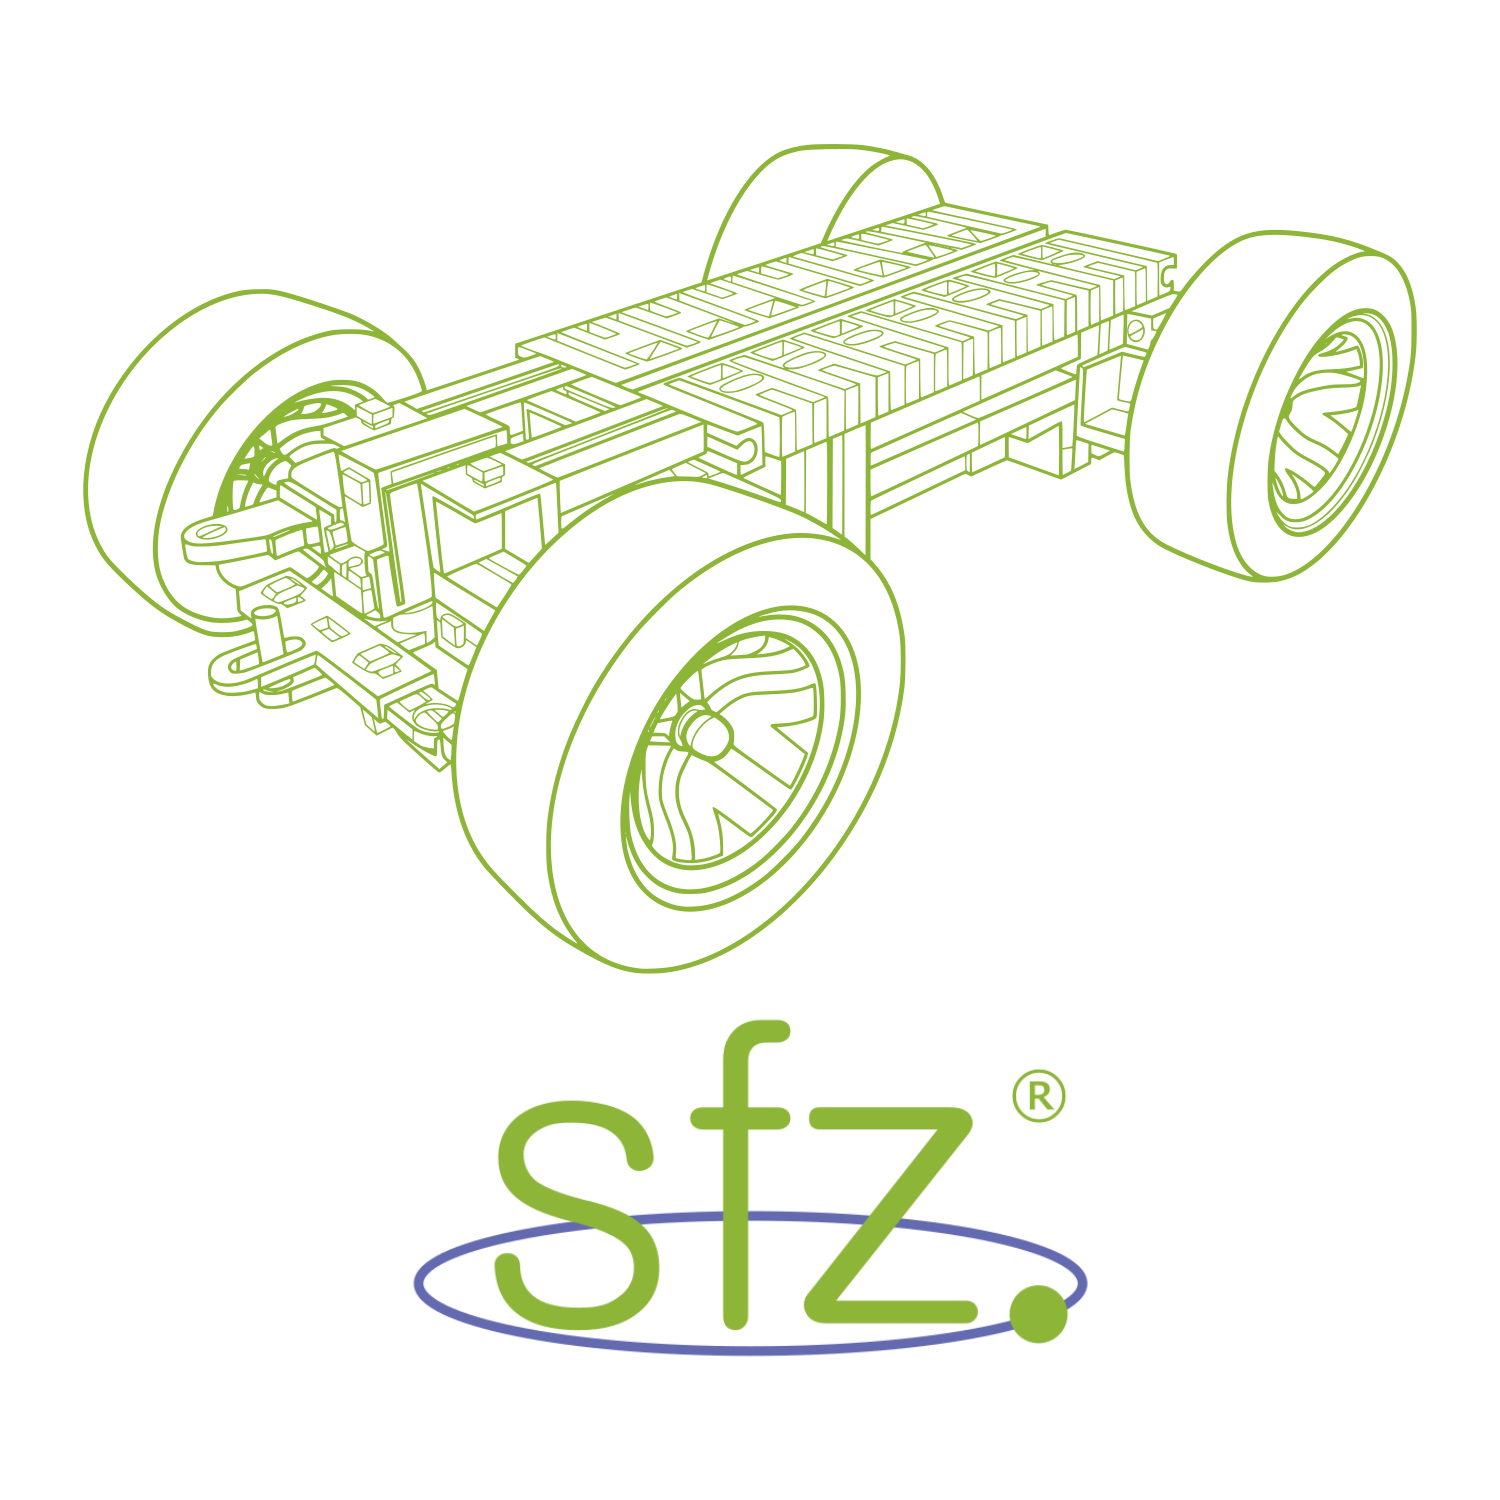
Fischertechnik Maker Kit Car |
|
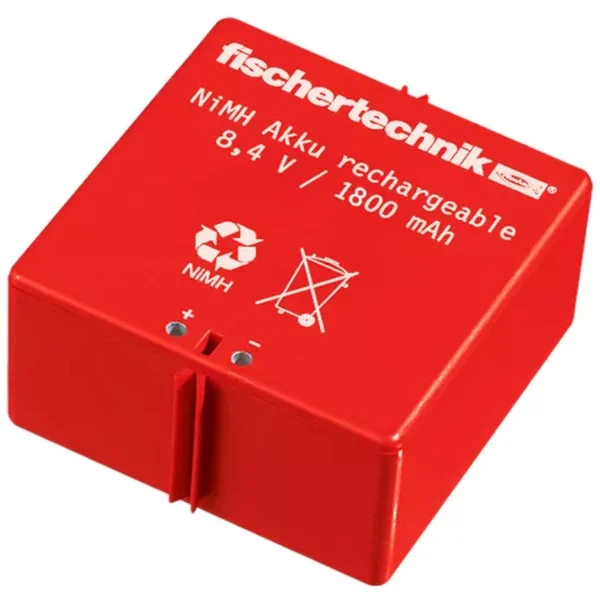
Fischertechnik 8.4V NiMH Battery Note: Higher-power Raspberry Pi models may draw too much current, causing undervoltage warnings or preventing the Raspberry Pi from starting. It is recommended to use a Raspberry Pi 3 or Raspberry Pi 3A+. |

|
Raspberry Pi 3A+ |
|
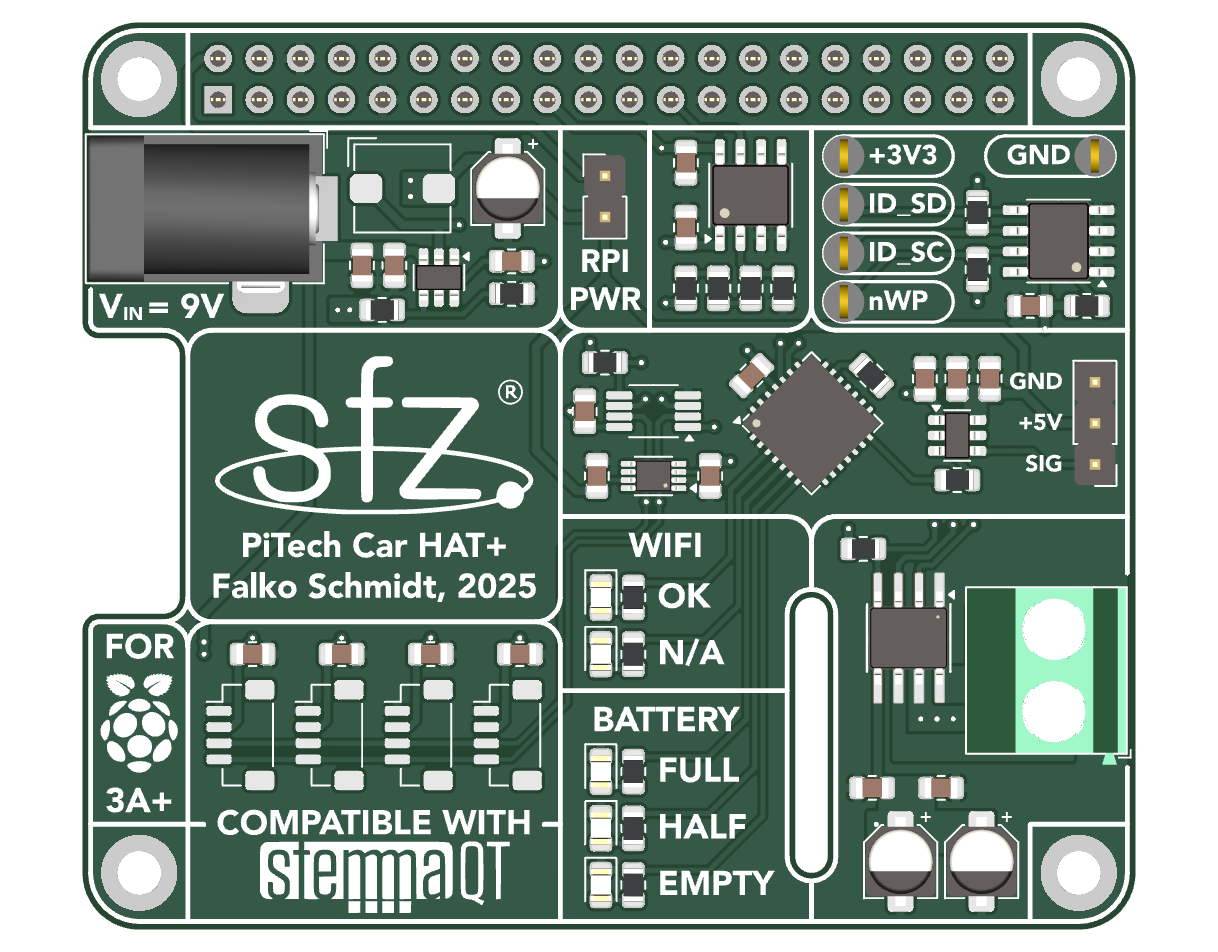
Custom-Built PiTech Car HAT+, Falko Schmidt, SFZ, 2025 |

|
Pi Hut Controller (Remote Control) |
Software Prerequisites
Installation of 'Blinka'
⚠️ This software only works on Raspberry Pi systems!
The Python control software requires several CircuitPython libraries to interface with sensors. On Raspberry Pi, these libraries rely on the Blinka compatibility layer from Adafruit. To install Blinka, run the following commands:
cd ~
pip3 install --upgrade adafruit-python-shell
wget https://raw.githubusercontent.com/adafruit/Raspberry-Pi-Installer-Scripts/master/raspi-blinka.py
sudo -E env PATH=$PATH python3 raspi-blinka.py
Installation of 'Python 3.7'
⚠️ This software requires Python 3.7!
The recommended setup is to use a virtual environment based on Python 3.7. The reason
is that the approxeng.input library depends on evdev==1.6.1, which is
not compatible with newer Python versions. The steps below install Python 3.7
without changing the system’s default Python version on Raspberry Pi:
sudo apt update
sudo apt upgrade
sudo apt install build-essential zlib1g-dev libncurses5-dev libgdbm-dev libnss3-dev libssl-dev libreadline-dev libffi-dev wget
cd /tmp
wget https://www.python.org/ftp/python/3.7.9/Python-3.7.9.tgz
tar -xvf Python-3.7.9.tgz
cd Python-3.7.9
./configure --enable-optimizations
make -j 4
sudo make altinstall
Create and activate a virtual environment
After Python 3.7 is installed, create a virtual environment and activate it:
python3.7 -m venv ftberry_python_venv
source ftberry_python_venv/bin/activate
Once activated, all Python packages will be installed only inside this environment.
Software Installation
Before installing the software, make sure the Python virtual environment is activated. Then install the software by running:
pip install sfz-pitechcar
All required dependencies listed below will be installed automatically.
Pre-Usage
Before running the software, you need to identify and profile the controller you are using. The Python library ApproxEng Input is used for this purpose. Follow the official profiling instructions here:
ApproxEng Input Profiling Guide
After profiling, move the generated YAML file into the correct directory as described in the documentation. Once this is done, your controller is ready for use with the PiTech Car software.
Usage
Open a terminal and create a Python file in your home directory:
cd ~
nano pitech_car.py
Paste the following code into pitech_car.py:
from pitechcar.car import PiTechCar

car = PiTechCar()
car.run()
Notes:
car.run()starts the main control loop.- Controller disconnects and cleanup are handled automatically for safety.
Auto-Start on boot
If you want PiTechCar to start automatically, first create a bash script that activates your virtual environment and starts the Python program:
cd ~
nano pitechcar_controller.sh
Add the following content (adjust the virtual environment path if needed) and make it executable:
#!/bin/bash
source ~/ftberry_python_venv/bin/activate
python3 ~/pitech_car.py
sudo chmod +x ~/pitechcar_controller.sh
Next, create a service file:
sudo nano /etc/systemd/system/pitechcar_controller.service
Add the following content (replace USERNAME with your actual username):
[Unit]
Description=PiTechCar Controller
After=usb-devices.target
Wants=usb-devices.target

[Service]
Type=simple
User=USERNAME
WorkingDirectory=/home/USERNAME
ExecStart=/bin/bash /home/USERNAME/pitechcar_controller.sh
Restart=on-failure
StandardOutput=journal
StandardError=journal

[Install]
WantedBy=multi-user.target
Enable the service to start on boot:
sudo systemctl enable pitechcar_controller.service
Start the service immediately (optional, without reboot):
sudo systemctl start pitechcar_controller.service
Your PiTechCar controller should now run automatically on boot.
Python Package Dependencies
ℹ️ All dependencies listed here are automatically installed with the package.
-
ApproxEng Input 2.6.4 (Linux only)
Provides joystick and controller input handling. -
Adafruit Python Shell 1.11.1
Helps run Python scripts on the Raspberry Pi via the shell, required for Blinka. -
Adafruit CircuitPython PCA9685 3.4.20
Controls PCA9685 PWM controllers. -
Adafruit CircuitPython ServoKit 1.3.22
Provides an easy interface to control multiple servos via ServoKit. -
Adafruit CircuitPython MCP3xxx 1.5.0
Reads analog sensors via MCP3008/MCP3208 ADC chips.
Project Structure
sfz-pitechcar/
├── assets/              # Images and diagrams for README
├── scripts/             # Example scripts
│   └── run_car.py       # Main script to start the PiTech Car
├── src/pitechcar/       # Python package
│   ├── hardware/        # Low-level hardware modules (motors, sensors, battery)
│   └── modules/         # Higher-level control modules (motor, battery, WiFi)
├── README.md
├── pyproject.toml
Contributing
Contributions are welcome! To contribute, please fork the repository, make your changes, and submit a merge request. For major changes or feature additions, consider opening an issue first to discuss your ideas.
License
This project is licensed under the BSD-3-Clause License. © 2026 Falko Schmidt.
Release history Release notifications | RSS feed


Download files
Download the file for your platform. If you're not sure which to choose, learn more about installing packages.
Source Distribution
Built Distribution
Filter files by name, interpreter, ABI, and platform.
If you're not sure about the file name format, learn more about wheel file names.
Copy a direct link to the current filters
File details
Details for the file sfz_pitechcar-0.1.0.tar.gz.
File metadata
- Download URL: sfz_pitechcar-0.1.0.tar.gz
- Upload date:
- Size: 14.3 kB
- Tags: Source
- Uploaded using Trusted Publishing? No
- Uploaded via: twine/6.2.0 CPython/3.9.6
File hashes
| Algorithm | Hash digest | |
|---|---|---|
| SHA256 |
eb47f3cfeaec400ed6ae0f2cbc0cd996209b213458688a2d6283f4ac25273f78
|
|
| MD5 |
bba1c8224ab5641e64da405fbb68fefb
|
|
| BLAKE2b-256 |
6d468b65476c2c7b319abe3884561097023967114b05ef53c2cfba1bc6abf166
|
File details
Details for the file sfz_pitechcar-0.1.0-py3-none-any.whl.
File metadata
- Download URL: sfz_pitechcar-0.1.0-py3-none-any.whl
- Upload date:
- Size: 13.9 kB
- Tags: Python 3
- Uploaded using Trusted Publishing? No
- Uploaded via: twine/6.2.0 CPython/3.9.6
File hashes
| Algorithm | Hash digest | |
|---|---|---|
| SHA256 |
c54ea557ae91c714cae0134fa445f262534fe147445609bd22a924f6ce446a69
|
|
| MD5 |
247446c1151a6b6836f9c2b9ecd6fc3a
|
|
| BLAKE2b-256 |
cf7283a6e4e354810182b7c255ba4a3d3bce8f8c36b84475e873c28bd677b22e
|


