
SPICEBridge
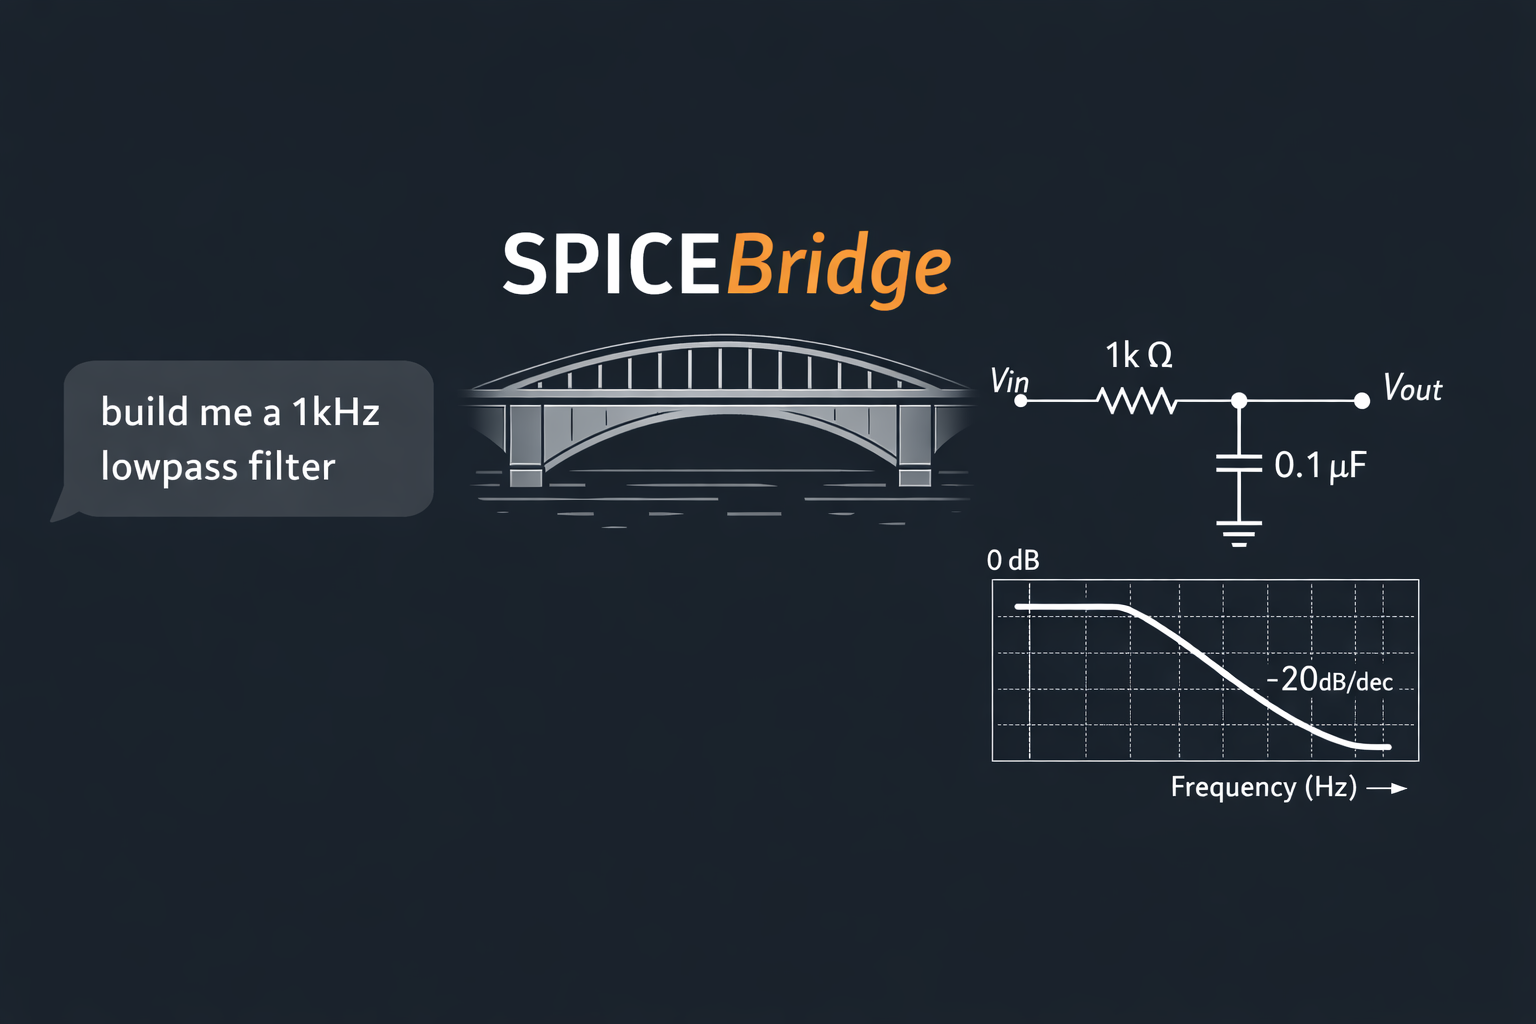
AI-powered circuit design through simulation — an MCP server that gives language models direct access to SPICE circuit simulation via ngspice. Describe a circuit in plain English and let the AI handle netlist generation, simulation, measurement, and spec verification.
Features
- 28 tools covering the full circuit design workflow
- 11 built-in templates with automatic component value calculation (E24 series)
- Simulation: AC sweep, transient, DC operating point
- Measurement: bandwidth, gain, DC levels, transient metrics, power
- Monte Carlo & worst-case analysis under component tolerances
- Multi-stage composition — connect circuit stages with automatic port mapping
- Model wizard — generate SPICE
.libmodels from datasheet parameters - KiCad export — output
.kicad_schschematics - Web viewer — interactive schematic viewer in the browser
- Cloud setup wizard — one-command deployment with Cloudflare tunnels (
spicebridge setup-cloud) - Spec verification — compare results against design targets
Install
pip install spicebridge
Requirements
- Python 3.10+
- ngspice installed and on PATH
Quick Start
Use the public server (no install needed)
The fastest way to get started — no Python, no ngspice, nothing to install. Just add this to your MCP client config and start designing circuits:
Claude Desktop / Claude.ai — add to your MCP settings:
{
  "mcpServers": {
    "SPICEBridge": {
      "url": "https://spicebridge.clanker-lover.work/mcp"
    }
  }
}
Claude Code — run this from any project directory:
claude mcp add --transport http SPICEBridge https://spicebridge.clanker-lover.work/mcp
That's it. You're ready to go.
Self-hosted options
If you'd rather run your own instance:
Local (Claude Code / stdio)
Add to your .mcp.json:
{
  "mcpServers": {
    "spicebridge": {
      "command": "spicebridge"
    }
  }
}
Cloud (Streamable HTTP)
spicebridge --transport streamable-http --port 8000
Cloud Setup Wizard
One command to go from a local install to a public MCP endpoint:
spicebridge setup-cloud          # interactive (named tunnel, permanent URL)
spicebridge setup-cloud --quick  # quick tunnel (temporary URL, no account needed)
The wizard handles the full deployment pipeline:
- Installs cloudflared automatically (macOS via Homebrew, Linux via APT) if not found
- Authenticates with Cloudflare (browser-based OAuth, named tunnel mode only)
- Creates or reuses a tunnel — prompts to pick an existing one or make a new one
- Configures DNS routing for your custom domain (named tunnel mode)
- Generates an API key for authentication
- Starts the SPICEBridge server and tunnel together
- Prints connection info with a ready-to-paste JSON config for Claude.ai
Quick tunnels give you a temporary trycloudflare.com URL instantly — no Cloudflare account required. Named tunnels give you a permanent custom domain (e.g. spicebridge.example.com).
Additional options:
spicebridge setup-cloud --domain mcp.example.com  # specify custom domain
spicebridge setup-cloud --port 9000                # custom port
spicebridge setup-cloud --no-install               # skip cloudflared installation
Example
1. load_template("rc_lowpass_1st", specs={"f_3dB_hz": 1000})
   -> netlist with R=1.6k, C=100nF, circuit_id: "a1b2c3d4"

2. run_ac_analysis(circuit_id, start_freq=1, stop_freq=1e6)
   -> frequency response data

3. measure_bandwidth(circuit_id)
   -> f_3dB_hz: 995

4. compare_specs(circuit_id, specs={"f_3dB_hz": {"target": 1000, "tolerance_pct": 5}})
   -> PASS

5. draw_schematic(circuit_id)
   -> schematic SVG
Tools
Create & Configure
| Tool | Description |
|---|---|
create_circuit |
Store a SPICE netlist, returns a circuit ID |
delete_circuit |
Delete a stored circuit and clean up resources |
list_templates |
List available circuit templates |
load_template |
Load a template with parameter substitution |
calculate_components |
Calculate component values from target specs |
modify_component |
Change a component value in a stored circuit |
validate_netlist |
Check a netlist for errors before simulation |
Simulate
| Tool | Description |
|---|---|
run_ac_analysis |
AC frequency sweep |
run_transient |
Transient (time-domain) analysis |
run_dc_op |
DC operating point analysis |
Measure
| Tool | Description |
|---|---|
measure_bandwidth |
Find -3 dB bandwidth from AC results |
measure_gain |
Measure gain at a specific frequency |
measure_dc |
Extract DC operating point values |
measure_transient |
Measure time-domain characteristics |
measure_power |
Calculate power dissipation |
Evaluate & Export
| Tool | Description |
|---|---|
get_results |
Retrieve last simulation results |
compare_specs |
Check measurements against target specs |
draw_schematic |
Generate a schematic diagram (PNG/SVG) |
export_kicad |
Export as KiCad 8 schematic (.kicad_sch) |
open_viewer |
Start the interactive web schematic viewer |
Composition & Ports
| Tool | Description |
|---|---|
set_ports |
Define port-to-node mappings for a circuit |
get_ports |
Return port definitions (auto-detect if unset) |
connect_stages |
Compose multiple stages into a single circuit |
Advanced Analysis
| Tool | Description |
|---|---|
run_monte_carlo |
Monte Carlo analysis under component tolerances |
run_worst_case |
Worst-case analysis at tolerance extremes |
auto_design |
Full design loop in one call: template + simulate + verify |
Model Management
| Tool | Description |
|---|---|
create_model |
Generate a SPICE .lib model from datasheet parameters |
list_models |
List all saved models in the model library |
Development
git clone https://github.com/clanker-lover/spicebridge.git
cd spicebridge
pip install -e ".[dev]"
pytest
License
GPL-3.0-or-later
1 maintainer

Metadata
1 maintainer
Release files for spicebridge 1.3.0
For a detailed explanation of source distributions (sdists) and built distributions (wheels), please see the package formats documentation.
Source distribution (sdist)
| File | Size | Uploaded | Provenance | Actions |
|---|---|---|---|---|
| spicebridge-1.3.0.tar.gz | 185.2 kB | Without provenance | Details for spicebridge-1.3.0.tar.gz |
Built distribution (wheel)
| File | Interpreter | ABI | Platform | Actions Reset |
|---|---|---|---|---|
| spicebridge-1.3.0-py3-none-any.whl | Python 3 | none | any | Details for spicebridge-1.3.0-py3-none-any.whl |
Total release size: 308.8 kB
Release files / spicebridge-1.3.0.tar.gz
| Download URL | spicebridge-1.3.0.tar.gz |
|---|---|
| Size | 185.2 kB |
| Tags | Source |
|
SHA-256 checksum How to use checksums |
e22e66600f2ef2f667b59f67e4af0d7be9135bcc36382aa24013f5243a4109f2
|
|
BLAKE2b-256 checksum How to use checksums |
f5d89b0dc405d965d4b53ee86d792f8292b660858247f433491ee3625d3f8065
|
| Upload date | |
|
Uploaded using Trusted Publishing? What is trusted publishing? |
No |
| Uploaded via |
twine/6.2.0 CPython/3.12.3
|
Release files / spicebridge-1.3.0-py3-none-any.whl
| Download URL | spicebridge-1.3.0-py3-none-any.whl |
|---|---|
| Size | 123.6 kB |
| Tags | Python 3 |
|
SHA-256 checksum How to use checksums |
7170c8446fe1e87269babd37afa47715b2b624c84e9768c064f1af5108626cca
|
|
BLAKE2b-256 checksum How to use checksums |
3e682be045de9ed10487da5e57513f0a87f84d584d6162c126932326bf10323f
|
| Upload date | |
|
Uploaded using Trusted Publishing? What is trusted publishing? |
No |
| Uploaded via |
twine/6.2.0 CPython/3.12.3
|
Security for spicebridge 1.3.0
Provenance
Provenance describes where a file came from. On PyPI, provenance is shared via attestations, which provide a verifiable record of the build or publishing details. View details, limitations and caveats.
No provenance found
None of the files in this release were uploaded with provenance metadata.
A note on package security
PyPI is a repository for distributing packages, not a service for auditing them. While third-party security researchers and our staff do their best to detect and remove malicious packages, PyPI cannot guarantee the quality, security or suitability of any given package.
To learn more about protecting yourself from malicious actors, visit our package security documentation.














