Swagger coverage for API tests

Project description
swagger-coverage


About
Swagger coverage report helps the QA automation and developer to get a simple API coverage report for endpoints tests
Installation
You can install test-swagger-coverage via pip_ from PyPI_::
$ pip install test-swagger-coverage
or with poetry
$ poetry add test-swagger-coverage
How it works
We take a swagger as data for testing coverage and, based on it, we create a file that will be the settings for our tests. The file can be created automatically or manually.
Next, we set up api calls in our tests (we wrap them with decorators, see examples) and at the end of testing we generate html report. We will check which endpoints were called and what statuses we checked.
We can't always trust our swagger, so you can manually set the status of the codes yourself, which need to be checked.
Examples
First, we need a link to your swagger. For example, let's take this https://petstore.swagger.io/
Next, in our project, we need to create a file describing our endpoints, which our tests will use to generate a coverage report.
We can do it automatically via the command line, get json swagger file
$ swagger_coverage https://petstore.swagger.io/v2/swagger.json
Result
$ 2022-04-15 11:22:37 INFO Start load swagger swagger_coverage https://petstore.swagger.io/v2/swagger.json
$ 2022-04-15 11:22:38 INFO The swagger report was successfully saved to the folder: /Users/user/Documents/git/python-api-tests/swagger_report
The swagger_report directory will be created and a data_swagger.yaml file will appear inside, which will be the settings for building a test coverage report
The data_swagger.yaml file looks something like this
...
addPet:
 description: 'Add new pet'
 method: POST
 path: /pet
 statuses:
 - 200
 - 404
 tag: pet
 ...
where addPet is the unique id of our endpoint
...
addPet:
 description: 'Add new pet'
 method: POST
 path: /pet
 statuses:
 - 200
 - 404  <---- add 404 status code
 - 404
 tag: pet
 ...
We can change or add our data, for example, a new status code, which will need to be checked
statuses is a list of statuses that we will check (that they were called). You can customize this list yourself.
Let's create a simple test and build a report. For requests, you will use the requests library. We will check that a non-existent pet returns a 404 status code
import requests

from swagger_coverage.src.coverage import SwaggerCoverage
from swagger_coverage.src.deco import swagger

# settings
SWAGGER_URL = 'https://petstore.swagger.io/v2/swagger.json'
STATUS_CODES = [200, 404]


# our request that we will cover
@swagger("getPetById")
def get_pet_by_id():
    return requests.get("https://petstore.swagger.io/v2/pet/999")  # <-- 999 pet id no such exists


# create swagger objects
swagger = SwaggerCoverage(
    url=SWAGGER_URL,
    status_codes=STATUS_CODES,
    api_url="https://petstore.swagger.io/",
)
swagger.create_coverage_data()
get_pet_by_id()
swagger.create_report()
swagger data preparation: Prepare our file data_swagger.yaml, it will be created automatically.
function to call a request to the server: We will write a get pet by id call. Declaring a function with a decorator @swagger("getPetById"). "getPetById" taken from file data_swagger.yaml, this is unique id of our endpoint.
get_pet_by_id: run the test (our request)
create report: create a report.
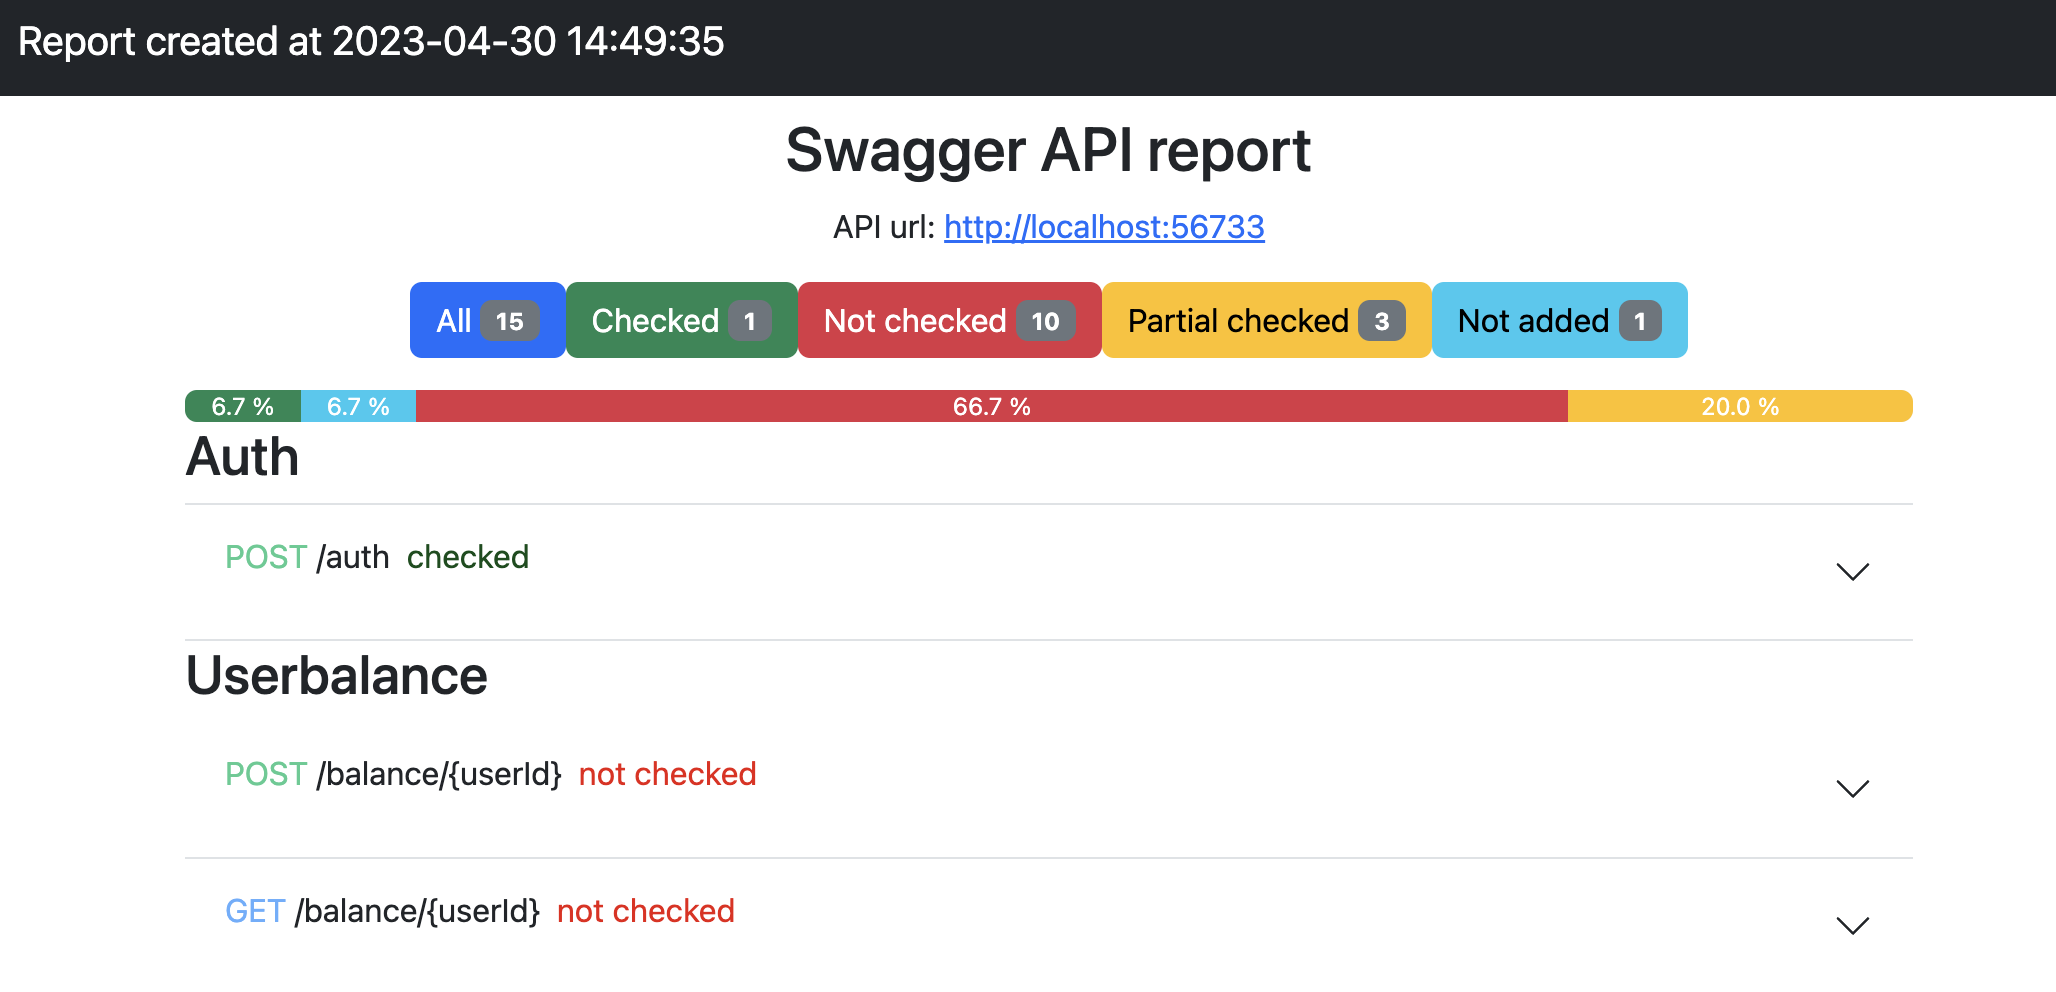
After that, in the folder swagger_report we will receive a report index.html.
Let's see it
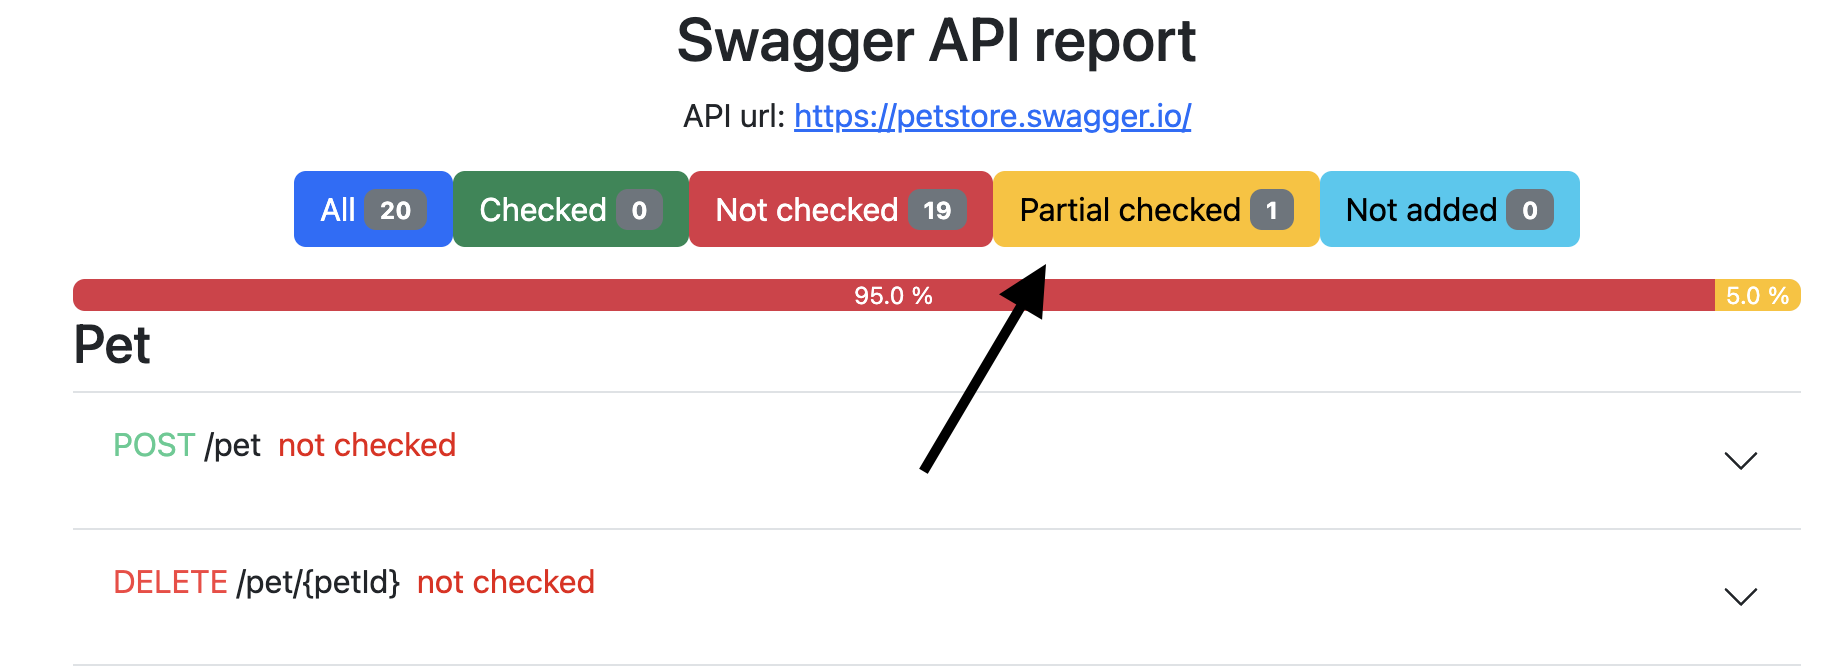
As you can see, an endpoint appeared in the report, which was partially verified. Filtering the results and open more info window
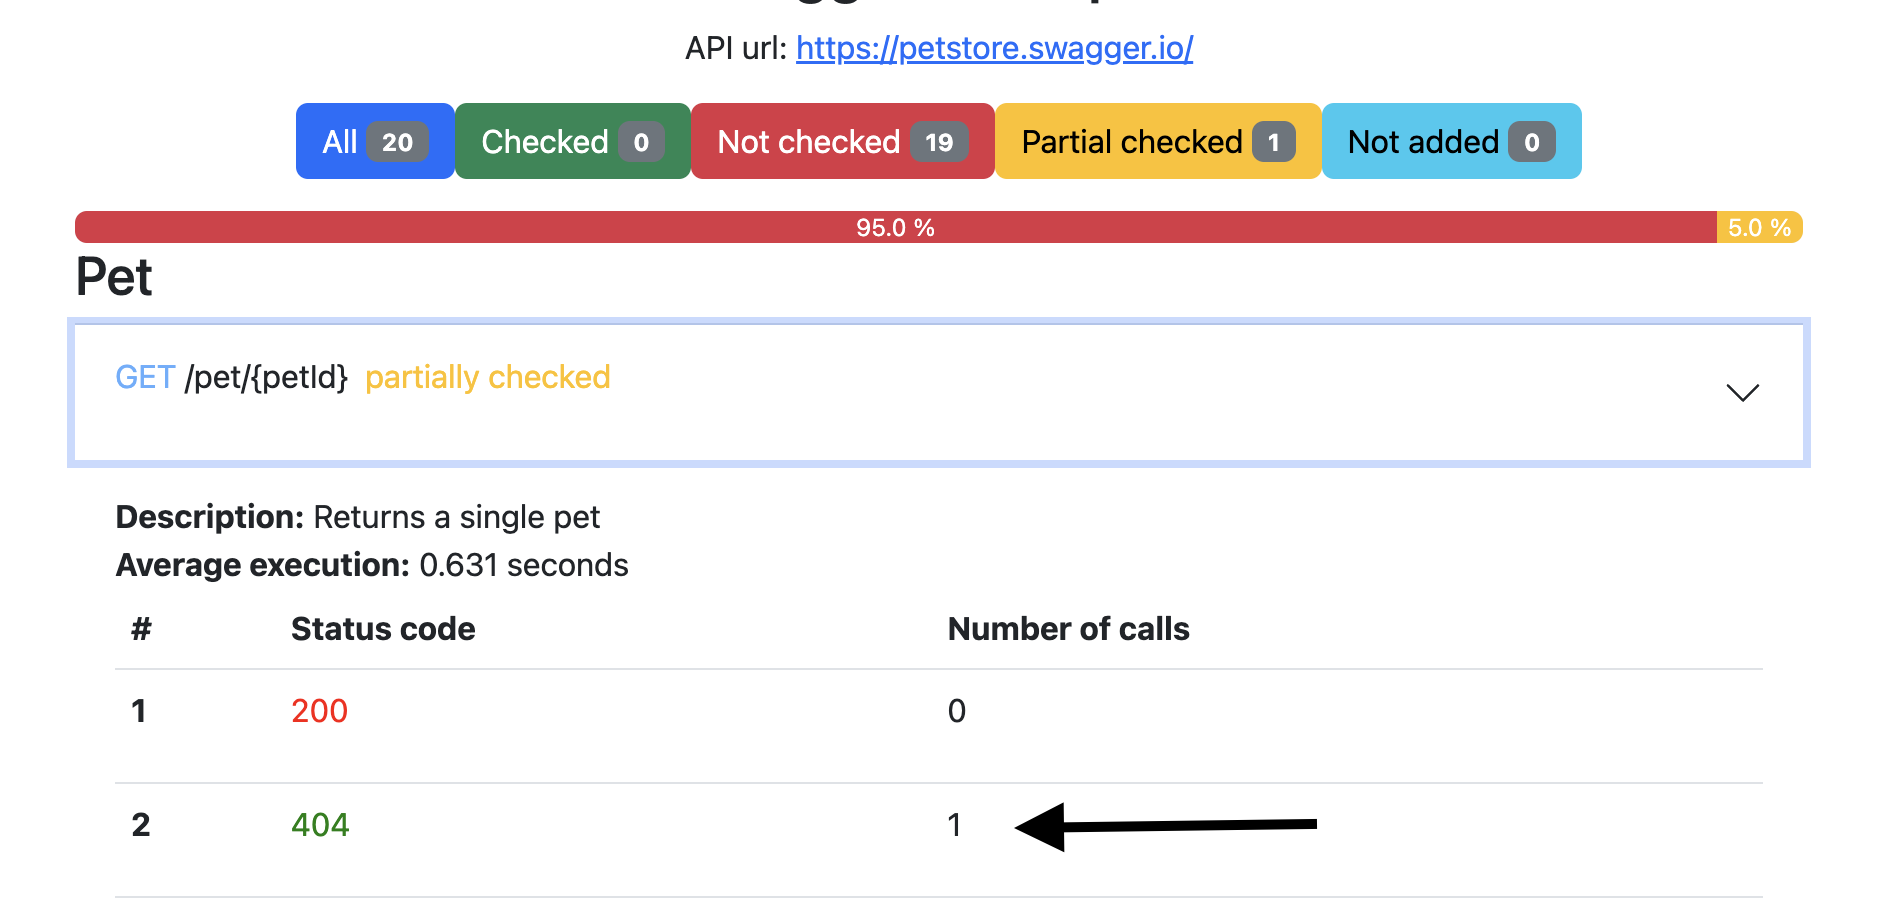
Test and coverage passed successfully!
If you use pytest, add this code in conftest.py
import pytest
from swagger_coverage.src.coverage import SwaggerCoverage

@pytest.fixture(scope="session", autouse=True)
def swagger_checker(request):
    url = 'https://petstore.swagger.io/v2/swagger.json'
    url_api = 'https://petstore.swagger.io'
    swagger = SwaggerCoverage(api_url=url_api, url=url)
    swagger.create_coverage_data()
    yield
    swagger.create_report()
Also, at the end of the report, you can find a table of average request times for routes
More example with pytest and API tests https://github.com/berpress/python-api-tests
Report example https://github.com/berpress/python-api-tests/blob/main/swagger_report/index.html
Release history Release notifications | RSS feed


Download files
Download the file for your platform. If you're not sure which to choose, learn more about installing packages.
Source Distribution
Built Distribution
Filter files by name, interpreter, ABI, and platform.
If you're not sure about the file name format, learn more about wheel file names.
Copy a direct link to the current filters
File details
Details for the file test_swagger_coverage-2.1.61.tar.gz.
File metadata
- Download URL: test_swagger_coverage-2.1.61.tar.gz
- Upload date:
- Size: 21.7 kB
- Tags: Source
- Uploaded using Trusted Publishing? No
- Uploaded via: poetry/1.4.1 CPython/3.10.5 Darwin/23.3.0
File hashes
| Algorithm | Hash digest | |
|---|---|---|
| SHA256 |
cadc5d5a2dbf156dbc5dfdbf3eae51c83cff3ba6c51a417d6279b2f8ebf09fe0
|
|
| MD5 |
b6bb405f884030ba4abfbbfb78f9f187
|
|
| BLAKE2b-256 |
ece4fe4ef415f674a36a24ab0f9b21989c1e70a2cbb1a3c1a9d534ff82b63262
|
File details
Details for the file test_swagger_coverage-2.1.61-py3-none-any.whl.
File metadata
- Download URL: test_swagger_coverage-2.1.61-py3-none-any.whl
- Upload date:
- Size: 30.0 kB
- Tags: Python 3
- Uploaded using Trusted Publishing? No
- Uploaded via: poetry/1.4.1 CPython/3.10.5 Darwin/23.3.0
File hashes
| Algorithm | Hash digest | |
|---|---|---|
| SHA256 |
e99e6371f7900595af28683af25dbf30cd83e14b12e38cc482183a48493e1476
|
|
| MD5 |
f35c91f44f9dcb032371bba343cedc9a
|
|
| BLAKE2b-256 |
cd341794ae46e0f4de1056aeab4471d40e87b6ec88772eb0f541df1f5744a28b
|


