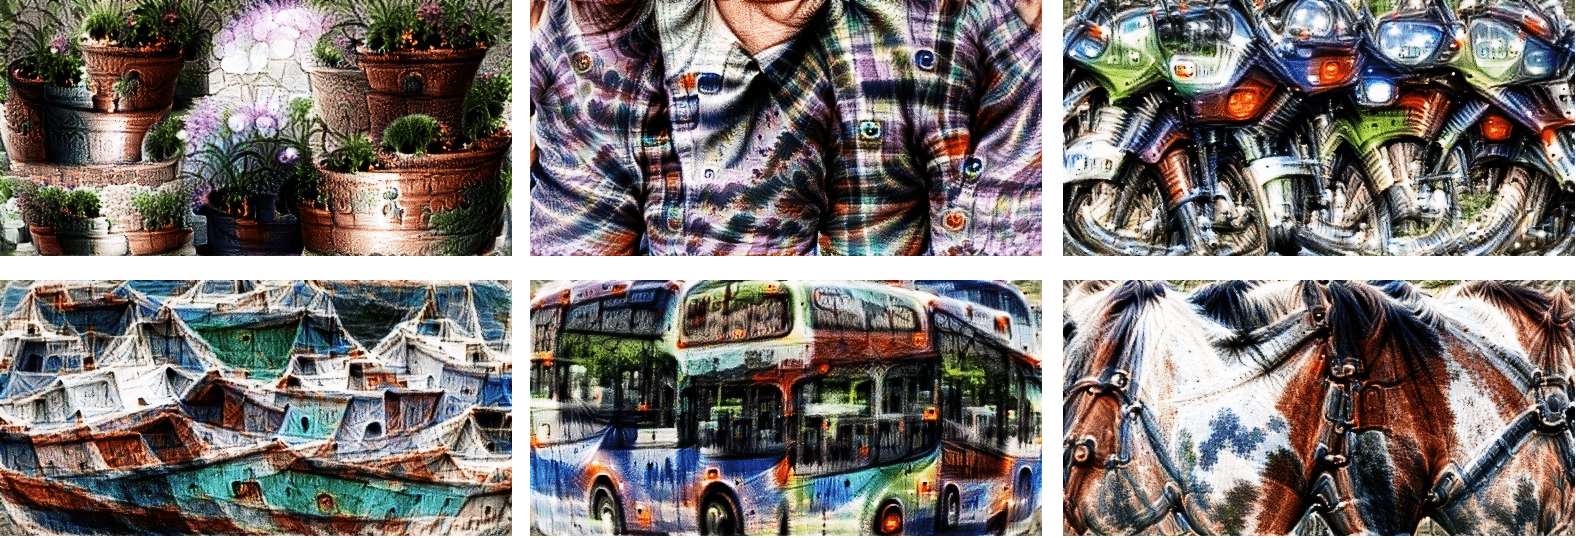
Making neural networks more interpretable, for research and art

Project description
Torch-Dreams
Making neural networks more interpretable, for research and art.


pip install torch-dreams
Contents:
- Minimal example
- Not so minimal example
- Visualizing individual channels with
custom_func - Visualize features from multiple models simultaneously
- Use custom transforms
- Feedback loops
- Custom images
- Other conveniences
Minimal example
Make sure you also check out the quick start colab notebook
import matplotlib.pyplot as plt
import torchvision.models as models
from torch_dreams.dreamer import dreamer

model = models.inception_v3(pretrained=True)
dreamy_boi = dreamer(model, device = 'cuda')

image_param = dreamy_boi.render(
    layers = [model.Mixed_5b],
)

plt.imshow(image_param)
plt.show()
Not so minimal example
model = models.inception_v3(pretrained=True)
dreamy_boi = dreamer(model, device = 'cuda', quiet = False)

image_param = dreamy_boi.render(
    layers = [model.Mixed_5b],
    width = 256,
    height = 256,
    iters = 150,
    lr = 9e-3,
    rotate_degrees = 15,
    scale_max = 1.2,
    scale_min =  0.5,
    translate_x = 0.2,
    translate_y = 0.2,
    custom_func = None,
    weight_decay = 1e-2,
    grad_clip = 1.,
)

plt.imshow(image_param)
plt.show()
Visualizing individual channels with custom_func
model = models.inception_v3(pretrained=True)
dreamy_boi = dreamer(model, device = 'cuda')

layers_to_use = [model.Mixed_6b.branch1x1.conv]

def make_custom_func(layer_number = 0, channel_number= 0):
    def custom_func(layer_outputs):
        loss = layer_outputs[layer_number][channel_number].mean()
        return -loss
    return custom_func

my_custom_func = make_custom_func(layer_number= 0, channel_number = 119)

image_param = dreamy_boi.render(
    layers = layers_to_use,
    custom_func = my_custom_func,
)
plt.imshow(image_param)
plt.show()
Visualize features from multiple models simultaneously
First, let's pick 2 models and specify which layers we'd want to work with
from torch_dreams.model_bunch import ModelBunch

bunch = ModelBunch(
    model_dict = {
        'inception': models.inception_v3(pretrained=True).eval(),
        'resnet':    models.resnet18(pretrained= True).eval()
    }
)

layers_to_use = [
            bunch.model_dict['inception'].Mixed_6a,
            bunch.model_dict['resnet'].layer2[0].conv1
        ]

dreamy_boi = dreamer(model = bunch, quiet= False, device= 'cuda')
Then define a custom_func which determines which exact activations of the models we have to optimize
def custom_func(layer_outputs):
    loss =   layer_outputs[0].mean()*2.0 + layer_outputs[1][89].mean()
    return -loss
Run the optimization
image_param = dreamy_boi.render(
    layers = layers_to_use,
    custom_func= custom_func,
    iters= 100
)

plt.imshow(image_param)
plt.show()
Using custom transforms:
import torchvision.transforms as transforms

model = models.inception_v3(pretrained=True)
dreamy_boi = dreamer(model,  device = 'cuda', quiet =  False)

my_transforms = transforms.Compose([
    transforms.RandomAffine(degrees = 10, translate = (0.5,0.5)),
    transforms.RandomHorizontalFlip(p = 0.3)
])

dreamy_boi.set_custom_transforms(transforms = my_transforms)

image_param = dreamy_boi.render(
    layers = [model.Mixed_5b],
)

plt.imshow(image_param)
plt.show()
You can also use outputs of one render() as the input of another to create feedback loops.
import matplotlib.pyplot as plt
import torchvision.models as models
from torch_dreams.dreamer import dreamer

model = models.inception_v3(pretrained=True)
dreamy_boi = dreamer(model,  device = 'cuda', quiet =  False)

image_param = dreamy_boi.render(
    layers = [model.Mixed_6c],
)

image_param = dreamy_boi.render(
    image_parameter= image_param,
    layers = [model.Mixed_5b],
    iters = 20
)

plt.imshow(image_param)
plt.show()
Using custom images
Note that you might have to use smaller values for certain hyperparameters like lr and grad_clip.
param = custom_image_param(filename = 'images/sample_small.jpg', device= 'cuda')

image_param = dreamy_boi.render(
    image_parameter= param,
    layers = [model.Mixed_6c],
    lr = 2e-4,
    grad_clip = 0.1,
    weight_decay= 1e-1,
    iters = 120
)
Other conveniences
The following methods are handy for an auto_image_param instance:
- Saving outputs as images:
image_param.save('output.jpg')
- Torch Tensor of dimensions
(height, width, color_channels)
torch_image = image_param.to_hwc_tensor(device = 'cpu')
- Torch Tensor of dimensions
(color_channels, height, width)
torch_image_chw = image_param.to_chw_tensor(device = 'cpu')
- Displaying outputs on matplotlib.
plt.imshow(image_param)
plt.show()
- For instances of
custom_image_param, you can set any NCHW tensor as the image parameter:
image_tensor = image_param.to_nchw_tensor()

## do some stuff with image_tensor
t = transforms.Compose([
    transforms.RandomRotation(5)
])
transformed_image_tensor = t(image_tensor)

image_param.set_param(tensor = transformed_image_tensor)
Args for render()
-
layers(iterable): List of the layers of model(s)'s layers to work on.[model.layer1, model.layer2...] -
image_parameter(auto_image_param, optional): Instance oftorch_dreams.auto_image_param.auto_image_param -
width(int, optional): Width of image to be optimized -
height(int, optional): Height of image to be optimized -
iters(int, optional): Number of iterations, higher -> stronger visualization -
lr(float, optional): Learning rate -
rotate_degrees(int, optional): Max rotation in default transforms -
scale_max(float, optional): Max image size factor. Defaults to 1.1. -
scale_min(float, optional): Minimum image size factor. Defaults to 0.5. -
translate_x(float, optional): Maximum translation factor in x direction -
translate_y(float, optional): Maximum translation factor in y direction -
custom_func(function, optional): Can be used to define custom optimiziation conditions torender(). Defaults to None. -
weight_decay(float, optional): Weight decay for default optimizer. Helps prevent high frequency noise. Defaults to 0. -
grad_clip(float, optional): Maximum value of the norm of gradient. Defaults to 1.
Args for dreamer.__init__()
model(nn.Moduleortorch_dreams.model_bunch.Modelbunch): Almost any PyTorch model which was trained on imagenetmeanandstd, and supports variable sized images as inputs. You can pass multiple models into this argument as atorch_dreams.model_bunch.Modelbunchinstance.quiet(bool): Set toTrueif you want to disable any progress barsdevice(str):cudaorcpudepending on your runtime
Acknowledgements
Recommended Reading
Release history Release notifications | RSS feed


Download files
Download the file for your platform. If you're not sure which to choose, learn more about installing packages.
Source Distribution
Built Distribution
Filter files by name, interpreter, ABI, and platform.
If you're not sure about the file name format, learn more about wheel file names.
Copy a direct link to the current filters
File details
Details for the file torch-dreams-2.1.0.tar.gz.
File metadata
- Download URL: torch-dreams-2.1.0.tar.gz
- Upload date:
- Size: 14.8 kB
- Tags: Source
- Uploaded using Trusted Publishing? No
- Uploaded via: twine/3.3.0 pkginfo/1.6.1 requests/2.22.0 setuptools/51.1.2 requests-toolbelt/0.9.1 tqdm/4.56.0 CPython/3.8.5
File hashes
| Algorithm | Hash digest | |
|---|---|---|
| SHA256 |
1e2665005b3884f6c39678cea9786242df0e1d17c927221f258a0f31e1d3e843
|
|
| MD5 |
e1aab20d6612bce9becc2d4396723625
|
|
| BLAKE2b-256 |
15f2e3c111969477c5713b23bdfd38b928dda1c37b48a0f738e7d5c794b792b3
|
File details
Details for the file torch_dreams-2.1.0-py3-none-any.whl.
File metadata
- Download URL: torch_dreams-2.1.0-py3-none-any.whl
- Upload date:
- Size: 15.8 kB
- Tags: Python 3
- Uploaded using Trusted Publishing? No
- Uploaded via: twine/3.3.0 pkginfo/1.6.1 requests/2.22.0 setuptools/51.1.2 requests-toolbelt/0.9.1 tqdm/4.56.0 CPython/3.8.5
File hashes
| Algorithm | Hash digest | |
|---|---|---|
| SHA256 |
9cfe8db8392d859f83afbc1141a27631085b7d42bcecec2c2db2a8d42c9a1f1e
|
|
| MD5 |
eb156a33718efcfc9143fa15f15403a3
|
|
| BLAKE2b-256 |
a0235987ad5b022ff45a6ee8fd2850d18fd9dada4f8f1b52ba1b59fd078e5eed
|


