
ETA: Extensible Toolkit for Analytics
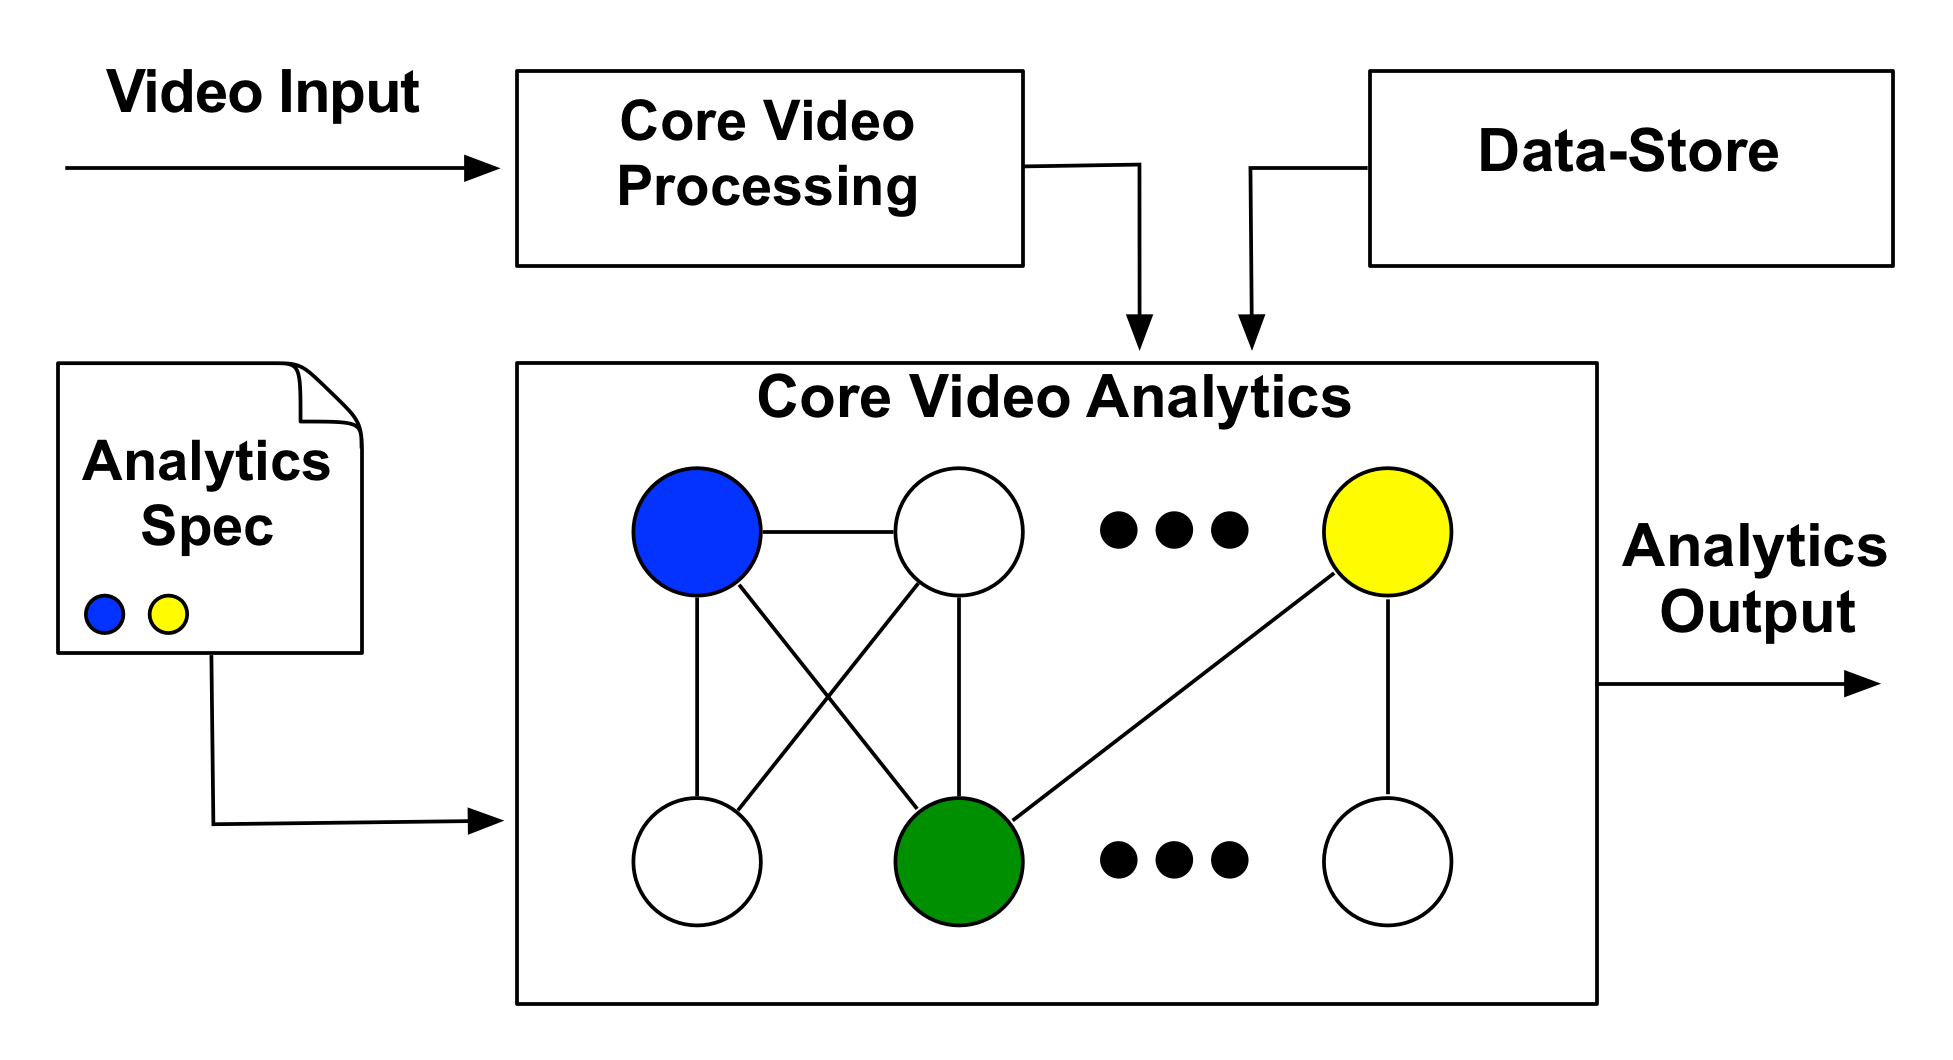
An open and extensible computer vision, machine learning and video analytics infrastructure.








Requirements
ETA is very portable:
- Installable on Mac or Linux
- Supports Python 3.10 or later
- Supports TensorFlow 1.X and 2.X
- Supports CPU-only and GPU-enabled installations
Installation
You can install the latest release of ETA via pip:
pip install voxel51-eta
This will perform a lite installation of ETA. If you use
an ETA feature that requires additional dependencies (e.g., ffmpeg or
tensorflow), you will be prompted to install the relevant packages.
Installation from source
Step 0: Setup your Python environment
It is assumed that you already have Python installed on your machine.
IMPORTANT: ETA assumes that the version of Python that you intend to use is accessible via
pythonandpipon your path. In particular, for Python 3 users, this means that you may need to aliaspython3andpip3topythonandpip, respectively.
We strongly recommend that you install ETA in a virtual environment to maintain a clean workspace.
Step 1: Clone the repository
git clone https://github.com/voxel51/eta
cd eta
Step 2: Run the install script
bash install.bash
Note that the install script supports flags that control things like (on macOS)
whether port or brew is used to install packages. Run
bash install.bash -h for more information.
The install script does not install TensorFlow; if you use ETA features that require it, install the version appropriate for your system.
Note that ETA supports TensorFlow 1.X and 2.X. The only problems you may face when using ETA with TensorFlow 2 are when trying to run inference with ETA models that only support TensorFlow 1. A notable case here are TF-slim models. In such cases, you should see an informative error message alerting you of the requirement mismatch.
Lite installation
Some ETA users are only interested in using the core ETA library defined in the
eta.core package. In such cases, you can perform a lite installation using
the -l flag of the install script:
bash install.bash -l
Lite installation omits submodules and other large dependencies that are not
required in order for the core library to function. If you use an ETA feature
that requires additional dependencies (e.g., ffmpeg or tensorflow), you
will be prompted to install the relevant packages.
Developer installation
If you are interested in contributing to ETA or generating its documentation
from source, you should perform a developer installation using the -d flag of
the install script:
bash install.bash -d
Setting up your execution environment
When the root eta package is imported, it tries to read the eta/config.json
file to configure various package-level constants. Many advanced ETA features
such as pipeline building, model management, etc. require a properly configured
environment to function.
To setup your environment, create a copy the example configuration file:
cp config-example.json eta/config.json
If desired, you can edit your config file to customize the various paths,
change default constants, add environment variables, customize your default
PYTHONPATH, and so on. You can also add additional paths to the
module_dirs, pipeline_dirs, and models_dirs sections to expose custom
modules, pipelines, and models to your system.
Note that, when the config file is loaded, any {{eta}} patterns in directory
paths are replaced with the absolute path to the eta/ directory on your
machine.
The default config includes the modules/, pipelines/, and models/
directories on your module, pipeline, and models search paths, respectively.
These directories contain the necessary information to run the standard
analytics exposed by the ETA library. In addition, the relative paths
./modules/, ./pipelines/, and ./models/ are added to their respective
paths to support the typical directory structure that we adopt for our custom
projects.
CLI
Installing ETA automatically installs eta, a command-line interface (CLI) for
interacting with the ETA Library. This utility provides access to many useful
features of ETA, including building and running pipelines, downloading models,
and interacting with remote storage.
To explore the CLI, type eta --help, and see the
CLI Guide for
complete information.
Quickstart
Get your feet wet with ETA by running some of examples in the examples folder.
Also, see the docs folder for more documentation about the various components of the ETA library.
Organization
The ETA package is organized as described below. For more information about the design and function of the various ETA components, read the documentation in the docs folder.
| Directory | Description |
|---|---|
eta/classifiers |
wrappers for performing inference with common classifiers |
eta/core |
the core ETA library, which includes utilities for working with images, videos, embeddings, and much more |
eta/detectors |
wrappers for performing inference with common detectors |
eta/docs |
documentation about the ETA library |
eta/examples |
examples of using the ETA library |
eta/models |
library of ML models. The manifest.json file in this folder enumerates the models, which are downloaded to this folder as needed. See the Models developer's guide for more information about ETA's model registry |
eta/modules |
library of video processing/analytics modules. See the Module developer's guide for more information about ETA modules |
eta/pipelines |
library of video processing/analytics pipelines. See the Pipeline developer's guide for more information about ETA pipelines |
eta/resources |
resources such as media, templates, etc |
eta/segmenters |
wrappers for performing inference with common semantic segmenters |
eta/tensorflow |
third-party TensorFlow repositories that ETA builds upon |
Generating Documentation
This project uses Sphinx-Napoleon to generate its documentation from source.
To generate the documentation, you must install the developer dependencies by
running the install.bash script with the -d flag.
Then you can generate the docs by running:
bash sphinx/generate_docs.bash
To view the documentation, open the sphinx/build/html/index.html file in your
browser.
Uninstallation
pip uninstall voxel51-eta
Acknowledgements
This project was gratefully supported by the NIST Public Safety Innovation Accelerator Program.
Citation
If you use ETA in your research, feel free to cite the project (but only if you love it 😊):
@article{moore2017eta,
  title={ETA: Extensible Toolkit for Analytics},
  author={Moore, B. E. and Corso, J. J.},
  journal={GitHub. Note: https://github.com/voxel51/eta},
  year={2017}
}
3 maintainers


Release files for voxel51-eta 0.17.0
For a detailed explanation of source distributions (sdists) and built distributions (wheels), please see the package formats documentation.
Source distribution (sdist)
| File | Size | Uploaded | |
|---|---|---|---|
| voxel51_eta-0.17.0.tar.gz | 907.9 kB | Details |
Built distribution (wheel)
| File | Interpreter | ABI | Platform | Reset |
|---|---|---|---|---|
| voxel51_eta-0.17.0-py3-none-any.whl | Python 3 | none | any | Details |
Total release size: 1.8 MB
Release files / voxel51_eta-0.17.0.tar.gz
| Download URL | voxel51_eta-0.17.0.tar.gz |
|---|---|
| Size | 907.9 kB |
| Tags | Source |
|
SHA-256 checksum How to use checksums |
ef343a5e4b74bec51e7bb2289936a9516f172abf17e999da61e5ad663f0d537a
|
|
BLAKE2b-256 checksum How to use checksums |
6339fd389784ca8010096c3e9ecc3b721d3be5e6445eab49cba8b8cbe79f7be7
|
| Upload date | |
|
Uploaded using Trusted Publishing? What is trusted publishing? |
Yes |
| Uploaded via |
twine/6.1.0 CPython/3.13.14
|
Provenance
Provenance describes where a file came from. On PyPI, provenance is shared via attestations, which provide a verifiable record of the build or publishing details. View details, limitations and caveats.


PyPI Publish Attestation
PyPI verified that this artifact, at this checksum, originated from the publisher listed below.
Signed by GitHub Actions, verified by PyPI on Aug 10, 2026.
Transparency logRelease files / voxel51_eta-0.17.0-py3-none-any.whl
| Download URL | voxel51_eta-0.17.0-py3-none-any.whl |
|---|---|
| Size | 936.8 kB |
| Tags | Python 3 |
|
SHA-256 checksum How to use checksums |
f58b2bcef05f5bd37b6ba09b128d70ebb0037468a7c9fedaeb44ddadce7df5e8
|
|
BLAKE2b-256 checksum How to use checksums |
9cf628585d14bc805dfba3e1c1e0a428a51bd516d581b502801d5eea401c6c68
|
| Upload date | |
|
Uploaded using Trusted Publishing? What is trusted publishing? |
Yes |
| Uploaded via |
twine/6.1.0 CPython/3.13.14
|
Provenance
Provenance describes where a file came from. On PyPI, provenance is shared via attestations, which provide a verifiable record of the build or publishing details. View details, limitations and caveats.
PyPI Publish Attestation
PyPI verified that this artifact, at this checksum, originated from the publisher listed below.
Signed by GitHub Actions, verified by PyPI on Aug 10, 2026.
Transparency log













