
















Your personal AI assistant — easy to install, deploy locally or in the cloud, connect across channels, extend with ease.
Core capabilities:
Under your control — Memory and personalization fully under your control. Deploy locally (data stays on your machine) or in the cloud (your chosen server). No third-party hosting, no data upload.
Skills extension — Built-in scheduling, PDF/Office processing, news digest, and more; custom skills auto-loaded, no lock-in. Skills determine what YanZhiTi can do.
Multi-agent collaboration — Create multiple independent agents, each with their own role; enable collaboration skills for inter-agent communication to tackle complex tasks together.
Multi-layer security — Tool guard, file access control, skill security scanning to ensure safe operation.
Every channel — DingTalk, Feishu, WeChat, Discord, Telegram, and more. One YanZhiTi, connect as needed.
Memory-evolving & proactive — Agent learns from interactions, reflects on experience, and proactively serves you. Gets smarter the more you use it.
What you can do with YanZhiTi
- Social media: Daily hot post digests (Xiaohongshu, Zhihu, Reddit), Bilibili/YouTube video summaries.
- Productivity: Email & newsletter highlights pushed to DingTalk/Feishu/QQ; email & calendar contact organization.
- Creative & building: Describe your goal before sleep, auto-execute, wake up to a prototype; full workflow from topic selection to final video.
- Research & learning: Track tech & AI news, personal knowledge base search and reuse.
- Desktop & files: Organize and search local files, read & summarize documents, request files in chat.
- Explore more: Combine Skills with scheduled tasks into your own agentic app.
News
-
[2026-06-17] v1.1.12 — Models Page Overhaul & Simple Mode | Redesigned Models page with provider aggregation; new Simple Mode for streamlined navigation.
Highlight What's new Models Page Overhaul Provider Aggregation, Unified Card UI & Layout Redesign. Simple Mode Flat nav and sorted session list by updated time. Non-blocking Flush Adaptive throttling for all channels. Per-Turn Token Usage Token and context usage popover per turn. Desktop Port Persistence Persist backend port across restarts. Also: wide mode toggle, syntax highlighting, Langfuse agent loop grouping, Gemini tool schema fix. v1.1.12 Release Notes →
-
[2026-06-11] AgentScope Platform is live — Free YanZhiTi deployment, plugin sharing, and Skill marketplace. Try it now →
-
[2026-06-10] v1.1.11 — Free Model OAuth, Plugin Market, MCP Tool Whitelisting. v1.1.11 Release Notes →
-
[2026-06-01] v1.1.10 — Spawn Subagent, Open Directory, Tencent Yuanbao channel. v1.1.10 Release Notes →
-
[2026-05-27] v1.1.9 — Coding Mode (three-panel Web IDE), Tauri desktop app, unified access control. v1.1.9 Release Notes →
-
[2026-05-19] v1.1.8 — Official plugin distribution, YanZhiTi Pet, streaming cards for DingTalk / Feishu / Telegram. v1.1.8 Release Notes →
-
[2026-05-14] v1.1.7 — Browser batch actions, OAuth 2.1 MCP, Cron calendar view, multiple file attachments. v1.1.7 Release Notes →
-
[2026-05-09] v1.1.6 — Whisper voice input, GPT Image 2 plugin, Volcano Engine provider, Mermaid diagrams. v1.1.6 Release Notes →
-
[2026-04-12] YanZhiTi rebrands to YanZhiTi — deeper Qwen ecosystem integration, same open-source mission. v1.0.0 Release Notes →
Table of Contents
Recommended reading:
- 🚀 I'm new and want to try quickly: Quick Start → three commands to run → Configure model → chat in Console
- 💬 I want to use in DingTalk/Feishu/WeChat: Complete Quick Start → Configure model → Channel setup
- 🐍 I don't want to install Python: Desktop app or Script install or ModelScope Studio
- 💻 I want to use local models (no API key needed): Local Models → download model → start using
- 🛠️ I want to contribute code or develop new features: Install from source → Contributing
- News
- Quick Start
- API Key
- Local Models
- Documentation
- Security Features
- FAQ
- Staying ahead
- Roadmap
- Install from source
- Contributing
- Why YanZhiTi?
- Built by
- License
Quick Start
Option 1: pip install
If you prefer managing Python yourself:
pip install yanzhiti
yanzhiti init --defaults
yanzhiti app
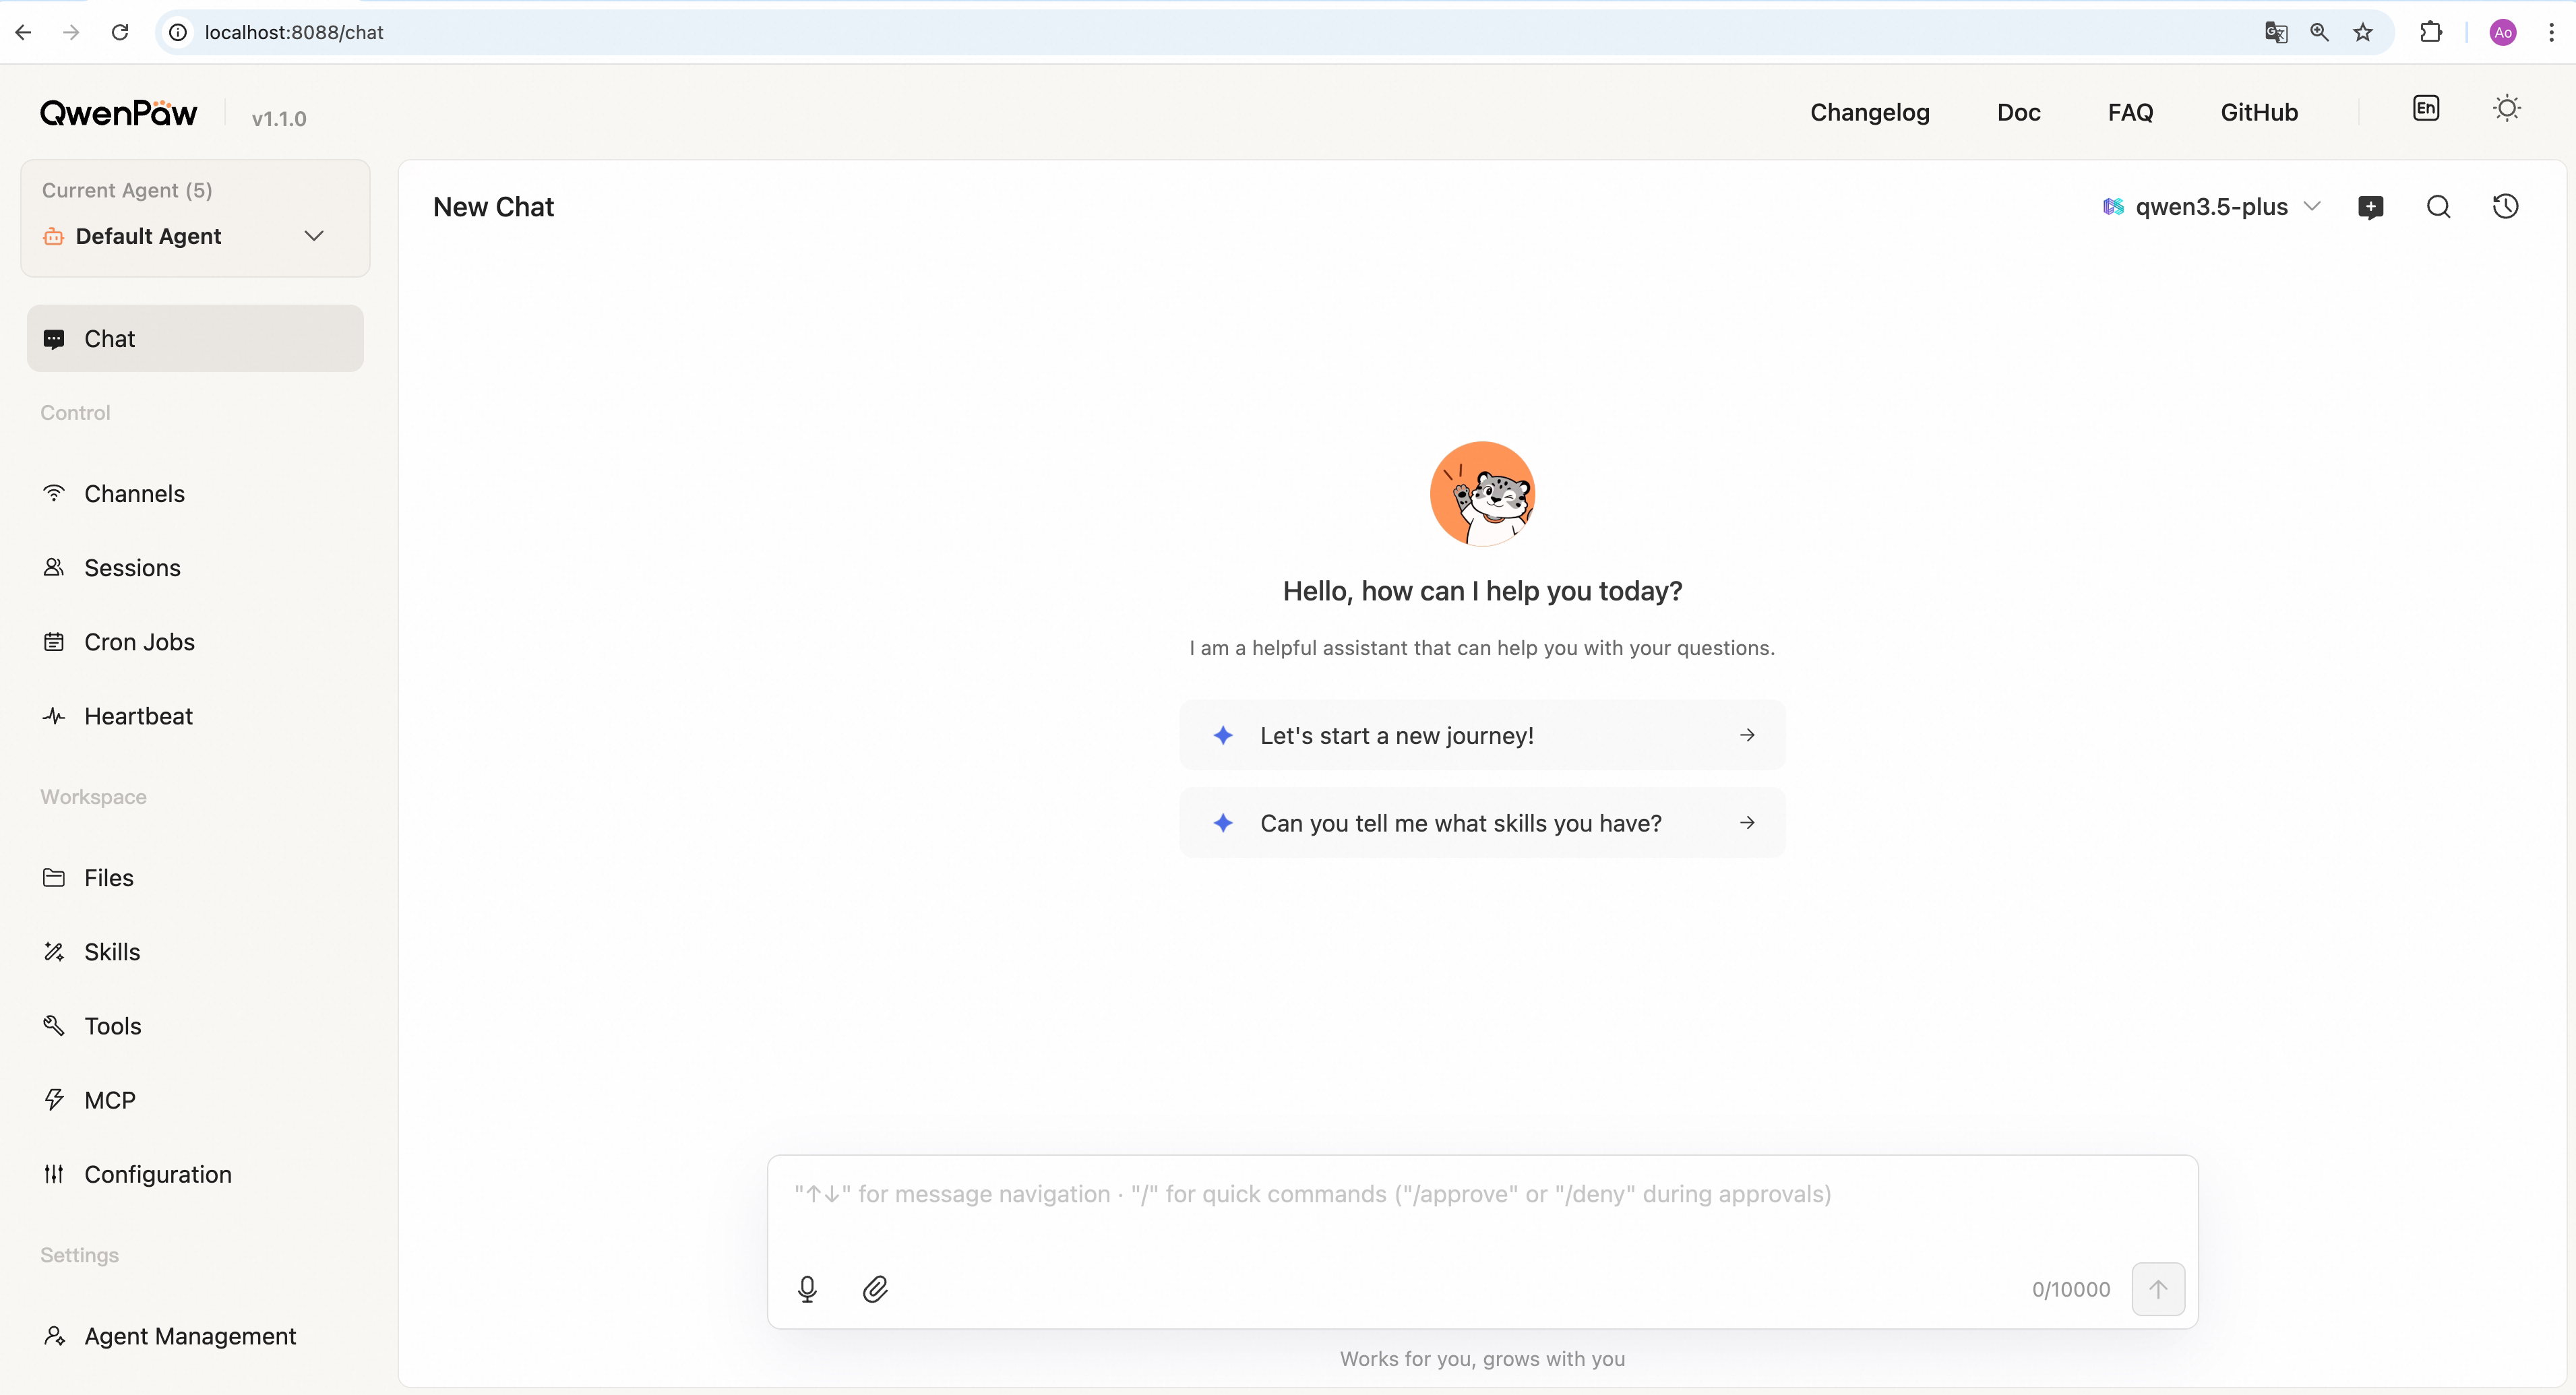
Then open the Console in your browser at http://127.0.0.1:8088/ to configure your model. To chat in DingTalk, Feishu, WeChat, etc., see the Channel setup documentation.
Option 2: Script install
No Python setup required, one command installs everything. The script will automatically download uv (Python package manager), create a virtual environment, and install YanZhiTi with all dependencies (including Node.js and frontend assets). Note: May not work in restricted network environments or corporate firewalls.
macOS / Linux:
curl -fsSL https://yanzhiti.agentscope.io/install.sh | bash
Windows (CMD):
curl -fsSL https://yanzhiti.agentscope.io/install.bat -o install.bat && install.bat
Windows (PowerShell):
irm https://yanzhiti.agentscope.io/install.ps1 | iex
Note: The installer will automatically check the status of uv. If it is not installed, it will attempt to download and configure it automatically. If the automatic installation fails, please follow the on-screen prompts or execute
python -m pip install -U uv, then rerun the installer.
⚠️ Special Notice for Windows Enterprise LTSC Users
If you are using Windows LTSC or an enterprise environment governed by strict security policies, PowerShell may run in Constrained Language Mode, potentially causing the following issue:
If using CMD (.bat): Script executes successfully but fails to write to
PathThe script completes file installation. Due to Constrained Language Mode, it cannot automatically update environment variables. Manually configure as follows:
- Locate the installation directory:
- Check if
uvis available: Enteruv --versionin CMD. If a version number appears, only configure the YanZhiTi path. If you receive the prompt'uv' is not recognized as an internal or external command, operable program or batch file,configure both paths.- uv path (choose one based on installation location; use if
uvfails): Typically%USERPROFILE%\.local\bin,%USERPROFILE%\AppData\Local\uv, or theScriptsfolder within your Python installation directory- YanZhiTi path: Typically located at
%USERPROFILE%\.yanzhiti\bin.- Manually add to the system's Path environment variable:
- Press
Win + R, typesysdm.cpland press Enter to open System Properties.- Click “Advanced” -> “Environment Variables”.
- Under “System variables”, locate and select
Path, then click “Edit”.- Click “New”, enter both directory paths sequentially, then click OK to save.
If using PowerShell (.ps1): Script execution interrupted
Due to Constrained Language Mode, the script may fail to automatically download
uv.
- Manually install uv: Refer to the GitHub Release to download
uv.exeand place it in%USERPROFILE%\.local\binor%USERPROFILE%\AppData\Local\uv; or ensure Python is installed and runpython -m pip install -U uv.- Configure
uvenvironment variables: Add theuvdirectory and%USERPROFILE%\.yanzhiti\binto your system'sPathvariable.- Re-run the installation: Open a new terminal and execute the installation script again to complete the
YanZhiTiinstallation.- Configure the
YanZhiTienvironment variable: Add%USERPROFILE%\.yanzhiti\binto your system'sPathvariable.
Once installed, open a new terminal and run:
yanzhiti init --defaults   # or: yanzhiti init (interactive)
yanzhiti app
Install options
macOS / Linux:
# Install a specific version
curl -fsSL ... | bash -s -- --version 1.1.0

# Install from source (dev/testing)
curl -fsSL ... | bash -s -- --from-source

# Upgrade — just re-run the installer
curl -fsSL ... | bash

# Uninstall
yanzhiti uninstall          # keeps config and data
yanzhiti uninstall --purge  # removes everything
Windows (PowerShell):
# Install a specific version
irm ... | iex; .\install.ps1 -Version 0.0.2

# Install from source (dev/testing)
.\install.ps1 -FromSource

# Upgrade — just re-run the installer
irm ... | iex

# Uninstall
yanzhiti uninstall          # keeps config and data
yanzhiti uninstall --purge  # removes everything
Option 3: Docker
Images are on Docker Hub (agentscope/yanzhiti). Image tags: latest (stable); pre (PyPI pre-release).
docker pull agentscope/yanzhiti:latest
docker run -p 127.0.0.1:8088:8088 \
  -v yanzhiti-data:/app/working \
  -v yanzhiti-secrets:/app/working.secret \
  -v yanzhiti-backups:/app/working.backups \
  agentscope/yanzhiti:latest
Also available on Alibaba Cloud Container Registry (ACR) for users in China: agentscope-registry.ap-southeast-1.cr.aliyuncs.com/agentscope/yanzhiti (same tags).
Then open http://127.0.0.1:8088/ for the Console. Config, memory, and skills are stored in the yanzhiti-data volume; model provider settings and API keys are in the yanzhiti-secrets volume; backup archives are stored in the yanzhiti-backups volume. To pass API keys (e.g. DASHSCOPE_API_KEY), add -e VAR=value or --env-file .env to docker run.
Connecting to Ollama or other services on the host machine
Inside a Docker container,
localhostrefers to the container itself, not your host machine. If you run Ollama (or other model services) on the host and want YanZhiTi in Docker to reach them, use one of these approaches:Option A — Explicit host binding (all platforms):
docker run -p 127.0.0.1:8088:8088 \
  --add-host=host.docker.internal:host-gateway \
  -v yanzhiti-data:/app/working \
  -v yanzhiti-secrets:/app/working.secret \
  -v yanzhiti-backups:/app/working.backups \
  agentscope/yanzhiti:latest
Then in YanZhiTi Settings → Models, change the Base URL to
http://host.docker.internal:<port>— for example,http://host.docker.internal:11434for Ollama, orhttp://host.docker.internal:1234/v1for LM Studio.Option B — Host networking (Linux only):
docker run --network=host \
  -v yanzhiti-data:/app/working \
  -v yanzhiti-secrets:/app/working.secret \
  -v yanzhiti-backups:/app/working.backups \
  agentscope/yanzhiti:latest
No port mapping (
-p) is needed; the container shares the host network directly. Note that all container ports are exposed on the host, which may cause conflicts if the port is already in use.
The image is built from scratch. To build the image yourself, please refer to the Build Docker image section in scripts/README.md, and then push to your registry.
Option 4: Deploy on Alibaba Cloud ECS
To run YanZhiTi on Alibaba Cloud (ECS), use the one-click deployment: open the YanZhiTi on Alibaba Cloud (ECS) deployment link and follow the prompts. For step-by-step instructions, see Alibaba Cloud Developer: Deploy your AI assistant in 3 minutes.
Option 5: Using ModelScope
No local install? ModelScope Studio one-click cloud setup. Set your Studio to non-public so others cannot control your YanZhiTi.
Option 6: Desktop Application (Beta)
Beta Notice: The desktop application is currently in Beta testing phase with the following known limitations:
- Incomplete compatibility testing: Not fully tested across all system versions and hardware configurations
- Potential performance issues: Startup time, memory usage, and other performance aspects may need further optimization
- Features under development: Some features may be unstable or missing
If you're not comfortable with command-line tools, you can download and use YanZhiTi's desktop application without manually configuring Python environments or running commands.
Download
Download the desktop app from GitHub Releases:
- Windows:
YanZhiTi-Setup-<version>.exe - macOS:
YanZhiTi-<version>-macOS.zip(Apple Silicon recommended)
Features
- ✅ Zero configuration: Download and double-click to run, no need to install Python or configure environment variables
- ✅ Cross-platform: Supports Windows 10+ and macOS 14+
- ✅ Visual interface: Automatically opens browser interface, no need to manually enter addresses
- ⚠️ Beta stage: Features are continuously being improved, feedback welcome
First Launch
Important: The first launch may take 10-60 seconds (depending on your system configuration). The application needs to initialize the Python environment and load dependencies. Please wait patiently for the browser window to open automatically.
macOS: Bypass System Security Restrictions
When you download the YanZhiTi macOS app from Releases, macOS may show: "Apple cannot verify that 'YanZhiTi' contains no malicious software". This happens because the app is not notarized. You can still open it as follows:
-
Right-click to open (recommended) Right-click (or Control+click) the YanZhiTi app → Open → in the dialog click Open again. This tells Gatekeeper you trust the app; after that you can double-click to launch as usual.
-
Allow in System Settings If it is still blocked, go to System Settings → Privacy & Security, scroll to the message like "YanZhiTi was blocked because it is from an unidentified developer", and click Open Anyway or Allow.
-
Remove quarantine attribute (not recommended for most users) In Terminal run:
xattr -cr /Applications/YanZhiTi.app(or use the path to the.appafter unzipping). This clears the "downloaded from the internet" quarantine flag so the warning usually does not appear, but is less safe and controllable than using Right-click → Open.
For detailed usage instructions, troubleshooting, and common issues, see the Desktop Application Guide.
API Key
If you use a cloud LLM API (e.g., Qianwen, Gemini, OpenAI), you must configure an API key before chatting. YanZhiTi will not work until a valid key is set. See the official docs for details.
How to configure:
- Console (recommended) — After running
yanzhiti app, open http://127.0.0.1:8088/ → Settings → Models. Choose a provider, enter the API Key, and enable that provider and model. yanzhiti init— When you runyanzhiti init, it will guide you through configuring the LLM provider and API key. Follow the prompts to choose a provider and enter your key.- Environment variable — For DashScope you can set
DASHSCOPE_API_KEYin your shell or in a.envfile in the working directory.
Tools that need extra keys (e.g. TAVILY_API_KEY for web search) can be set in Console Settings → Environment variables, see Config for details.
Using local models only? If you use Local Models (llama.cpp / Ollama / LM Studio), you do not need any API key.
Local Models
YanZhiTi can run LLMs entirely on your machine — no API keys or cloud services required. See the official docs for details.
| Backend | Best for | Install |
|---|---|---|
| llama.cpp | Cross-platform (macOS / Linux / Windows) | No extra installation required; click "Download Llama.cpp" in the web UI. |
| Ollama | Cross-platform (requires Ollama service) | Install and start the Ollama app in advance. |
| LM Studio | Cross-platform (requires LM Studio service) | Install and start the LM Studio app in advance. |
Documentation
| Topic | Description |
|---|---|
| Introduction | What YanZhiTi is and how to use it |
| Quick start | Install and run (local or ModelScope Studio) |
| Console | Web UI: chat and agent configuration |
| Models | Configure cloud, local, and custom providers |
| Channels | DingTalk, Feishu, QQ, Discord, iMessage, and more |
| Skills | Extend and customize capabilities |
| Plugins | Plugin system |
| MCP | Manage MCP clients |
| Memory | Long-term memory |
| Memory-Evolving & Proactive | Agent memory evolution and proactive interaction |
| Context | Context management mechanism |
| Magic commands | Control conversation state without waiting for the AI |
| Heartbeat | Scheduled check-in and digest |
| Multi-Agent | Create multiple agents and enable collaboration |
| Config & working dir | Working directory and config file |
| CLI | Init, cron jobs, skills, clean |
| FAQ | Common questions and troubleshooting |
Full docs in this repo: website/public/docs/.
Security Features
YanZhiTi includes multi-layer security mechanisms to protect your data and system:
- Tool guard — Automatically intercepts dangerous shell commands (e.g.,
rm -rf /, fork bombs, reverse shells, etc.) - File access guard — Restricts agent access to sensitive paths (e.g.,
~/.ssh, key files, system directories, etc.) - Skill security scanning — Automatically scans before installing skills, detecting risks like prompt injection, command injection, hardcoded keys, data exfiltration, etc.
- Local deployment — All data and memory stored locally, no third-party upload (when using cloud LLM APIs, conversation content is sent to the corresponding API provider)
- Web Authentication — Optional login protection for the Console. Disabled by default; set
YANZHITI_AUTH_ENABLED=trueto enable. See Web Authentication for details.
See Security documentation for details.
FAQ
For common questions, troubleshooting tips, and known issues, please visit the FAQ page.
Staying ahead
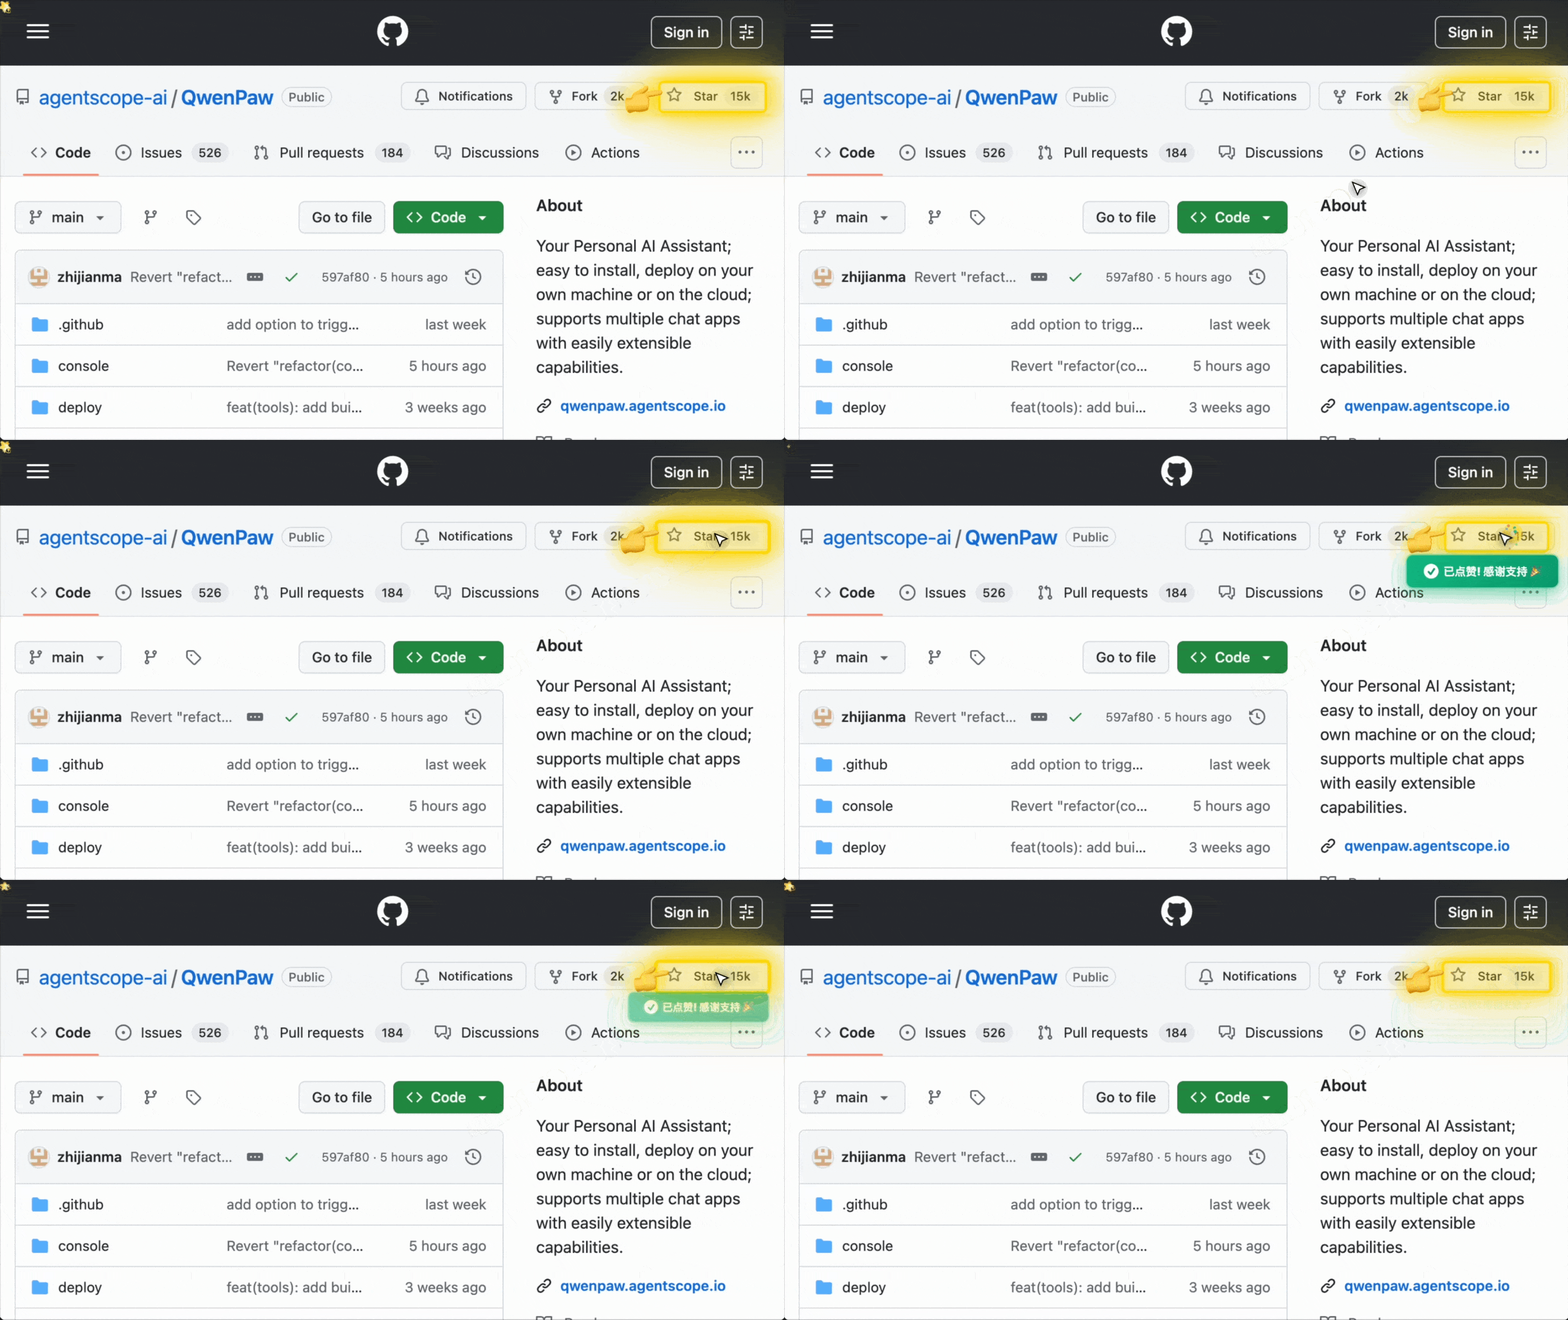
Star YanZhiTi on GitHub and be instantly notified of new releases.
Roadmap
| Area | Item | Status |
|---|---|---|
| Horizontal Expansion | More channels, models, skills, MCPs — community contributions welcome | Seeking Contributors |
| Existing Feature Extension | Display optimization, download hints, Windows path compatibility, etc. — community contributions welcome | Seeking Contributors |
| Models | Multi-model switching | In Progress |
| Browser-use | Support Chrome extension | In Progress |
| Long-term Memory | Personal knowledge base | In Progress |
| YanZhiTi Application | YanZhiTi Creator | In Progress |
| YanZhiTi Insight | In Progress | |
| Multi-agent | Compatibility with existing agents (e.g. Claude Code) | Planned |
| Group chat | Planned | |
| Subagent visualization | Planned |
Status: In Progress — actively being worked on; Planned — queued or under design, also welcome contributions; Seeking Contributors — we strongly encourage community contributions.
Install from source
git clone https://github.com/agentscope-ai/YanZhiTi.git
cd YanZhiTi

# Build console frontend first (required for web UI)
cd console && npm ci && npm run build
cd ..

# Copy console build output to package directory
mkdir -p src/yanzhiti/console
cp -R console/dist/. src/yanzhiti/console/

# Install Python package
pip install -e .
- Dev (tests, formatting):
pip install -e ".[dev,full]" - Then: Run
yanzhiti init --defaults, thenyanzhiti app.
Note for updates: When updating to a new major version after
git pull, please also rebuild the frontend, reinstall the package (pip install -e .), restartyanzhiti app, and clear your browser cache withCtrl+Shift+R(orCmd+Shift+Ron macOS).
Contributing
YanZhiTi evolves through open collaboration, and we welcome all forms of contribution! Check the Roadmap above (especially items marked Seeking Contributors) to find areas that interest you, and read CONTRIBUTING to get started. We particularly welcome:
- Horizontal expansion — new channels, model providers, skills, MCPs.
- Existing feature extension & refinement — display and interaction improvements, download hints, Windows path compatibility, etc.
Join GitHub Discussions to discuss ideas or pick up tasks.
Why YanZhiTi?
YanZhiTi stands for Qwen Personal Agent Workstation, and also embodies the wisdom of Qwen and the warmth of a Paw. We hope it is not a cold tool, but an intelligent and warm "little paw" always ready to help—a most intuitive partner in your digital life.
Built by
AgentScope team · AgentScope · AgentScope Runtime · ReMe
Contact us
| Discord | X (Twitter) | DingTalk | RedNote |
|---|---|---|---|
 |
 |
 |
 |
Telemetry
YanZhiTi collects anonymous usage data during yanzhiti init to help us understand our user base and prioritize improvements. Data is sent once per version — when you upgrade YanZhiTi, telemetry is re-collected so we can track version adoption.
What we collect:
- YanZhiTi version (e.g., 0.0.7)
- Install method (pip, Docker, or desktop app)
- OS and version (e.g., macOS 14.0, Ubuntu 22.04)
- Python version (e.g., 3.13)
- CPU architecture (e.g., x86_64, arm64)
- GPU availability (yes/no)
What we do NOT collect: No personal data, no files, no credentials, no IP addresses, no identifiable information.
When running yanzhiti init interactively, you will be asked whether to opt in. If you choose --defaults, telemetry is accepted automatically. The prompt appears once per version and never affects YanZhiTi's functionality.
License
YanZhiTi is released under the Apache License 2.0.
Contributors
All thanks to our contributors:

1 maintainer

Download files
Download the file for your platform. If you're not sure which to choose, learn more about installing packages.
Source Distribution
Built Distribution
Filter files by name, interpreter, ABI, and platform.
If you're not sure about the file name format, learn more about wheel file names.
Copy a direct link to the current filters
File details
Details for the file yanzhiti-2.4.16.tar.gz.
File metadata
- Download URL: yanzhiti-2.4.16.tar.gz
- Upload date:
- Size: 11.5 MB
- Tags: Source
- Uploaded using Trusted Publishing? No
- Uploaded via:
twine/7.0.0 CPython/3.14.6
File hashes
| Algorithm | Hash digest | |
|---|---|---|
| SHA256 |
8094ae6b470a4369e6a6b0769a0c7caa6ef6816e630fae50785eb4e6ac61237b
|
|
| MD5 |
6e8d2361b08219ada6464061c9785637
|
|
| BLAKE2b-256 |
f52f960b3a31a93b95abde559ca5f7e1d87b33111a2f84c196d29fd88e7785f6
|
File details
Details for the file yanzhiti-2.4.16-cp311-abi3-win_amd64.whl.
File metadata
- Download URL: yanzhiti-2.4.16-cp311-abi3-win_amd64.whl
- Upload date:
- Size: 18.1 MB
- Tags: CPython 3.11+, Windows x86-64
- Uploaded using Trusted Publishing? No
- Uploaded via:
twine/7.0.0 CPython/3.14.6
File hashes
| Algorithm | Hash digest | |
|---|---|---|
| SHA256 |
dc92a92f0bf68bb9557b8bf77238923e4f7db4e7d742f2a11d1324800e198cd3
|
|
| MD5 |
3d31bb1d5cfece5a4a1aa59324633765
|
|
| BLAKE2b-256 |
59b93e3641a32c9a38b62af48dcfaf77e45e506101e16499c7475ceb3e2a7875
|














