
1 Kitware BatBot





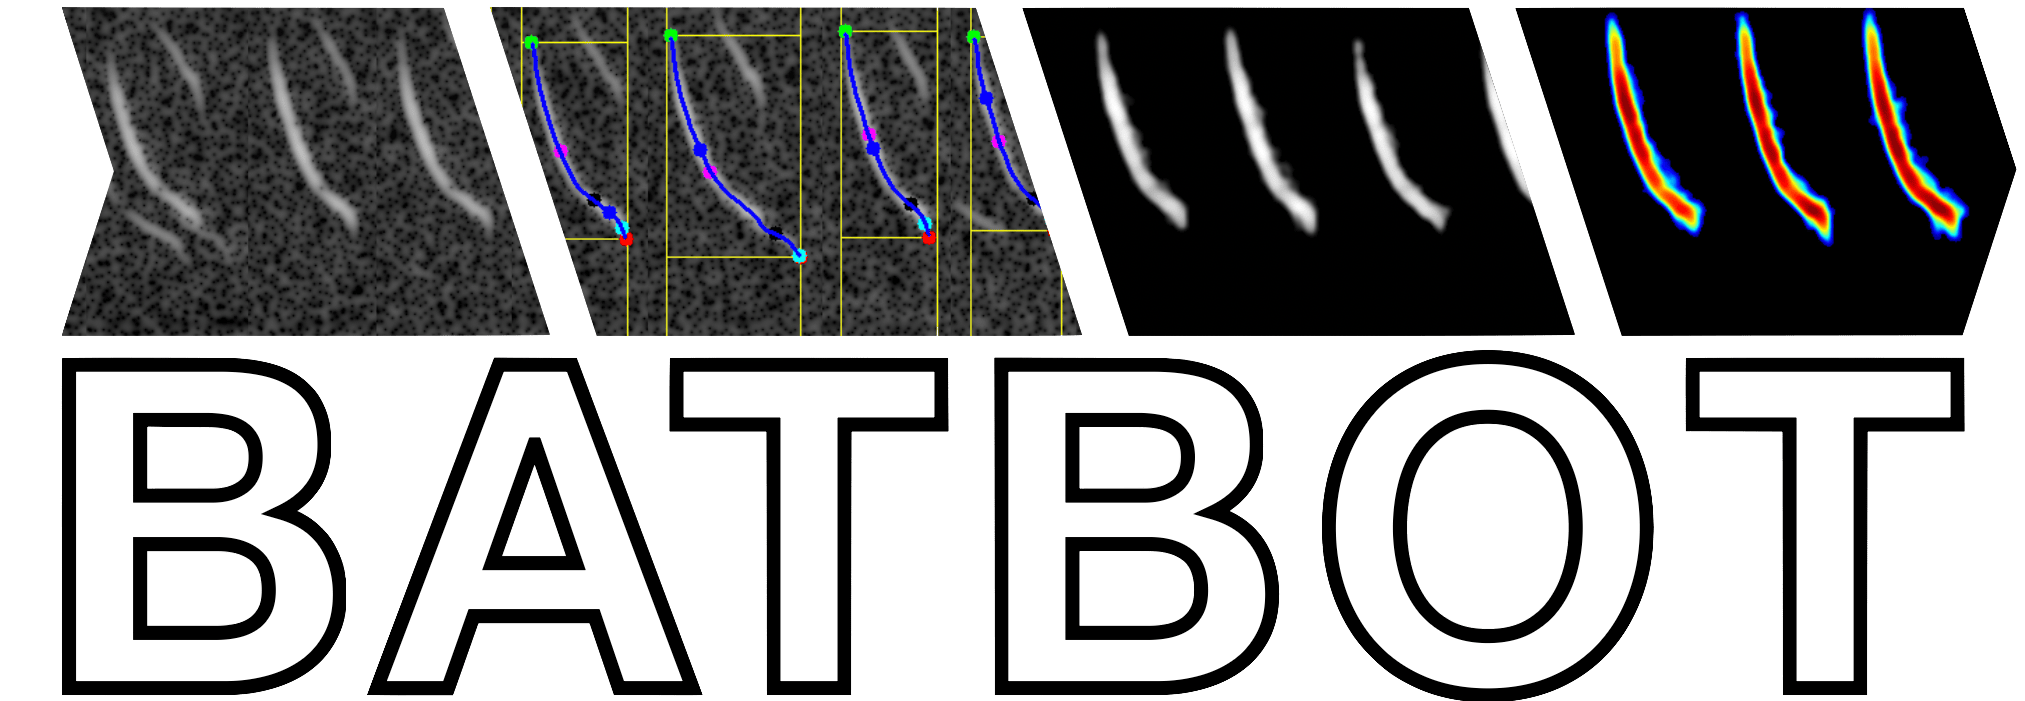
1.1 Development Environment
Use Python 3.11–3.14 and a virtual environment. Choose the cpu runtime extra for CPU inference (and optional Apple CoreML), or gpu for NVIDIA CUDA on Linux/Windows. Developers should install Git LFS before cloning so the model and WAV fixtures are downloaded, then install ".[cpu,test]".
1.2 Interactive tutorials and collaboration
Start with examples/notebooks/01_classify_your_files.ipynb to upload WAVs or spectrograms, inspect predictions, and download JSON/CSV reports and charts. The companion 02_spectrogram_walkthrough.ipynb explains the STFT, normalization, candidates, contours, processing images, and ONNX window scores. Both notebooks run in Codespaces, Google Colab, or local Jupyter; an example recording makes Run All work before you supply your own files.
Open a Codespace (select the branch containing these tutorials), then select the Python (BatBot) kernel.
Code contributions and prototypes are encouraged in BatBot and Kitware BatAI. Monitoring data contributions should go to the USGS NABat database, following the NABat contribution guidance, not to GitHub issues or pull requests. Notebook exports are not NABat upload templates, and model predictions require appropriate review.
1.3 Spectrogram Extraction
Here are the steps for extracting the compressed spectrogram:
Create the STFT
Load the original waveform at the original sample rate
Resample waveform to 250kHz
Convert to a STFT spectrogram (fft=512, method=blackmanharris, window=256, hop=16)
Convert complex power STFT to amplitude STFT (dB)
Normalize the STFT
Trim STFT to minimum and maximum frequencies (5kHz to 120kHz)
Subtract the per-freqency median dB (reduce any spectral bias / shift)
Apply the current 120 dB gain relative to the global maximum amplitude, then clip
Calculate the global median of the non-minimum intensities
Calculate the median absolute deviation (MAD)
Autogain the dynamic range to (5 * MAD) below the global amplitude median, if necessary
Quantize the STFT
Quantize the floating-point amplitude STFT to a 16-bit integer representation spanning the full dynamic range (65,536 bins)
Vertically flip the spectrogram (low frequencies on bottom) and convert to a C-contiguous array
Find Candidate Chirps
Create a 12ms sliding window with a 3ms stride
Keep the time windows that show a substantial right-skew across 10% of the frequency range
Add any user-provided time windows (annotations) to the found candidates windows
Merge any overlapping time windows into a set of contiguous time ranges
Tighten the candidate time ranges (and separate as needed) by repeating the same skew-based filter with a smaller sliding window and stride
Extract Chirp Metrics
for each candidate chirp
Start: First, find the peak amplitude location.
Step 1 - Normalize the chirp to the full 16-bit range. Calculate a histogram and identify the most common dB and standard deviation. Scale the amplitude values using an inverted PDF, weighting each value by its inverse probability of being noise (values below the most common dB are set to zero)
Step 2 - Apply a median filter and re-normalize
Step 3 - Apply a morphological open operation
Step 4 - Blur the chirp (k=5) and re-normalize
Step 5 - Find contours using the “marching squares” algorithm and select the one that contains the peak amplitude. Extract the convex hull of the contour and smooth the resulting outline
Step 6 - Extract a segmentation mask for the contour
Step 7 - Locate the harmonic (doubling the frequency) and echo (right edge of the contour to the end of the chirp time range) regions. Remove any overlapping noise from the chirp contour.
Step 8 - Locate the start, end, and characteristic frequency points (peak amplitude) and calculate an optimization cost grid for the contour using the masked amplitudes.
Step 9 - Solve a minimum distance optimization using A* that also maximizes the amplutide values from start to end points.
Step 10 - Smooth the contour path, extract the contour’s slope, then identify the knee, heel, and other defining attributes.
End: Finally, if any of the above steps fails, or the chirp’s attributes do not make semantic sense, then skip the candidate chirp.
Create Output
Collect all valid chirps regions and metadata, create a compressed spectrogram
Write the 16-bit spectrogram as a series of 8-bit JPEGs image chunks (max width per chunk 50k pixels)
Write the file and chirp metadata to a JSON file.
1.4 How to Install
BatBot supports 64-bit Python 3.11–3.14 on macOS, Linux, and Windows.
Platform |
Installation |
Inference device |
|---|---|---|
macOS (Apple Silicon or Intel) |
batbot[cpu] |
CPU; optional --provider coreml with a CoreML-enabled runtime |
Linux |
batbot[cpu] or batbot[gpu] |
CPU or NVIDIA CUDA |
Windows x64 |
batbot[cpu] or batbot[gpu] |
CPU or NVIDIA CUDA |
Linux Docker |
cpu or gpu build target |
CPU on amd64/arm64; NVIDIA CUDA on amd64 |
1.4.1 CPU Installation
On macOS or Linux:
python3 -m venv .venv
.venv/bin/python -m pip install --upgrade pip
.venv/bin/python -m pip install "batbot[cpu]"
.venv/bin/batbot --help
On Windows, use PowerShell without changing its activation policy:
py -3 -m venv .venv
./.venv/Scripts/python.exe -m pip install --upgrade pip
./.venv/Scripts/python.exe -m pip install "batbot[cpu]"
./.venv/Scripts/batbot.exe --help
Or install from source in the chosen environment:
git clone https://github.com/Kitware/batbot
cd batbot
git lfs pull
python -m pip install -e ".[cpu,test]"
The base batbot distribution contains spectrogram tools. Classification requires one runtime extra. The CPU and GPU ONNX distributions share the same Python import and belong in separate environments. Existing base installations can add CPU inference with pip install "batbot[cpu]".
Binary wheels supply audio/image dependencies on supported desktops. Minimal Debian/Ubuntu systems may also need libgomp1, libsndfile1, and zlib1g (already included in the Docker images). Windows requires the Microsoft Visual C++ x64 runtime described in the ONNX Runtime installation guide.
1.4.2 NVIDIA GPU Installation
In a separate virtual environment, install the GPU extra:
python -m pip install "batbot[gpu]"
python -m pip check
batbot classify recording.jpg --provider cuda
This extra selects the ONNX Runtime 1.31 series and matching CUDA/cuDNN runtime libraries. BatBot preloads them before creating its session. A compatible NVIDIA driver is required; a separate CUDA toolkit installation is unnecessary. To change an existing CPU environment, uninstall onnxruntime first.
The GPU extra uses the CUDA 13 build. For an existing PyTorch environment or another CUDA version, install core batbot with the runtime specified in the upstream CUDA compatibility guide. --provider cuda requires CUDA initialization; automatic selection warns when CUDA initialization fails and CPU fallback is used.
1.4.3 Apple CoreML
The standard macOS runtime can also expose the Apple CoreML backend:
batbot classify recording.jpg --provider coremlCoreML can use the Apple CPU, GPU, and Neural Engine, depending on supported model operators. It requires macOS 12 or newer and uses MLProgram with a fixed one-window inference batch to support this model’s dynamic batch axis. Multiple inference workers are still supported. CPU remains the default on macOS. Explicit CoreML selection fails if the provider is unavailable; see the CoreML documentation.
1.4.4 Paths and Caches
Python APIs accept pathlib.Path and native path strings, including spaces, Unicode names, Windows drive paths, and UNC shares. Home and environment variables are expanded before access. Folder discovery recognizes extension case consistently, including .WAV, .JPG, and .JPEG. Preprocessing preserves directory structure; flattening rejects colliding filenames. Inputs from separate Windows drives get distinct output namespaces.
Models use Pooch’s native per-user cache. Set BATBOT_CACHE_DIR to place the versioned model cache elsewhere, such as a writable container volume. Images use Python file access rather than OpenCV filename handling.
1.5 How to Run
1.5.1 Species Classification
BatBot includes a 35-class MobileNet ONNX model for classifying spectrograms. The model is used from the package when available and can also be downloaded from its Kitware Data mirror with pooch:
batbot fetch
batbot fetch --pull
Classify an existing spectrogram, classify a WAV through BatBot’s built-in spectrogram step, or recursively process a large directory:
batbot classify recording.jpg
batbot classify-wav recording.wav --output recording.json
batbot classify-bulk ./recordings --input-type wav \
    --preprocess-workers 4 --num-workers 2 --output results.json
batbot classify-wav ./recordings --provider cuda --output results.json
Bulk JSON includes every per-file prediction plus label_counts, species_counts (which excludes NOISE), the noise count, failures, and mean confidence. Generated WAV spectrograms are temporary by default; pass --spectrogram-dir ./spectrograms to retain them. --num-workers runs multiple spectrogram inference jobs concurrently while sharing one validated ONNX Runtime session; results retain input order. --preprocess-workers runs WAV spectrogram generation in separate processes, then feeds generated images from multiple recordings into batch inference. Work is staged in bounded batches, temporary images are removed after each batch, and failed inputs are retained in the JSON report. The legacy batch command uses this same pipeline and accepts directories.
Batch commands display separate preprocessing and classification progress bars on stderr by default, leaving stdout available for JSON. Use --no-progress to disable them. --provider auto prefers CUDA when available; --provider cuda requires NVIDIA CUDA, --provider coreml selects Apple CoreML, and --provider cpu explicitly selects CPU inference.
The corresponding Python API follows the Scoutbot WIC pre / predict / post pattern. A convenience call is usually sufficient:
from batbot import classifier

if __name__ == '__main__':
    result = classifier.classify('recording.jpg')[0]
    wav_result = classifier.classify_wav('recording.wav')
    folder = classifier.classify_bulk(
        ['./recordings'], input_type='wav', num_workers=2,
        preprocess_workers=4, progress=True,
    )
When using multiple preprocessing processes from a standalone Python script, put the call inside if __name__ == '__main__': so spawned workers can import the script safely. The CLI handles this entry point automatically.
To evaluate a labeled dataset arranged as LABEL/*.wav, install scikit-learn and run the included performance example:
pip install "batbot[cpu,performance]"
python examples/plot_classifier_performance.py ./validation \
    --cache predictions.json --output performance.png
The plot includes count, true-normalized, and prediction-normalized confusion matrices, top-k accuracy, Matthews correlation, and NOISE precision-recall and ROC diagnostics when that label is present. Species codes are reordered by genus before plotting so the shaded error regions remain contiguous.
2 Docker
The default image runs the BatBot CLI as a non-root user. It uses a multi-stage wheel build, a slim Python runtime, and only the selected ONNX Runtime package. CPU images support Linux x86-64 and ARM64, including Docker Desktop on Apple Silicon. NVIDIA GPU images support Linux x86-64.
docker build --target cpu -t batbot:cpu .
docker run --rm batbot:cpu --help
docker run --rm --read-only --tmpfs /tmp \
    -v "$PWD/recordings:/data:ro" batbot:cpu \
    classify-bulk /data --input-type wav --provider cpu > results.json
The volume syntax above also works in PowerShell when run from the data’s parent directory. On Windows, enable Linux containers in Docker Desktop. The default cache locations are under /tmp, so a read-only root filesystem works when /tmp is writable. To save spectrograms to a volume, mount an additional writable output folder and pass --spectrogram-dir /output. On Linux, --user "$(id -u):$(id -g)" can match the host’s file ownership.
For NVIDIA GPUs, install a compatible host NVIDIA driver and the NVIDIA Container Toolkit. The image installs the matching CUDA/cuDNN Python runtime libraries; a separate CUDA toolkit inside the container is not needed.
docker build --platform linux/amd64 --target gpu -t batbot:gpu .
docker run --rm --gpus all --read-only --tmpfs /tmp \
    -v "$PWD/recordings:/data:ro" batbot:gpu \
    classify-bulk /data --input-type wav --provider cuda > results.json
Docker Desktop on macOS does not expose Apple’s GPU to Linux containers. Use the native macOS installation with --provider coreml for Apple acceleration. Published CPU tags retain their existing names, such as kitware/batbot:latest; the corresponding NVIDIA image uses kitware/batbot:latest-gpu. The CLI is now the container entry point rather than the old Gradio application.
3 Continuous Integration
Check |
Platforms |
Python / execution |
|---|---|---|
Source tests and coverage |
macOS, Linux, Windows |
3.11, 3.12, 3.13, 3.14 |
Built-wheel installation, CLI, model, WAV workers, Unicode paths |
macOS, Linux, Windows |
3.11, 3.12, 3.13, 3.14; CoreML also checked on macOS |
Isolated NVIDIA dependency installation |
Linux, Windows |
3.12; CPU inference on hosted runners without GPUs |
Non-root, read-only Docker smoke tests |
Linux CPU x86-64 / ARM64, NVIDIA x86-64 |
3.12; CPU inference on hosted runners |
Docker CUDA kernel execution |
Configured Linux NVIDIA runner |
3.12; actual model kernels must execute on CUDA |
To enable the hardware GPU job in .github/workflows/docker-publish.yaml:
Configure a trusted Linux x86-64 GitHub Actions runner with an NVIDIA GPU, a working nvidia-smi, Docker, and the NVIDIA Container Toolkit.
Give the runner a GPU label, for example gpu.
In repository Settings > Secrets and variables > Actions > Variables, set BATBOT_GPU_RUNNER to the JSON runner selector ["self-hosted", "linux", "x64", "gpu"]. A configured GitHub larger GPU runner can instead use its runner name as a JSON string.
Run the Docker workflow manually or push a trusted change to main. The job uses --gpus all and checks ONNX profiling events for real CUDA kernel execution. An unavailable GPU fails the check instead of silently falling back to CPU.
Public pull requests never run code on this GPU runner. Without the repository variable, the hardware job is explicitly skipped; all installation, CPU, and container checks still run. When configured, publishing waits for the hardware check to pass.
3.1 How to Build and Deploy
4 Docker Hub
After the container tests pass, pushes to main and tagged releases publish CPU and NVIDIA images to Docker Hub and the GitHub Container Registry. CPU images are multi-architecture; GPU images use Linux x86-64. Existing registry credentials must be configured for publication.
To do this manually, use the code below:
docker login

docker buildx create --name multi-arch-builder --use

docker buildx build \
    -t kitware/batbot:latest \
    --target cpu \
    --platform linux/amd64,linux/arm64 \
    --push \
    .

docker buildx build \
    -t kitware/batbot:latest-gpu \
    --target gpu \
    --platform linux/amd64 \
    --push \
    .
5 PyPI
To upload the latest BatBot version to the Python Package Index (PyPI), follow the steps below:
Edit batbot/_version.py and set __version__ to the desired version
__version__ = 'X.Y.Z'Push any changes and version update to the main branch on GitHub and wait for CI tests to pass
git pull origin main
git commit -am "Release for Version X.Y.Z"
git push origin main
Tag the main branch as a new release using the SemVer pattern (e.g., vX.Y.Z)
git pull origin main
git tag vX.Y.Z
git push origin vX.Y.Z
Wait for the automated GitHub CD actions to build and push to PyPI and Docker Hub.
If a release tag already exists but publishing did not start, use the manual release recovery instructions. Select main as the workflow ref, enter the existing release_tag, and explicitly opt in to publishing after validation. Do not delete or move the tag to retry.
5.1 Tests and Coverage
You can run the automated tests in the tests/ folder by running:
pip install -e ".[cpu,test]"
pytest
You may also get a coverage percentage by running:
coverage htmland open the coverage/html/index.html file in your browser.
5.2 Building Documentation
There is Sphinx documentation in the docs/ folder, which can be built by running:
cd docs/
pip install -e "..[docs]"
sphinx-build -M html . build/
5.3 Logging
BatBot uses Python’s standard logging package and installs a NullHandler for library use. Applications can configure the batbot logger themselves or call batbot.utils.init_logging() for Rich console and rotating-file output.
5.4 Code Formatting
It’s recommended that you use pre-commit to ensure linting procedures are run on any code you write. See pre-commit.com for more information.
Reference pre-commit’s installation instructions for software installation on your OS/platform. After you have the software installed, run pre-commit install on the command line. Now every time you commit to this project’s code base the linter procedures will automatically run over the changed files. To run pre-commit on files preemtively from the command line use:
pip install pre-commit
pre-commit run --all-files
The code base is formatted by Black and linted by Flake8. Black, isort, Flake8, pytest, coverage, packaging, and dependency settings are centralized in pyproject.toml. The flake8-pyproject plugin lets the unchanged Flake8 command consume that configuration.
1 maintainer

Metadata
1 maintainer
Release files for batbot 0.2.1
For a detailed explanation of source distributions (sdists) and built distributions (wheels), please see the package formats documentation.
Source distribution (sdist)
| File | Size | Uploaded | |
|---|---|---|---|
| batbot-0.2.1.tar.gz | 19.3 MB | Details |
Built distribution (wheel)
| File | Interpreter | ABI | Platform | Reset |
|---|---|---|---|---|
| batbot-0.2.1-py3-none-any.whl | Python 3 | none | any | Details |
Total release size: 31.0 MB
Release files / batbot-0.2.1.tar.gz
| Download URL | batbot-0.2.1.tar.gz |
|---|---|
| Size | 19.3 MB |
| Tags | Source |
|
SHA-256 checksum How to use checksums |
c9108d93842635c938b0642e0a9190128b23f354e76e0fa318cd652b81b3efcf
|
|
BLAKE2b-256 checksum How to use checksums |
d191f1e33a197597f1b9e3fa5f11f012dd376a57e5a0231878d9e6dc23496556
|
| Upload date | |
|
Uploaded using Trusted Publishing? What is trusted publishing? |
Yes |
| Uploaded via |
twine/7.0.0 CPython/3.13.14
|
Provenance
Provenance describes where a file came from. On PyPI, provenance is shared via attestations, which provide a verifiable record of the build or publishing details. View details, limitations and caveats.


PyPI Publish Attestation
PyPI verified that this artifact, at this checksum, originated from the publisher listed below.
Signed by GitHub Actions, verified by PyPI on Oct 15, 2026.
Transparency logRelease files / batbot-0.2.1-py3-none-any.whl
| Download URL | batbot-0.2.1-py3-none-any.whl |
|---|---|
| Size | 11.7 MB |
| Tags | Python 3 |
|
SHA-256 checksum How to use checksums |
a6dabafb00f9dbd146822d84aef8158aa7c1e57ccd40e22122204b10201323be
|
|
BLAKE2b-256 checksum How to use checksums |
198cb18aab4650085790ff1fea5962b18d88004a87e26ce685de41251740cba3
|
| Upload date | |
|
Uploaded using Trusted Publishing? What is trusted publishing? |
Yes |
| Uploaded via |
twine/7.0.0 CPython/3.13.14
|
Provenance
Provenance describes where a file came from. On PyPI, provenance is shared via attestations, which provide a verifiable record of the build or publishing details. View details, limitations and caveats.
PyPI Publish Attestation
PyPI verified that this artifact, at this checksum, originated from the publisher listed below.
Signed by GitHub Actions, verified by PyPI on Oct 15, 2026.
Transparency log













