
gds2openEMS: FDTD simulation workflow for RFIC
The files provided here enable openEMS EM simulation with layouts created for the IHP SG13G2 RFIC technology.
What's New
One major change is that documentation and examples now install gds2openEMS as a module from PyPi (pip install gds2openEMS), instead of the local copy of the modules folder used before. The old method with local copy still works, but the new method using Python module installation is more convenient.
The second major change is that examples and documentation now use the settings[] dictionary syntax for simulation model settings, similar to the gds2palace workflow. The previous model syntax with loose variables ist still supported, so you can choose whatever suits your needs. Long term, the settings[] dictionary syntax is preferred because it allows to switch between openEMS and Palace workflows more easily.
A graphical XML stackup editor was added in the stackup_editordirectory. When the gds2openEMS Python module is installed, you can call this from the commandline using 'stackupEditor`, with an XML file as optional parameter. Because of this GUI-based stackup editor, the PySide6 module is now a required dependency, and installed automatically when you install the gds2openEMS mdoule.
See CHANGES.md for recent additions and fixes.
Documentation
An extensive User's Guide of this GDSII to openEMS workflow is available both as Markdown (renders directly on GitHub) and as PDF, generated from the same Markdown source via scripts/build_userguide_pdf.py:
Using openEMS with IHP SG13: Python Workflow User's Guide, Markdown
Using openEMS with IHP SG13: Python Workflow User's Guide, PDF v3
An overview of the EM solver ecosystem (tools and utilities) for IHP SG13 can be found here:
https://github.com/IHP-GmbH/IHP-Open-PDK/tree/main/ihp-sg13g2/libs.doc/doc
System requirements
This workflow is based on the Python workflow for OpenEMS,
please refer to https://www.openems.de/
and https://docs.openems.de/python/install.html#python-linux-install
In addition to OpenEMS (which includes the CSXCAD Python bindings used directly by this workflow), the Python modules gdspy, shapely, numpy and matplotlib must be installed.
Getting the code: pip package vs. local copy
There are two independent ways to get this workflow's code into your model script — pick one, they're interchangeable:
- The recommended new method is
pip install gds2openEMS, using a PyPI package built directly from this repository'sworkflow/modules/folder. Your model script then doesfrom gds2openEMS import *and needs no local copy of the workflow code. You can update the gds2openEMS module withpip install gds2openEMS --upgrade. All examples underworkflow/use this type of module import. - The traditional local copy of
workflow/modules/means that you clone/download this repository and copy themodulesfolder next to your own model script, which then doessys.path.insert(...)+from modules import *.
This is still fully supported, useful if you want to vendor a specific version, or edit the workflow code itself.more_examples/local_modules_copy/is a fully self-contained example written this way (its ownmodules/copy, GDSII layout, and XML stackup, no PyPI package needed).
This is a separate choice from the coding style below — you can mix either distribution method with either style. more_examples/parameterized_XML_stackup/ shows both style options using the local-copy import, for example.
Model configuration syntax: settings{} dict vs. loose variables
Model scripts can pass their configuration to setupSimulation()/runSimulation() two ways — again, pick one, the underlying functions accept both:
- The new, recommended method is to use a
settings = {}dictionary, where every parameter/option is a key in one dict: (settings['fstart'] = 0e9,settings['refined_cellsize'] = 1, ...). This is then passed assetupSimulation(FDTD=FDTD, settings=settings).
This style is used in allworkflow/examples now, and it's also whatgds2palace_ihp_sg13g2(the sibling AWS Palace / Elmer FEM workflow) uses.
As a bonus,max_cellsizeis computed for you fromfstop/unit/cells_per_wavelengthinstead of you having to compute this explicitely in your own model code. - The traditional method was to create model code with Loose top-level variables (
fstart = 0e9,refined_cellsize = 1, ...) that are passed individually and positionally. This original style is still fully supported, if you wish to use it. You can find an example for this inmore_examples/local_modules_copy/run_line_viaport.py.
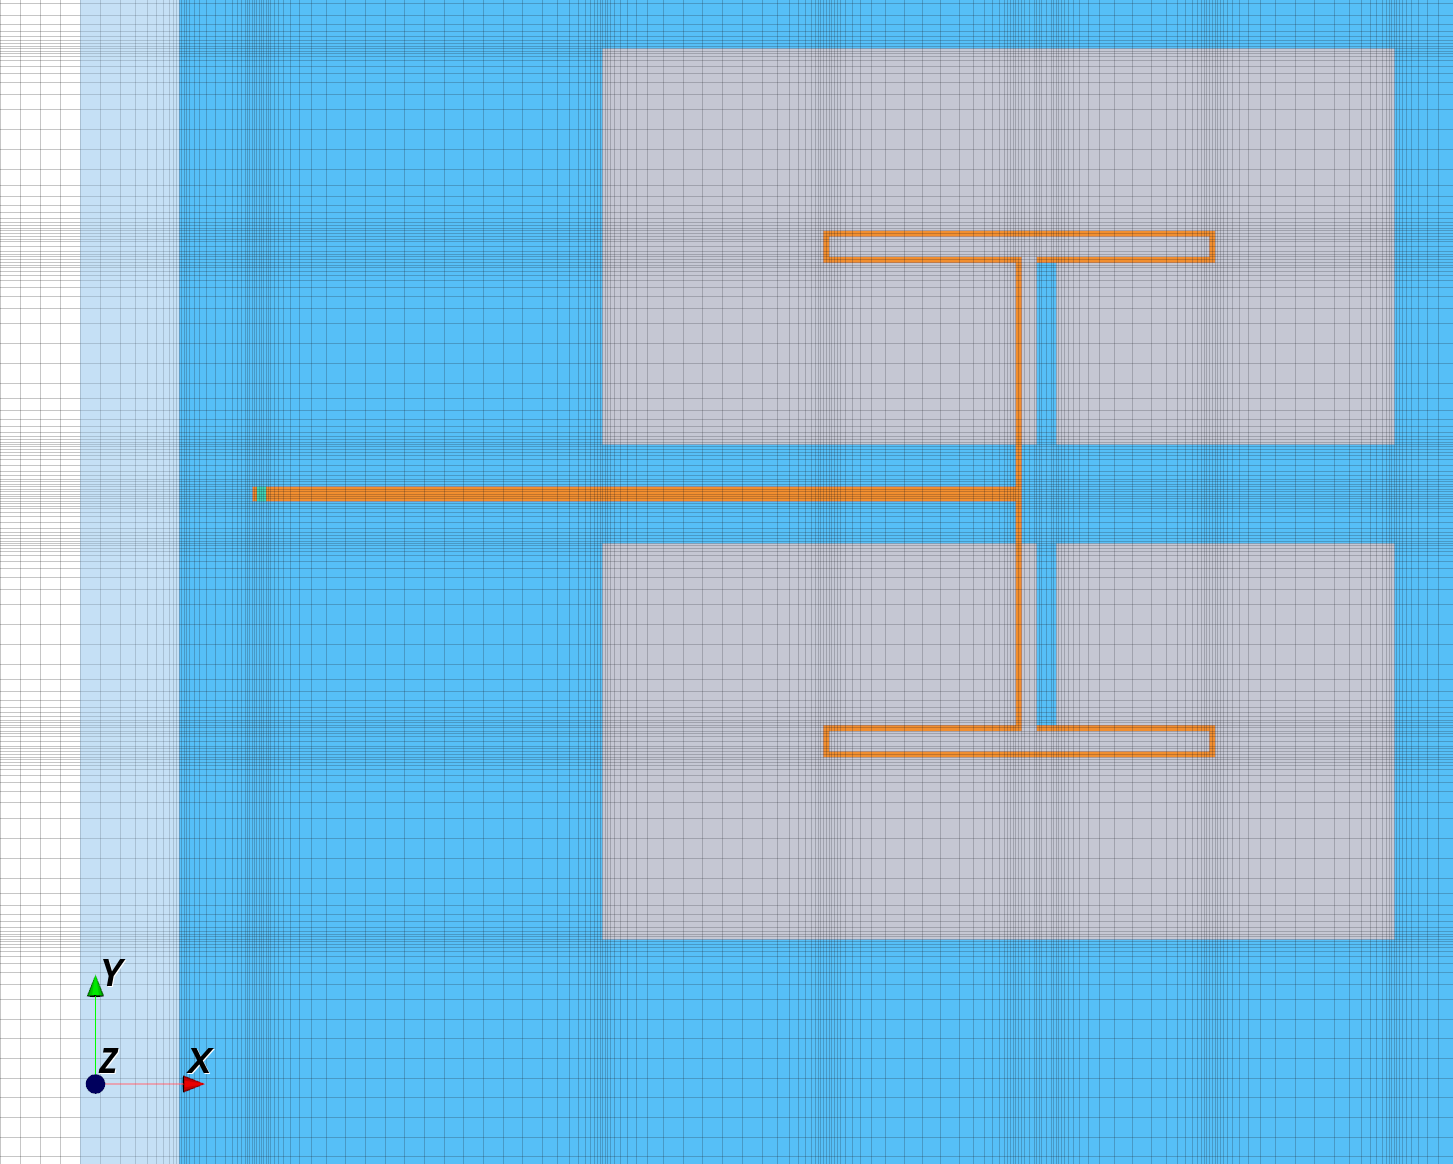
Automatic meshing
The default used in all models in this repository is to use automatic meshing based on geometry, which tries to detect edges and diagonal areas that need local refinement. Mesh lines that are too close (resulting in slow simulation) will be removed or merged automatically.
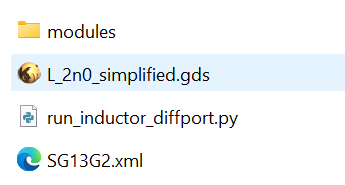
Minimum configuration
The screenshot below shows a minimum configuration for the traditional local-copy path: the XML technology stackup, the GDSII layout, one simulation model file (here named run_inductor_diffport.py) and the utility modules with all the “behind the scenes” code that you don’t need to modify.
When using the new, recommended installation method with pip install gds2openEMS instead, the modules folder is NOT required, you just need the XML stackup, the GDSII layout, and your model script.
Stackup XML editor
pip install gds2openEMS also installs a graphical Stackup XML Editor (console command stackupEditor), for creating/editing the XML technology stackup file without hand-editing XML. It covers Variables, Materials, the Dielectric stack, drawn Layers, Reference-relative positioning, Derived Layers (boolean layer operations), and Thermal Tables, with a live cross-section preview, undo, and an "Import from ADS Momentum" option (*.subst + materials.matdb, or *.ltd). See doc/XML_stackup_format.md for the underlying file format.
stackupEditor                      # start with a new, empty stackup
stackupEditor mystackup.xml        # open an existing stackup file
This is a standalone tool with no other gds2openEMS setup required. It is a separate, independently-maintained port of the equivalent editor in the sibling gds2palace_ihp_sg13g2/setupEM project (same UI, same XML schema, but reading/writing through this repo's own util_stackup_reader.py instead of gds2palace's) - the two are not shared code, so always use stackupEditor from this package's own installation (d:\venv\openems in this workspace) to edit an openEMS stackup file, not setupEM's.
Examples
For all models, the output directory contains the *.XML file for preview in the AppCSXCAD viewer. You can use this to inspect the model and preview the mesh that is generated by this model code.
run_line_viaport
This model simulates a simple thru line, with via ports on both ends. Excitation is only from one side, the reverse path is "faked" for S2P export assuming symmetry. The EM stackup does not include the lossy substrate, because that is shielded by the ground layer anyway.
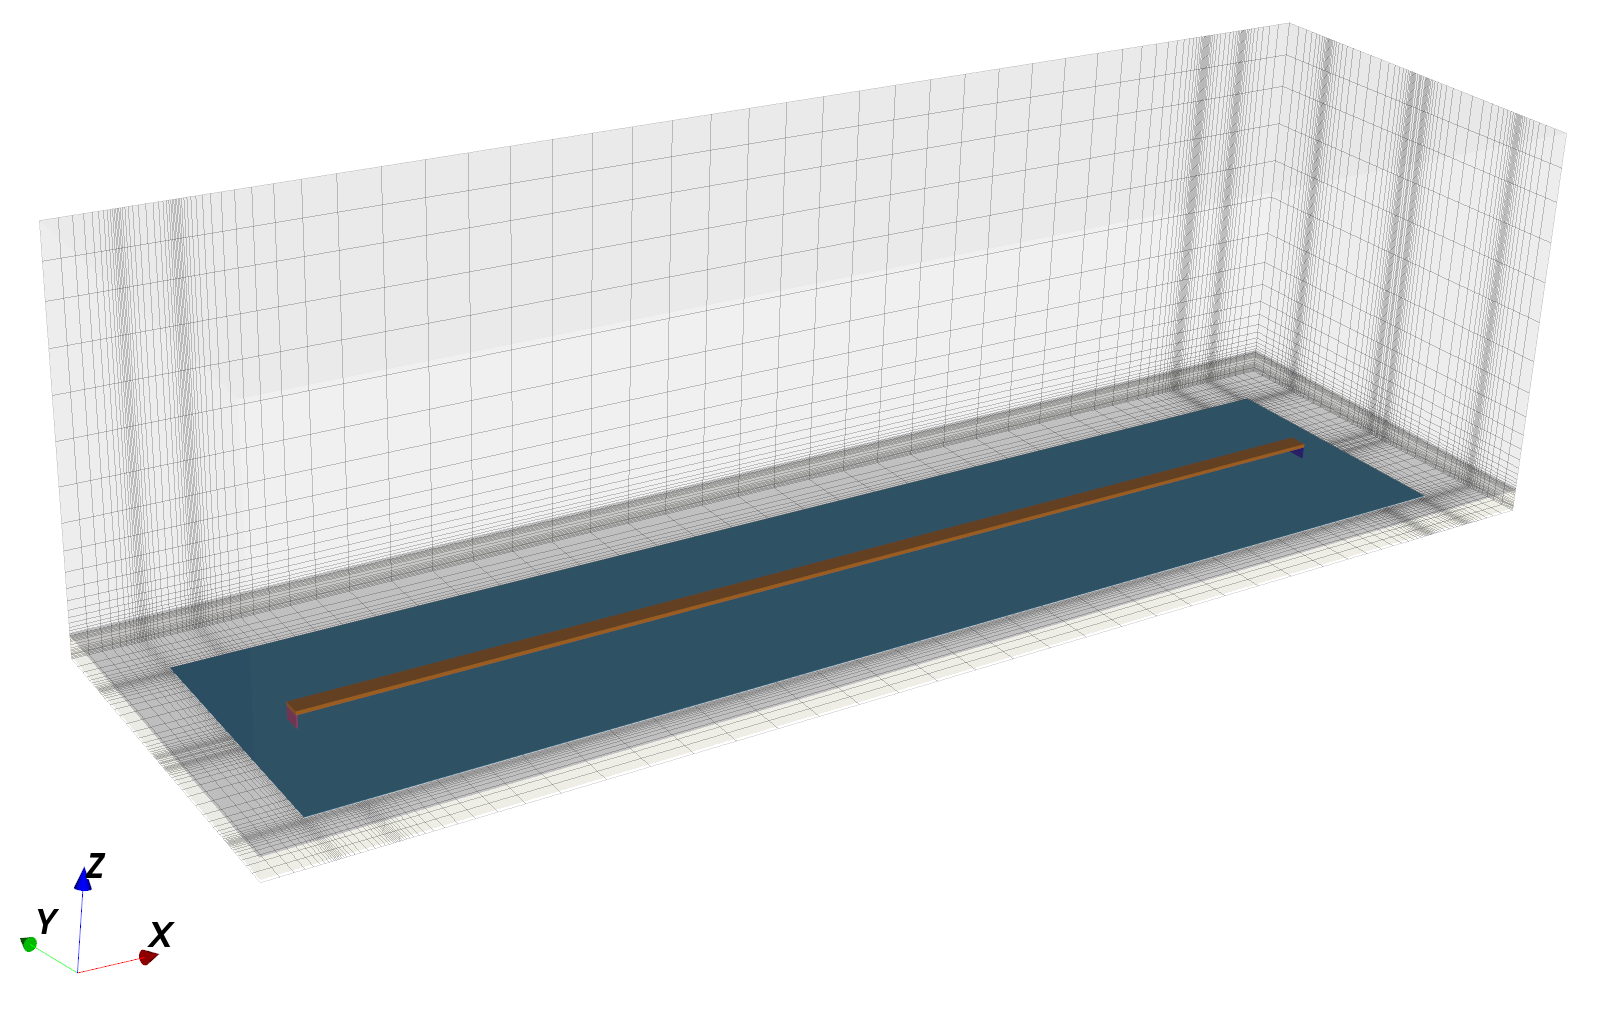
Note that the Metal1 ground plane is modelled and meshed explicitely. It is not recommended to use the bottom PEC boundary for this, because that is a lossless boundary and the Metal1 resistance would not show up in results.
Also note that port size will lead to parasitic inductance. You can find a "quick & dirty" port parasitic removal approach in the script folder: deembed_openEMS.py which reads port geometry information created by gds2openEMS and then estimates the inductance that is "built into" each lumped port. This inductance is then removed per port, by cascading a negative inductance value. Note that this method is not exact, and not applicable for composite port configurations like the GSG port example. Take it with a grain of salt!
run_line_GSG_complex
This model simulates a thru line with GSG pads on both ends. To properly simulate this, we use a composite port from two in-plane openEMS ports, one to each side from signal line to the ground pad. To drive the center conductor in-phase between these two ports, one is defined with opposite polarity. Both ports are in parallel, so each of then is defined with 2x the normal impedance. The resulting S-parameters for each GSG port are calculated in the evaluation code section, combining the data from the "sub-ports" into one effective GSG port result on each end of the line.
In the model code, layout pre-processing is done to properly handle the cutouts (holes) in polygons. In the latest gds2openEMS code, that layout pre-processing is always active in the GDSII reader and does not need to be configured in your model code.
run_inductor_diffport
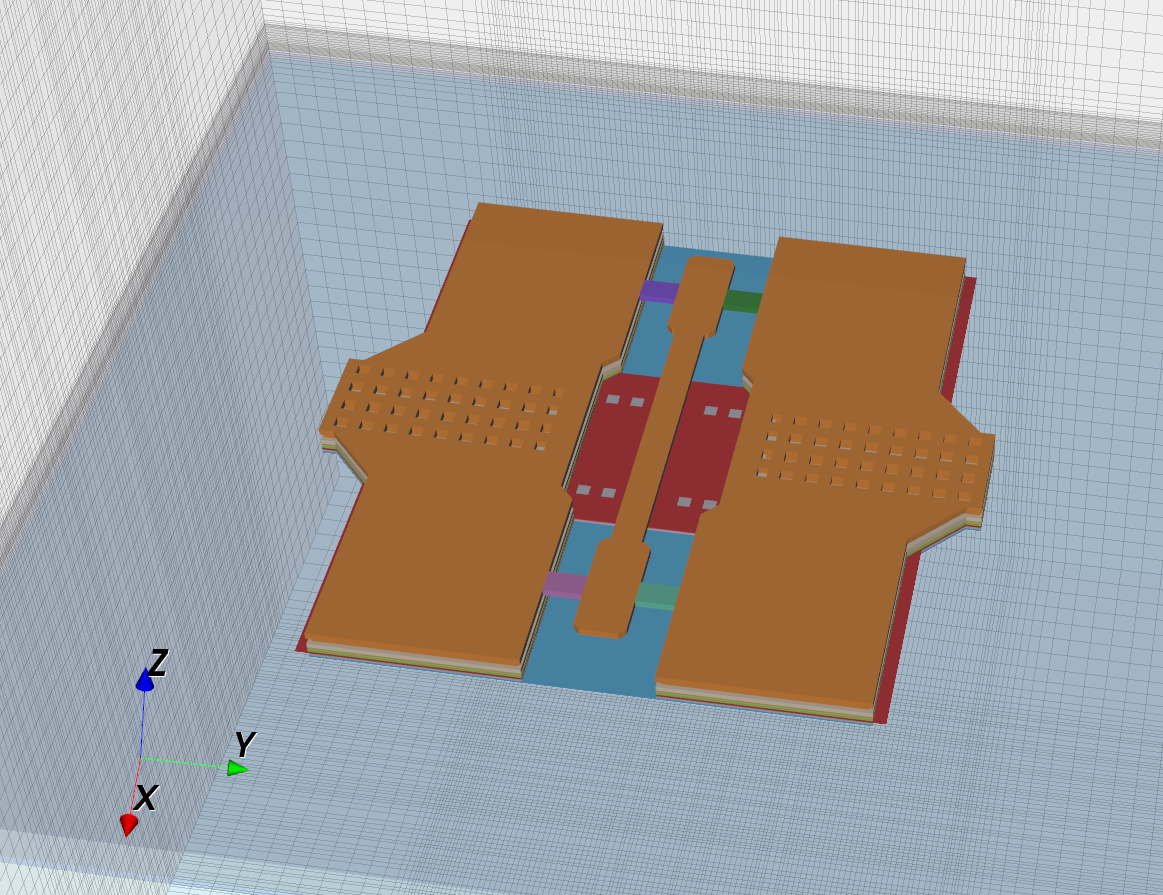
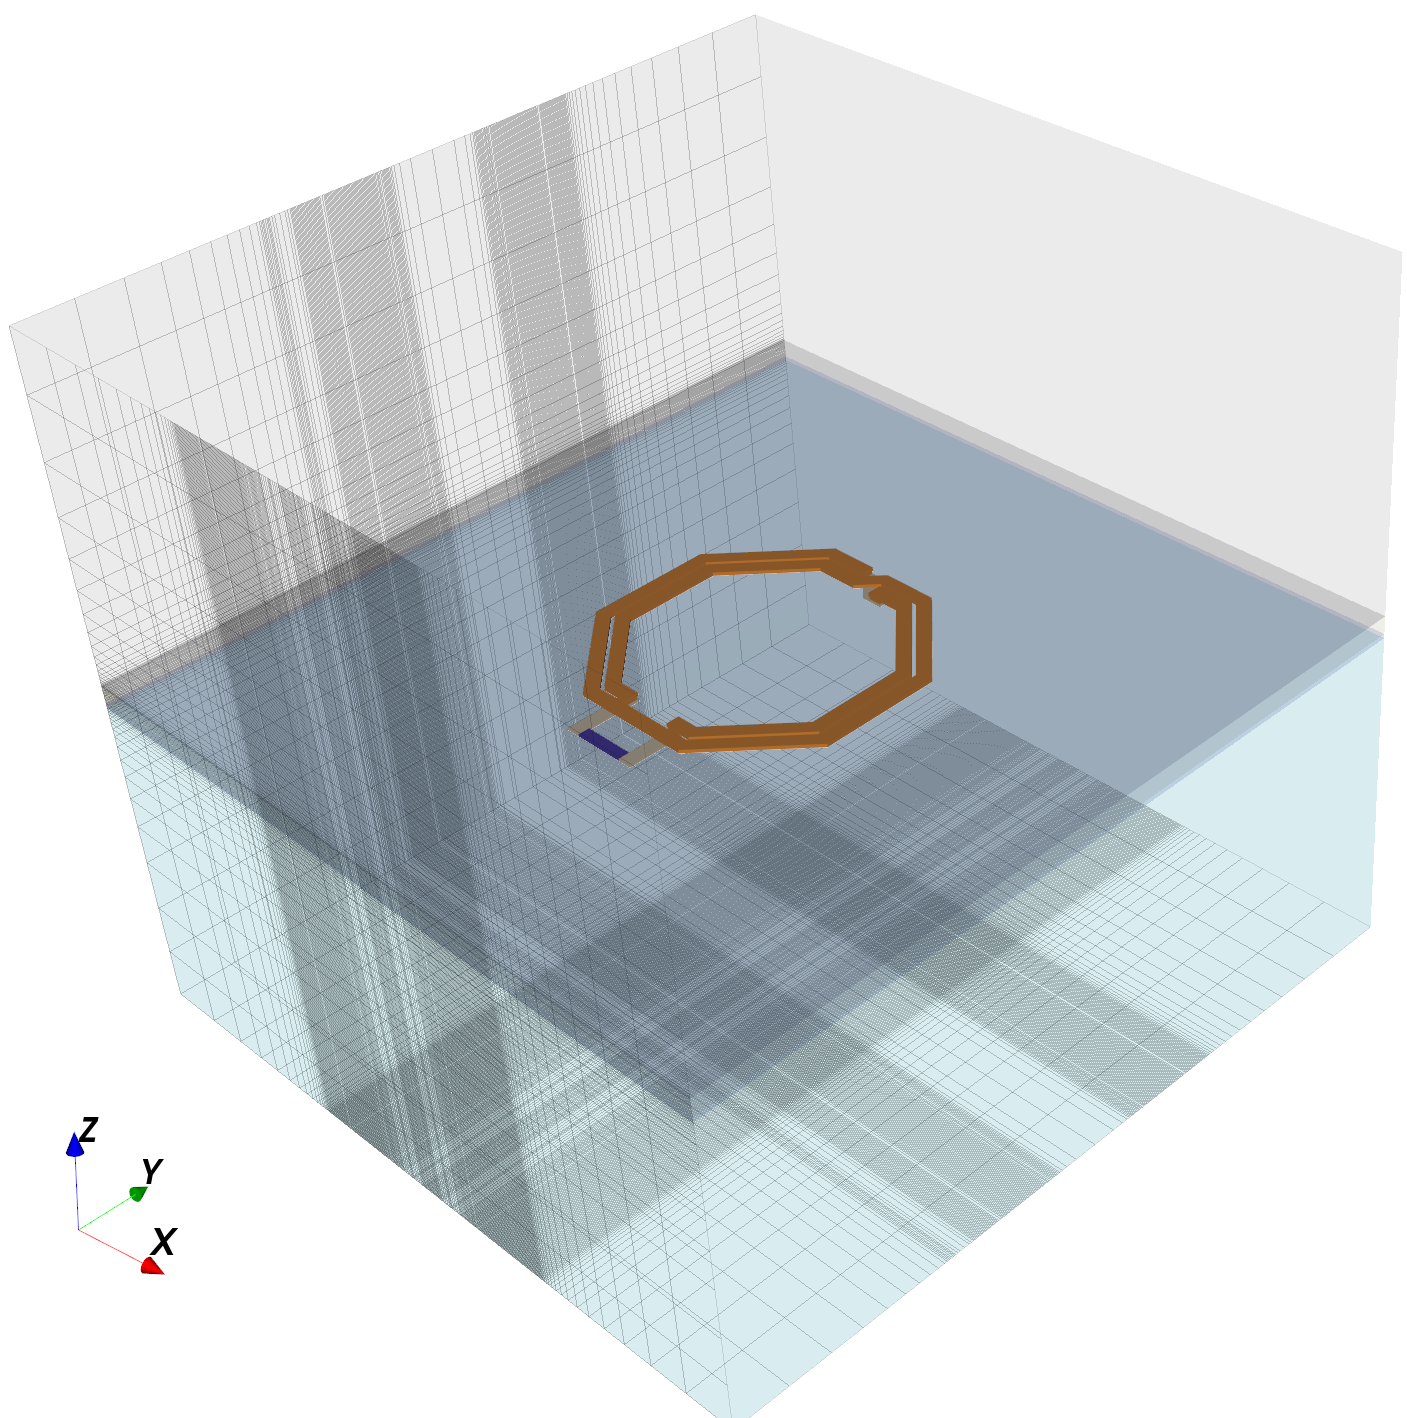
This model simulates an octagon inductor. There is only one in-plane port, placed between the inductor terminals. Results are valid for differential model of operation, and the code plots differential L and Q as well as numerical value for series L and series R at one extraction frequency. That extraction frequency is defined in the evaluation code section.
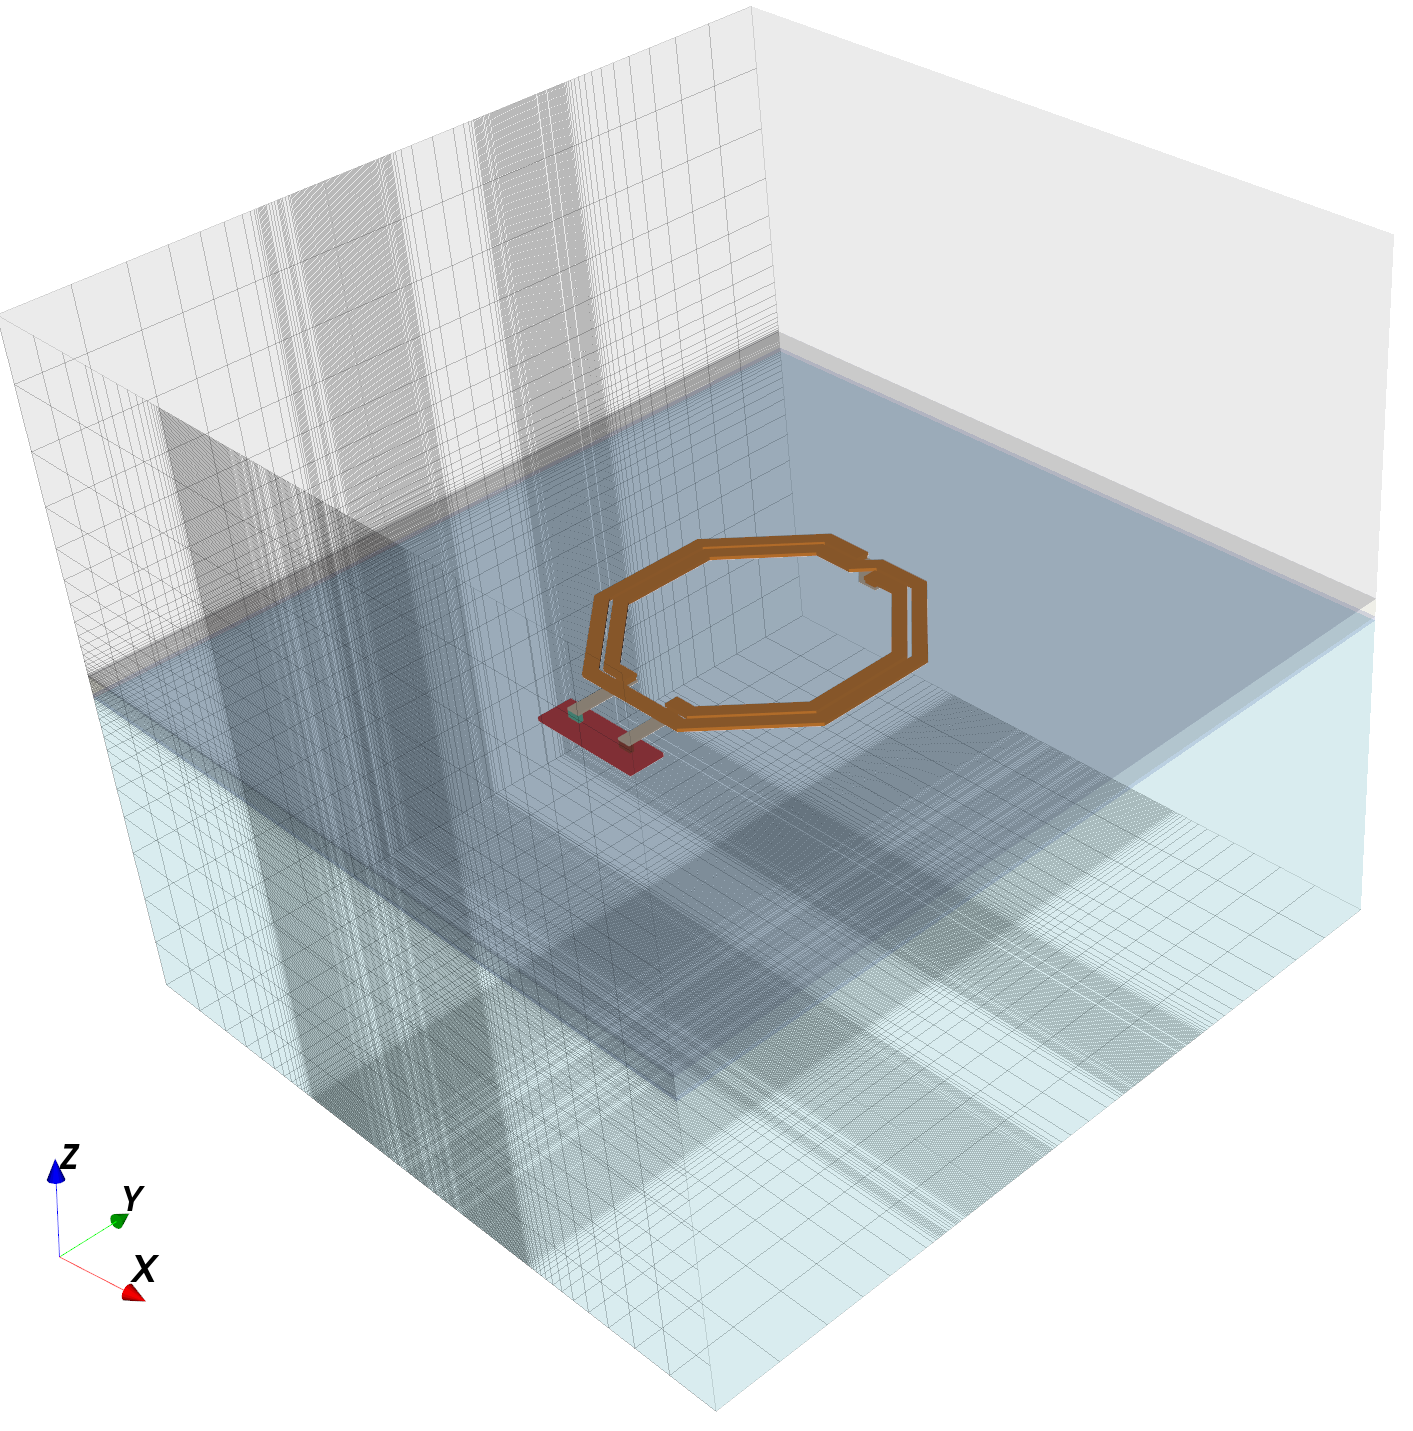
run_inductor_2port
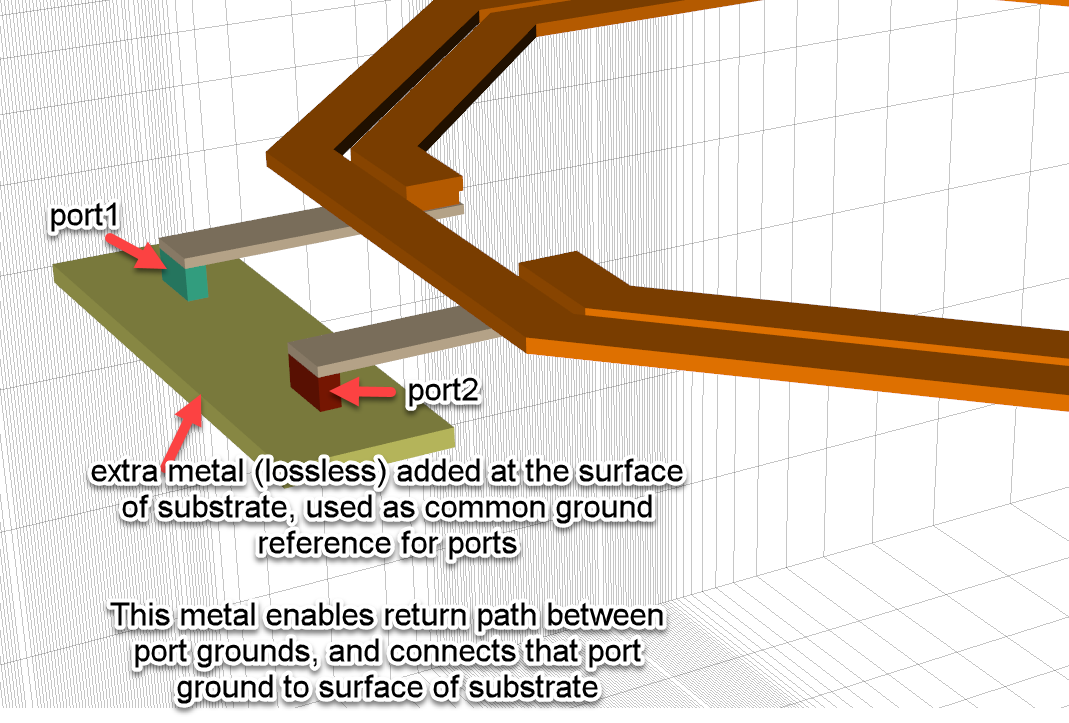
This is the 2-port simulation of the same inductor as mentioned above. Here, two via ports are created down to an artifical common ground reference placed at the surface of the silicon. This ground polygon was added manually in the GDSII file, just like the port polygons.
The resulting S-parameters can be used for simulation, but you can also extract a narrowband lumped element pi model using the pi-from-s2p tool.
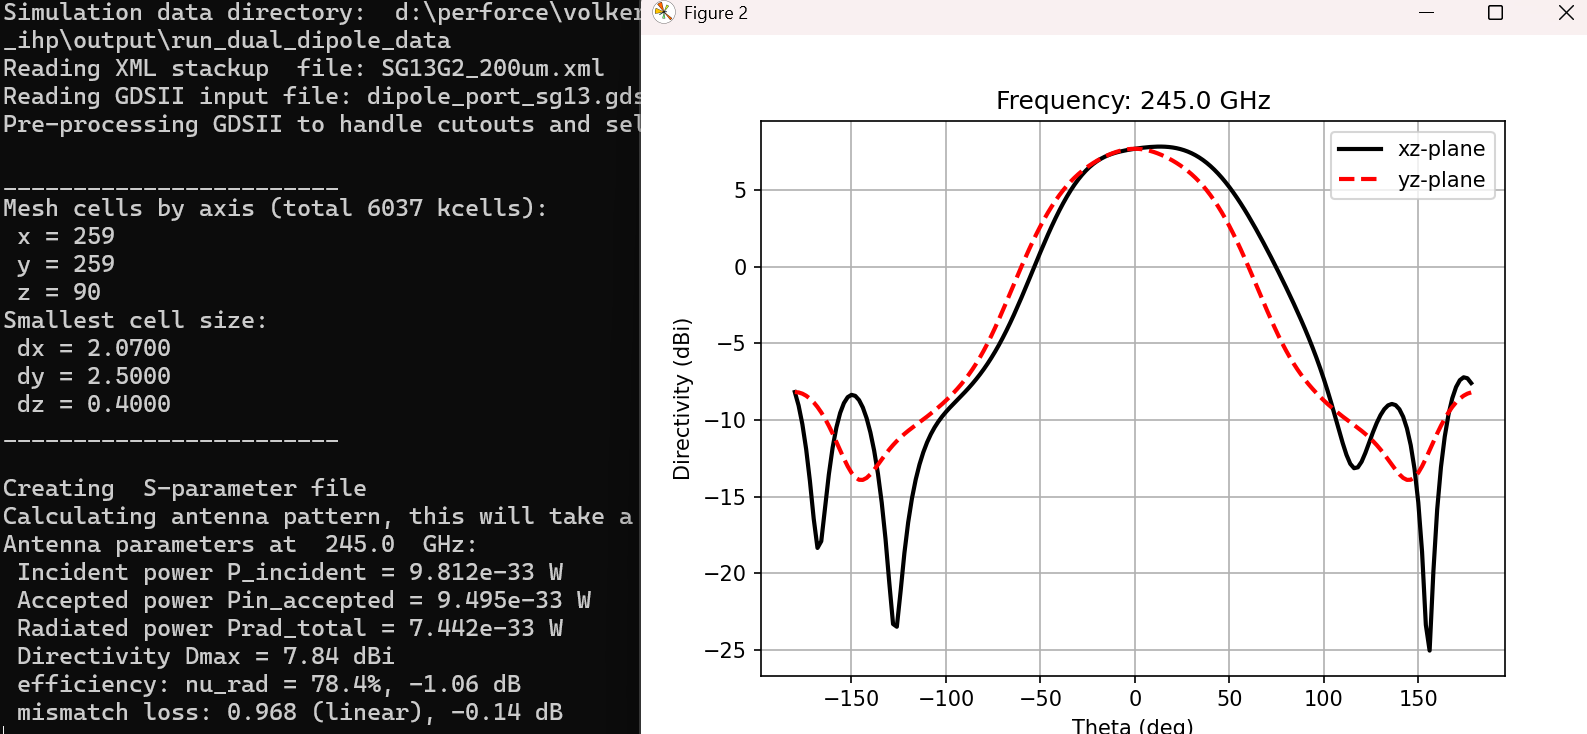
run_dual_dipole
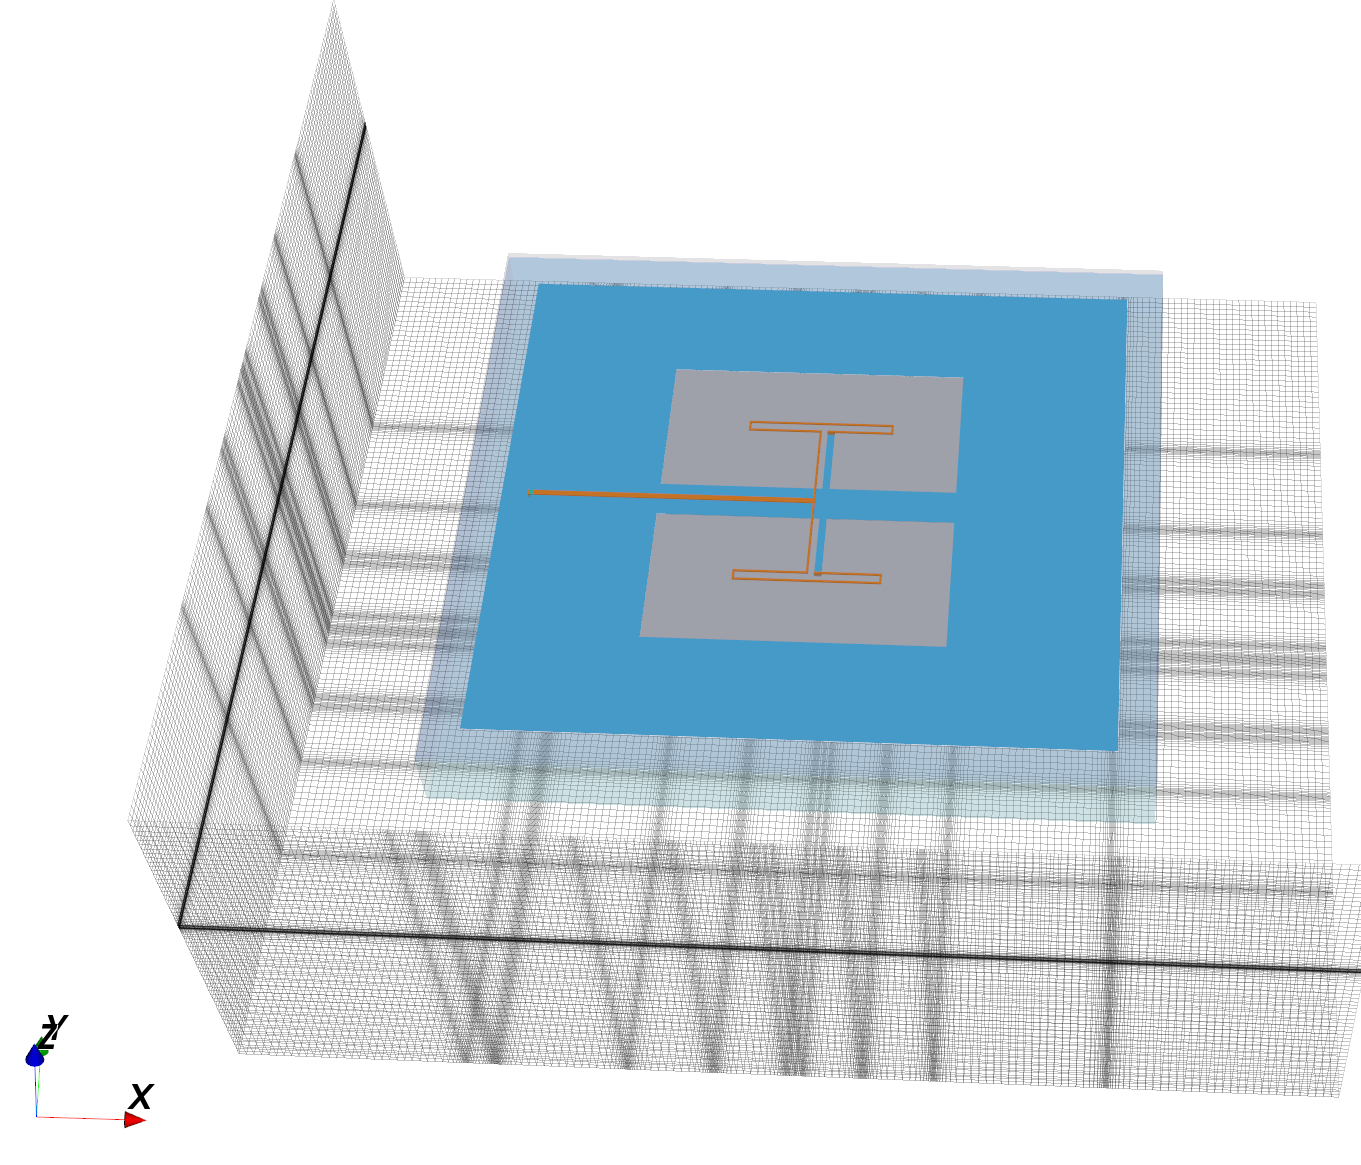
This is an example for antenna simulation, based on a design by IHP authors Klaus Schmalz et al: K. Schmalz, W. Ruoyu, J. Borngräber, W. Debski, W. Winkler , and C.Meliani, “245 GHz SiGe transmitter with integrated antenna and external PLL,” in IEEE IMS, 2013, pp. 1–3
An additional layer of air is added all around the drawn layout, and PML_8 absorbing boundaries are defined instead of the PEC metal box walls in most other models. To enable antenna pattern calculation, a NF2FF field sampling box is added to the model. The data evaluation code demonstrates various details of antenna pattern calculation as well as radiation efficiency etc.
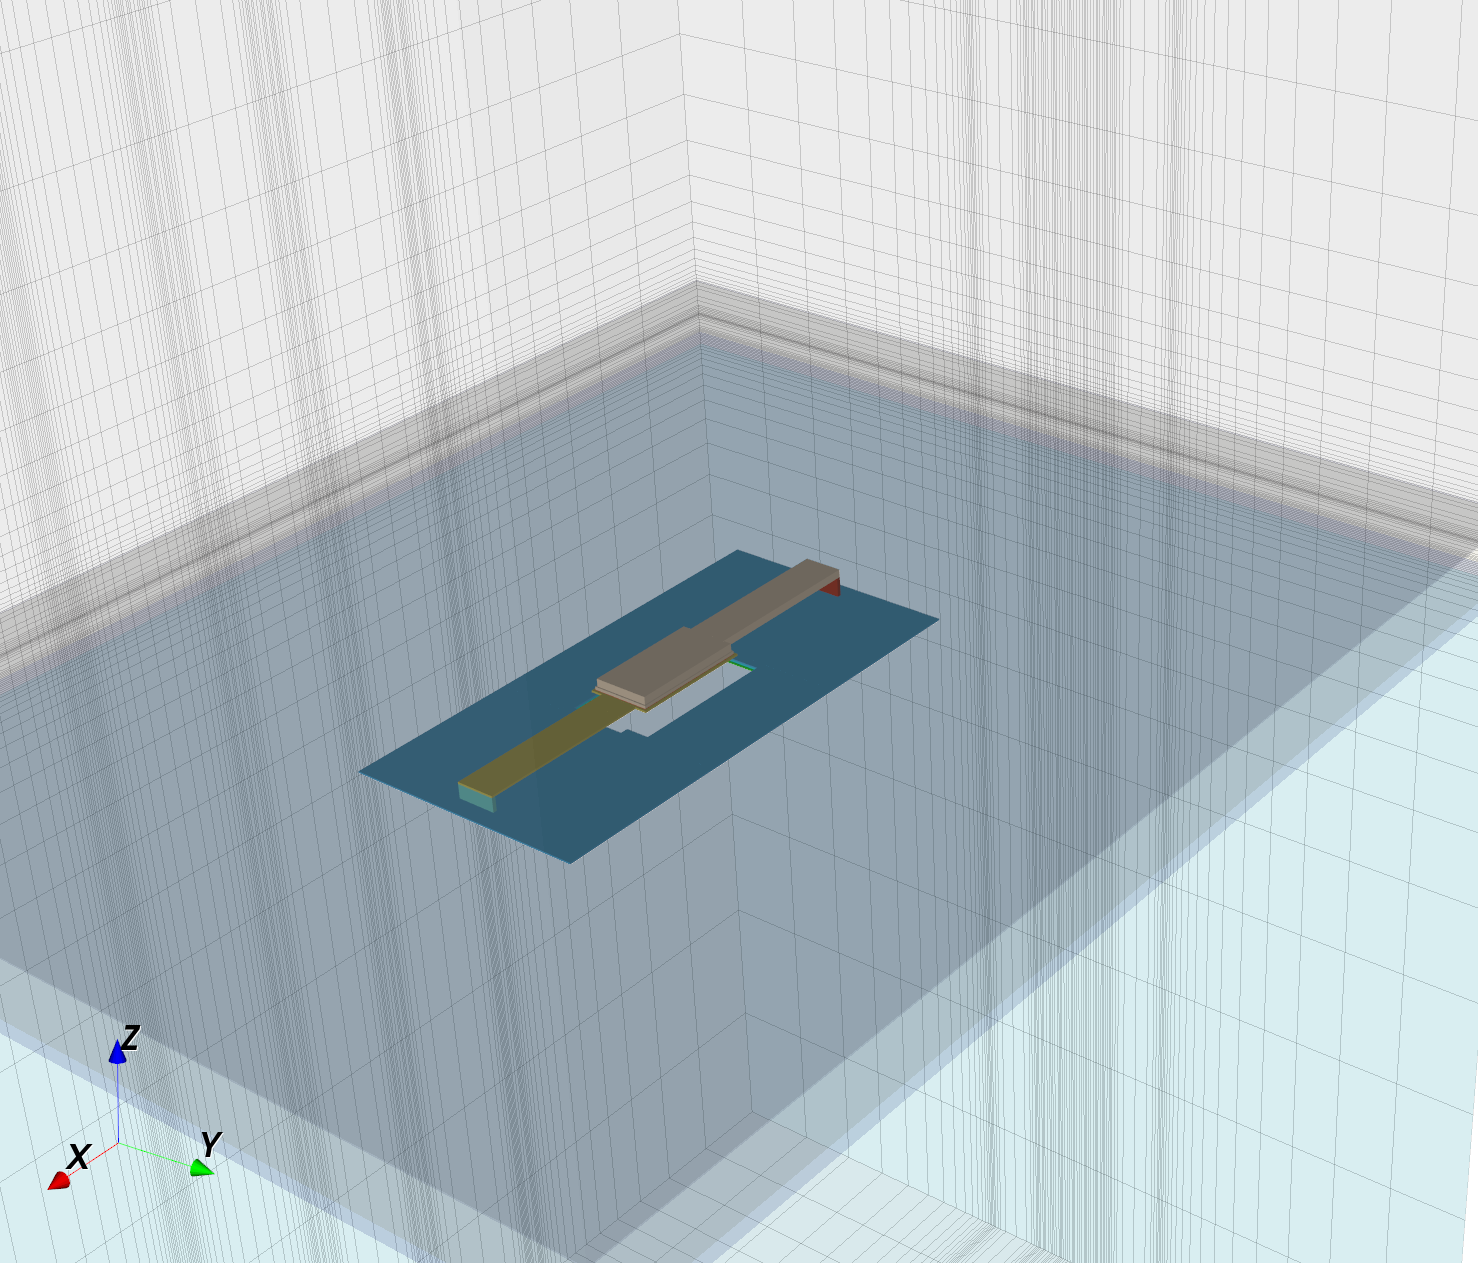
run_rfcmim_2port_full
This is an example for MIM capacitor modelling, demonstrating features like via array merging. The ultra thin MIM dielectric in the stackup is replaced by a thicker dielectric with larger permittivity, resulting in the same area capacitance. This is to prevent an ultra-small time step in simulation that would be required to resolve the ultra-thin MIM dielectric, slowing down simulation.
The resulting S-parameters can be used for simulation, but you can also extract a lumped element pi model using the mim-from-s2p tool.
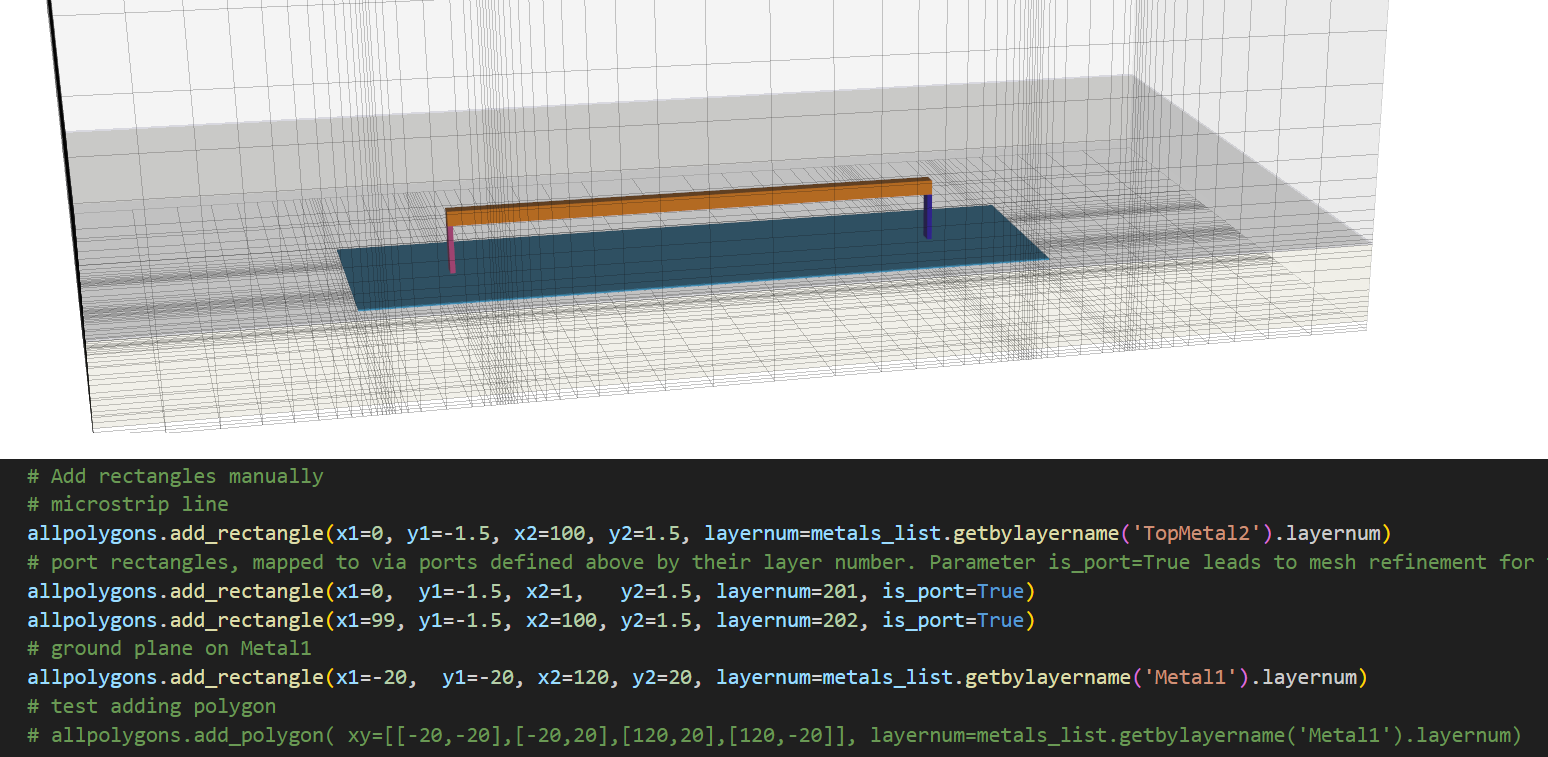
run_line_noGDSII
For all models listed above, polygons for layout and port shape are read from GDSII files. This model is different, it shows how rectangles and polygons can be added by code lines. This can be used in addition to GDSII layout, or instead of GDSII layout.
License
This project is licensed under the GNU General Public License v3.0 or later (GPL-3.0-or-later) - see LICENSE for the full text.
Note: the gds2openEMS PyPI package itself only requires:
- gdspy>1.6.0
- CSXCAD
- openEMS
- numpy
- shapely
- PySide6
(Other Python modules mentioned above are only needed to run the example/model scripts in this repository, not to use the installed package.)
1 maintainer

Release files for gds2openEMS 0.3.0
For a detailed explanation of source distributions (sdists) and built distributions (wheels), please see the package formats documentation.
Source distribution (sdist)
| File | Size | Uploaded | |
|---|---|---|---|
| gds2openems-0.3.0.tar.gz | 138.4 kB | Details |
Built distribution (wheel)
| File | Interpreter | ABI | Platform | Reset |
|---|---|---|---|---|
| gds2openems-0.3.0-py3-none-any.whl | Python 3 | none | any | Details |
Total release size: 283.6 kB
Release files / gds2openems-0.3.0.tar.gz
| Download URL | gds2openems-0.3.0.tar.gz |
|---|---|
| Size | 138.4 kB |
| Tags | Source |
|
SHA-256 checksum How to use checksums |
4b05c7ad472c0795ab47d9e110897af4a8faa7cc08327089bd373fe0caf1f779
|
|
BLAKE2b-256 checksum How to use checksums |
9c8c91abbccee62c9ba733d56e53c1fd69431beec6a02d9d7231250b06cc6da4
|
| Upload date | |
|
Uploaded using Trusted Publishing? What is trusted publishing? |
No |
| Uploaded via |
twine/7.0.0 CPython/3.13.14
|
Release files / gds2openems-0.3.0-py3-none-any.whl
| Download URL | gds2openems-0.3.0-py3-none-any.whl |
|---|---|
| Size | 145.2 kB |
| Tags | Python 3 |
|
SHA-256 checksum How to use checksums |
4ff512c0f4b11743331e522b069fb03a25437fb8435a7aa568f511bf441c61fb
|
|
BLAKE2b-256 checksum How to use checksums |
57c8784d3ae25c58c44ef2e6628ff1b3cc6b7c43cf5dea1a30eed10044eaf2d3
|
| Upload date | |
|
Uploaded using Trusted Publishing? What is trusted publishing? |
No |
| Uploaded via |
twine/7.0.0 CPython/3.13.14
|














