No project description provided

Project description


Collaborative Plugin for Lexical based on Loro CRDT
A real-time collaborative editing application for Lexical built with Loro CRDT, React, TypeScript, Vite with a Python WebSocket server using loro-py to maintain the Lexical JSON model sever-side
Features both simple text editing and rich text editing with Lexical. Multiple users can edit the same documents simultaneously with conflict-free collaborative editing powered by Conflict-free Replicated Data Types (CRDTs).
DISCLAIMER Collaborative Cursors still need fixes, see this issue.
NEW Now supports both Node.js and Python WebSocket servers!
Features
- 🔄 Real-time Collaboration: Multiple users can edit the same document simultaneously
- 🚀 Conflict-free: Uses Loro CRDT to automatically resolve conflicts
- 📝 Dual Editor Support: Choose between simple text area or rich text Lexical editor
- 🌐 Multi-server Support: Choose between Node.js and Python WebSocket servers
- ⚡ Fast Development: Built with Vite for lightning-fast development
- 🎨 Responsive Design: Works on desktop and mobile devices
- 📡 Connection Status: Visual indicators for connection state
- ✨ Rich Text Features: Bold, italic, underline with real-time formatting sync
- 🔧 Server Selection: Switch between Node.js and Python backends
Technology Stack
- Frontend: React 19 + TypeScript + Vite
- CRDT Library: Loro CRDT
- Rich Text Editor: Lexical (Facebook's extensible text editor)
- Backend Options:
- Node.js + TypeScript + ws library
- Python + loro-py + websockets library
- Real-time Communication: WebSockets (ws)
- Styling: CSS3 with responsive design
- Development Tools: ESLint, tsx, concurrently
Getting Started
Prerequisites
- Node.js (v16 or higher)
- npm or yarn
- Python 3.8+ (for Python server option)
- pip3 (for Python dependencies)
Installation
-
Install Node.js dependencies:
npm install -
Install Python dependencies (optional - for Python server):
pip3 install -r requirements.txt
# or run the setup script
./setup-python.sh
Running the Application
Option 1: All Servers (Recommended)
npm run dev:all
This starts both WebSocket servers (Node.js on port 8080 and Python on port 8081) plus the React development server (port 5173). You can then switch between servers using the UI.
Option 2: Python Server Only
npm run dev:all:py
This starts only the Python WebSocket server (port 8081) and React development server.
Option 3: Node.js Server Only
npm run dev:all:js
This starts only the Node.js WebSocket server (port 8080) and React development server.
Option 4: Run servers separately
All servers manually:
# Terminal 1: Start Node.js WebSocket server
npm run server

# Terminal 2: Start Python WebSocket server
npm run server:py

# Terminal 3: Start React development server
npm run dev
Node.js Server only:
# Terminal 1: Start Node.js WebSocket server
npm run server

# Terminal 2: Start React development server
npm run dev
Python Server only:
# Terminal 1: Start Python WebSocket server
npm run server:py
# or directly: python3 server.py

# Terminal 2: Start React development server
npm run dev
- In another terminal, start the React development server:
npm run dev
Usage
-
Open your browser and navigate to the development server URL (typically
http://localhost:5173) -
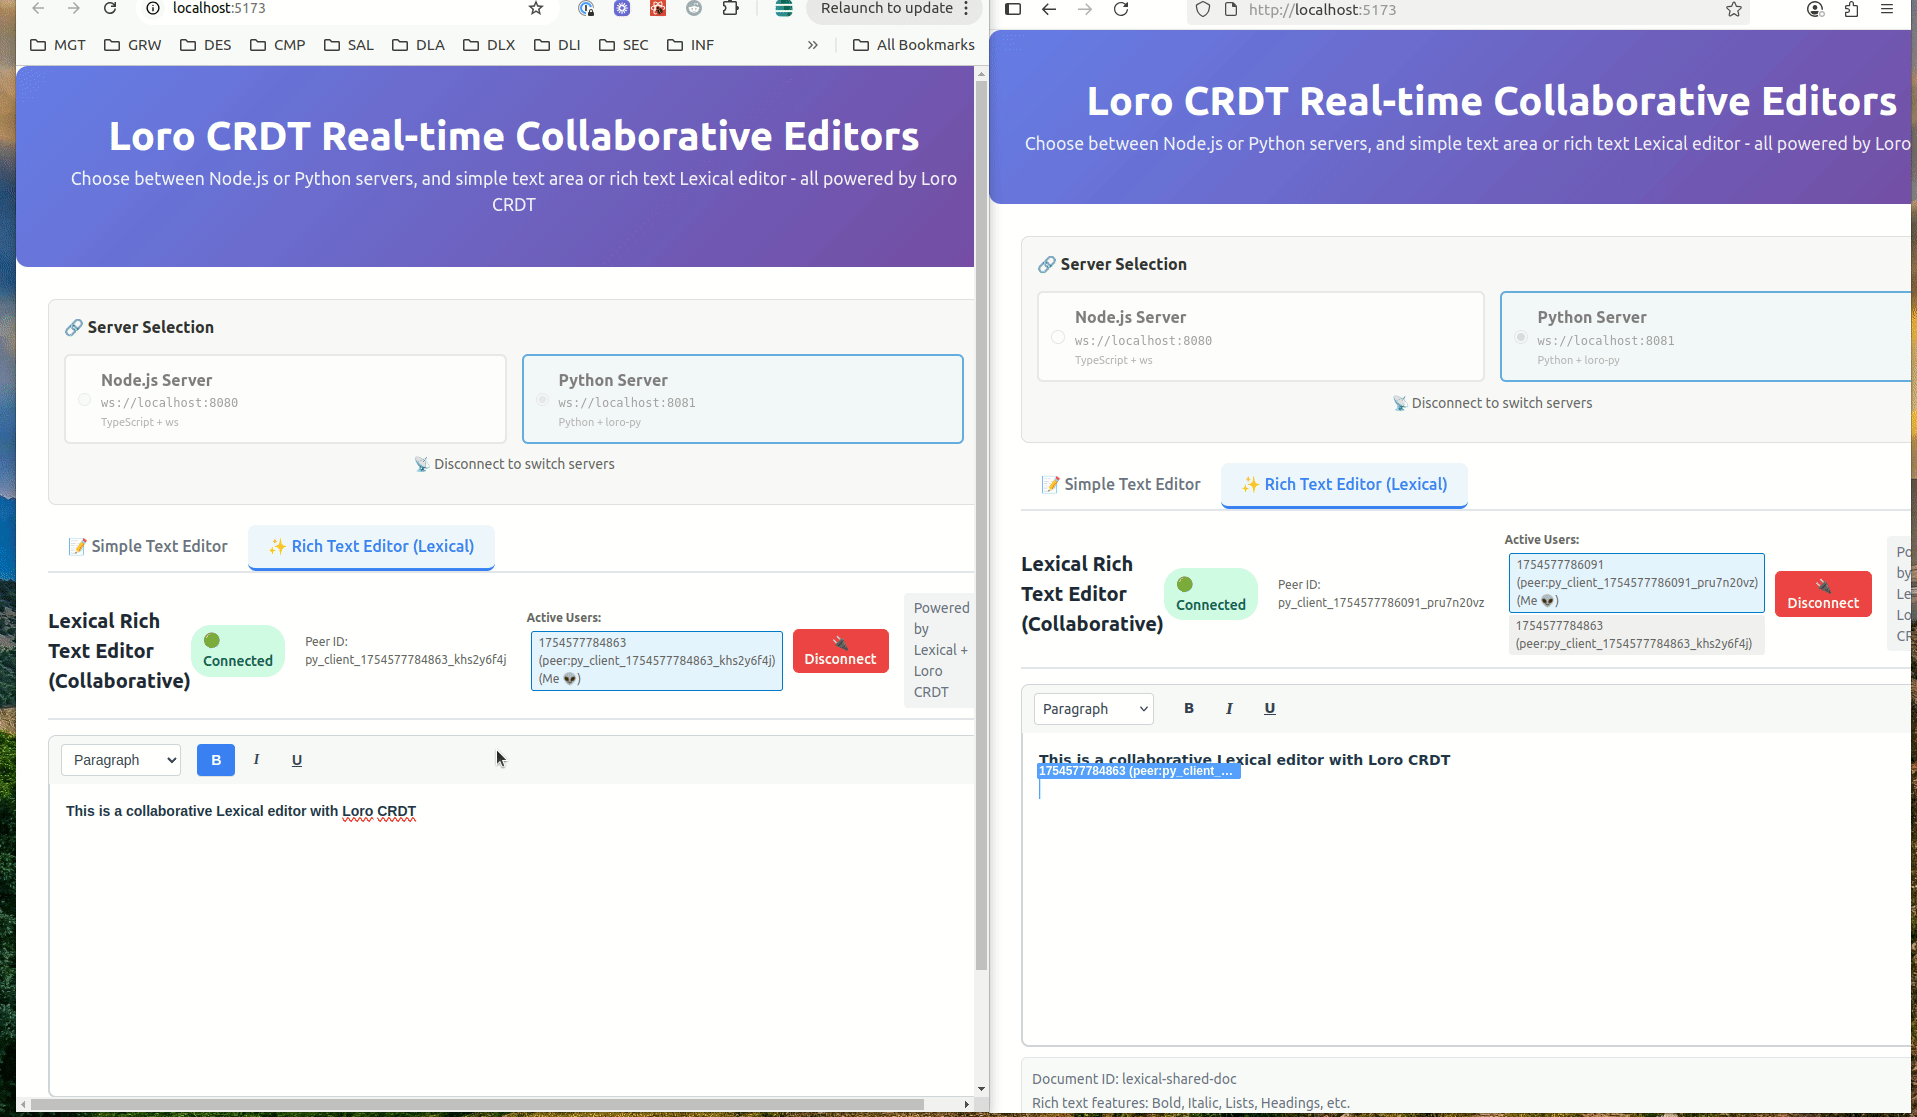
Select Server Type: Use the server selection radio buttons to choose:
- Node.js Server:
ws://localhost:8080(TypeScript implementation) - Python Server:
ws://localhost:8081(Python + loro-py implementation)
💡 Tip: When using
npm run dev:all, both servers are running simultaneously, so you can switch between them in real-time! - Node.js Server:
-
Choose Editor Type: Click the tabs to select:
- Simple Text Editor: A basic textarea for plain text collaboration
- Rich Text Editor (Lexical): A full-featured rich text editor with Bold/Italic/Underline formatting
-
Start typing in either editor
-
Open another browser window/tab or share the URL with others
-
All users will see real-time updates as they type in the same editor type
-
Each editor maintains its own document state (they are separate collaborative spaces)
Note: You must disconnect from the current server before switching to a different server type.
Testing Collaboration
To test the real-time collaboration:
- Open multiple browser tabs/windows to the development server URL
- Select the same server in all tabs (Node.js or Python)
- Test Simple Text Editor:
- Keep all tabs on the "Simple Text Editor" tab
- Start typing in one window - you'll see the changes appear in other windows instantly
- Test Lexical Rich Text Editor:
- Switch all tabs to the "Rich Text Editor (Lexical)" tab
- Try formatting text with the toolbar buttons (Bold, Italic, Underline)
- Changes and formatting will sync in real-time across all tabs
- Test Cross-Server Compatibility:
- Verify that documents are properly synchronized between Node.js and Python servers
- Each server maintains its own document state
- Test Independent Documents:
- Have some tabs on "Simple Text Editor" and others on "Lexical Editor"
- Notice that each editor type maintains its own separate document
- New collaborators will automatically receive the current document content when they join
Note: The application now properly synchronizes initial content:
- When a new collaborator joins, they automatically receive the current document state for both editors
- If no snapshot is available on the server, existing clients will provide their current state
- The first client to join with content will automatically share their document state
- Each editor type (simple text vs Lexical) maintains separate collaborative documents
Project Structure
src/
├── App.tsx                         # Main application component with tabbed interface
├── App.css                         # Application styles
├── CollaborativeEditor.tsx         # Simple text editor component with Loro CRDT integration
├── CollaborativeEditor.css         # Simple editor styles
├── LexicalCollaborativeEditor.tsx  # Lexical rich text editor component
├── LexicalCollaborativeEditor.css  # Lexical editor styles
├── LoroCollaborativePlugin.tsx     # Lexical plugin for Loro CRDT integration
├── main.tsx                        # React application entry point
└── vite-env.d.ts                   # Vite type definitions

server.ts                           # WebSocket server for real-time communication
package.json                        # Dependencies and scripts
How It Works
Loro CRDT Integration
The application uses Loro CRDT to manage collaborative editing across two different editor types:
- Document Creation: Each editor type creates its own Loro document with a unique identifier:
- Simple Text Editor:
shared-text - Lexical Editor:
lexical-shared-doc
- Simple Text Editor:
- Local Changes: When a user types, changes are applied to the corresponding local Loro document
- Change Detection: The application detects insertions, deletions, and replacements
- Synchronization: Changes are serialized and sent to other clients via WebSocket with document ID
- Conflict Resolution: Loro CRDT automatically merges changes without conflicts
The Complete Flow Diagram
Remote User Types ↓ WebSocket Message ↓ loro-update received ↓ loroDocRef.current.import(update) ↓ doc.subscribe() callback fires ↓ updateLexicalFromLoro(editor, newText) ↓ editor.update() with new content ↓ Lexical State Updated ↓ UI Re-renders with New Content
Protection Against Infinite Loops
The system uses several mechanisms to prevent loops:
isLocalChange.current flag - Prevents local changes from triggering remote updates { tag: 'collaboration' } on editor.update() - Allows the update listener to ignore these changes JSON comparison in updateLexicalFromLoro to avoid redundant updates
When a Loro update is received, the Lexical state is updated through:
WebSocket receives loro-update message
loroDocRef.current.import(update) applies the change to Loro doc.subscribe() callback automatically fires updateLexicalFromLoro() converts Loro text to Lexical state editor.setEditorState() or DOM manipulation updates the editor
The bridge is the doc.subscribe() callback on line 1901 - this is what makes Lexical automatically reflect any Loro document changes!
Lexical Integration
The Lexical editor integration includes:
- LoroCollaborativePlugin: A custom Lexical plugin that bridges Lexical and Loro CRDT
- Bidirectional Sync: Changes flow from Lexical → Loro → WebSocket and vice versa
- Rich Text Preservation: The plugin maintains rich text formatting during collaborative editing
- Independent State: Lexical editor maintains separate document state from simple text editor
WebSocket Communication
The WebSocket server:
- Maintains connections to all clients
- Broadcasts Loro document updates to all connected clients with document ID filtering
- Handles client connections and disconnections
- Provides connection status feedback
- Stores separate snapshots for each document type
Real-time Updates
- User types in the text area
- Change is applied to local Loro document
- Document update is serialized and sent via WebSocket
- Other clients receive the update and apply it to their documents
- UI is updated to reflect the changes
Initial Content Synchronization
When a new collaborator joins:
- Connection: New client connects to WebSocket server
- Welcome: Server sends welcome message to new client
- Snapshot Request: New client requests current document state
- Snapshot Delivery: Server sends stored snapshot or requests one from existing clients
- Content Sync: New client applies snapshot and sees current document content
- Ready to Collaborate: New client can now participate in real-time editing
The server maintains the latest document snapshot to ensure new collaborators always see existing content.
Configuration
WebSocket Server URL
You can configure the WebSocket server URL in the UI or by modifying the default in CollaborativeEditor.tsx:
const [websocketUrl, setWebsocketUrl] = useState('ws://localhost:8080')
Server Port
To change the server port, modify server.ts:
const server = new LoroWebSocketServer(8080); // Change port here
Development Scripts
npm run dev- Start React development servernpm run server- Start WebSocket servernpm run dev:all- Start both server and clientnpm run build- Build for productionnpm run lint- Run ESLintnpm run preview- Preview production build
Production Deployment
-
Build the application:
npm run build
-
Deploy the
distfolder to your web server -
Deploy the WebSocket server to your backend infrastructure
-
Update the WebSocket URL in the application to point to your production server
Contributing
- Fork the repository
- Create a feature branch
- Make your changes
- Add tests if applicable
- Submit a pull request
License
This project is open source and available under the MIT License.
Acknowledgments
- Loro CRDT - The CRDT library powering collaborative editing
- Vite - Fast development build tool
- React - UI library
- WebSocket
Lexical Loro Python Package
A Python package for Lexical + Loro CRDT integration, providing a WebSocket server for real-time collaborative text editing.
Features
- Real-time collaboration: WebSocket server for live document collaboration
- Loro CRDT integration: Uses Loro CRDT for conflict-free replicated data types
- Lexical compatibility: Designed to work with Lexical rich text editor
- Ephemeral data support: Handles cursor positions and selections
- Multiple document support: Manages multiple collaborative documents
Installation
From PyPI (when published)
pip install lexical-loro
Local Development
# Install in development mode
pip install -e "python_src/[dev]"
Usage
Command Line
Start the server using the command line interface:
# Start server on default port (8081)
lexical-loro-server

# Start server on custom port
lexical-loro-server --port 8082

# Start with debug logging
lexical-loro-server --log-level DEBUG
Programmatic Usage
import asyncio
from lexical_loro import LoroWebSocketServer

async def main():
    server = LoroWebSocketServer(port=8081)
    await server.start()

if __name__ == "__main__":
    asyncio.run(main())
Integration with Node.js/TypeScript Projects
Update your package.json scripts:
{
  "scripts": {
    "server:py": "lexical-loro-server",
    "dev:py": "concurrently \"lexical-loro-server\" \"npm run dev\""
  }
}
API Reference
LoroWebSocketServer
Main server class for handling WebSocket connections and Loro document management.
Constructor
server = LoroWebSocketServer(port=8081)
Methods
start(): Start the WebSocket servershutdown(): Gracefully shutdown the serverhandle_client(websocket): Handle new client connectionshandle_message(client_id, message): Process messages from clients
Client
Represents a connected client with metadata.
class Client:
    def __init__(self, websocket, client_id):
        self.websocket = websocket
        self.id = client_id
        self.color = self._generate_color()
Development
Setup Development Environment
# Install development dependencies
pip install -e "python_src/[dev]"

# Run tests
pytest

# Run tests with coverage
pytest --cov=lexical_loro --cov-report=html

# Format code
black python_src/

# Lint code
ruff python_src/

# Type checking
mypy python_src/
Testing
The package includes comprehensive tests for:
- WebSocket connection handling
- Loro document operations
- Message processing
- Client management
- Error handling
Run tests:
pytest tests/ -v
Building
Build the package:
pip install build
python -m build
Protocol
The server communicates with clients using a JSON-based WebSocket protocol:
Message Types
loro-update: Apply Loro CRDT updatessnapshot: Full document snapshotsrequest-snapshot: Request current document stateephemeral-update: Cursor and selection updatesawareness-update: User presence information
Example Messages
{
  "type": "loro-update",
  "docId": "lexical-shared-doc",
  "updateHex": "deadbeef..."
}
Configuration
Environment Variables
LEXICAL_LORO_PORT: Default server port (default: 8081)LEXICAL_LORO_HOST: Host to bind to (default: localhost)LEXICAL_LORO_LOG_LEVEL: Logging level (default: INFO)
Supported Documents
The server pre-initializes several document types:
shared-text: Basic text documentlexical-shared-doc-v0: Minimal plugin documentlexical-shared-doc-v1: Full-featured plugin documentlexical-shared-doc-v2: Clean JSON plugin documentlexical-shared-doc-v3: Text-only plugin documentlexical-shared-doc-v4: Smart hybrid plugin document
License
MIT License - see LICENSE file for details.
Contributing
- Fork the repository
- Create a feature branch
- Make your changes
- Add tests
- Run the test suite
- Submit a pull request
Support
For issues and questions:
- GitHub Issues: https://github.com/datalayer/lexical-loro/issues
- Documentation: https://github.com/datalayer/lexical-loro#readme
Release history Release notifications | RSS feed


Download files
Download the file for your platform. If you're not sure which to choose, learn more about installing packages.
Source Distributions
Built Distribution
Filter files by name, interpreter, ABI, and platform.
If you're not sure about the file name format, learn more about wheel file names.
Copy a direct link to the current filters
File details
Details for the file lexical_loro-0.0.1-py3-none-any.whl.
File metadata
- Download URL: lexical_loro-0.0.1-py3-none-any.whl
- Upload date:
- Size: 25.1 kB
- Tags: Python 3
- Uploaded using Trusted Publishing? No
- Uploaded via: twine/6.1.0 CPython/3.11.12
File hashes
| Algorithm | Hash digest | |
|---|---|---|
| SHA256 |
ee7a3b37073728d296e6ee5aaa22292d3cd5005bfc245f09c1fab23afb0373fc
|
|
| MD5 |
90880ff78501423f0002a9efbb692e93
|
|
| BLAKE2b-256 |
3fd8a8a799ce1bf44722a336f69869a71365bc3b0ede4074fd0b6ac3c497aa22
|


