






• License • Source code • Donate • Issues •
with «make tunnel» you can easily open http and tcp ports to the internet.
Installation
Install the package from the PyPi:
pip install mtunn
Install the package from the GitHub:
git clone https://github.com/mishakorzik/mtunn
cd mtunn
python3 setup.py install
Want to learn more about the tunnel update? Then check out the details here
Config example's
In order to start the tunnel, you need to log in to your account and create a configuration file.
proto: tcp                # protocol type               (https/http/tcp)
target: 127.0.0.1:25565   # target host
tunnel: 10000             # port that will be opened
domain: none              # domain to your tunnel
console: true             # for tunnel control          (true/false)
firewall:
  whitelist: ["UA", "PL"] # whitelist                   (country/asn/ip)
  blacklist: ["AS12345"]  # blacklist                   (country/asn/ip)
  services:
    vpn: allow            # vpn                         (allow/deny)
    tor: deny             # tor                         (allow/deny)
  protection:
    level: 3              # anti ddos protection level  (0-5)
network:
  lowdelay: true          # disable nagle's algorithm   (true/false)
  bandwidth: nolimit      # limit bandwidth             (ex. 512 KB, 2 MB)
  data:
    compression: false    # use traffic compression     (true/false)
    algorithm: zlib       # set compression algorithm   (zlib/gzip)
  socket:
    buffer: 256 KB        # change socket buffer        (min 256 KB, max 2 MB)
ping:
  method: icmp            # ping method                 (icmp/tcp)
frequently asked questions
1) What to do if I don't have a domain?
- No need to worry, you can run tunnel without a domain just by specifying “none” in the “domain” field.
2) if I have a domain, how do i connect it?
-
Using a domain is quite simple, you just need to specify your domain in the "domain" field and specify the A and AAAA record in the ip address of the tunnel.
-
Please note that if the tunnel does not have IPv6, you do not need to specify an AAAA record for the tunnel's IP address.
3) What ping method is the best?
- Both options are best, we added the tcp method so that you can know the delay point without the ping command. If you are not sure about choosing icmp or tcp, you can simply not specify, the tunnel will choose automatically.
4) What is nagle's algorithm?
- This is a method of optimizing network connections that reduces the number of small packets transmitted over the network. However, it also increases transmission latency. If low latency is important to you, don't use this algorithm.
If you have the correct configuration, you will be able to start the tunnel and everything will work.
Tunnel commands
Instead of the name of the example.yml file, you can write your configuration name, but it must have the extension “.yml”.
# show tunnel help menu
python3 -m mtunn --help

# register or login to account
python3 -m mtunn --account

# use console to control tunnel (if enabled on config)
python3 -m mtunn --console

# open a port to internet with config file
python3 -m mtunn --config example.yml

# open a port to internet and enable debug
python3 -m mtunn --debug --config example.yml

# fast open port to internet without config (default buffer size 256 KB)
# Specify your ports instead of the ones provided, and choose the protocol — TCP, HTTPS, HTTP.
python3 -m mtunn --fastrun "from:8080 to:10000 proto:http"

# change system buffer size (in bytes)
# don't change this value just like that!
python3 -m mtunn --bufsize 393216
If you need a faster tunnel speed then just increase the buffer size. But if the buffer size is too large then the speed may be low.
When you register you can run tunnels but only on ports in the range from 10000 to 11000. You can change it in your quota settings.
Api example's
Scan all active tunnels on localhost (if enabled console)
>>> from mtunn import scan
>>> scan()
[{'remote': 'he1zen-de1.hopto.org:10000', 'local': '127.0.0.1:25565', 'console': 7010}]
>>>
Execute commands on active tunnel (if enabled console)
>>> from mtunn import console
>>> s = console(7010)
>>> s.execute("latency")
{"status": "success", "address": "185.14.92.125", "method": "icmp", "time": "27.1ms"}
>>>
All api arguments and usage
>>> from mtunn import console
>>> s = console(port)
>>> s.execute(command, args1=None, args2=None, args3=None)
-
All commands that are in the console are also in the API and they are the same.
-
To execute the command you only need to know the port from the console. you can find it by scanning all consoles.
-
Also, the console is only available on the local network (127.0.0.1), you won't be able to launch it remotely.
Screenshots
Here are examples of how to run and how the tunnel will work.
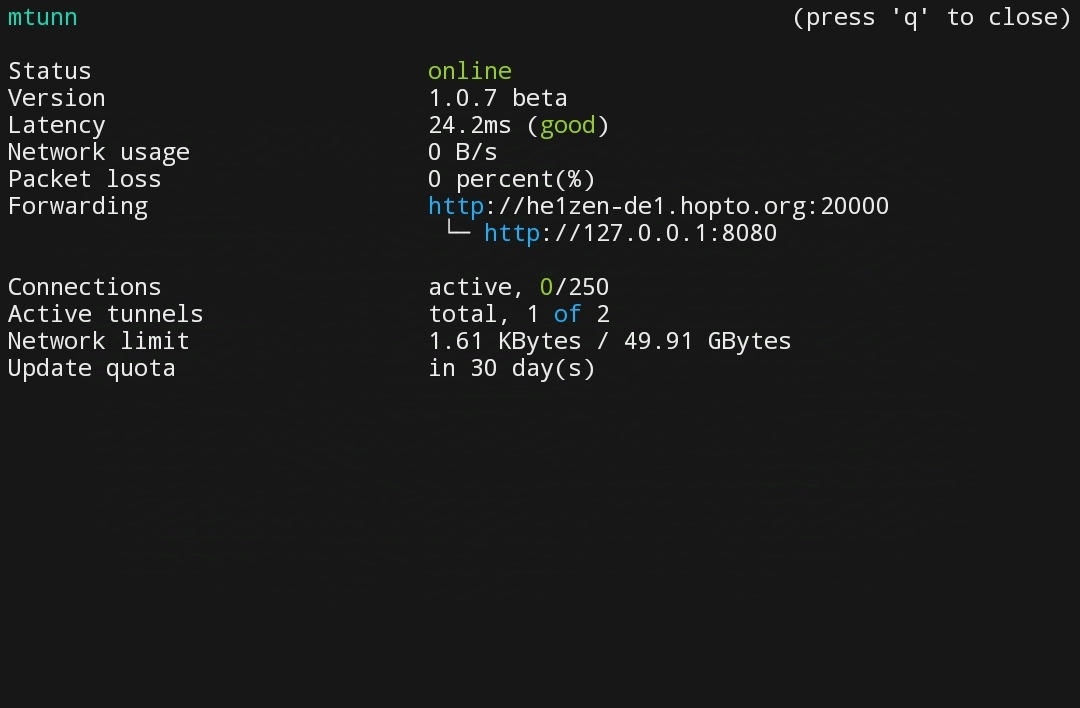
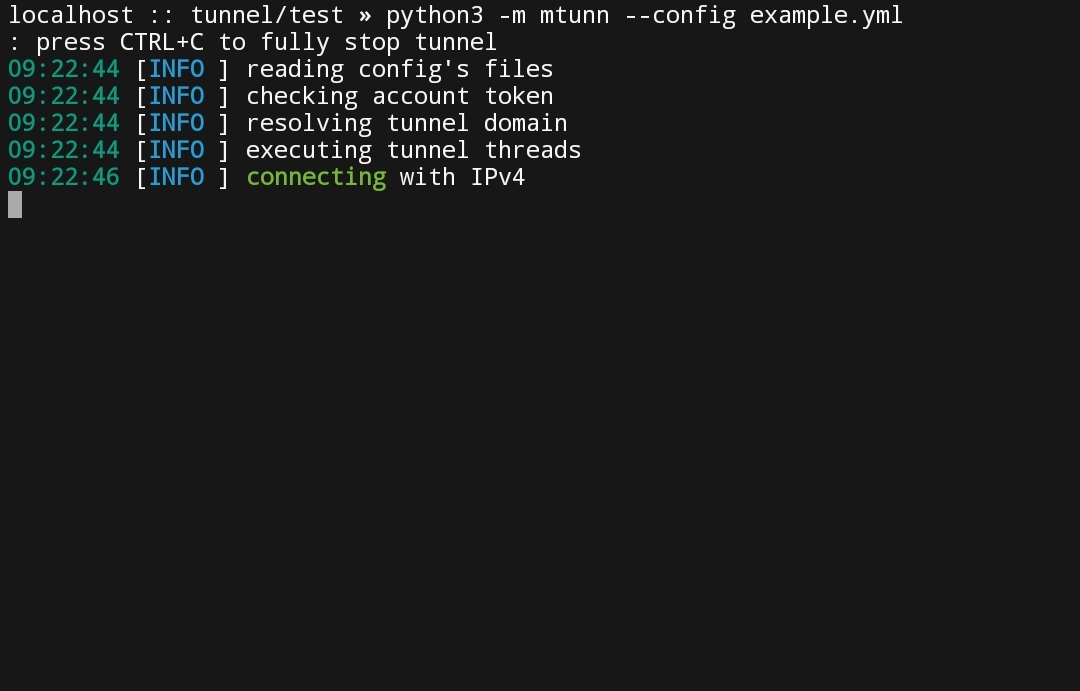
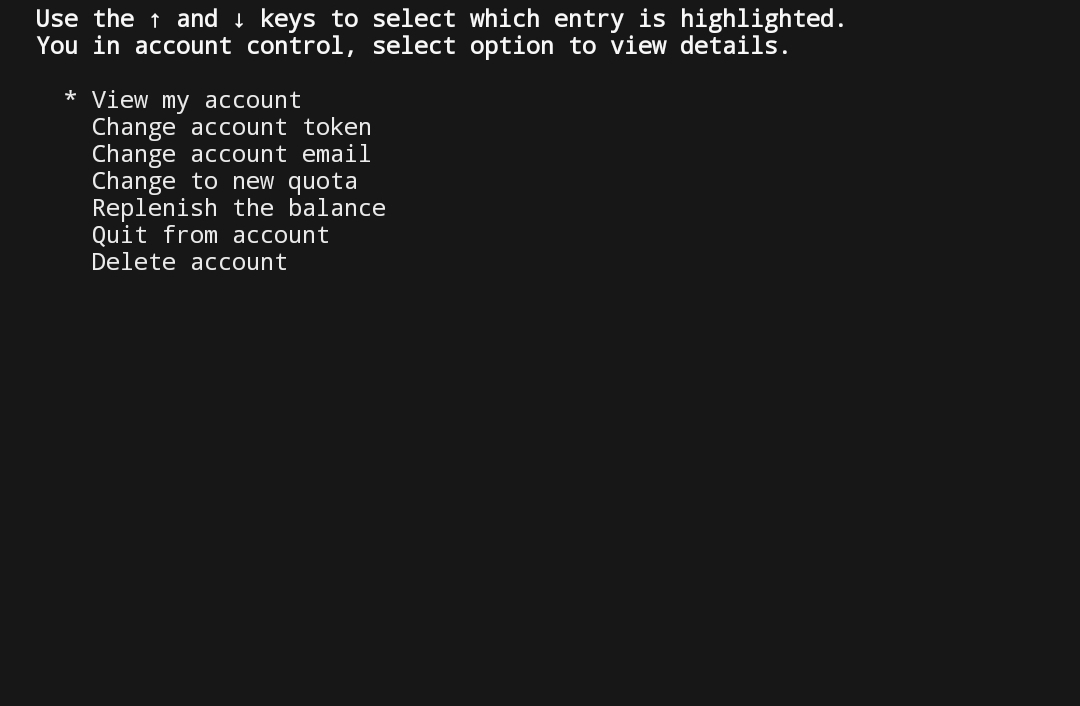
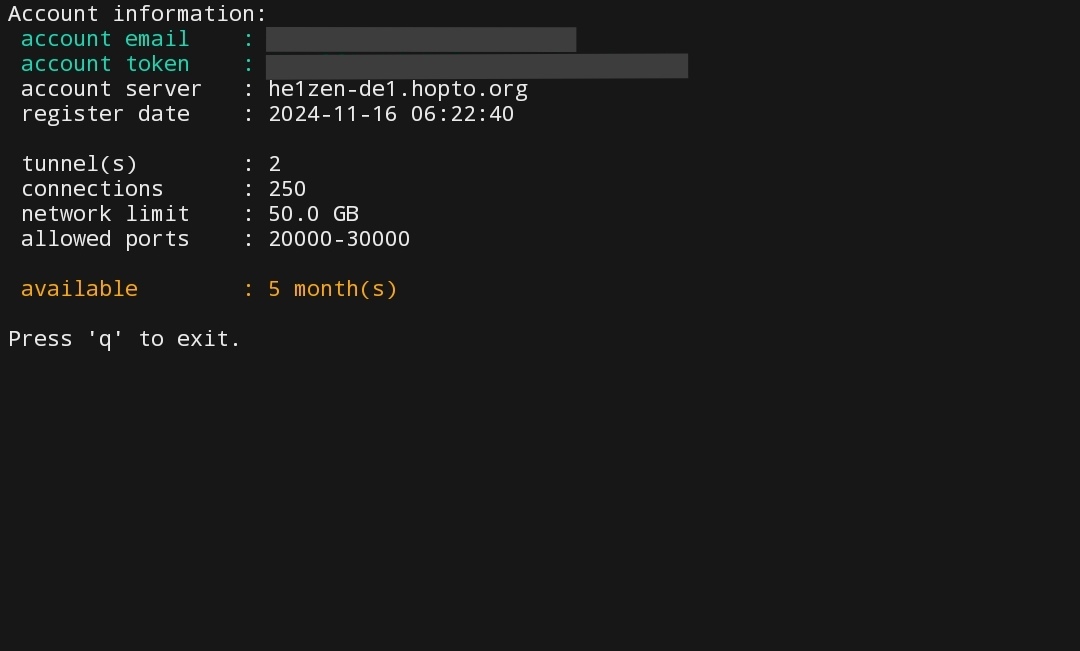
In order to open ports through the tunnel you need to create a configuration file.
Other


If you find a bug or have any questions about this project, write to us on discord.
1 maintainer

Metadata
1 maintainer
Release files for mtunn 1.3.2
For a detailed explanation of source distributions (sdists) and built distributions (wheels), please see the package formats documentation.
Source distribution (sdist)
| File | Size | Uploaded | |
|---|---|---|---|
| mtunn-1.3.2.tar.gz | 35.5 kB | Details |
Release files / mtunn-1.3.2.tar.gz
| Download URL | mtunn-1.3.2.tar.gz |
|---|---|
| Size | 35.5 kB |
| Tags | Source |
|
SHA-256 checksum How to use checksums |
55532c6cb18d67093c739da7f1f56da304ebfca358679d504e64ec9de11d082a
|
|
BLAKE2b-256 checksum How to use checksums |
171cde0a18263d5845e663b66afbd751959dc0d8593e0cc999568b5c0ea0f3cb
|
| Upload date | |
|
Uploaded using Trusted Publishing? What is trusted publishing? |
No |
| Uploaded via |
twine/6.0.1 CPython/3.12.9
|














