Picterra API client


Project description
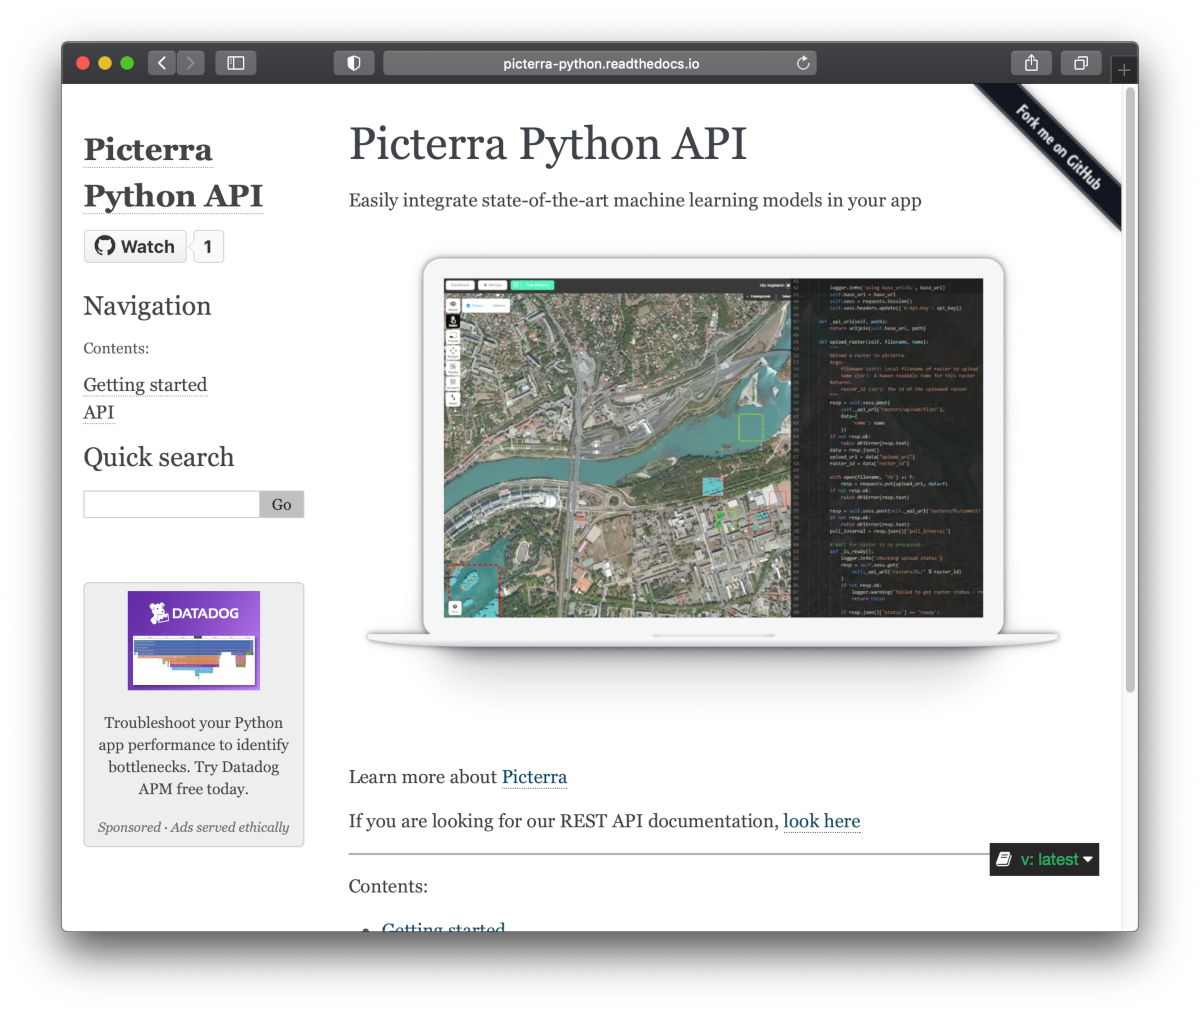
Picterra Python API Client


Easily integrate state-of-the-art machine learning models in your app
from picterra import APIClient

# Replace this with the id of one of your detectors
detector_id = 'd552605b-6972-4a68-8d51-91e6cb531c24'

# Set the PICTERRA_API_KEY environment variable to define your API key
client = APIClient()
print('Uploading raster...')
raster_id = client.upload_raster('data/raster1.tif', name='a nice raster')
print('Upload finished, starting detector...')
result_id = client.run_detector(detector_id, raster_id)
client.download_result_to_feature_collection(result_id, 'result.geojson')
print('Detection finished, results are in result.geojson')
Installation
pip install picterra
See the examples folder for examples.
API Reference and User Guide available on Read the Docs
Development
Setup
Make sure you have Python and pip in your OS and create a virtual environment in the root folder, eg
python3 -m venv .venv
source .venv/bin/activate
Running
pip install --editable '.[lint,test]'
would allow to run test and linting locally, and also avoid re-installing the library every time you change the code.
If you want to install from a given branch, simply do
pip uninstall picterra
pip install git+https://github.com/Picterra/picterra-python.git@<branch_name>
Running tests
In order to test locally, run:
pytest
Documentation
Run
cd docs
pip install -r requirements.txt
make html
to update the HTML documentation under _build/html.
Spawn an HTTP server in that folder to see how they would look like once deployed on Read the Docs.
Checkling linting
Run
scripts/lint.sh
Sphinx docs
Run
cd docs
python -m pip install -r requirements.txt
make html
and verify no errors are output
Release process
- Preparatory work:
- 1.1 Bump the version number in
setup.py - 1.2 Update CHANGELOG.md (no need for all commits, just main changes with a tag)
- 1.1 Bump the version number in
- Manually run the publish to testpypi workflow
- Check the publication result on testpypi
- Create a release through github
- 4.1. Make sure you create a new tag vX.Y.Z through the release UI
- 4.2. Click the "generate release notes" button in the UI to get release notes (you can even do it after the release is created by updating it)
- The 'publish to pypi' workflow should automatically run
- 5.1. Note this will not work if you create the release first as a draft - you have to create it immediately
- Updated package should be available on pypi
Release history Release notifications | RSS feed


Download files
Download the file for your platform. If you're not sure which to choose, learn more about installing packages.
Source Distribution
Built Distribution
Filter files by name, interpreter, ABI, and platform.
If you're not sure about the file name format, learn more about wheel file names.
Copy a direct link to the current filters
File details
Details for the file picterra-4.0.0.tar.gz.
File metadata
- Download URL: picterra-4.0.0.tar.gz
- Upload date:
- Size: 32.0 kB
- Tags: Source
- Uploaded using Trusted Publishing? No
- Uploaded via: twine/6.1.0 CPython/3.13.12
File hashes
| Algorithm | Hash digest | |
|---|---|---|
| SHA256 |
63f7cdd6f48a14a10ed82d32a2bb913b903103435c0b09d1c119d094d8f31384
|
|
| MD5 |
09987f3875c2c492831c20814bb87a7f
|
|
| BLAKE2b-256 |
46c40516d97f3b03136a256653462b12f80559ff435ea4e7df924edd9f5c0dc7
|
File details
Details for the file picterra-4.0.0-py3-none-any.whl.
File metadata
- Download URL: picterra-4.0.0-py3-none-any.whl
- Upload date:
- Size: 20.9 kB
- Tags: Python 3
- Uploaded using Trusted Publishing? No
- Uploaded via: twine/6.1.0 CPython/3.13.12
File hashes
| Algorithm | Hash digest | |
|---|---|---|
| SHA256 |
2fb2db71a1ab440511db86bdf95e4f780aac90b17811f27840743d7ff03ea2b8
|
|
| MD5 |
ec6875d1e6c401f7f59885ac15f42c95
|
|
| BLAKE2b-256 |
6f213dc6e4f3cc469dc83f59ca962414889888e3192b9168023e35266cd94379
|


