👾 Automated README file generator, powered by large language model APIs.

Project description


README-AI
Automated README file generator, powered by LLM APIs


Table of Contents
📍 Overview
Objective
Readme-ai is a developer tool that auto-generates README.md files using a combination of data extraction and generative ai. Simply provide a repository URL or local path to your codebase and a well-structured and detailed README file will be generated for you.
Motivation
Streamlines documentation creation and maintenance, enhancing developer productivity. This project aims to enable all skill levels, across all domains, to better understand, use, and contribute to open-source software.
[!IMPORTANT]
Readme-ai is currently under development with an opinionated configuration and setup. It is vital to review all generated text from the LLM API to ensure it accurately represents your project.
🤖 Demo
Standard CLI usage, providing a repository URL to generate a README file.
Generate a README file without making API calls using the --api offline CLI option.
[!TIP]
Offline mode is useful for generating a boilerplate README at no cost. View the offline README.md example here!
🔮 Features
Built with flexibility in mind, readme-ai allows users to customize various aspects of the README using CLI options. Content is generated using a combination of data extraction and making a few calls to LLM APIs.
Currently, four sections of the README file are generated using LLMs:
i. Header: Project slogan that describes the repository in an engaging way.
ii. Overview: Provides an intro to the project's core use-case and value proposition.
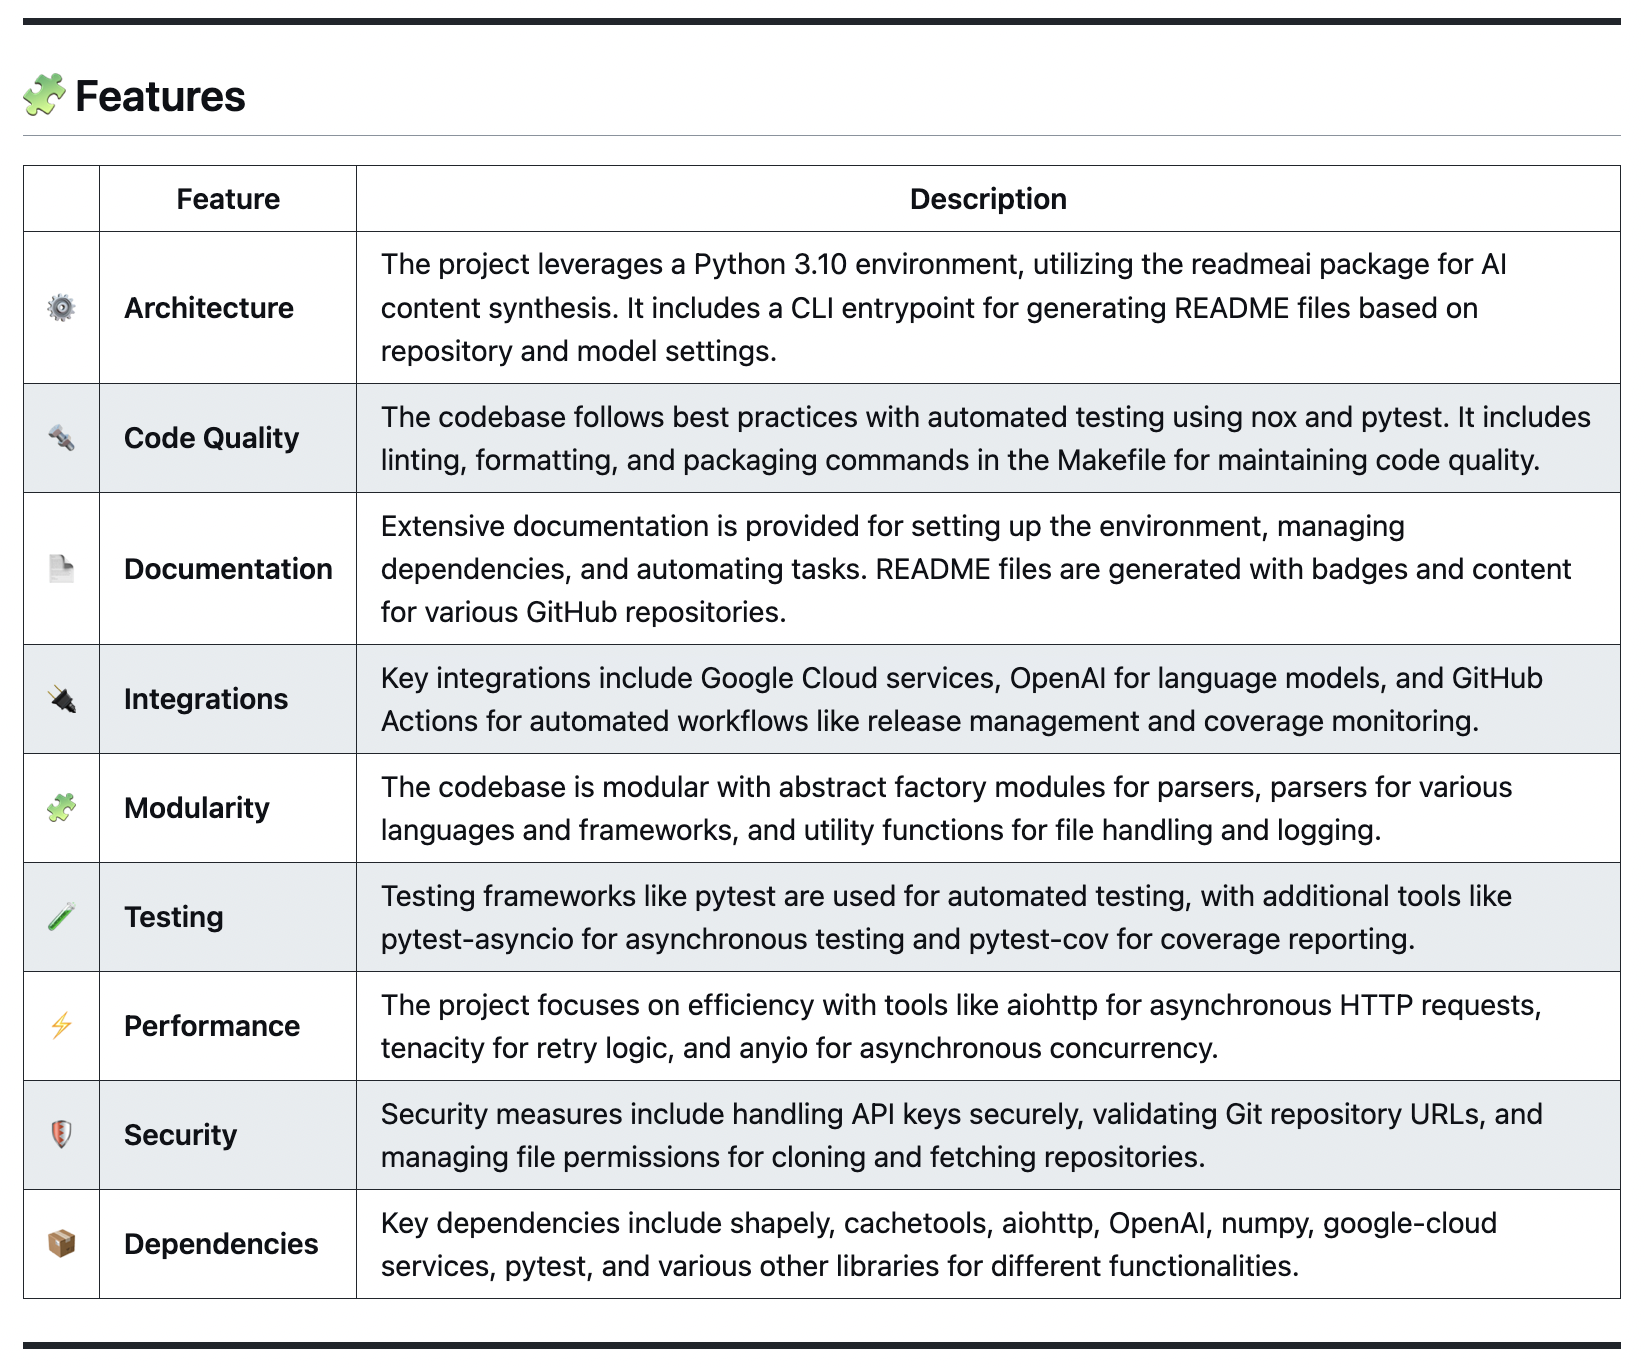
iii. Features: Markdown table containing details about the project's technical components.
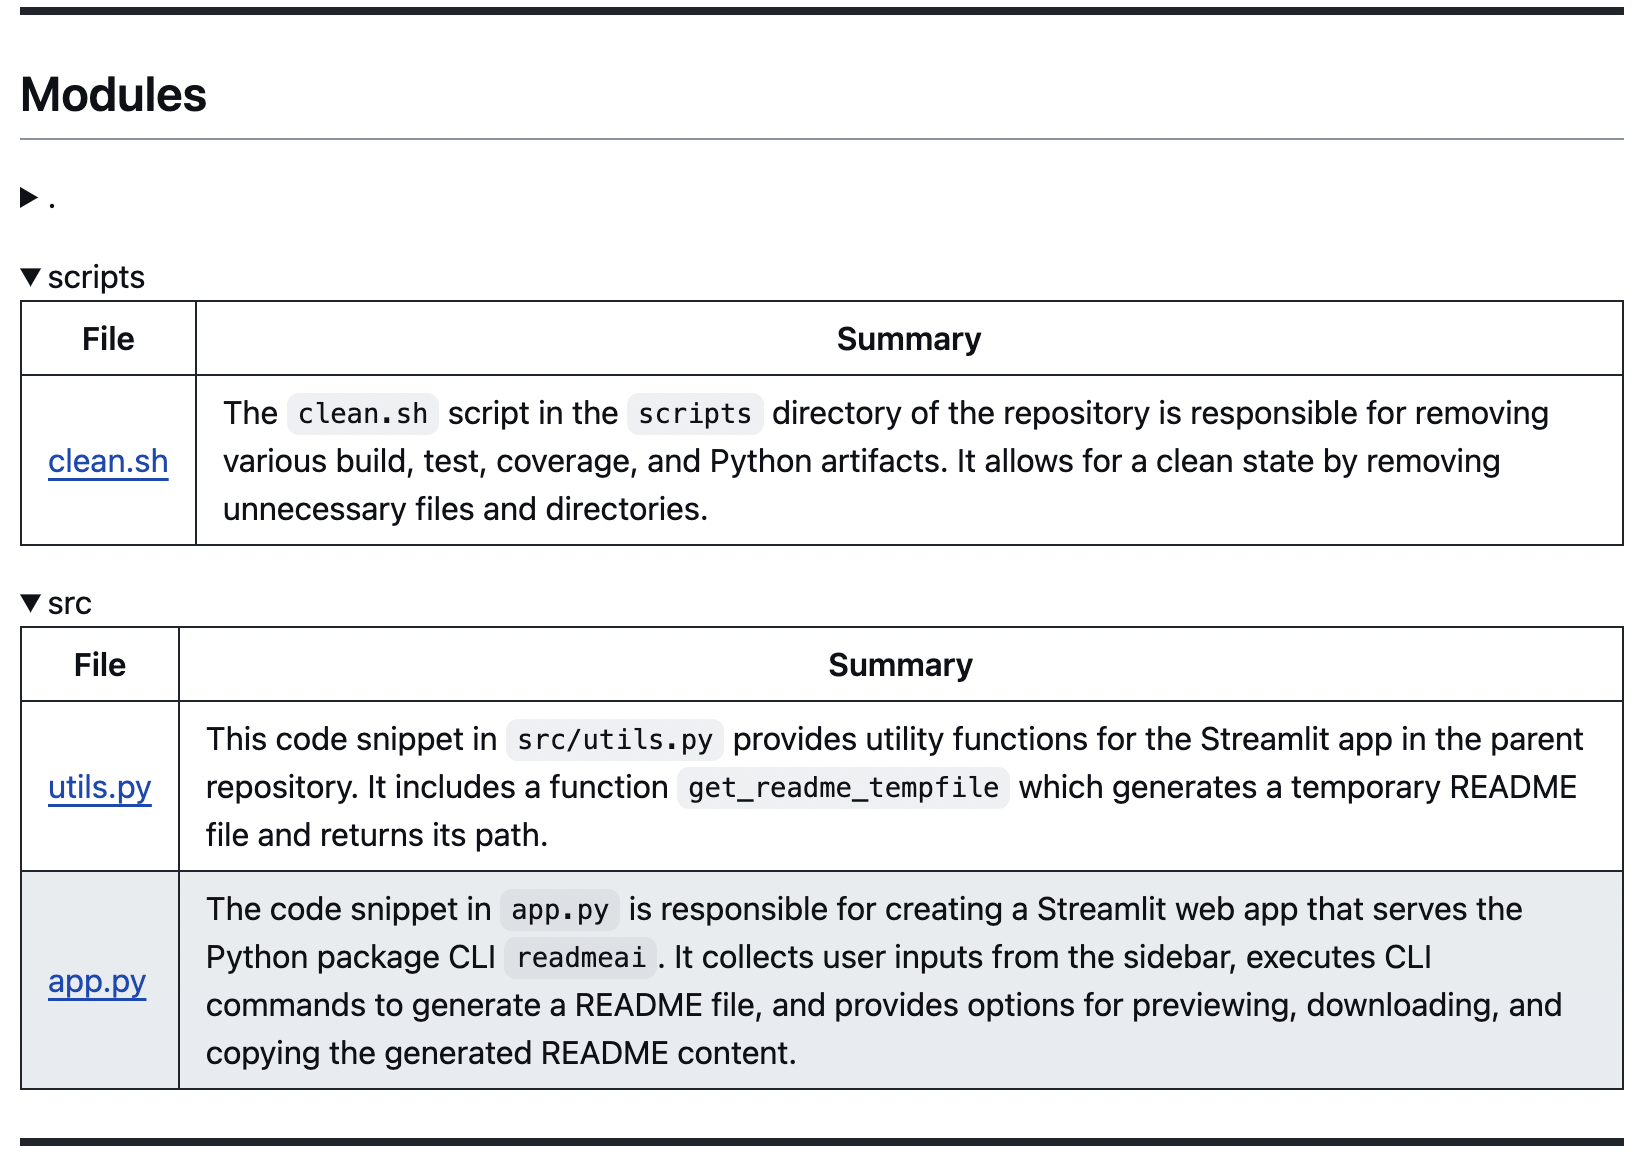
iv. Modules: Codebase file summaries are generated and formatted into markdown tables.
All other content is extracted from processing and analyzing repository metadata and files.
Customizable Header
The header section is built using repository metadata and CLI options. Key features include:
- Badges: Svg icons that represent codebase metadata, provided by shields.io and skill-icons.
- Project Logo: Select a project logo image from the base set or provide your image.
- Project Slogan: Catch phrase that describes the project, generated by generative ai.
- Table of Contents/Quick Links: Links to the different sections of the README file.
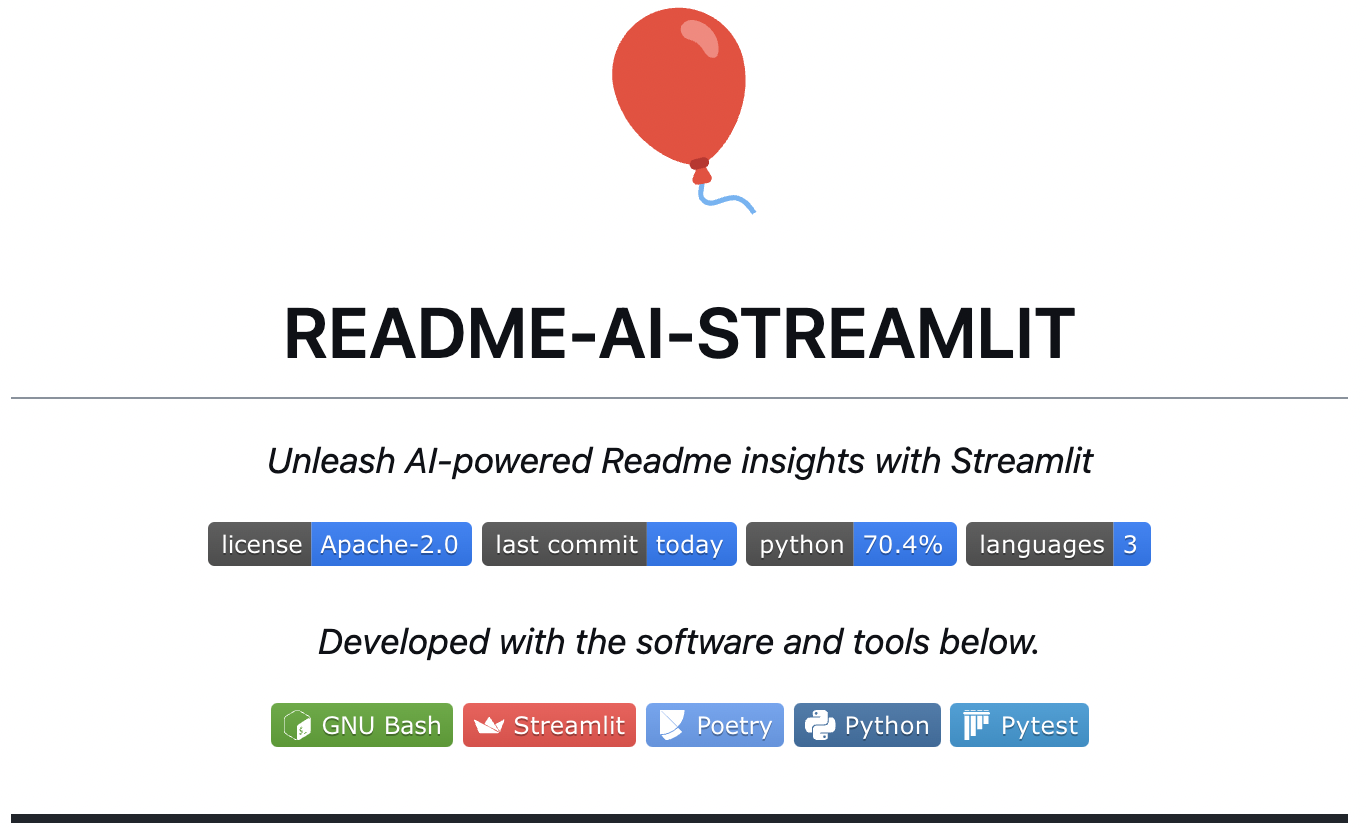
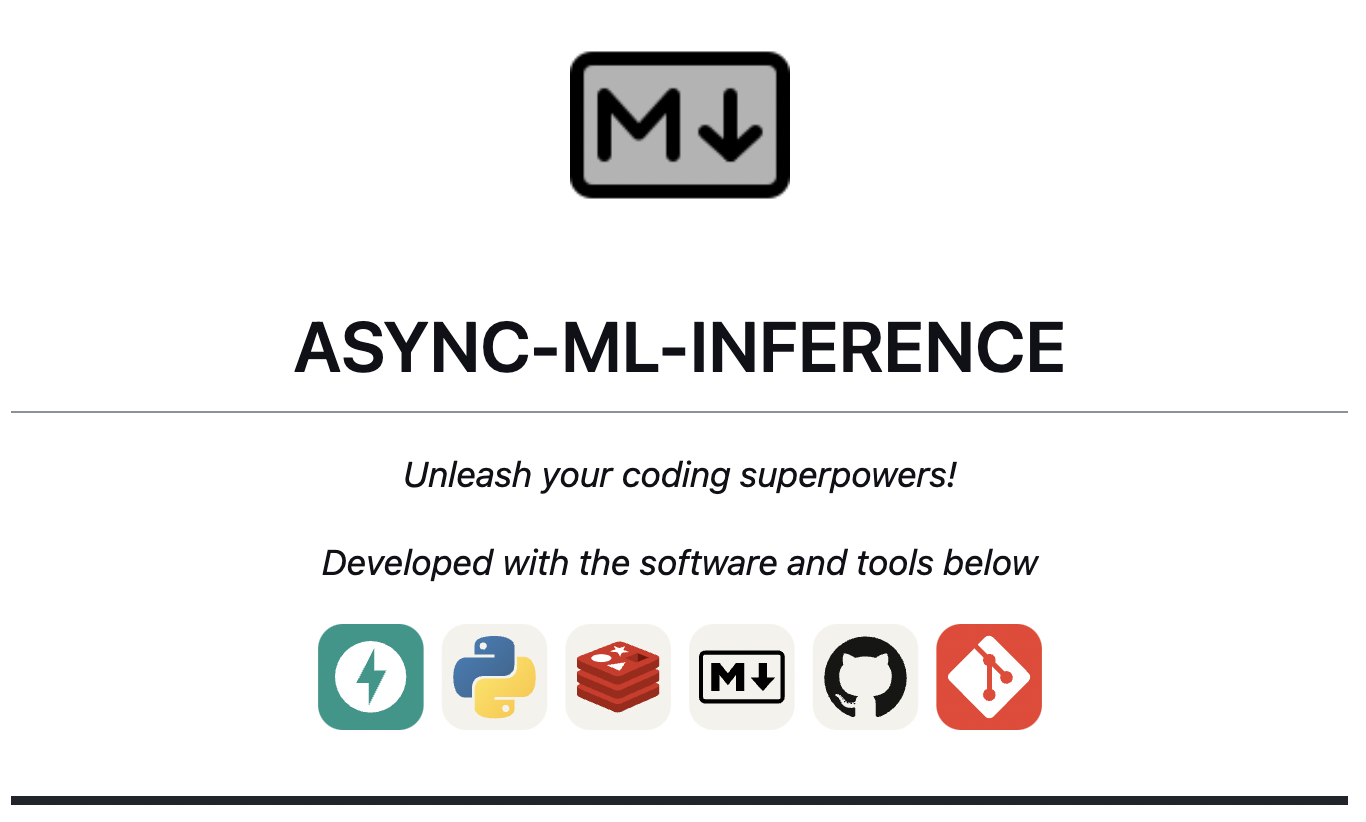
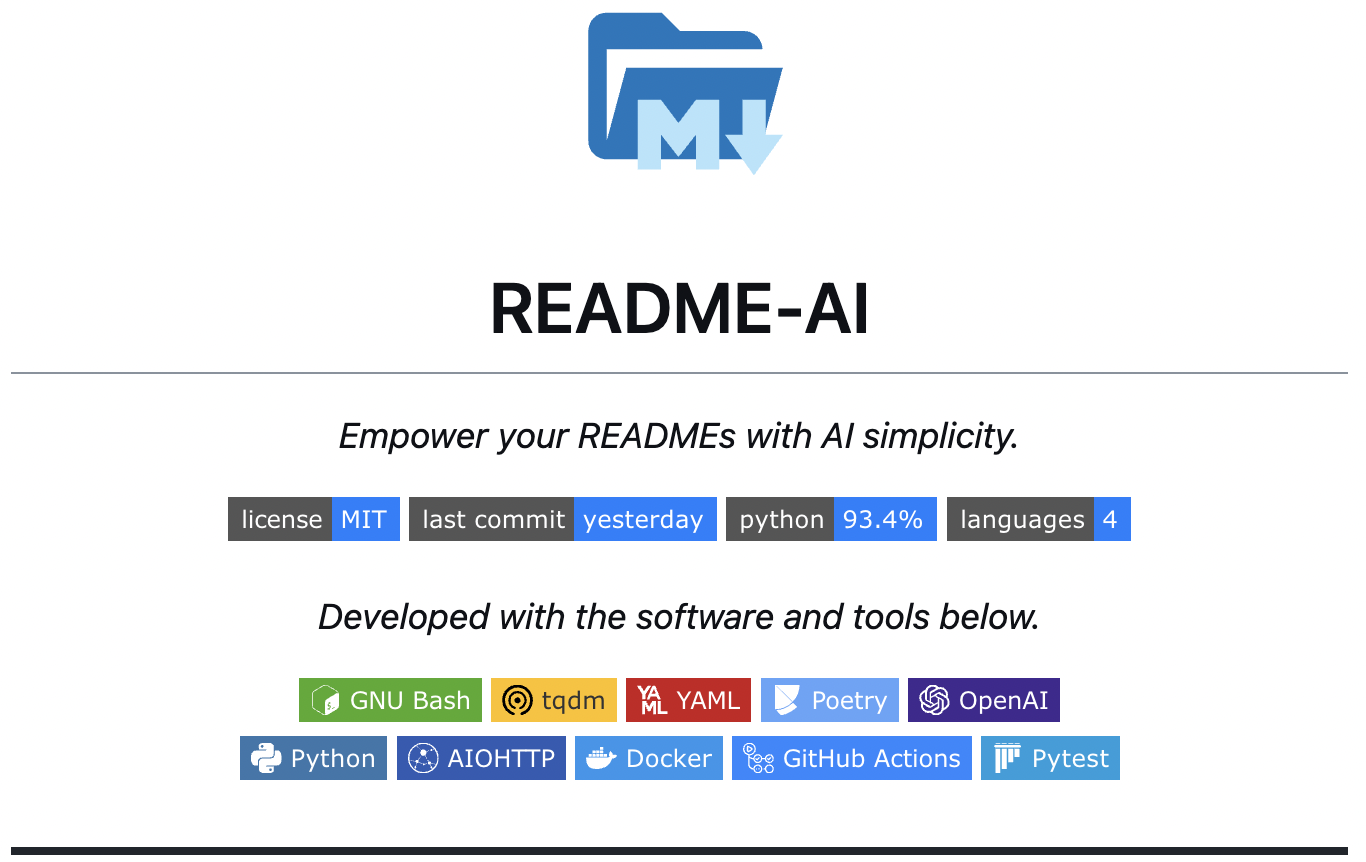
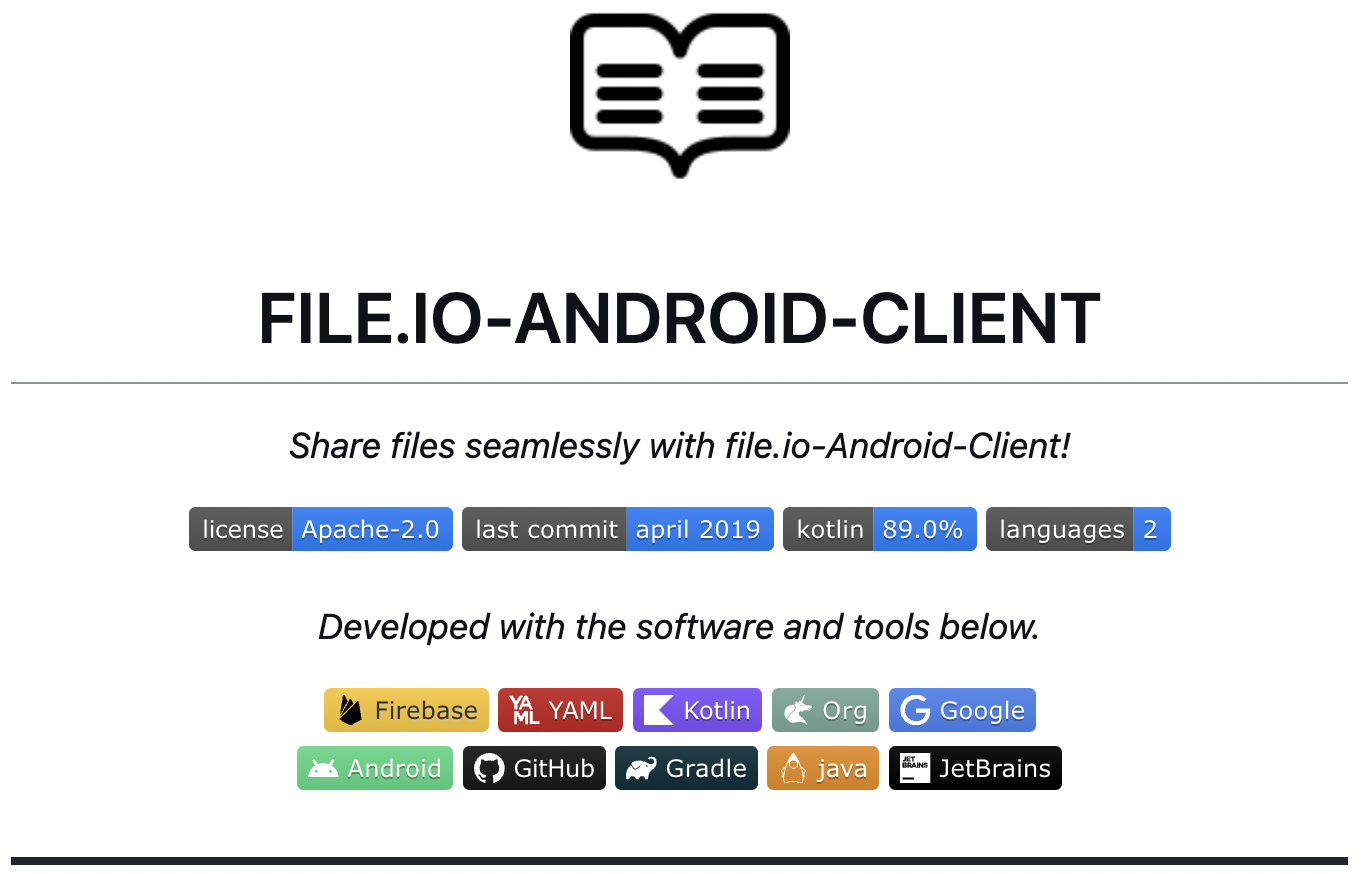
See a few example headers generated by readme-ai below.
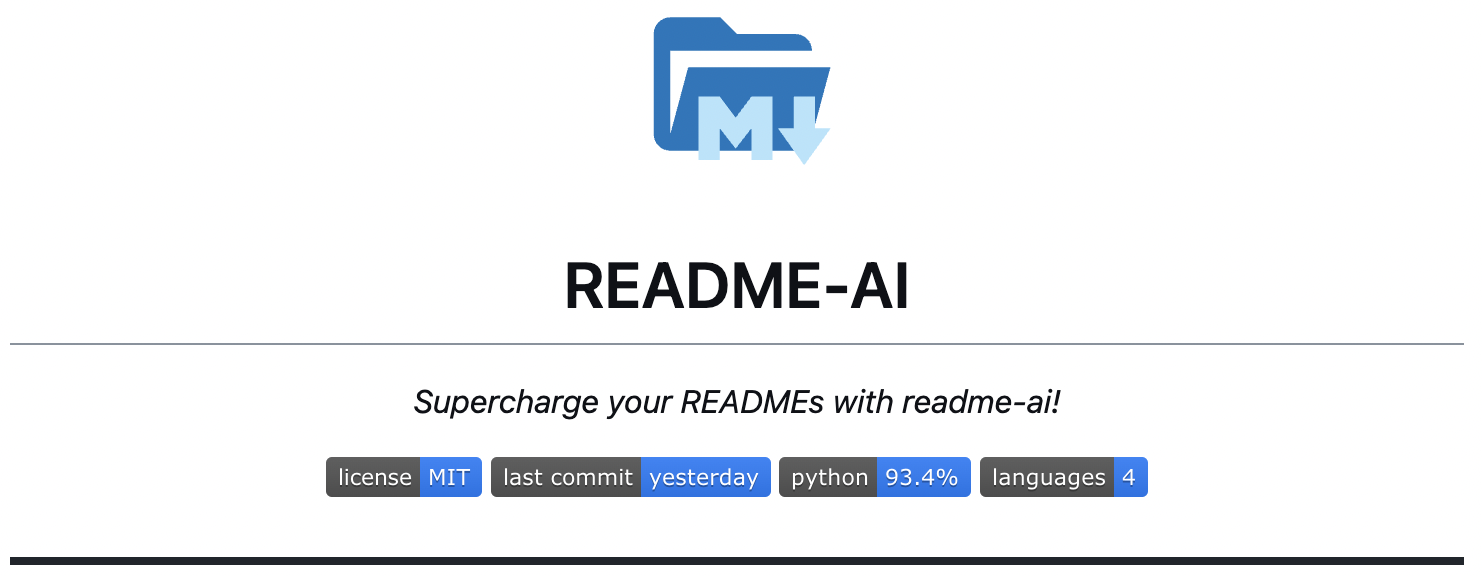 default output (no options provided to cli)
|
|
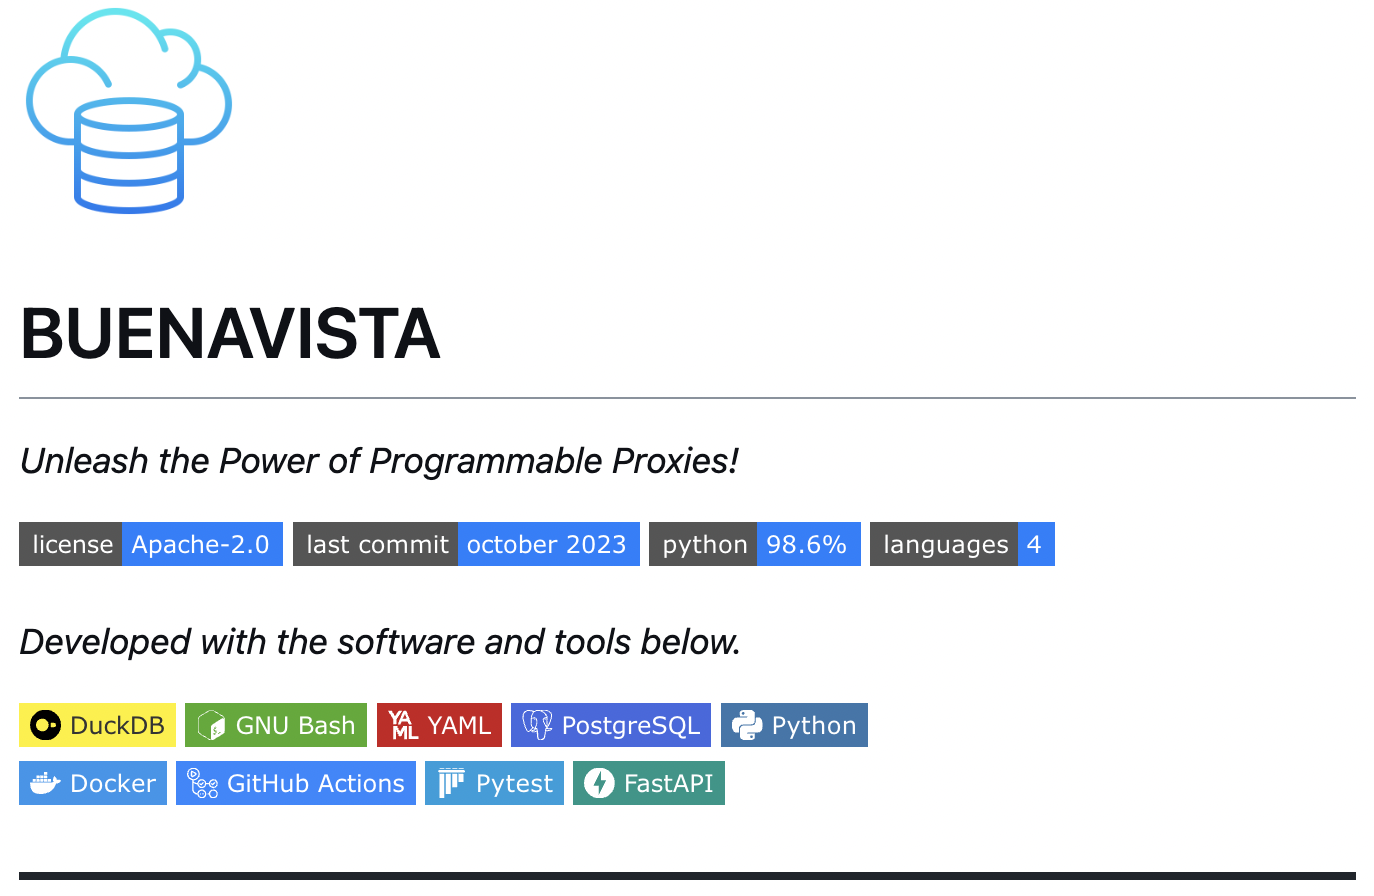 --alignment left --badge-style flat-square --image cloud
|
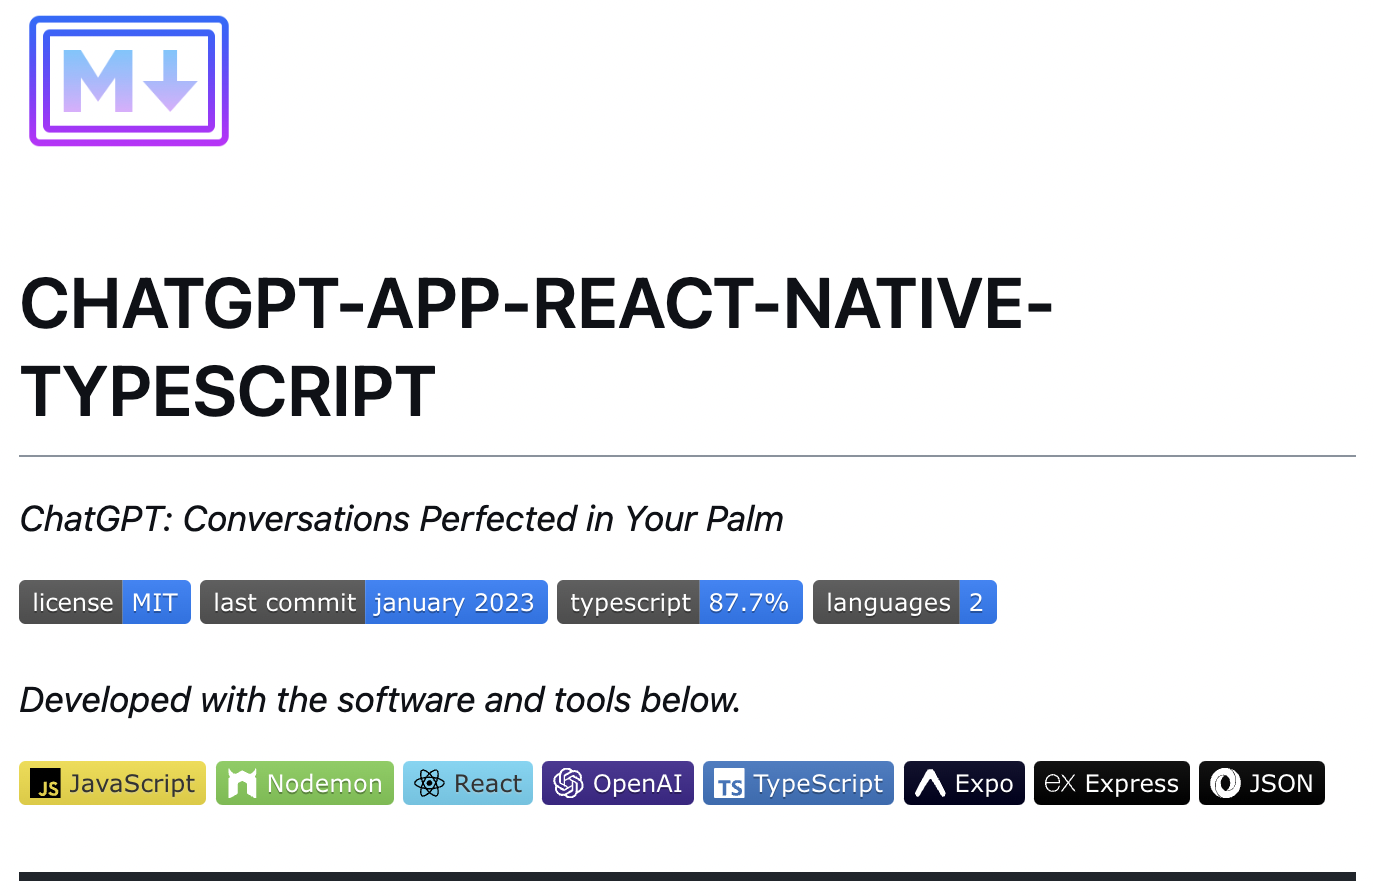 --alignment left --badge-style flat --image gradient
|
 --badge-style flat --image custom
|
 --badge-style skills-light --image grey
|
 --badge-style flat-square
|
 --badge-style flat --image black
|
See the Configuration section below for the complete list of CLI options and settings.
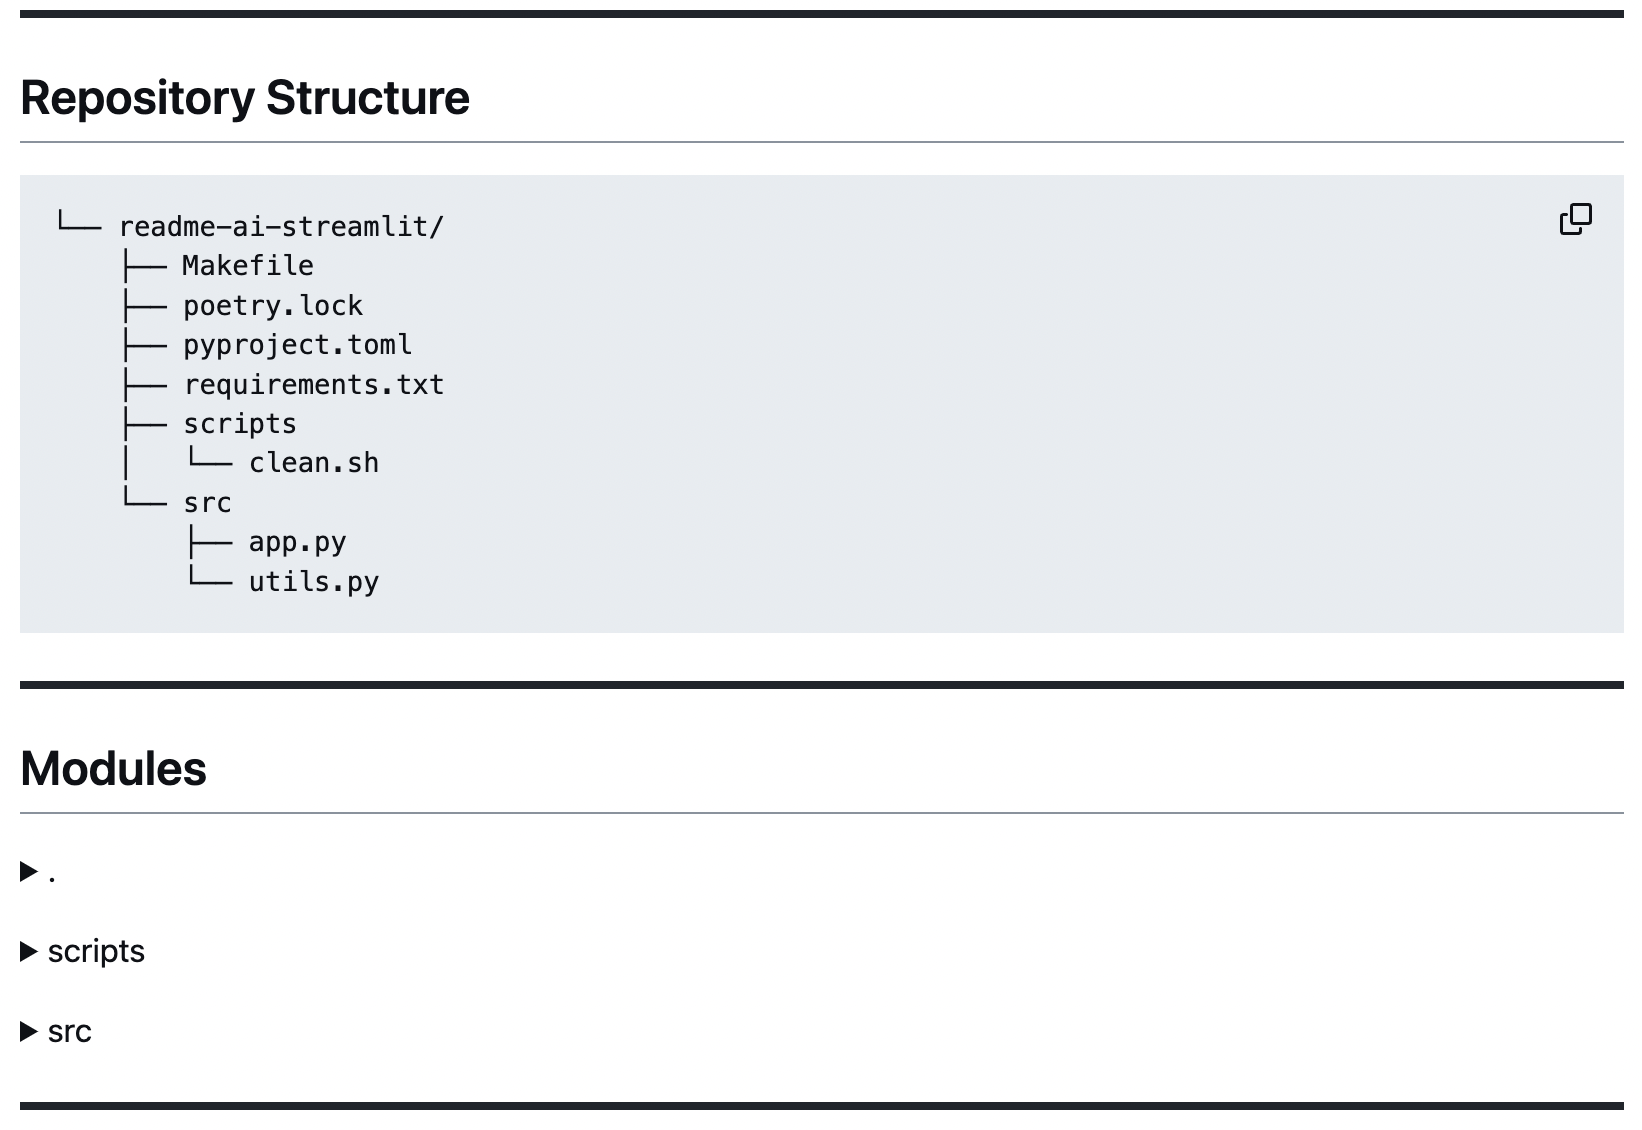
📑 Codebase Documentation
|
Repository Structure A directory tree structure is generated using pure Python (tree.py) and embedded in the README. |
|
|
Codebase Summaries
Code summaries are generated using LLMs and grouped by directory, displayed in markdown tables. |
|
📍 Overview & Features Table
The overview and features sections are generated using LLM APIs. Structured prompt templates are injected with repository metadata to help produce more accurate and relevant content.
| Overview High-level introduction of the project, focused on the value proposition and use-cases, rather than technical aspects. |
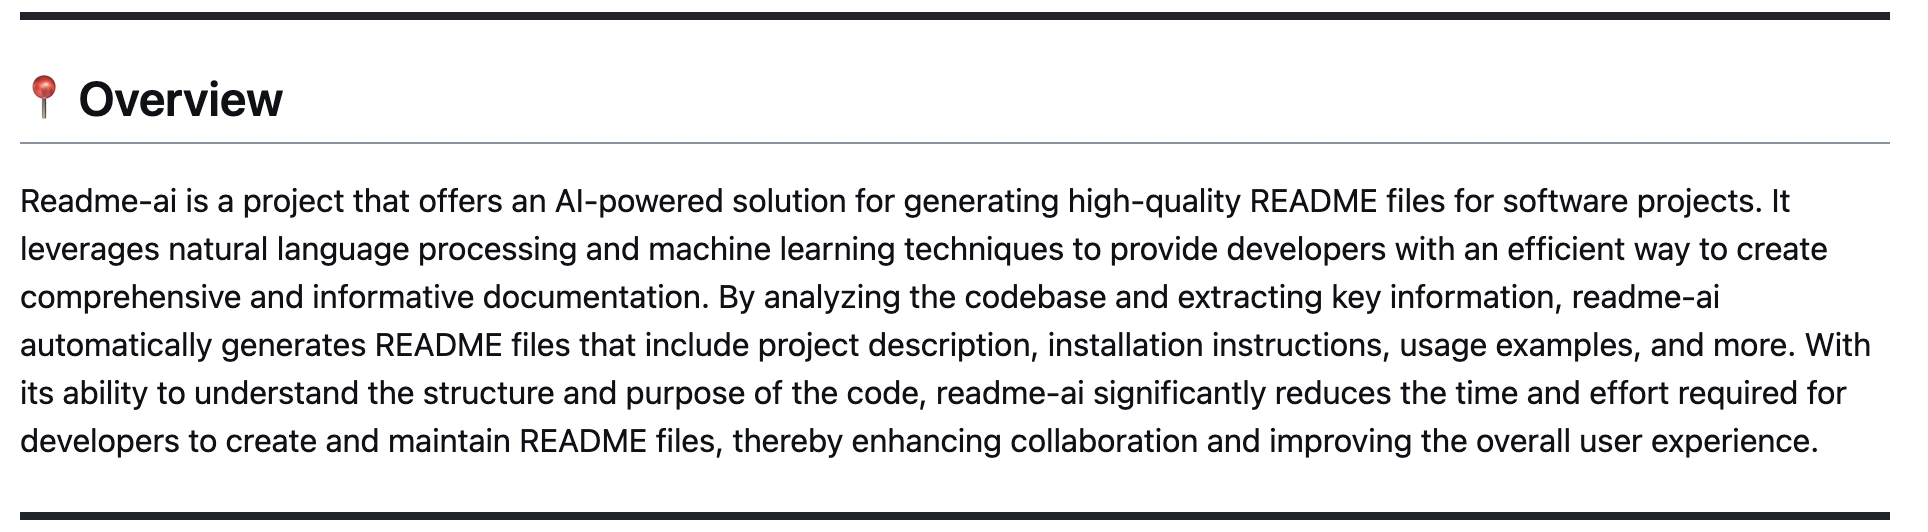 |
| Features Table Describes technical components of the codebase, including architecture, dependencies, testing, integrations, and more. |
 |
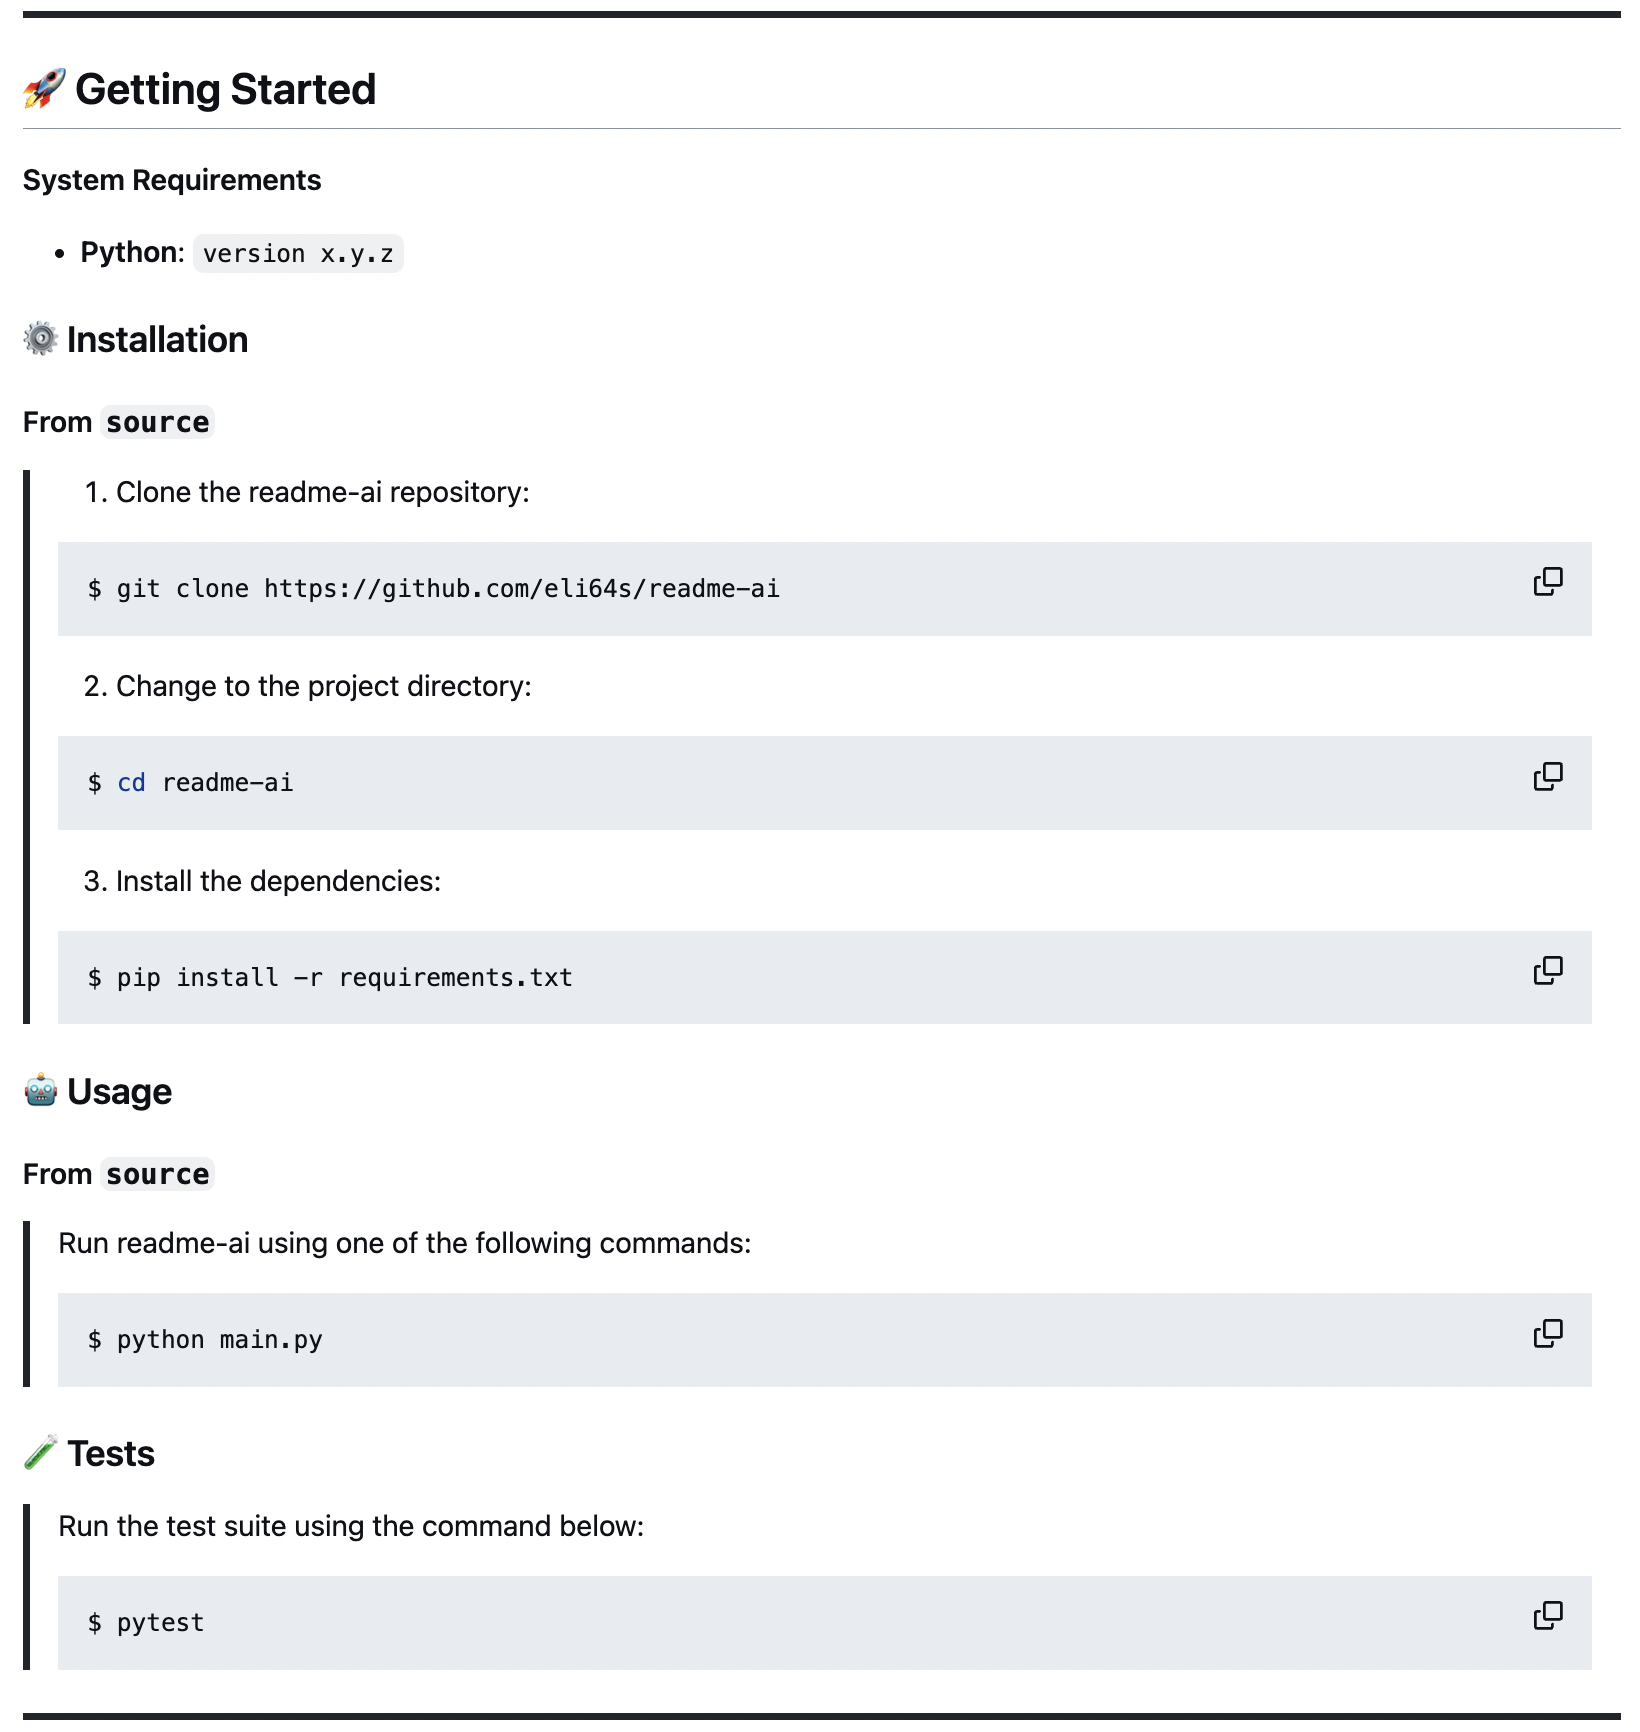
🚀 Dynamic Quickstart Guides
| Getting Started or Quick Start Generates structured guides for installing, running, and testing your project. This content is created by identifying dependencies and languages used in the codebase, and mapping this data using static config files such as the commands.toml file. |
|
🤝 Contributing Guidelines & More
| Additional Sections The remaining README sections are built from a baseline template that includes common sections such as |
 |
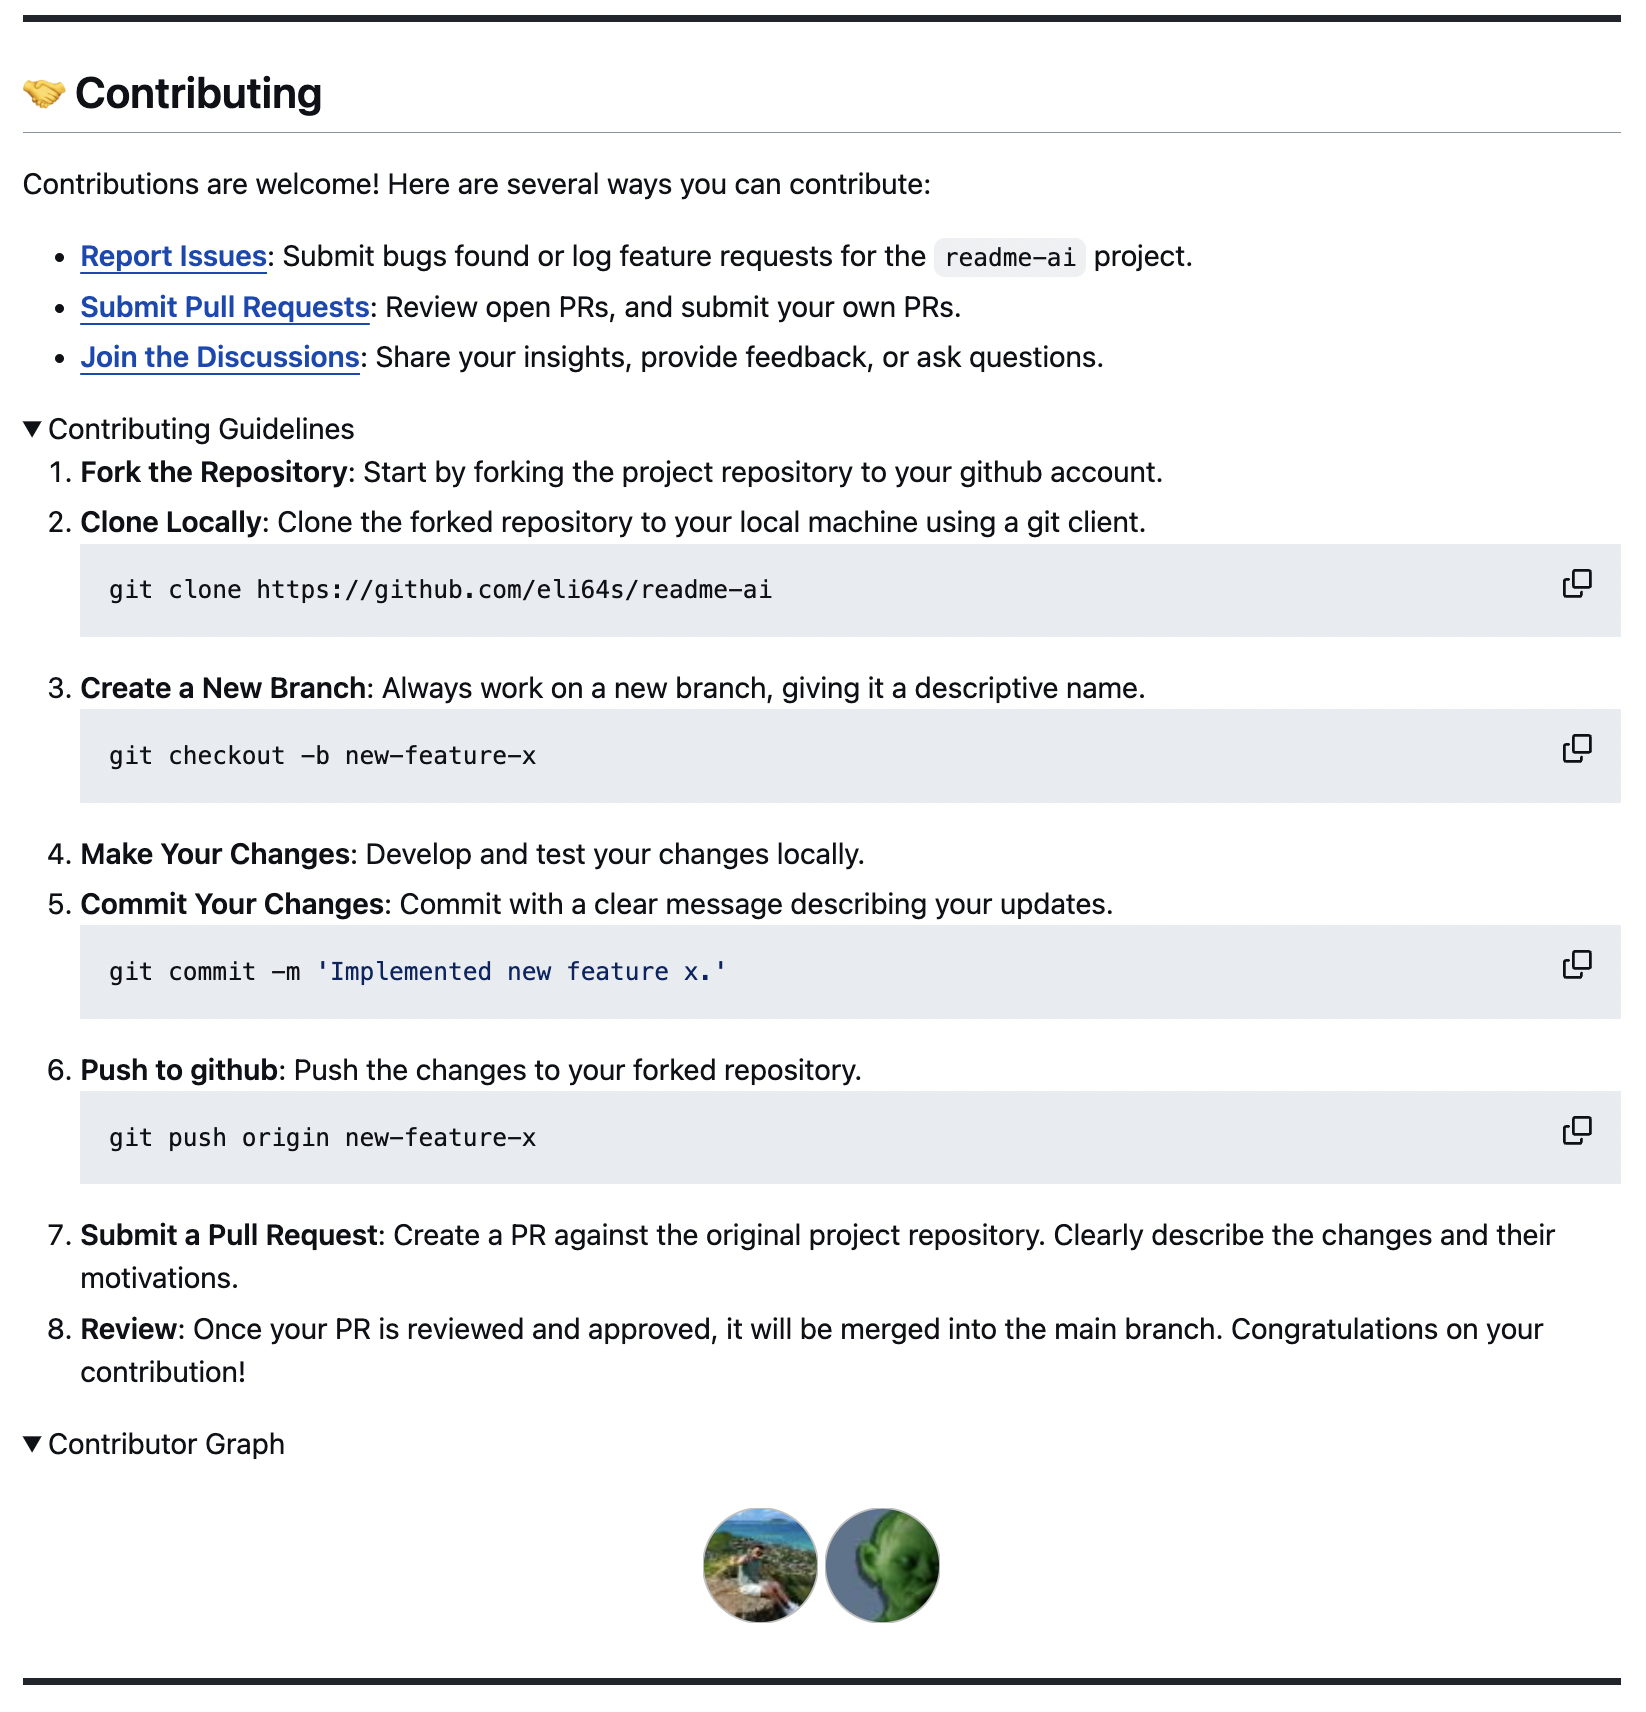
| Contributing Guidelines The contributing guidelines has a dropdown that outlines a general process for contributing to your project. |
 |
🧩 Template READMEs
This feature is currently under development. The template system will allow users to generate README files in different flavors, such as ai, data, web development, etc.
README Template for ML & Data
|
🧑🎨 Examples
| ⭑ | Output File 📄 | Input Repository 📁 | Repository Contents 🔢 |
|---|---|---|---|
| ⭑ | readme-python.md | readme-ai | Python |
| ⭑ | readme-google-vertexai.md | readme-ai | Python |
| ⭑ | readme-typescript.md | chatgpt-app-react-ts | TypeScript, React |
| ⭑ | readme-postgres.md | postgres-proxy-server | Postgres, Duckdb |
| ⭑ | readme-kotlin.md | file.io-android-client | Kotlin, Android |
| ⭑ | readme-streamlit.md | readme-ai-streamlit | Python, Streamlit |
| ⭑ | readme-rust-c.md | rust-c-app | C, Rust |
| ⭑ | readme-go.md | go-docker-app | Go |
| ⭑ | readme-java.md | java-minimal-todo | Java |
| ⭑ | readme-fastapi-redis.md | async-ml-inference | FastAPI, Redis |
| ⭑ | readme-mlops.md | mlops-course | Python, Jupyter |
| ⭑ | readme-local.md | Local Directory | Flink, Python |
🚀 Getting Started
Requirements
- Python: 3.9+
- Package manager or container runtime:
pipordockerrecommended. - LLM API:
OpenAIandGoogle Vertex AILLM APIs are currently supported.
Repository
A repository URL or local path to your codebase is required run readme-ai. The following are supported:
OpenAI API Key
An OpenAI API account and API key are needed to use readme-ai. Get started by creating an account here. Once you have an account, you can create an API key on the API settings page.
[!WARNING]
Before using readme-ai, its essential to understand the potential risks and costs associated with using AI-powered tools.
Review Sensitive Information: Ensure all content in your repository is free of sensitive information before running the tool. This project does not remove sensitive data from your codebase, nor from the output README file.
API Usage Costs: The OpenAI API is not free and costs can accumulate quickly! You will be charged for each request made by readme-ai. Be sure to monitor API usage costs using the OpenAI API Usage Dashboard.
⚙️ Installation
Using pip
pip install readmeai

Using docker
docker pull zeroxeli/readme-ai:latest

Using conda
conda install -c conda-forge readmeai

From source
sourceClone repository and change directory.
$ git clone https://github.com/eli64s/readme-ai
$ cd readme-ai
Using bash
$ bash setup/setup.sh

Using poetry
$ poetry install

- Similiary you can use
pipenvorpipto install the requirements.txt.
[!TIP]
Use pipx to install and run Python command-line applications without causing dependency conflicts with other packages installed on the system.

🧑💻 Running readme-ai
OpenAI API Key
Set your OpenAI API key as an environment variable.
# Using Linux or macOS
$ export OPENAI_API_KEY=<your_api_key>

# Using Windows
$ set OPENAI_API=<your_api_key>
Google Vertex AI
Set your Google Cloud project ID and location as environment variables.
$ export VERTEXAI_LOCATION=<your_location>
$ export VERTEXAI_PROJECT=<your_project>
Using pip
readmeai --repository https://github.com/eli64s/readme-ai --api openai
Using docker
docker run -it \
-e OPENAI_API_KEY=$OPENAI_API_KEY \
-v "$(pwd)":/app zeroxeli/readme-ai:latest \
-r https://github.com/eli64s/readme-ai
Using streamlit
Try directly in your browser on Streamlit, no installation required! For more details, check out the readme-ai-streamlit repository.

From source
sourceUsing bash
$ conda activate readmeai
$ python3 -m readmeai.cli.main -r https://github.com/eli64s/readme-ai
Using poetry
$ poetry shell
$ poetry run python3 -m readmeai.cli.main -r https://github.com/eli64s/readme-ai
🧪 Tests
Using pytest
$ make pytest

Using nox
$ nox -f noxfile.py
[!TIP]
Use nox to test application against multiple Python environments and dependencies!
🧩 Configuration
Run the readmeai command in your terminal with the following options to tailor your README file.
CLI Options
| Option | Type | Description | Default Value |
|---|---|---|---|
--alignment, -a |
String | Align the text in the README.md file's header. | center |
--api |
String | LLM API service to use for text generation. | None |
--badge-style |
String | Badge icon style types for README.md badges. | see below |
--badge-color |
String | Badge color name or hex code. | 0080ff |
--emojis, -e |
Boolean | Adds emojis to the README.md file's header sections. | False |
--image, -i |
String | Project logo image displayed in the README file header. | blue |
🚧 --language |
String | Language for generating the README.md file. | en |
--max-tokens |
Integer | Maximum context window of the LLM API. | 3899 |
--model, -m |
String | LLM API to use for text generation. | gpt-3.5-turbo |
--output, -o |
String | Output file name for the README file. | readme-ai.md |
--repository, -r |
String | Repository URL or local directory path. | None |
--temperature, -t |
Float | Sets the creativity level for content generation. | 1.0 |
🚧 --template |
String | README template style. | default |
--tree-depth |
Integer | Maximum depth of the directory tree structure. | 3 |
--help |
Displays help information about the command and its options. |
🚧 feature currently under development
Badges
The --badge-style option lets you select the style of the default badge set.
| Style | Preview |
|---|---|
| default |     |
| flat | |
| flat-square | |
| for-the-badge | |
| plastic | |
| skills |  |
| skills-light |  |
| social |
When providing the --badge-style option, readme-ai does two things:
- Formats the default badge set to match the selection (i.e. flat, flat-square, etc.).
- Generates an additional badge set representing your projects dependencies and tech stack (i.e. Python, Docker, etc.)
Example
$ readmeai --badge-style flat-square --repository https://github.com/eli64s/readme-ai
Output
{... project logo ...}
{... project name ...}
{...project slogan...}


Developed with the software and tools below.


{... end of header ...}
Project Logo
Select a project logo using the --image option. The following options are available:
| blue | gradient | black |
 |
|
 |
| cloud | purple | grey |
 |
 |
 |
For custom images, see the following options:
- Use
--image customto invoke a prompt to upload a local image file path or URL. - Use
--image llmto generate a project logo using a LLM API (in development).
🛠 Project Roadmap
- Add new CLI options to enhance README file customization.
-
--apiIntegrate singular interface for all LLM APIs (OpenAI, Google Cloud, etc.) -
--auditto review existing README files and suggest improvements. -
--templateto select a README template style (i.e. ai, data, web, etc.) -
--languageto generate README files in any language (i.e. zh-CN, ES, FR, JA, KO, RU)
-
- Develop robust documentation generator to build full project docs (i.e. Sphinx, MkDocs)
- Create community-driven templates for README files and gallery of readme-ai examples.
- GitHub Actions script to automatically update README file content on repository push.
📒 Changelog
🤝 Contributing
If you would like to contribute to the project, please see the following guidelines:

📄 License
👏 Acknowledgments
Badges
Release history Release notifications | RSS feed


Download files
Download the file for your platform. If you're not sure which to choose, learn more about installing packages.
Source Distribution
Built Distribution
Filter files by name, interpreter, ABI, and platform.
If you're not sure about the file name format, learn more about wheel file names.
Copy a direct link to the current filters
File details
Details for the file readmeai-0.5.6.tar.gz.
File metadata
- Download URL: readmeai-0.5.6.tar.gz
- Upload date:
- Size: 176.7 kB
- Tags: Source
- Uploaded using Trusted Publishing? No
- Uploaded via: twine/5.0.0 CPython/3.12.2
File hashes
| Algorithm | Hash digest | |
|---|---|---|
| SHA256 |
3c6fc002c75697b014aa5c2a626aff46eb00a582254c3e164111a1b58872da76
|
|
| MD5 |
1e8e5a9404772c18f0ee009454187563
|
|
| BLAKE2b-256 |
ef65d45bb992a94c415ac060994109aba1070fafde6c88de3114eb3faae3ee40
|
File details
Details for the file readmeai-0.5.6-py3-none-any.whl.
File metadata
- Download URL: readmeai-0.5.6-py3-none-any.whl
- Upload date:
- Size: 192.5 kB
- Tags: Python 3
- Uploaded using Trusted Publishing? No
- Uploaded via: twine/5.0.0 CPython/3.12.2
File hashes
| Algorithm | Hash digest | |
|---|---|---|
| SHA256 |
5b3a37cc43ac1d47b456c67897cf735eb0178fc5a49c87dced27d8132e4e0dc6
|
|
| MD5 |
a36fac027a36ca1d4b389c0b635a9cce
|
|
| BLAKE2b-256 |
b579d79ff9181c5a6e4cc89c23fb65870ff1107d3c549818df139c0c645b689f
|


