Pixel art plug-in for vpype

Project description
vpype-pixelart
vpype plug-in to plot pixel art.
Usage
Convert pixelart image to vectors
The pixelart command takes an image file as input and converts it to lines according to one of three modes (big, line, and small – see examples below). Each unique color in the the input file results in a new layer created. Pixels which are 100% transparent (alpha = 0) yield no output.
Example invocation:
$ vpype pixelart --mode snake --pen-width .35mm input.png linesort write output.svg
Inline help:
$ vpype pixelart --help
Convert geometries to bitmaps and back to vector
The pixelize command rasterizes the current geometries into a bitmap, and converts them back to vectors similarly to the pixelart command.
Example invocation:
$ vpype read input.svg pixelize --mode snake --pen-width .35mm linesort write output.svg
Inline help:
$ vpype pixelize --help
Examples
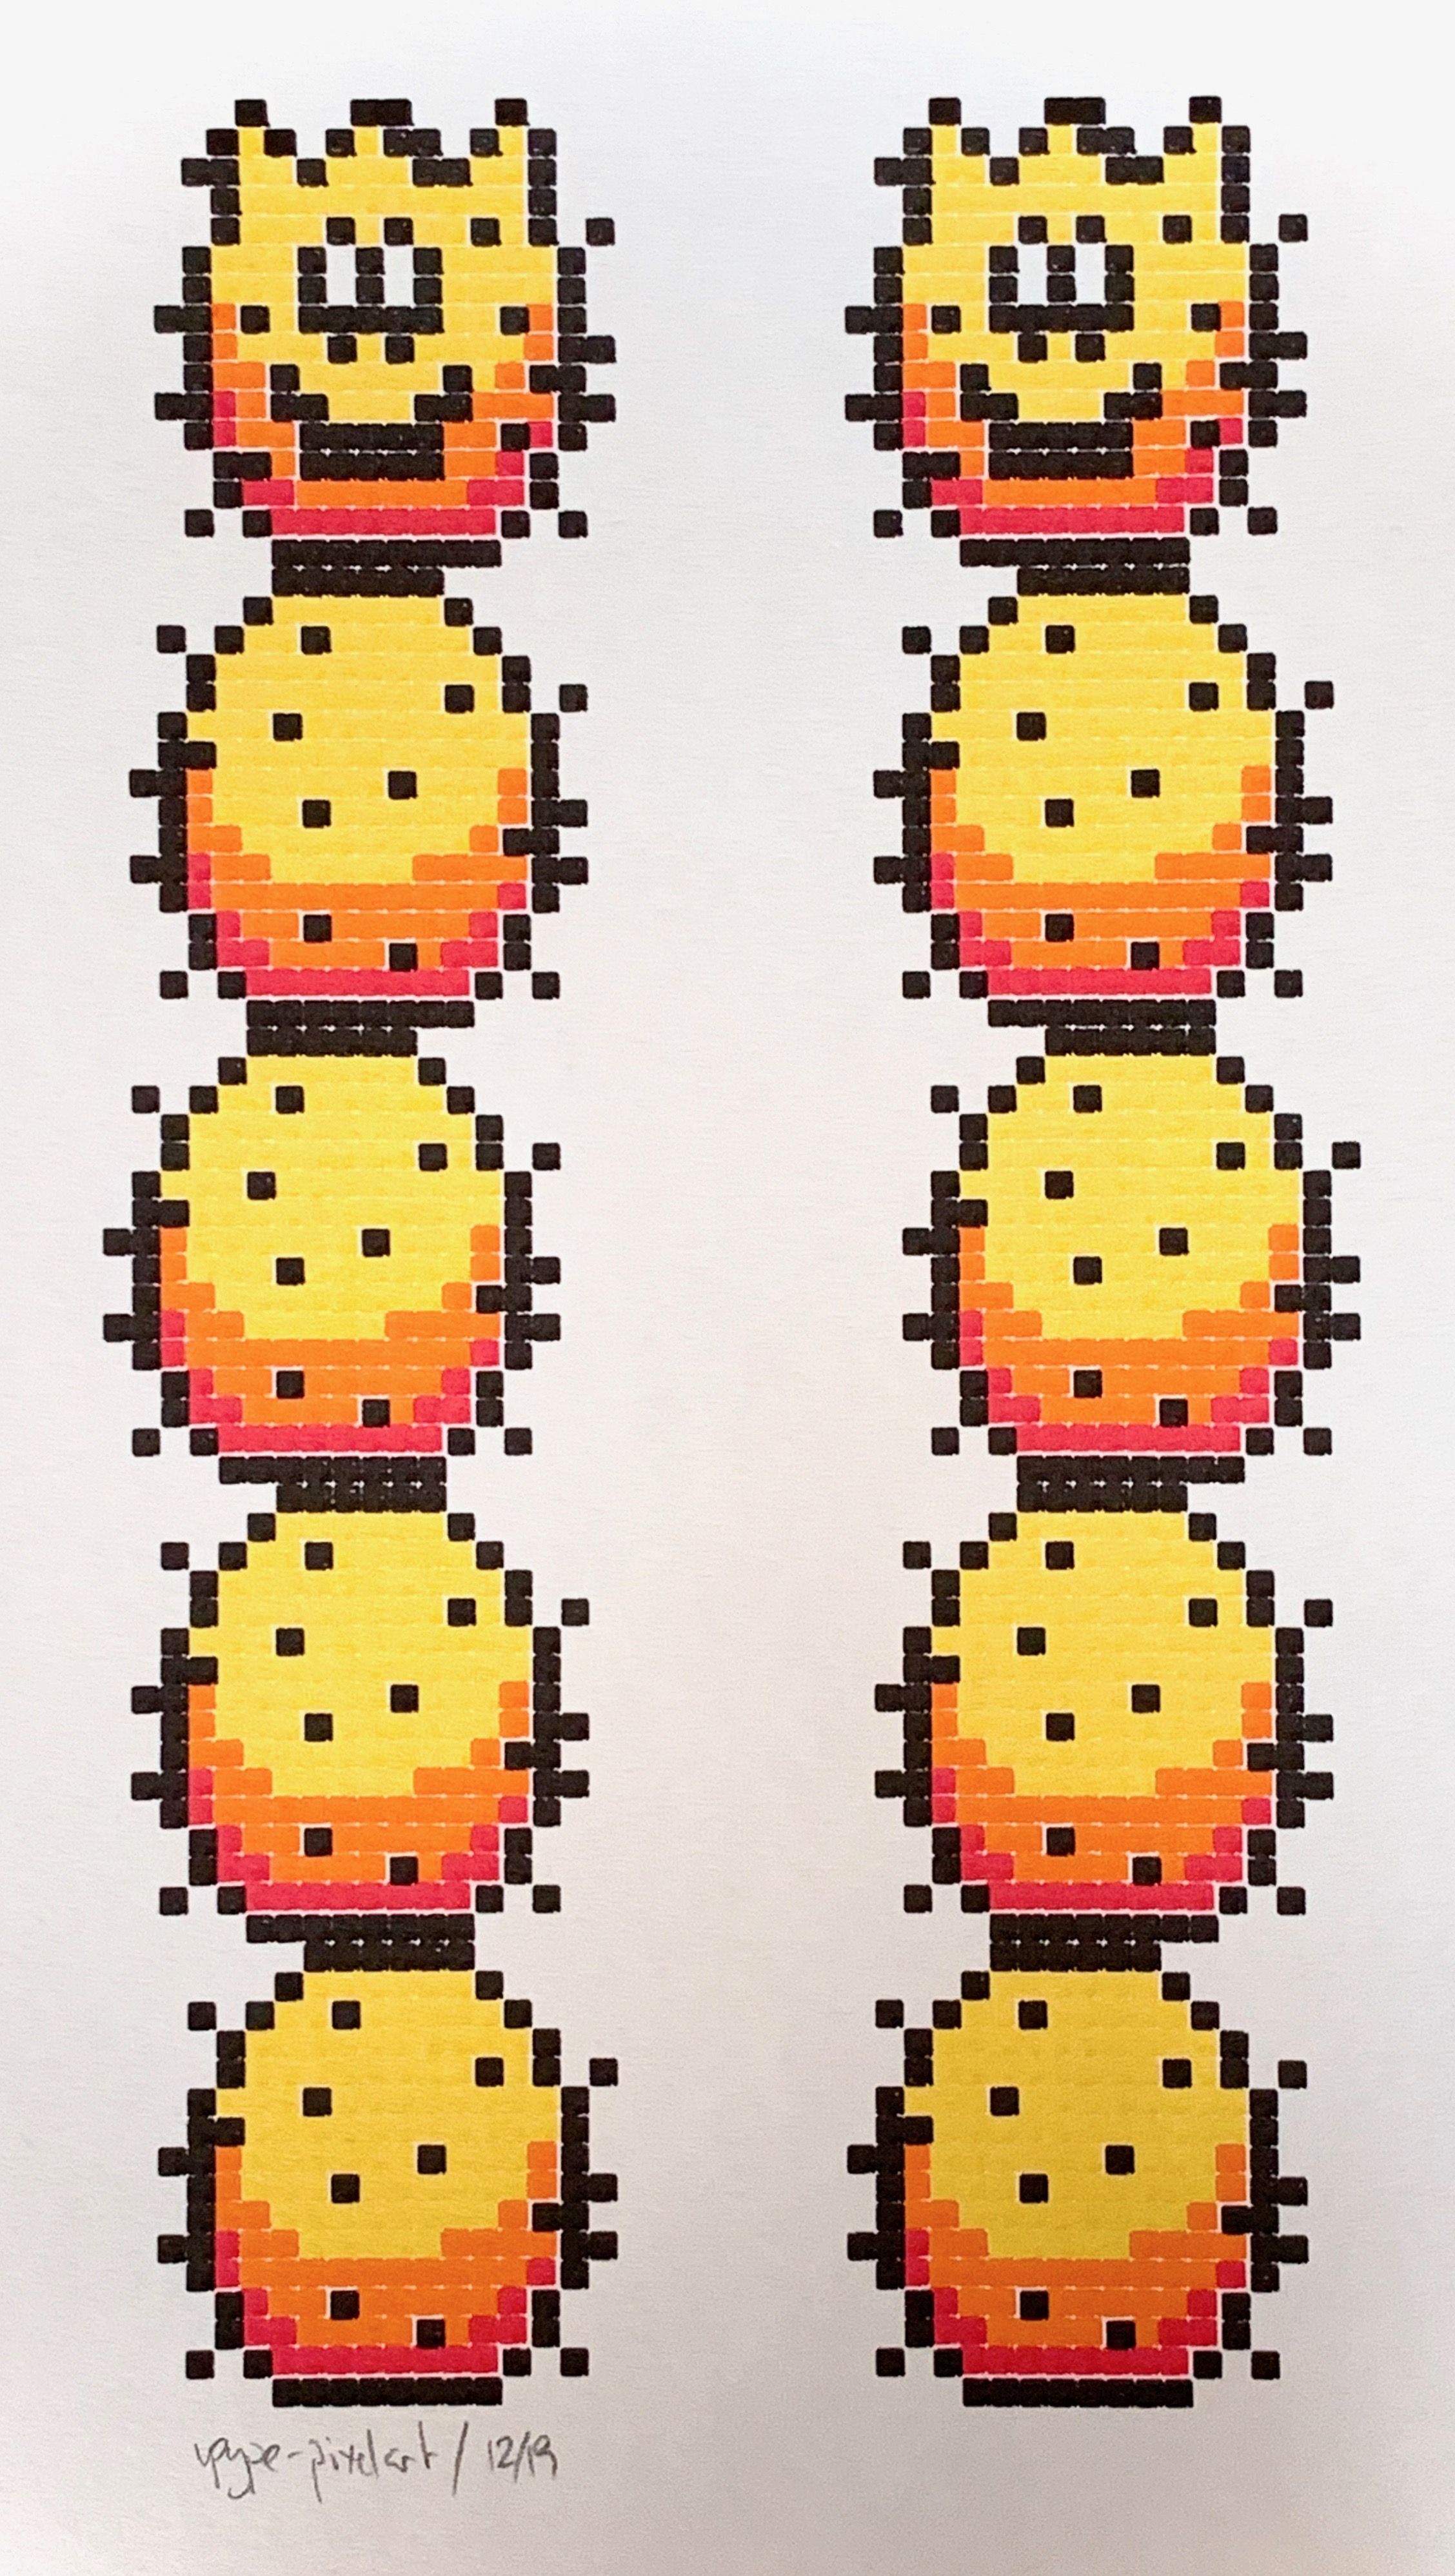
Mode big
In this mode, each pixel is drawn using a 5x5 square spiral. The pixel pitch is thus five times the specified pen width.
Cactus sprites from Super Mario World:

Result plotted with Pentel Sign Pen (using --pen-width 0.6mm):
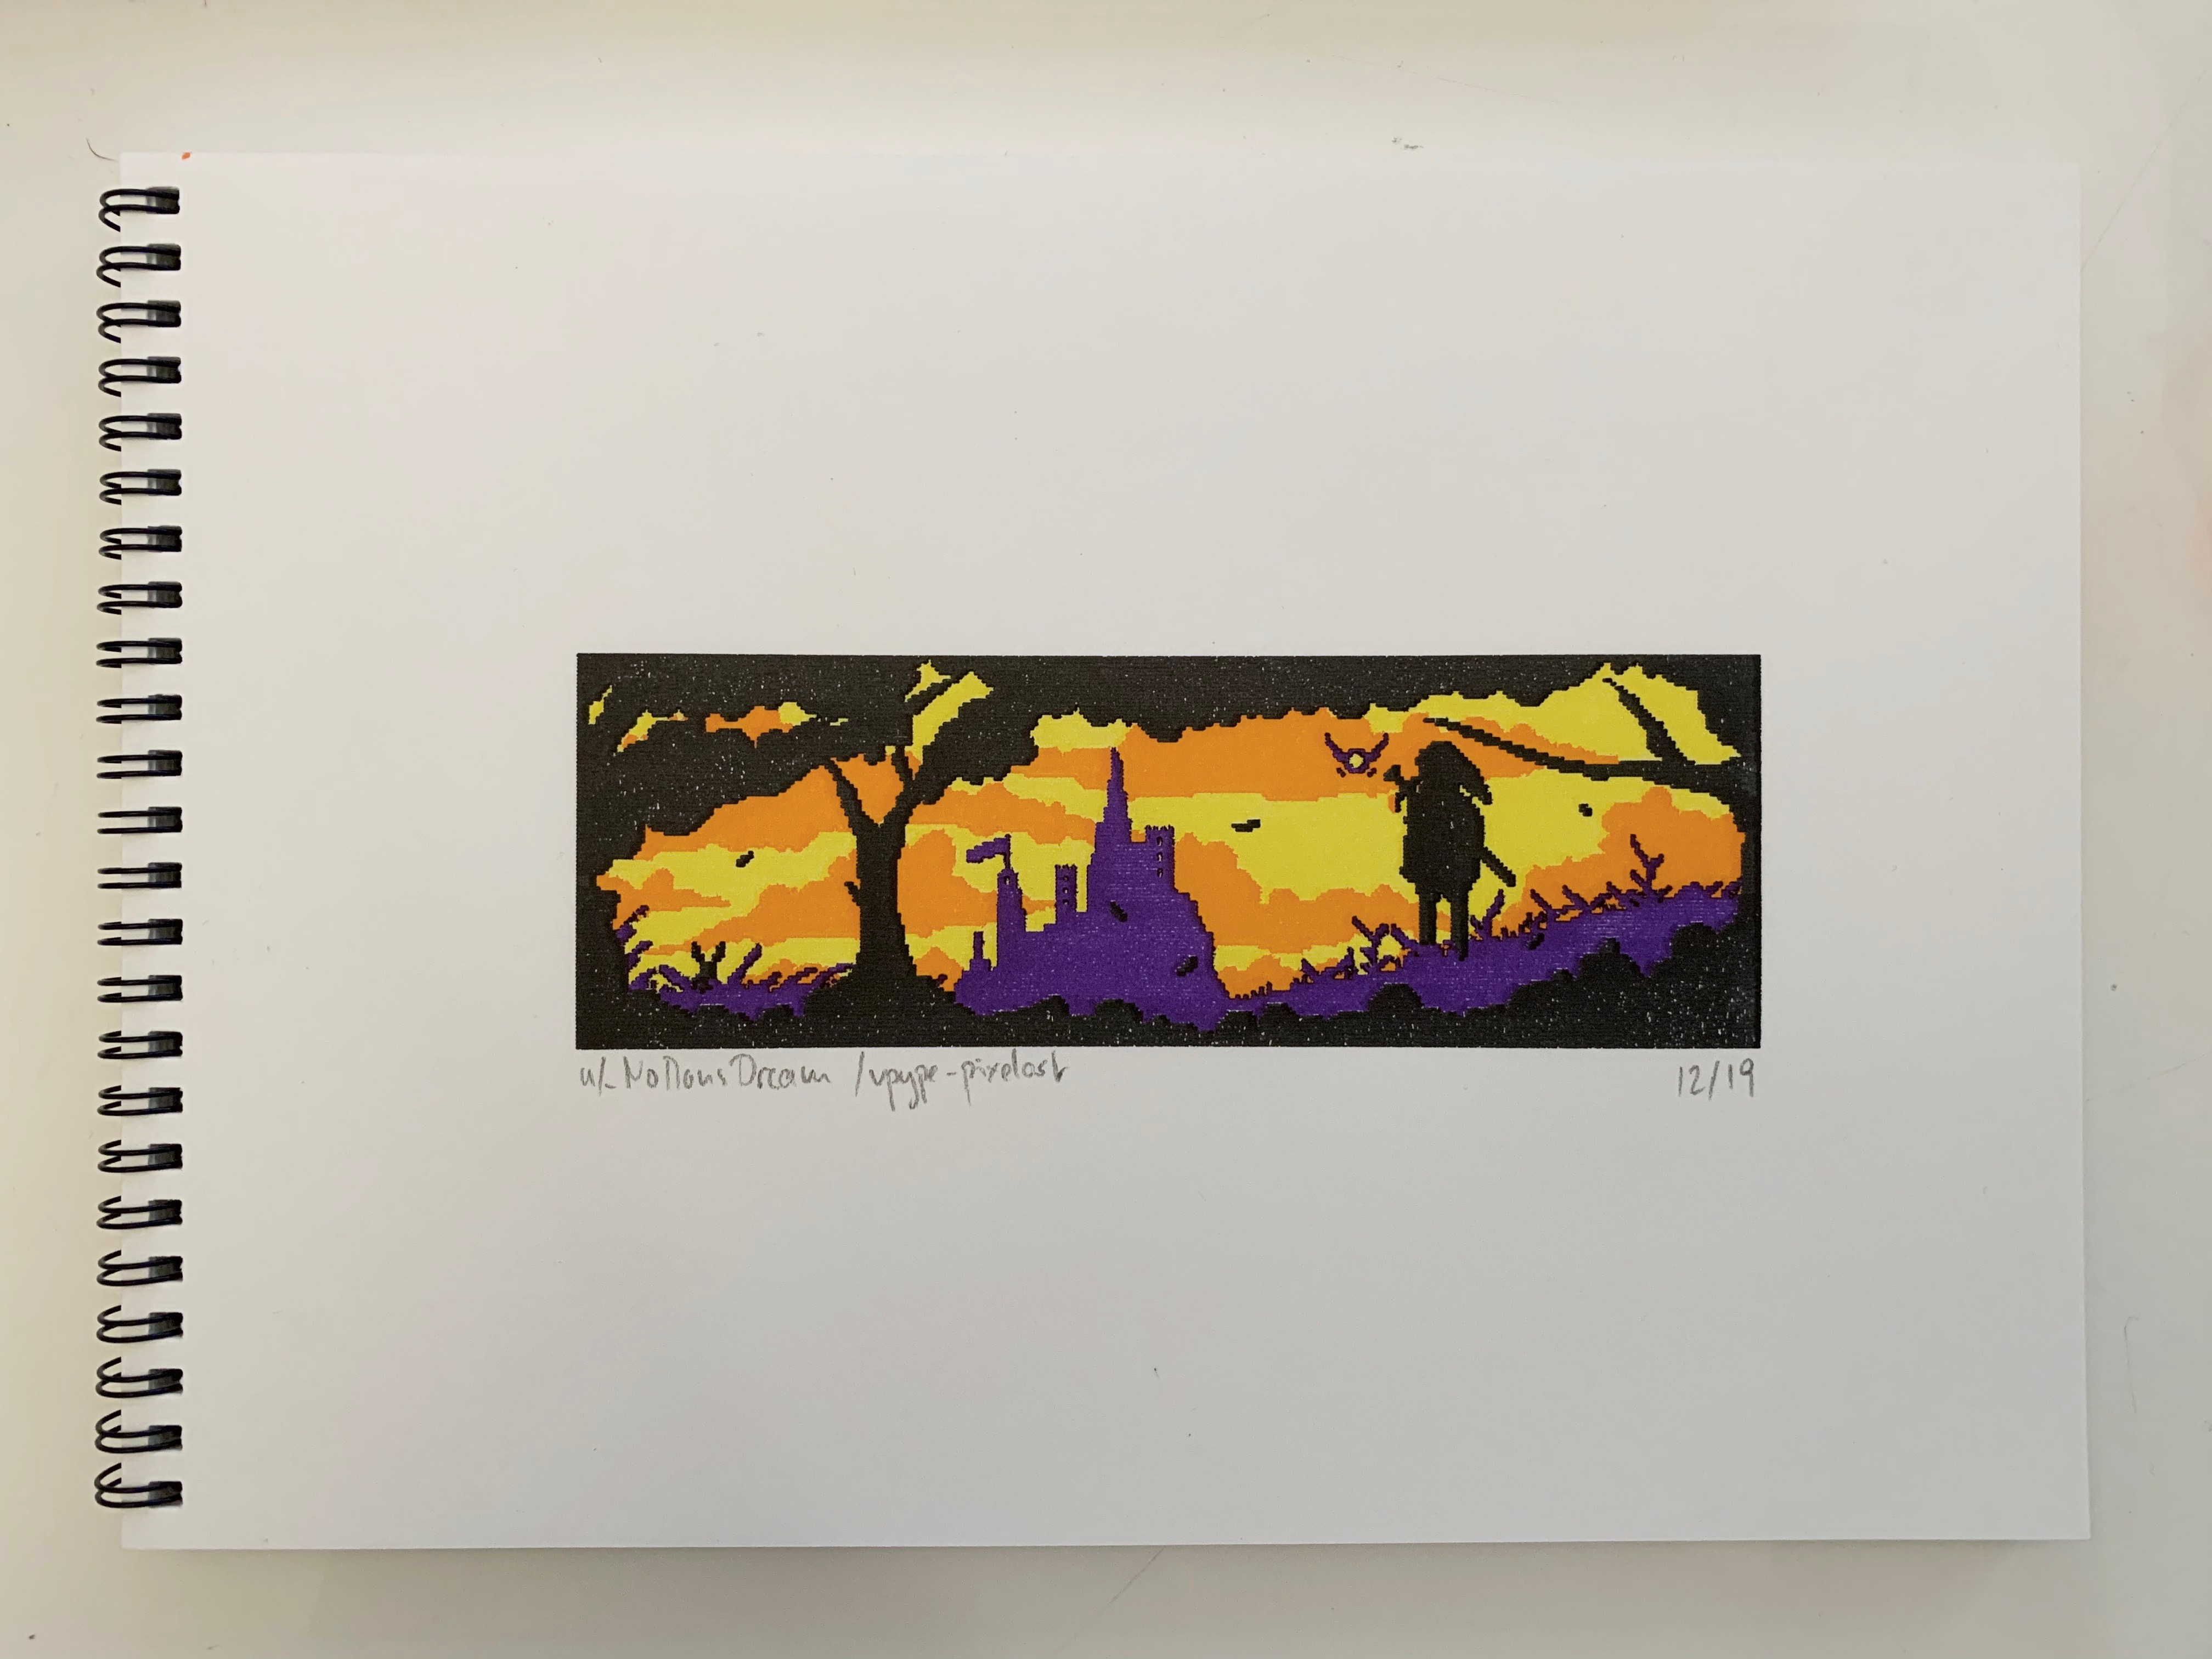
Mode line
In this mode, horizontal lines are generated for horizontal sequences of same-color pixels. The pixel pitch is equal to the specified pen width.
Original art by Reddit user u/_NoMansDream:
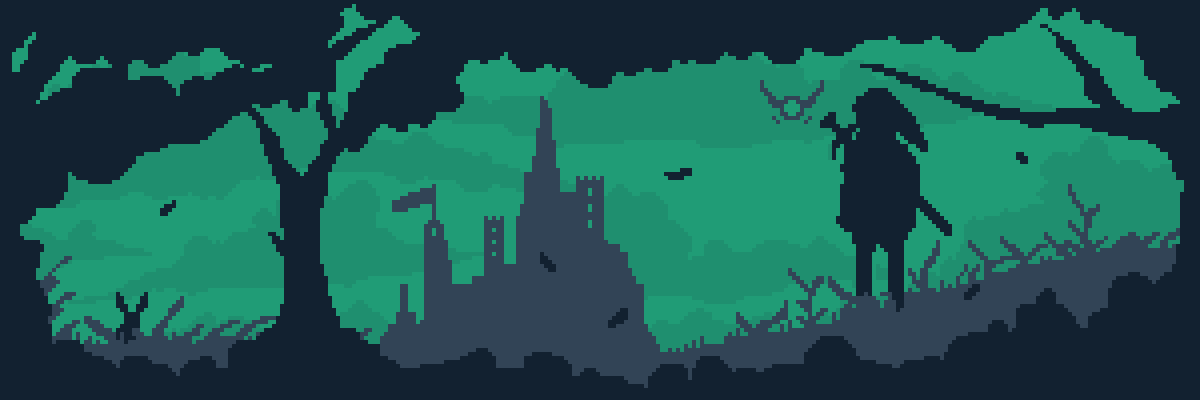
Result plotted with Pentel Sign Pen (using --pen-width 0.6mm):
Mode snake
In this mode, [snake](https://en.wikipedia.org/wiki/Snake_(video_game_genre)-like lines attempt to traverse zones of contiguous, same-color pixels. Again, the pixel pitch is equal to the specified pen width.
Detail of the snake algoritm:

Result plotted with Pentel Sign Pen (using --pen-width 0.5mm):
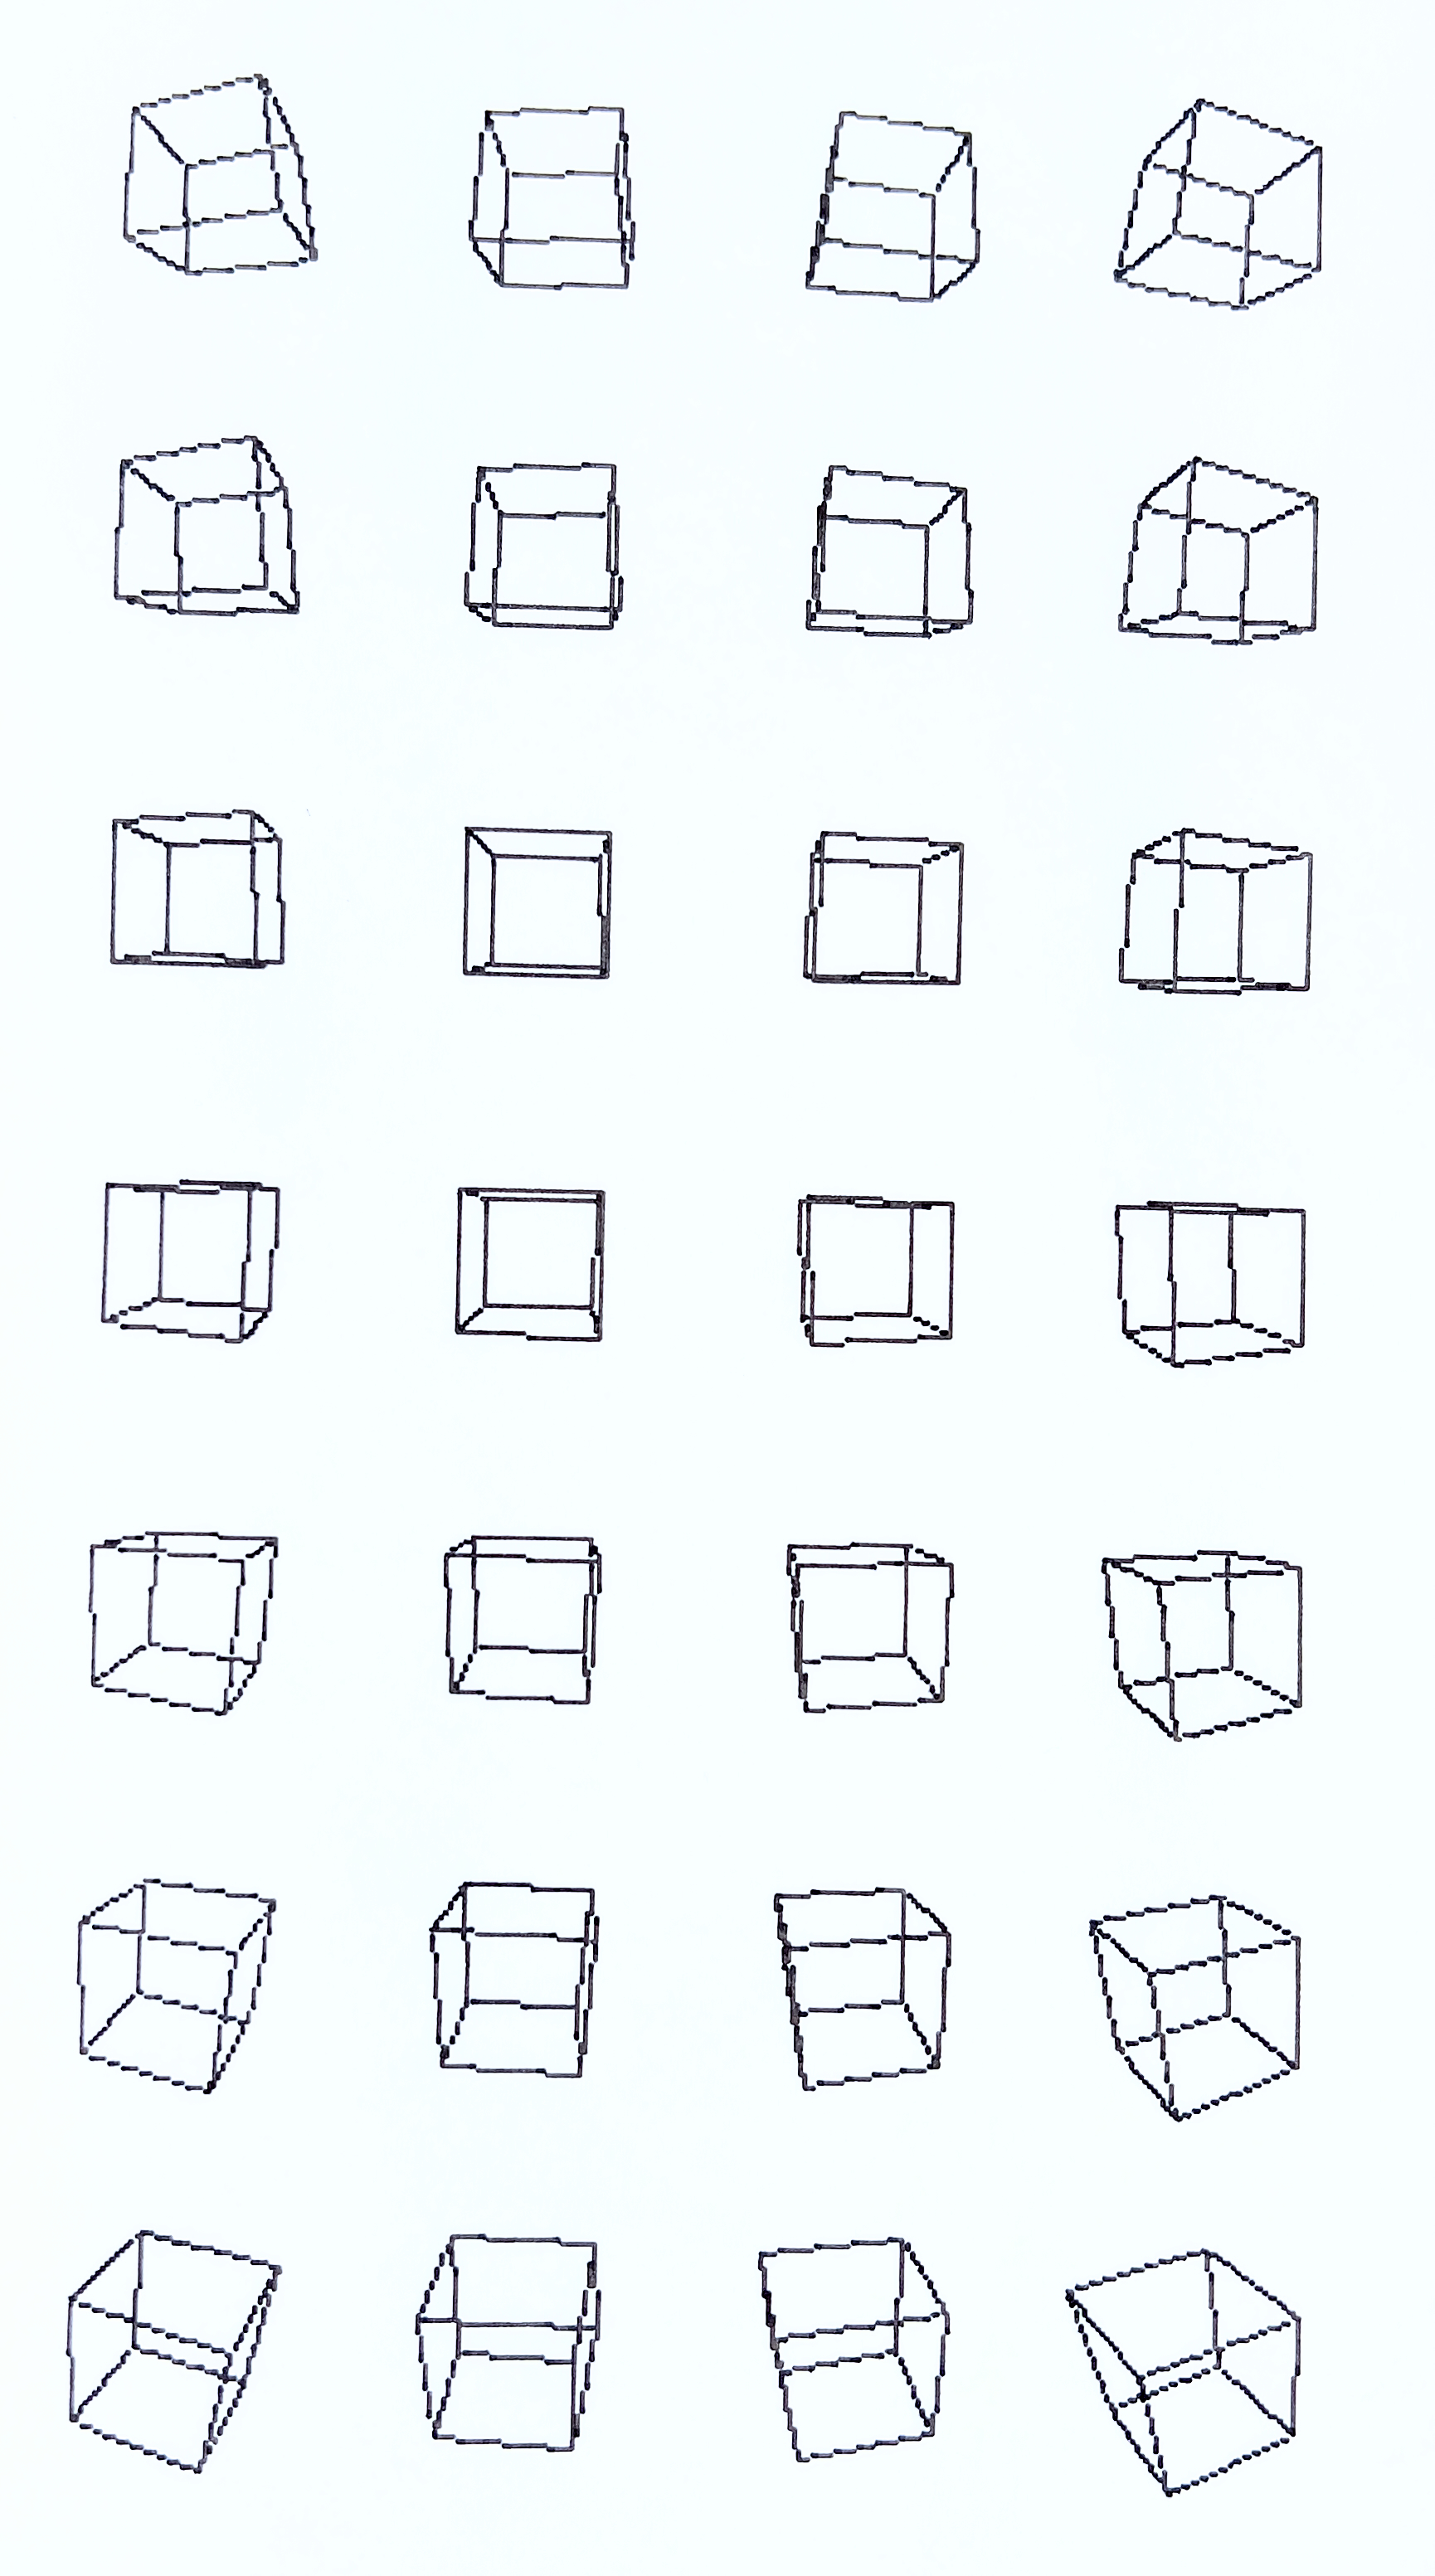
pixelize command
Series of cubes created with vpype-perspective and pixelated using pixelize:
Installation
See vpype's installation instructions for information on how to install vpype.
Existing vpype installation
If vpype was installed using pipx, use the following command:
$ pipx inject vpype vpype-pixelart
If vpype was installed using pip in a virtual environment, activate the virtual environment and use the following command:
$ pip install vpype-pixelart
Check that your install is successful:
$ vpype --help
Usage: vpype [OPTIONS] COMMAND1 [ARGS]... [COMMAND2 [ARGS]...]...

Options:
  -v, --verbose
  -I, --include PATH  Load commands from a command file.
  --help              Show this message and exit.

Commands:
[...]
  Plugins:
    pixelart   Plot pixel art.
[...]
Stand-alone installation
Use this method if you need to edit this project. First, clone the project:
$ git clone https://github.com/abey79/vpype-pixelart.git
$ cd vpype-pixelart
Create a virtual environment:
$ python3 -m venv venv
$ source venv/bin/activate
$ pip install --upgrade pip
Install vpype-pixelart and its dependencies (including vpype):
$ pip install -e .
Check that your install is successful:
$ vpype --help
Usage: vpype [OPTIONS] COMMAND1 [ARGS]... [COMMAND2 [ARGS]...]...

Options:
  -v, --verbose
  -I, --include PATH  Load commands from a command file.
  --help              Show this message and exit.

Commands:
[...]
  Plugins:
    pixelart   Plot pixel art.
[...]
License
See the LICENSE file for details.


Download files
Download the file for your platform. If you're not sure which to choose, learn more about installing packages.
Source Distribution
Built Distribution
Filter files by name, interpreter, ABI, and platform.
If you're not sure about the file name format, learn more about wheel file names.
Copy a direct link to the current filters
File details
Details for the file vpype-pixelart-0.4.0.tar.gz.
File metadata
- Download URL: vpype-pixelart-0.4.0.tar.gz
- Upload date:
- Size: 6.9 kB
- Tags: Source
- Uploaded using Trusted Publishing? No
- Uploaded via: twine/4.0.1 CPython/3.11.1
File hashes
| Algorithm | Hash digest | |
|---|---|---|
| SHA256 |
e3030dea999ec0cf1faf576aae146935de68157c1c9bcee6c10eb90a6b1b2475
|
|
| MD5 |
24af3fa12f0b12b5f62e8717b4af2e39
|
|
| BLAKE2b-256 |
8430a0b863a8e4cde201bbd7ca761445827ddeaab1deb39366cbb62684ecf790
|
File details
Details for the file vpype_pixelart-0.4.0-py3-none-any.whl.
File metadata
- Download URL: vpype_pixelart-0.4.0-py3-none-any.whl
- Upload date:
- Size: 7.1 kB
- Tags: Python 3
- Uploaded using Trusted Publishing? No
- Uploaded via: twine/4.0.1 CPython/3.11.1
File hashes
| Algorithm | Hash digest | |
|---|---|---|
| SHA256 |
e775385c90995559844ab993d2d754db5ebb4984f39fea152dd00bdd9ec46883
|
|
| MD5 |
ac4b7f3b7563a82d67befe4397952a6b
|
|
| BLAKE2b-256 |
ba39f636c62478c59ddb30d279ab824ec9796d4bd4bd73097617419c53e32d5c
|


